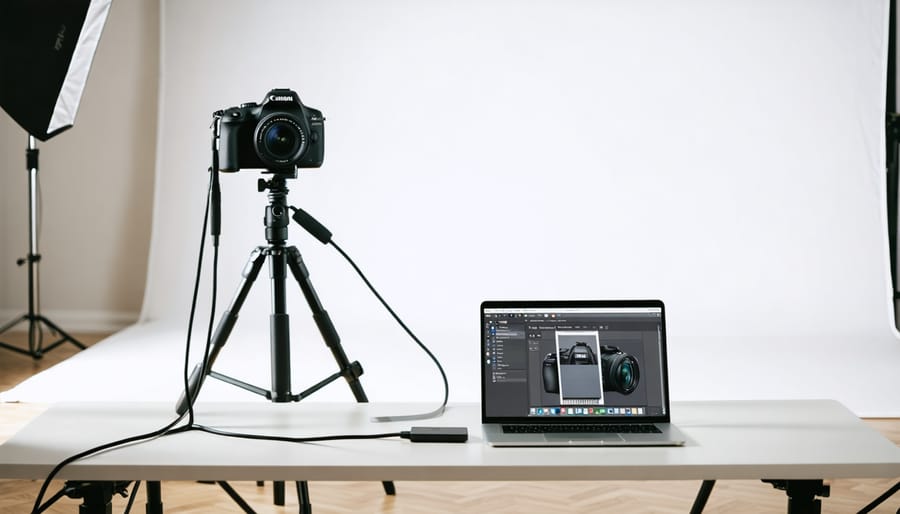
Connect your Canon camera to professional-grade tethering solutions that transform your photography workflow. From Canon’s native EOS Utility to powerful third-party options like Capture One and digiCamControl, modern tethering software delivers real-time image preview, remote camera control, and instant file transfer capabilities. Whether you’re shooting in a controlled studio environment or managing an outdoor commercial session, tethered shooting eliminates memory card shuffling and enables immediate client feedback. Professional photographers increasingly rely on tethering to streamline their creative process, ensure technical precision, and deliver consistent results across demanding photo shoots. This comprehensive guide explores the best tethering solutions for Canon cameras, comparing features, compatibility, and performance to help you choose the perfect setup for your specific needs.
Canon’s Official Tethering Solutions
EOS Utility
EOS Utility stands as Canon’s official tethering solution, offering a robust set of features without any cost to Canon camera owners. This software comes bundled with new Canon cameras and can also be downloaded directly from Canon’s website, making it an accessible option for photographers seeking a reliable tethering solution.
Compatible with most Canon EOS DSLR and mirrorless cameras released in the past decade, EOS Utility provides a straightforward interface for controlling your camera remotely. The software enables real-time preview of images on your computer screen, direct capture to your hard drive, and remote adjustment of essential camera settings like aperture, shutter speed, and ISO.
One of EOS Utility’s standout features is its integration with other Canon software, particularly Digital Photo Professional. This seamless workflow allows photographers to capture, preview, and process images within Canon’s ecosystem. The software also includes useful tools like focus assistance, intervalometer functions, and the ability to apply camera settings across multiple shoots.
However, EOS Utility does have its limitations. The interface, while functional, can feel dated compared to modern third-party alternatives. Some users report occasional connection stability issues, particularly during longer shooting sessions. Additionally, the software’s feature set, while comprehensive for basic tethering needs, may not match the advanced capabilities offered by premium third-party solutions.
Despite these drawbacks, EOS Utility remains a solid choice for photographers seeking a no-cost tethering solution that works reliably with their Canon equipment. Its official support from Canon ensures compatibility with new camera models and regular updates to address bugs and security issues.
Camera Connect App
Canon’s Camera Connect app offers a convenient wireless tethering solution for photographers who prefer mobility over traditional wired connections. This free mobile application enables you to control your compatible Canon camera remotely using your smartphone or tablet, making it perfect for situations where computer tethering isn’t practical.
The app supports both Wi-Fi and Bluetooth connectivity, depending on your camera model, and allows you to transfer images directly to your mobile device for quick sharing or backup. You can adjust essential camera settings, including aperture, shutter speed, and ISO, right from your device’s screen. The live view feature lets you compose shots remotely, which is particularly useful for self-portraits, wildlife photography, or challenging shooting angles.
While the Camera Connect app may not offer the extensive features of desktop tethering solutions, it provides enough functionality for most on-the-go shooting scenarios. The setup process is straightforward: simply enable wireless communication on your camera, install the app, and follow the connection prompts. Keep in mind that wireless tethering may drain your camera’s battery faster than standard operation, so having spare batteries is recommended.
Third-Party Tethering Software for Canon
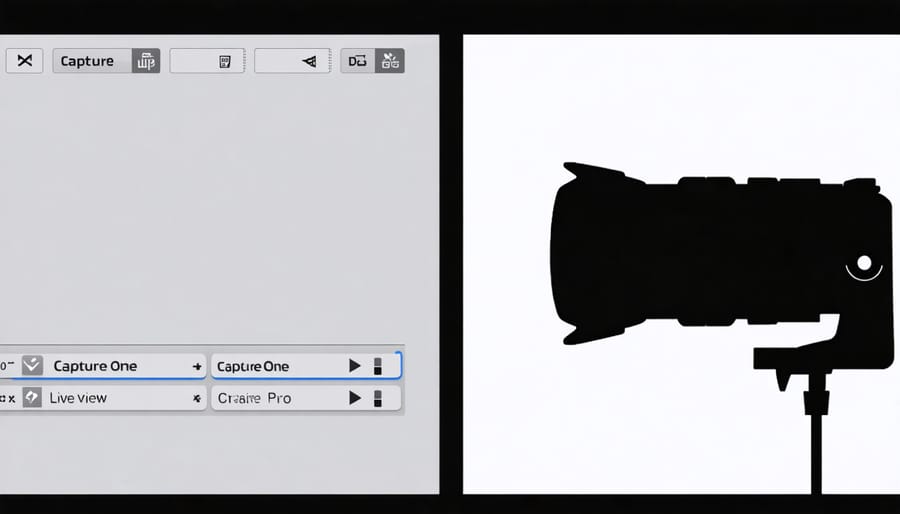
Capture One Pro
Capture One Pro stands out as a premium tethering solution that has become an industry standard among professional photographers. This robust software offers seamless integration with Canon cameras, providing real-time image capture, instant preview, and advanced control capabilities that make it one of the most powerful workflow tools available.
The software’s strength lies in its comprehensive feature set, including live view streaming, remote camera control, and instant image rating and culling capabilities. Photographers particularly appreciate the ability to apply adjustments and color corrections in real-time, making client-involved shoots more efficient and collaborative.
What sets Capture One Pro apart is its superior raw processing engine, which many photographers find produces better color accuracy and detail retention compared to other solutions. The software’s customizable workspace allows you to arrange tools and panels according to your specific workflow needs, while its advanced tethering stability ensures reliable connection during critical shoots.
For studio photographers, the software’s overlay tool proves invaluable, enabling precise composition by superimposing template images over the live view. The session-based workflow system helps organize files logically, making it easier to manage multiple projects and clients.
While the learning curve might be steeper compared to simpler solutions, the investment in mastering Capture One Pro pays off in enhanced productivity and image quality.
Adobe Lightroom Classic
Adobe Lightroom Classic offers one of the most seamless tethering experiences for Canon photographers, integrating capture, organization, and editing workflows into a single platform. The software supports a wide range of Canon EOS cameras and provides real-time image transfer directly to your computer.
Setting up tethering in Lightroom Classic is straightforward. After connecting your Canon camera via USB, simply navigate to the File menu and select “Tethered Capture” > “Start Tethered Capture.” A dialog box will appear where you can set your capture settings, including file naming conventions and metadata presets. Once connected, Lightroom displays a tethering bar at the top of your screen, showing camera settings and providing quick access to controls.
What makes Lightroom’s tethering particularly valuable is its instant preview capability. As you shoot, images appear immediately in your library and can be viewed at full resolution. This feature is especially useful during client sessions or product photography, where immediate feedback is crucial.
The software also allows you to adjust camera settings directly from your computer, including aperture, shutter speed, and ISO. You can even trigger the camera remotely through Lightroom’s interface. For studio photographers, the ability to automatically apply develop presets during import streamlines the workflow significantly.
While Lightroom’s tethering is generally reliable, it’s worth noting that you’ll need a stable USB connection and sufficient computer resources to maintain smooth operation. Regular software updates help maintain compatibility with newer Canon models.
Smart Shooter
Smart Shooter stands out as a powerful tethering solution that offers photographers exceptional control over their Canon cameras. This specialized software combines robust functionality with an intuitive interface, making it particularly appealing for both studio and on-location shoots.
What sets Smart Shooter apart is its comprehensive feature set. The software provides real-time image preview, immediate file transfer, and advanced camera control options. Photographers can adjust settings like aperture, shutter speed, and ISO directly from their computer, streamlining their workflow significantly. The software also supports multi-camera control, making it invaluable for complex photo shoots or events requiring multiple angles.
One of Smart Shooter’s standout features is its focus stacking capability, which is particularly useful for macro and product photography. The software can automatically capture a series of images at different focus points, helping photographers achieve perfect depth of field in their final compositions.
The live view function is exceptionally responsive, with minimal lag between the camera and computer screen. This real-time feedback is crucial for precise composition and lighting adjustments. Additionally, Smart Shooter offers customizable hot folders for immediate file organization and backup, ensuring your images are safely stored and properly categorized as you shoot.
While the learning curve might be slightly steeper compared to Canon’s native software, the additional features and reliability make it a worthwhile investment for serious photographers who need advanced tethering capabilities.
Setting Up Your Tethered Workflow
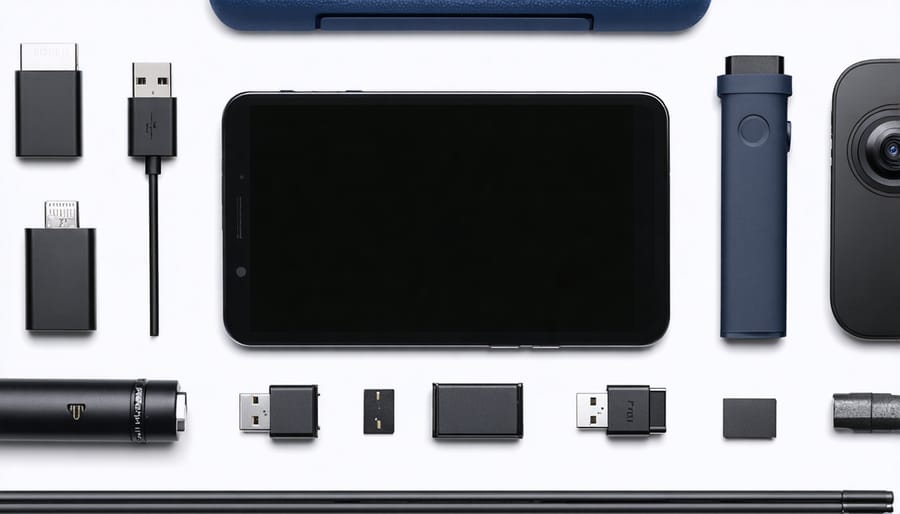
Essential Hardware
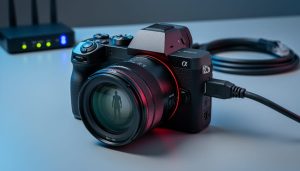
To get started with Canon tethering, you’ll need a few essential pieces of hardware. First and foremost is a compatible USB cable – most Canon cameras use either a Mini-USB or Micro-USB connection, while newer models might require a USB-C cable. Always use the cable that came with your camera or a high-quality replacement to ensure reliable data transfer.
Your computer needs to meet certain basic requirements to handle tethered shooting effectively. For Windows users, aim for at least 8GB of RAM and a modern processor (Intel i5/AMD Ryzen 5 or better). Mac users should be running a relatively recent machine with similar specifications. While tethering doesn’t demand extraordinary processing power, having a decent system ensures smooth operation during extended shooting sessions.
Storage space is another crucial consideration. Since you’ll be transferring high-resolution images directly to your computer, make sure you have plenty of free hard drive space. An external drive can be a worthwhile investment for managing large photo sessions.
Additional accessories that can enhance your tethering setup include a dedicated tethering cable holder or clip to prevent accidental disconnections, a USB hub for connecting multiple devices, and a laptop stand or table for comfortable viewing during shoots. If you’re working in a studio setting, consider a tethering cable with a right-angle connector to reduce strain on the camera’s USB port.
Common Troubleshooting
When tethering your Canon camera, you might encounter some common issues, but most have straightforward solutions. If your camera isn’t being recognized, first ensure you’re using a high-quality USB cable – ideally the one that came with your camera. Cheap or damaged cables are often the culprit behind connection failures.
For connection drops during shooting, try disabling your computer’s power-saving features and ensure your camera’s auto-power-off setting is turned off. This is particularly important when setting up a fail-safe photography workflow.
If you’re experiencing slow transfer speeds, check that you’re using a USB 3.0 port if your camera supports it. Also, close unnecessary background applications that might be consuming system resources. For EOS Utility users, clearing the software’s cache can resolve many performance issues.
When images aren’t displaying properly in the tethering software, verify that your camera’s image format settings match what the software supports. RAW+JPEG mode can sometimes cause conflicts, so try shooting in just one format initially to isolate the issue.
Remember to keep both your camera’s firmware and tethering software updated to the latest versions, as this often resolves compatibility issues and improves overall stability.
Best Practices
To maintain a reliable tethering connection with your Canon camera, start by ensuring all your cables are high-quality and properly secured. USB 3.0 cables are recommended for faster transfer speeds, but keep them under 15 feet to prevent signal degradation. Regular equipment maintenance of both cables and ports will help prevent connection issues.
Set your camera’s auto-power-off feature to “disabled” to maintain a constant connection during long shoots. Keep your computer’s power settings configured to prevent sleep mode, which can interrupt the tethering session. Consider using a powered USB hub if you’re connecting multiple devices.
Create an organized folder structure on your computer before starting your session. This makes it easier to locate and manage incoming files. Configure your tethering software to automatically back up images to a secondary drive for added security.
When shooting tethered on location, always bring backup cables and a laptop with a fully charged battery. Setting up your workstation close to your shooting area minimizes cable strain and reduces the risk of accidents. If working outdoors, protect your equipment from direct sunlight and consider using a laptop shade for better screen visibility.
Remember to close unnecessary background applications to ensure your computer dedicates maximum resources to the tethering software. This helps prevent lag and ensures smooth image transfer during your shoot.
Choosing the right tethering software for your Canon camera ultimately depends on your specific photography needs and workflow preferences. For professional photographers who demand reliability and seamless integration, Canon’s EOS Utility remains a solid choice, especially when working in controlled studio environments. Its native compatibility with Canon cameras and direct integration with Digital Photo Professional makes it particularly valuable for those deeply invested in the Canon ecosystem.
However, photographers seeking more advanced features and flexibility might find Capture One Pro or Smart Shooter more suitable, despite the higher cost. These solutions offer superior tethering stability and advanced capture controls that can streamline complex photoshoots. For those working on a budget or needing basic tethering functionality, digiCamControl provides a capable free alternative that covers essential tethering needs.
When making your final decision, consider factors such as your shooting frequency, technical requirements, and budget constraints. Studio photographers should prioritize stability and robust features, while occasional users might find simpler solutions sufficient. Remember that most software options offer trial periods – take advantage of these to test different solutions in your specific workflow before committing to a purchase.
Regardless of your choice, ensure your computer meets the minimum system requirements and invest in high-quality USB cables to maintain a stable connection. With the right setup and software choice, tethered shooting can significantly enhance your photography workflow and deliver professional results.