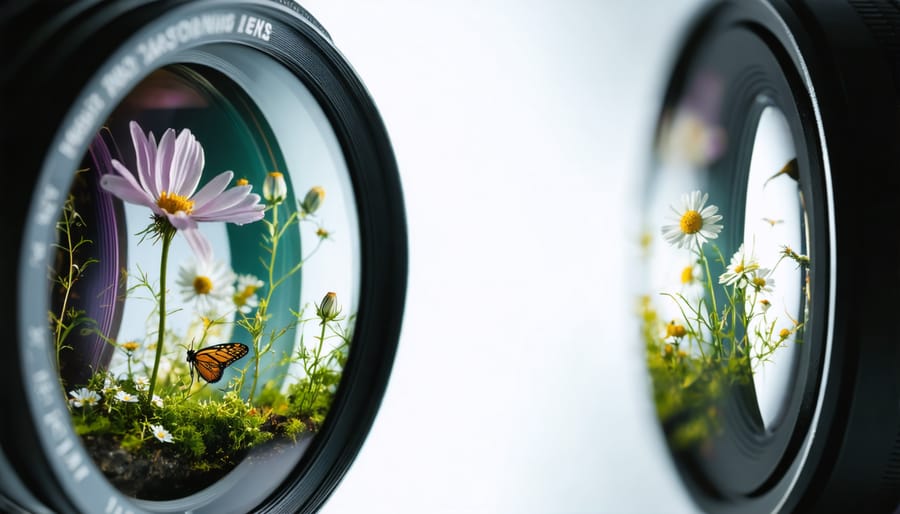
Transform your zoom lens into a powerful macro tool by reversing it with an inexpensive adapter ring, instantly achieving magnification ratios comparable to dedicated macro photography fundamentals equipment. Stack extension tubes between your camera body and zoom lens to decrease minimum focusing distance while maintaining full electronic control. Exploit your zoom lens’s closest focusing distance—typically around 3-5 feet—by zooming to the longest focal length, creating compelling close-up compositions without specialized gear. Master the sweet spot of your zoom range, usually between 100-200mm, where image quality peaks and working distance remains practical for sensitive subjects like insects or flowers.
This unconventional approach to macro photography opens creative possibilities without investing in expensive dedicated macro lenses, proving particularly valuable for wildlife and nature photographers who already carry telephoto zooms. While maximum magnification may not match true macro lenses, these techniques deliver stunning close-up imagery that captures intricate details, textures, and patterns previously beyond reach.
Why Your Zoom Lens Can Be a Macro Powerhouse
Minimum Focus Distance: The Key Factor
When shooting macro with a zoom lens, the minimum focus distance is your make-or-break factor. This is the closest distance at which your lens can achieve sharp focus, and it directly impacts how large your subject appears in the frame. Most standard zoom lenses have a minimum focus distance between 3-5 feet, which isn’t ideal for true macro work. However, some zoom lenses, particularly those in the 70-300mm range, can focus as close as 3-4 feet while at their longest focal length, allowing you to capture impressive close-up details.
To find your lens’s sweet spot, try this simple test: set your zoom to its longest focal length, then slowly move closer to your subject while attempting to focus. The point where focus becomes impossible is your minimum focus distance. Mark this distance (mentally or physically) as your working limit. Remember that this distance is measured from your camera’s sensor plane (marked with a φ symbol on your camera) to the subject, not from the front of the lens.
Understanding and working within your lens’s minimum focus distance helps you plan your shots better and achieve the maximum possible magnification for your setup.
Magnification Ratios Explained
Magnification ratio is a key concept in macro photography that tells you how large your subject appears on the camera’s sensor compared to its actual size. For example, a 1:1 ratio means your subject appears life-size on the sensor, while 1:2 means it appears half its actual size.
Most zoom lenses offer a maximum magnification ratio between 1:3 and 1:5, which is less than dedicated macro lenses but still capable of capturing impressive close-up shots. You’ll typically find this information in your lens specifications, often expressed as “0.3x” (equivalent to 1:3) or similar.
To put this in perspective, at 1:3 magnification, a subject that’s 3cm long in real life will appear 1cm long on your camera’s sensor. While this might not achieve the extreme close-ups possible with true macro lenses, it’s more than adequate for capturing detailed shots of larger subjects like flowers, insects, or textures.
Understanding these ratios helps you set realistic expectations and plan your shots accordingly. Remember that you can always crop your images in post-processing to achieve a tighter composition when needed.
Essential Techniques for Zoom Lens Macro
Extension Tubes: Your Secret Weapon
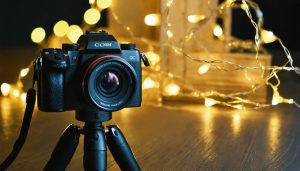
Extension tubes are affordable accessories that can dramatically enhance your zoom lens’s macro capabilities without breaking the bank. These hollow tubes fit between your camera body and lens, effectively decreasing the minimum focusing distance and increasing magnification. While they don’t contain any optical elements, they’re incredibly effective at transforming your regular zoom lens into a makeshift macro lens.
Using extension tubes effectively requires understanding a few key concepts. First, the longer the extension tube, the greater the magnification – but you’ll also lose more light and focusing distance. Most photographers start with a set of stackable tubes (typically 12mm, 20mm, and 36mm) that can be used individually or combined for various magnification levels.
Keep in mind that extension tubes work best with longer focal lengths on your zoom lens. When shooting at 200mm with a 36mm extension tube, you’ll achieve significantly better magnification than at 70mm. However, you’ll need to compensate for light loss by either using a flash, increasing ISO, or widening your aperture.
One practical tip: start with the shortest tube first and experiment with different focal lengths on your zoom lens. This helps you understand the sweet spot for your particular setup while maintaining enough working distance to avoid casting shadows on your subject.
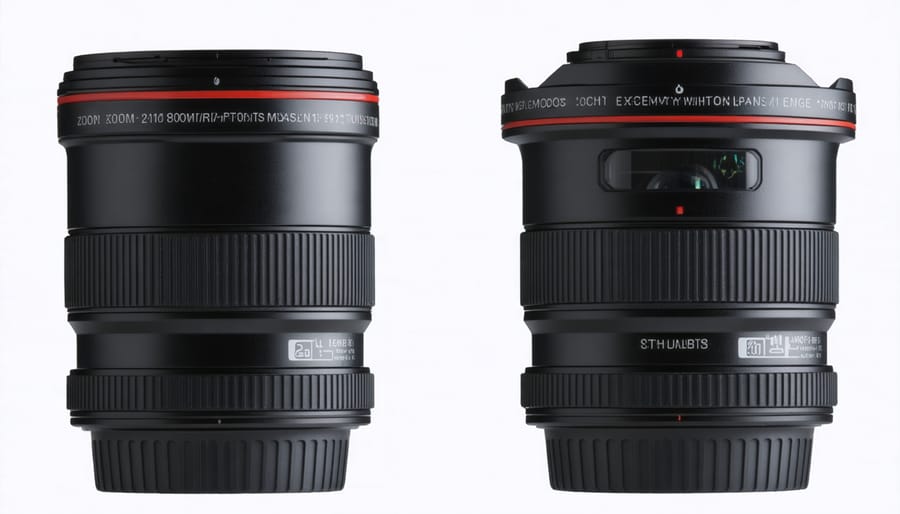
Focus Stacking with Zoom Lenses
Focus stacking is a game-changer when working with zoom lenses for macro photography, especially since depth of field becomes increasingly shallow at closer focusing distances. This technique involves taking multiple photos of your subject at slightly different focus points and combining them in post-processing to create a single, sharp image.
To begin focus stacking with your zoom lens, set up your camera on a sturdy tripod and ensure your subject remains completely still. Start by focusing on the nearest point of your subject and take your first shot. Then, using manual focus, slowly adjust the focus ring slightly further back, taking another shot. Continue this process until you’ve captured the entire subject, including the furthest point you want in focus.
For best results, use these settings: manual mode, a medium aperture (f/8 to f/11 for optimal sharpness), and manual focus. Keep your ISO low to minimize noise, and use a remote shutter or timer to avoid camera shake. Depending on your subject’s depth, you might need anywhere from 5 to 30 images.
Popular software options like Adobe Photoshop, Helicon Focus, or Zerene Stacker can automatically align and blend your images. When processing, pay attention to transition areas between focus points to ensure smooth blending. This technique works particularly well for subjects like flowers, insects, or small objects where maintaining detail throughout the frame is crucial.
Working Distance and Lighting
When using a zoom lens for macro photography, you’ll need to carefully manage your working distance and lighting setup. Unlike dedicated macro lenses, zoom lenses often require you to position yourself further from your subject, which can be both an advantage and a challenge.
The increased working distance gives you more room to set up lighting equipment without casting shadows on your subject. However, this distance can make it trickier to achieve proper illumination, especially in low-light conditions. To overcome this, consider using a combination of natural light and artificial lighting solutions. Learning proper macro lighting techniques is essential for capturing sharp, well-exposed images.
For optimal results, try positioning your main light source at a 45-degree angle to your subject. If you’re working outdoors, early morning or late afternoon light works best, as it provides softer, more directional illumination. A collapsible reflector can help bounce light back onto your subject, filling in harsh shadows.
Remember that your zoom lens’s minimum focusing distance will determine how close you can get to your subject. Test this distance beforehand and mark it physically if needed. This preparation helps you maintain the sweet spot between getting close enough for detail while leaving sufficient space for proper lighting setup.
Camera Settings for Zoom Macro Success
Aperture and Depth of Field
When shooting macro with a zoom lens, managing your aperture becomes crucial as it directly affects your depth of field – the zone of acceptable sharpness in your image. At high magnifications, your depth of field becomes extremely thin, often just a few millimeters deep.
For most macro subjects, you’ll want to shoot between f/8 and f/16. This range provides a good balance between sharpness and depth of field. While it might be tempting to use even smaller apertures like f/22 to increase depth of field, be cautious – diffraction can start to degrade image quality at these extremely small apertures.
A practical approach is to start at f/8 and adjust based on your subject. For flat subjects like leaves or coins, f/8 often provides sufficient depth of field. However, for three-dimensional subjects like flowers or insects, you might need f/11 or f/16 to capture more detail throughout the subject.
Remember that your zoom lens’s maximum aperture may change as you zoom in, typically becoming smaller. This is actually beneficial for macro work, as you rarely want to shoot wide open anyway. Focus on finding the sweet spot of your lens – usually 2-3 stops down from its maximum aperture – where it delivers optimal sharpness while maintaining enough depth of field to keep your subject in focus.
Consider using focus stacking for subjects that require extreme detail throughout the frame. This technique involves taking multiple shots at different focus points and combining them in post-processing.
Stabilization and Shutter Speed
When shooting macro with a zoom lens, stabilization becomes crucial due to the magnified view making even tiny movements appear dramatic in your final image. At close focusing distances, every shake is amplified, potentially turning sharp details into a blurry mess.
Start by enabling your lens’s image stabilization if available. While this helps, it’s not enough on its own. Consider using a tripod whenever possible – it’s your best friend for macro work. If you must shoot handheld, adopt a stable stance with your elbows tucked against your body and control your breathing.
For shutter speed, follow this simple rule: use at least 1/(focal length x 2) as your minimum speed. For example, if you’re shooting at 200mm, aim for at least 1/400th second. When working close-up, you might want to go even faster – 1/500th or 1/1000th second isn’t overkill.
Natural light photographers should be prepared to raise their ISO to achieve these faster shutter speeds. Modern cameras handle high ISO well, and a slightly noisy sharp image is always better than a clean blurry one. If using flash, the brief burst of light naturally helps freeze motion, allowing slightly slower shutter speeds.
Remember that even the slightest breeze can move your subject, especially with flowers or insects. Consider using a windbreak or shooting during calmer periods of the day.
Common Challenges and Solutions
Managing Vibration and Movement
When shooting macro with a zoom lens, even the slightest movement can ruin your shot. Camera shake becomes particularly noticeable at higher magnifications, so stabilization is crucial. Start by using a sturdy tripod, ensuring all locks are tight and the center column isn’t extended. If possible, use your camera’s remote shutter release or self-timer to avoid touching the camera during exposure.
For handheld shots, activate your lens’s image stabilization if available. Brace yourself properly by tucking your elbows against your body and controlling your breathing – exhale slowly while pressing the shutter. Consider using a higher shutter speed, at least 1/250th second or faster, to freeze any inadvertent movement.
Subject movement presents another challenge, especially with living subjects like insects or flowers swaying in the breeze. Try shooting during calmer parts of the day, typically early morning or evening. For plants, you can create makeshift windbreaks using cardboard or reflectors. With insects, patience is key – observe their patterns and be ready to shoot when they pause.
If you’re shooting indoors, turn off any fans or air conditioning that might create air movement. For extra stability, you can use a focusing rail, which allows precise forward and backward adjustments without moving the entire tripod setup. Remember, at macro magnifications, even the slightest vibration from passing traffic or walking nearby can affect image sharpness.
Dealing with Light Fall-off
Light fall-off is a common challenge when shooting macro with a zoom lens, but there are several effective ways to maintain proper exposure. As you get closer to your subject, less light reaches your sensor, which can result in darker images than expected.
To combat this issue, start by increasing your ISO if you’re shooting handheld. While this might introduce some noise, modern cameras handle higher ISOs quite well. Just be careful not to push it too far – staying within ISO 800-1600 usually provides a good balance between brightness and image quality.
Using a tripod opens up more possibilities for managing light fall-off. With your camera stabilized, you can slow down your shutter speed without worrying about camera shake. This allows you to keep your ISO lower while maintaining proper exposure. A general rule is to avoid handheld shots slower than 1/focal length of your lens.
External lighting is perhaps the most effective solution. A ring light or macro flash can provide consistent illumination at close focusing distances. Even a simple LED panel positioned at a 45-degree angle can make a significant difference. If you’re working outdoors, a collapsible reflector can bounce available light onto your subject, helping to counteract the light loss.
Remember to check your histogram frequently and adjust your exposure compensation as needed. Many photographers find they need to dial in +1 to +2 stops of compensation when shooting macro with a zoom lens.
While dedicated macro lenses remain the gold standard for extreme close-up photography, your zoom lens can be a versatile tool for exploring the fascinating world of macro photography. By mastering the techniques we’ve discussed – including focusing distance, extension tubes, close-up filters, and optimal camera settings – you can capture stunning close-up images without investing in specialized equipment. Remember to experiment with different focal lengths, maintain steady shooting positions, and practice proper lighting techniques to achieve the best results. Don’t be afraid to push your zoom lens to its limits; you might be surprised by the creative possibilities it offers. Whether you’re photographing delicate flower petals, intricate textures, or tiny insects, your zoom lens can be a gateway to discovering macro photography. Start practicing these techniques today, and watch as a whole new world of photographic opportunities unfolds before your lens.

