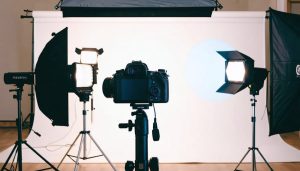
Transform any room into a professional-grade photography studio for under $500 with three essential elements: a 10×10 foot clear space, two basic speedlights with stands, and a versatile backdrop system. Creating your first home photography studio ideas doesn’t require expensive gear or dedicated facilities – just smart planning and strategic equipment choices.
Master studio photography fundamentals using window light paired with a $30 reflector before investing in artificial lighting. Position your subject 45 degrees from a large window, control harsh sunlight with thin white curtains, and bounce fill light using foam core boards. This zero-cost lighting technique builds crucial understanding of light direction, intensity, and quality.
Start with versatile equipment that grows with your skills: an adjustable light stand ($40), a manual speedlight ($60), and a collapsible 5-in-1 reflector ($30) provide endless creative possibilities while fitting in a closet. This minimalist setup handles everything from portraits to product photography, allowing experimentation without overwhelming complexity or budget strain.
Essential Space Requirements
Space Planning Basics
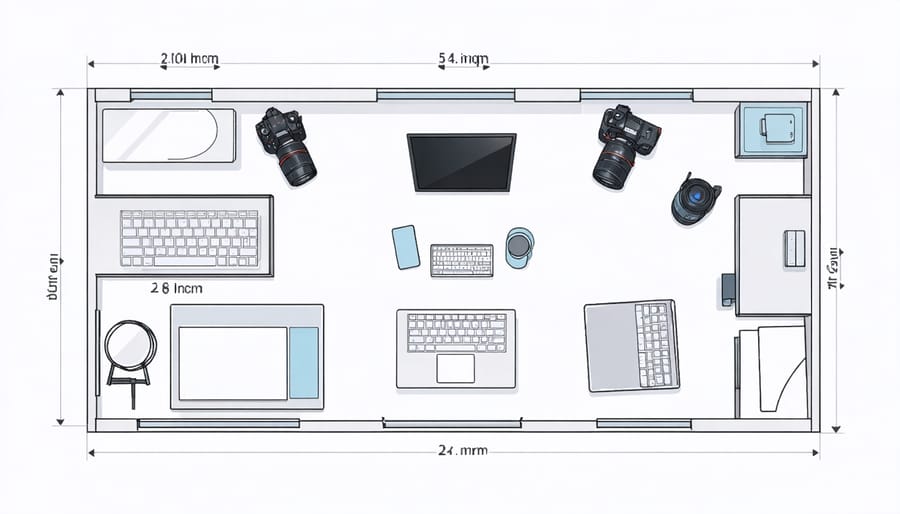
Before purchasing any equipment, carefully assess your available space. Start by measuring your room’s dimensions, including ceiling height – you’ll typically want at least 10 feet of width and 15 feet of length for basic portrait work. Remember to account for storage areas and a workspace for your computer and gear.
Consider the room’s shape and any permanent fixtures like windows, doors, or built-in furniture. While windows can provide beautiful natural light, you’ll want the ability to control it with blackout curtains when needed. Look for rooms with minimal architectural obstructions and clean walls.
Map out your shooting area by marking the floor with painter’s tape. Create zones for your main shooting space, lighting setup, and client area if applicable. A good rule of thumb is to allocate about 60% of your total space for shooting, 25% for equipment storage and setup, and 15% for other activities.
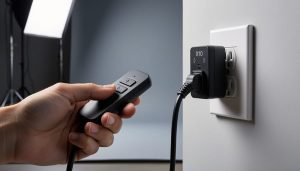
Pay attention to electrical outlets’ location and quantity – you’ll need several for your lighting equipment. Also check the floor condition, as it should be level and stable for equipment safety.
Room Preparation
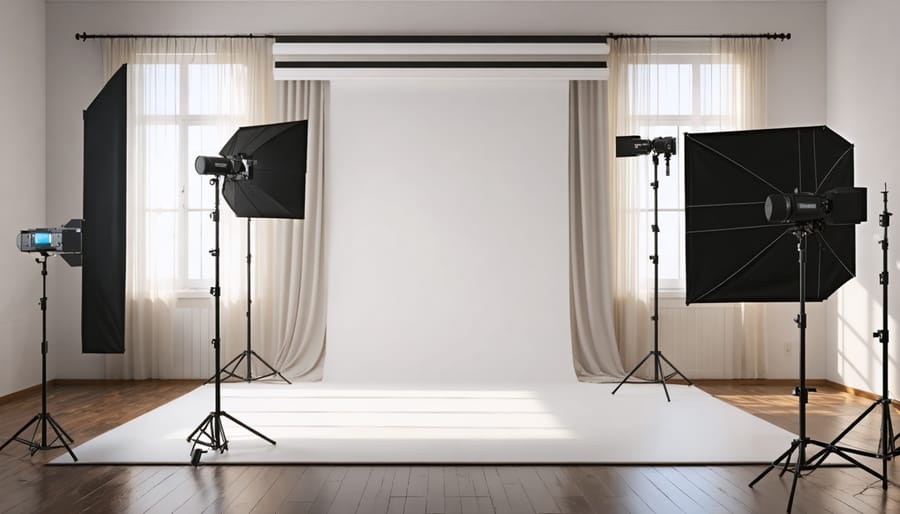
Before setting up your equipment, proper room preparation is crucial for creating a functional photography studio. Start by clearing the space of any unnecessary furniture or items that might interfere with your shooting area. If possible, choose a room with minimal windows or invest in blackout curtains to control natural light.
Wall treatment is essential for achieving professional results. A neutral-colored paint job in matte finish works well, with white or light gray being popular choices. Avoid glossy finishes as they can create unwanted reflections. For added versatility, consider mounting a backdrop support system to your walls for seamless paper or fabric backgrounds.
Floor considerations are equally important. Solid-colored, non-reflective flooring is ideal. If you have shiny or patterned floors, consider laying down neutral-colored vinyl or investing in removable floor drops. Keep the floor clean and free from marks that might show up in full-length shots.
Ensure your electrical outlets are easily accessible and consider installing additional ones if needed. Good ventilation is also important, especially when using continuous lighting that can heat up the room quickly.
Core Lighting Equipment
Starting with Continuous Lighting
For those just starting their studio journey, continuous lighting offers several advantages that make it an excellent choice. Unlike flash systems, what you see is exactly what you’ll get in your photos, making it easier to visualize your final results. If you’re new to studio lighting, check out our comprehensive beginner’s lighting equipment guide for detailed equipment recommendations.
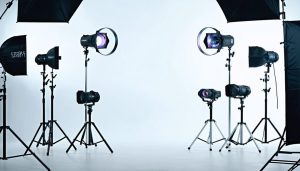
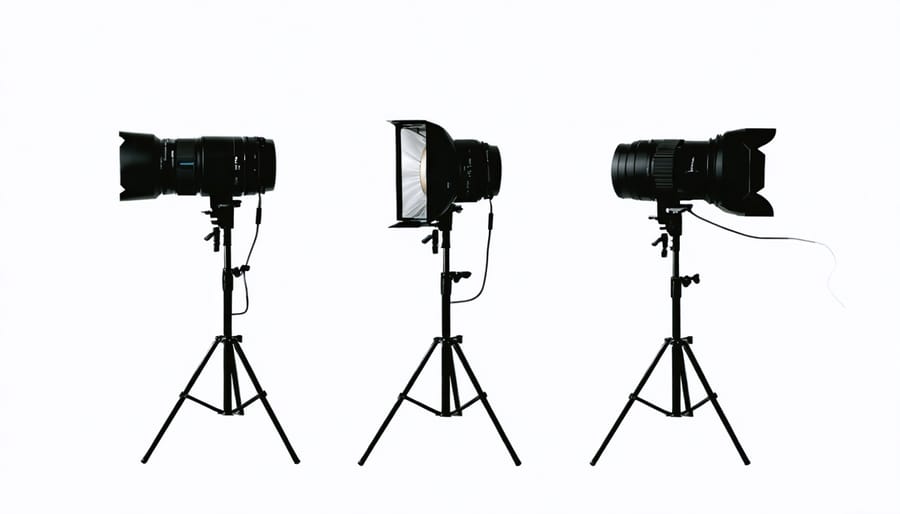
LED panels and traditional softboxes are popular continuous lighting options, with LEDs gaining favor due to their energy efficiency and low heat output. Start with a basic two-light setup: position your main light at a 45-degree angle to your subject and use the second light to fill in shadows or illuminate the background.
For optimal results, invest in light stands with adjustable height and angle capabilities. Adding diffusers or softboxes will help create softer, more flattering light that’s perfect for portraits. Many affordable kits include these essential accessories, making it easier to get started.
Remember to consider your space’s ambient light when setting up continuous lighting. While these lights work well in darker environments, you may need to control natural light with curtains or blinds during daytime shoots. This ensures your artificial lighting remains the primary light source and gives you better control over your final images.
Basic Strobe Options
When starting your studio photography journey, you’ll need to choose between two main types of artificial lighting: speedlights and studio strobes. Both options have their merits for beginners, and your choice will depend on your budget and shooting needs.
Speedlights are portable flash units that typically mount on your camera’s hot shoe. These compact units are perfect for photographers working in tight spaces or those who need mobility. They’re generally more affordable, with quality options starting around $100, making them an excellent entry point for beginners. While they offer less power than studio strobes, they’re versatile enough for portraits and small product photography.
Studio strobes, also called monolights, are more powerful and often provide more consistent results. Entry-level strobes typically start around $200-300 and offer features like modeling lights, which help you preview your lighting setup before taking the shot. They require wall power or battery packs but deliver more light output and faster recycling times than speedlights.
For most beginners, a basic setup might include two lights: your main light (key light) and a fill light or background light. Consider starting with one quality strobe or two speedlights, then expanding your kit as your skills and needs grow. Remember to factor in light modifiers like softboxes or umbrellas, which will help you shape and control your light source for professional-looking results.
Light Modifiers
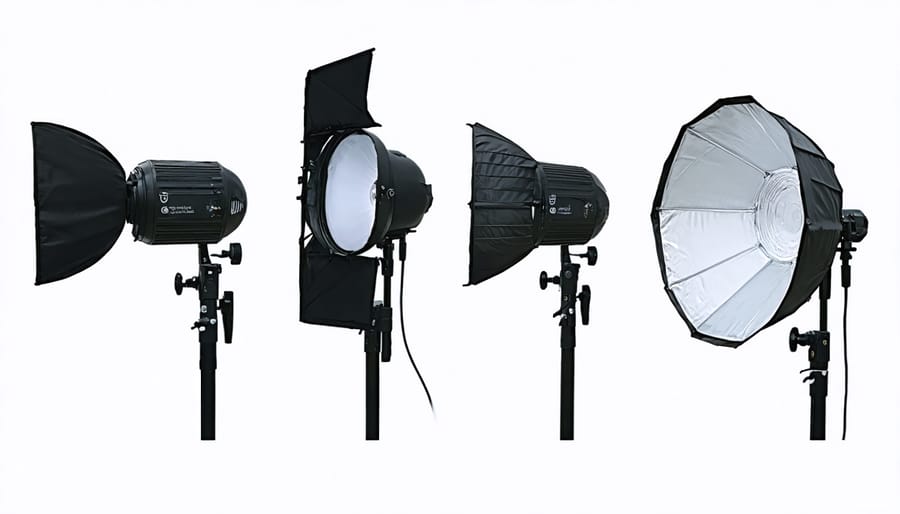
Lighting modifiers are essential tools that help shape and control your studio lighting for professional-looking results. Let’s explore the must-have modifiers for your beginner studio setup.
Softboxes are your go-to modifier for creating soft, flattering light. They come in various sizes and produce a natural-looking illumination that’s perfect for portraits. A medium-sized softbox (around 24×36 inches) offers excellent versatility for most shooting scenarios.
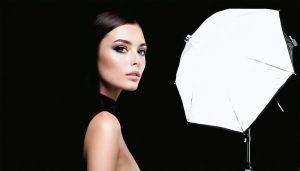
Umbrellas are budget-friendly alternatives that create broad, diffused light. Choose between white shoot-through umbrellas for soft illumination or silver reflective umbrellas for more dramatic lighting. They’re incredibly portable and easy to set up, making them ideal for beginners.
Beauty dishes create a distinctive light quality that’s between soft and hard, perfect for fashion and beauty photography. While slightly more specialized, they’re worth considering as your skills advance.
Grid attachments help control light spread and prevent spill, allowing for precise lighting control. Start with a basic 20-degree grid for your main light to create focused illumination.
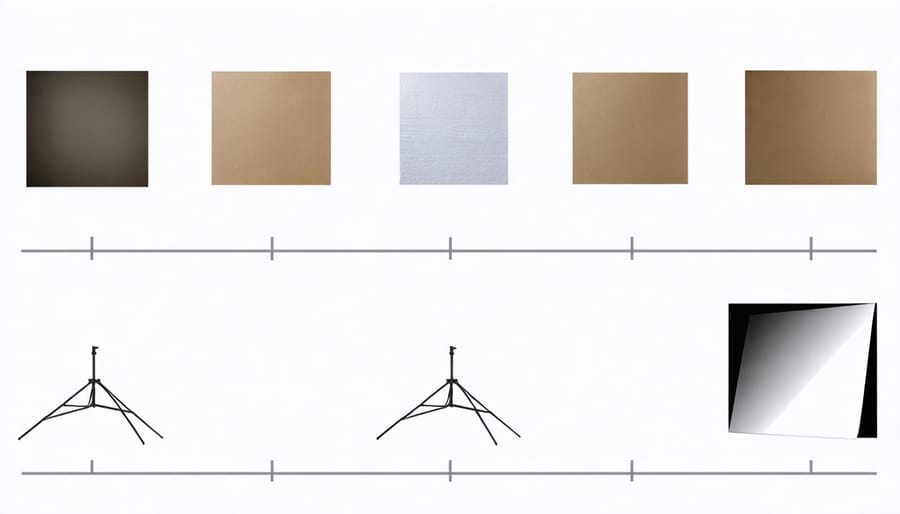
Reflectors are essential and cost-effective tools for bouncing light back onto your subject. A 5-in-1 reflector kit offers multiple surfaces (silver, gold, white, black, and translucent) for various lighting effects and fill light options.
Begin with a softbox or umbrella as your primary modifier, then gradually expand your collection as you develop your style and understand different lighting techniques.
Background Systems
Backdrop Options
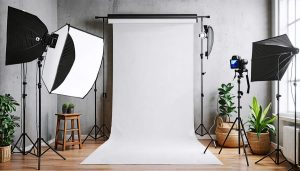
Your backdrop choice can dramatically impact the final look of your photos, and fortunately, there are options for every budget. Seamless paper rolls are a studio staple, offering clean, professional results and coming in various colors. They’re relatively affordable and easy to replace when damaged, making them perfect for beginners. White and black are essential colors to start with, as they provide versatility for different shooting scenarios.
Muslin backdrops offer a softer, more textured look and are washable and reusable. While they can wrinkle easily, these fabric backgrounds are lightweight and portable, ideal for photographers who need to move their setup frequently. For a more premium option, vinyl backdrops provide durability and easy cleaning, though they tend to be more expensive.
Don’t overlook collapsible backgrounds – they’re perfect for tight spaces and on-location shoots. These typically come in solid colors or reversible designs and fold down to a compact size. For budget-conscious photographers, a well-hung bed sheet can serve as a temporary solution, though be mindful of wrinkles and texture in your final images.
When mounting your backdrop, consider investing in a sturdy support system. A basic backdrop stand with spring-loaded clips will secure your background material and prevent sagging or unwanted movement during shoots. Remember to position your backdrop far enough from your subject to avoid casting shadows and creating depth in your images.
Support Systems
A sturdy support system is crucial for securing your photography backgrounds and ensuring they stay wrinkle-free during shoots. The most common and versatile option is a background support stand system, which typically consists of two upright stands and a crossbar. When selecting a system, ensure it can handle the weight of your heaviest backdrop and extends high enough for your needs – most beginners find that a 10-foot width and height is sufficient.
For paper backgrounds, invest in a wall-mounted roller system if you have permanent studio space. This setup saves floor space and allows for smooth transitions between different backdrops. Always use proper backdrop clamps to keep your materials taut and prevent sagging or wrinkling.
When working with muslin or fabric backgrounds, use spring clamps at regular intervals along the crossbar to prevent drooping. For added stability, especially with heavier materials, consider using sandbags or weight bags to anchor the support stands. Position these on the stand legs, ensuring they don’t create tripping hazards.
For seamless paper backgrounds, install a catch system at the bottom to prevent tearing. This can be as simple as using gaffer tape to secure the paper to the floor or investing in proper paper-holding clips. Remember to handle your support system with care during setup and breakdown to prevent damage to both the equipment and your backgrounds.
Essential Props and Accessories
Basic Props
Every photography studio needs a collection of versatile props that can enhance both portrait and product shots. Start with a selection of neutral-colored fabric backdrops – whites, grays, and blacks are essential. These provide clean, professional backgrounds and can be draped or hung in various ways.
For portrait photography, consider investing in simple posing stools or chairs in neutral colors. A full-length mirror not only helps subjects check their appearance but can also create interesting reflective effects in your shots. Keep a collection of basic styling items like hair clips, safety pins, and tape for quick adjustments during shoots.
Product photographers should stock up on acrylic risers and blocks in various sizes. These clear props create the illusion of floating products and add dimension to your compositions. Small mirrors and reflective surfaces can help illuminate products from below or create interesting reflections. White foam boards serve as excellent bounce cards and can also work as temporary backgrounds.
Don’t forget about texture elements – a few pieces of textured fabric, wooden blocks, or stone tiles can add visual interest to your shots. For food photography, basic kitchenware like plain white plates, clear glasses, and neutral placemats are invaluable.
Remember, it’s better to have a few versatile, high-quality props than many cheap, specific-use items. Start with these basics and expand your collection based on your shooting needs.
Studio Tools
Beyond your primary lighting and camera gear, several essential tools will help your studio run smoothly and professionally. A sturdy step ladder is invaluable for adjusting overhead lights and modifiers safely. Keep a collection of spring clamps and A-clamps handy – they’re perfect for securing backdrops, holding reflectors, or managing cables.
Speaking of cable management, invest in quality velcro ties or cable clips to keep your setup tidy and prevent tripping hazards. A reliable surge protector with multiple outlets will protect your equipment and provide convenient power distribution. Don’t forget a basic tool kit containing screwdrivers, pliers, and gaffer tape for quick fixes and adjustments.
Storage solutions are crucial – consider rolling carts for frequently used items and clear bins for organizing smaller accessories like triggers, batteries, and memory cards. A cleaning kit with lens cloths, air blowers, and brushes will help maintain your equipment’s performance.
For client comfort and practical purposes, include a few folding chairs, a full-length mirror, and a small table or workspace. A tablet or laptop stand is useful for tethered shooting and immediate image review. Finally, keep a first-aid kit and emergency contact information readily available – safety should always be a priority in any studio environment.
Remember to label everything clearly and create a designated place for each item. This organization will save you valuable time during shoots and maintain a professional atmosphere.
Basic Studio Configurations
Portrait Setups
When starting with studio portraits, understanding basic portrait lighting patterns is essential. Begin with Rembrandt lighting, which uses a single light source positioned at a 45-degree angle to create a distinctive triangle of light on the subject’s cheek. This classic setup requires minimal equipment while producing professional results.
Loop lighting is another beginner-friendly pattern, achieved by placing your main light slightly above eye level and about 45 degrees to the side. This creates a small shadow under the nose that “loops” down toward the corner of the mouth, offering a natural, flattering look for most faces.
For dramatic portraits, try split lighting by positioning your light source at a 90-degree angle to your subject. This technique divides the face into light and shadow, perfect for creating mood and character in your images.
Butterfly lighting, named for the butterfly-shaped shadow it creates under the nose, is achieved by placing the light directly in front of and above your subject. This setup is particularly flattering for fashion and beauty portraits.
Start with these fundamental patterns using a single light source and a reflector, then gradually experiment with fill lights and additional modifiers as your confidence grows.
Product Photography Layouts
When setting up your first product shots, start with simple, effective layouts that enhance your subject’s appeal. A basic tabletop setup using a swept backdrop creates a clean, professional look. Position your sweep about two feet from the edge of the table, allowing it to curve naturally to eliminate any visible horizon line.
For smaller products, consider creating a light box setup using a collapsible cube with diffusion panels. This provides even illumination and eliminates harsh shadows, making it perfect for e-commerce photography. Your product photography lighting should be positioned at 45-degree angles to minimize reflections and create depth.
Try these three basic arrangements:
1. Single-product centered composition with a clean white background
2. Group shots arranged in a triangle formation for multiple items
3. Layered setup using risers or blocks to create visual hierarchy
Keep props minimal and relevant to your product’s story. Use non-reflective surfaces like matte acrylic or seamless paper as your base. For jewelry and small items, consider using clear acrylic blocks or minimal stands to create floating effects. Remember to maintain consistent spacing between products when shooting multiple items, and always ensure your camera is perfectly level to avoid perspective distortion.
Setting up your first photography studio might seem overwhelming, but remember that it’s a journey that evolves with your skills and needs. By starting with the essentials – proper lighting equipment, a reliable backdrop system, and basic modifiers – you’ve laid the foundation for creating professional-quality images. Don’t feel pressured to acquire everything at once; instead, focus on mastering each piece of equipment as you add it to your arsenal.
As your confidence grows, consider expanding your studio with additional lighting setups, specialized modifiers, and various backdrop options. Pay attention to how different clients and projects influence your equipment needs, and invest accordingly. Remember that even a modest home studio can produce outstanding results when you understand and skillfully use the tools at your disposal.
Keep experimenting with different setups and lighting techniques, and don’t be afraid to push creative boundaries. Document your progress, learn from your mistakes, and celebrate your successes. Join local photography groups or online communities to share experiences and gather insights from fellow photographers.
Most importantly, maintain your workspace’s organization and safety standards as your studio grows. Regular maintenance of your equipment and proper cable management will ensure your studio remains a professional and efficient environment. With dedication and practice, your beginner studio will steadily transform into a versatile space that perfectly serves your photographic vision and client needs.