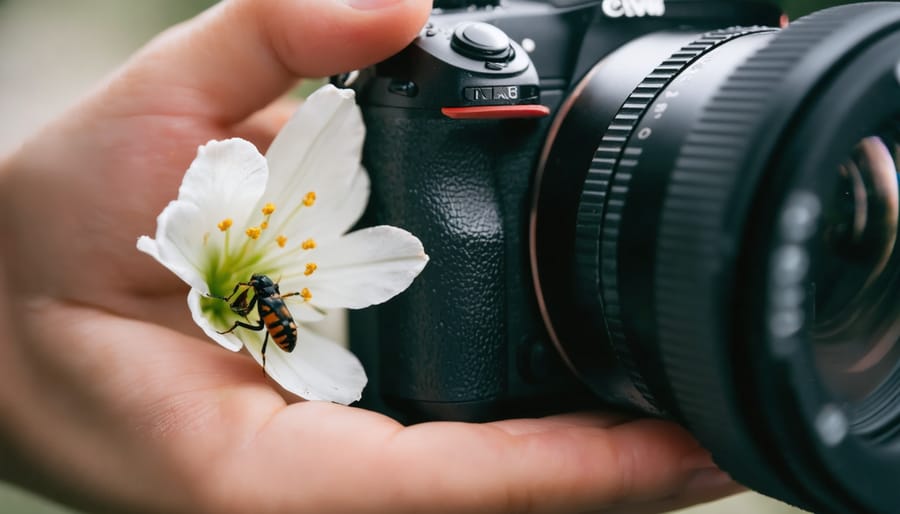
Transform ordinary subjects into stunning close-up photography without investing in expensive macro lenses. Extension tubes—simple, lightweight spacers that mount between your camera and lens—create impressive magnification by increasing the lens-to-sensor distance. These affordable accessories unlock true macro capabilities, allowing focus distances as close as a few centimeters while maintaining image quality and auto-focus functionality.
Professional photographers often reach for extension tubes when specialized macro lenses prove impractical or cost-prohibitive. By combining different tube lengths (typically 12mm, 20mm, and 36mm), photographers gain precise control over magnification ratios while maintaining the optical characteristics of their existing lenses. This versatility makes extension tubes an essential tool for capturing intricate details in nature, product photography, and artistic close-ups.
Unlike close-up filters that add extra glass elements, extension tubes introduce no additional optical surfaces, preserving image clarity and contrast. While they do reduce the amount of light reaching your sensor, modern cameras’ high ISO capabilities easily compensate for this limitation, making extension tubes a practical choice for both studio and field work.
How Extension Tubes Work
The Science Behind Extension Tubes
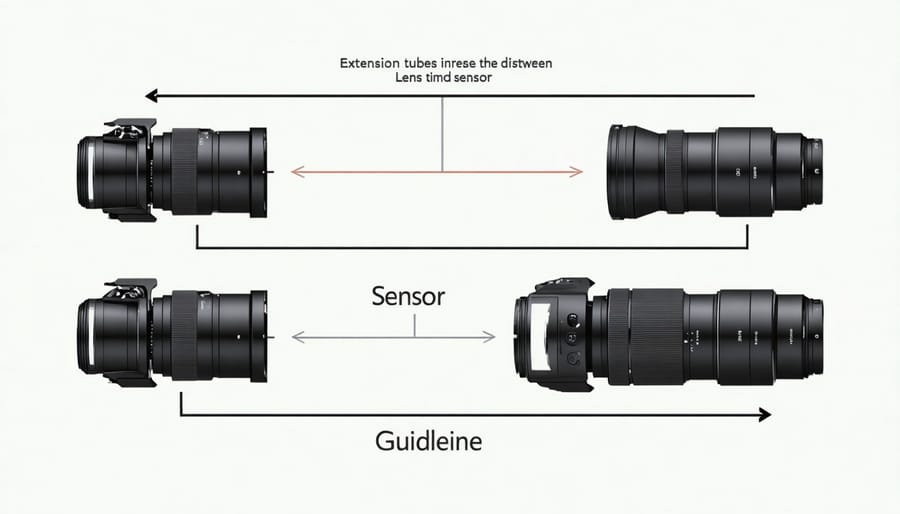
Extension tubes work by increasing the distance between your camera’s sensor and the lens, fundamentally altering the optical formula that determines magnification. When you move a lens farther from the sensor, its minimum focusing distance decreases while its maximum magnification increases. This is because the lens can now focus on subjects closer to its front element.
Think of it like using a magnifying glass: the further you hold it from your eye, the larger objects appear. The same principle applies here, but with precise mechanical spacing. Each millimeter of extension increases magnification by a specific amount, depending on your lens’s focal length. For instance, a 25mm extension tube might provide 0.5x additional magnification with a 50mm lens.
However, this optical advantage comes with a trade-off. As you increase the extension distance, you lose the ability to focus at infinity, and less light reaches your sensor. This is why extension tubes don’t have any glass elements – they’re simply hollow tubes that create space, allowing your existing lens to focus closer and produce larger images of small subjects.
Types of Extension Tubes
Extension tubes come in two main varieties: electronic and manual. Electronic tubes maintain full communication between your camera and lens, allowing you to control aperture and autofocus just as you would normally. These are ideal for modern digital photographers who rely on automatic features and want maximum convenience.
Manual extension tubes, while more affordable, disconnect the electronic communication between camera and lens. This means you’ll need to set the aperture before attaching the tube and focus manually. While this might seem limiting, many macro photographers actually prefer manual focus for precise control over their shots.
Extension tubes typically come in sets of three different lengths: 12mm, 20mm, and 36mm. You can use these individually or stack them together for even greater magnification. A 12mm tube is perfect for beginners, offering subtle magnification without being overwhelming. The 36mm tube provides the most dramatic effect but requires more skill to handle effectively due to the extremely shallow depth of field it creates.
When choosing between types, consider your shooting style and comfort level with manual controls. Electronic tubes offer more flexibility, but manual tubes can be an excellent learning tool while being gentler on your wallet.
Choosing the Right Extension Tubes
Compatibility Considerations
When selecting extension tubes, compatibility is a crucial factor to consider. Most modern extension tubes are designed to work with specific lens mount systems, such as Canon EF, Nikon F, Sony E, or Fujifilm X mounts. It’s essential to choose tubes that match both your camera body and lens mount type.
Electronic connections between your camera and lens are another vital consideration. Higher-quality extension tubes feature electrical contacts that maintain autofocus, aperture control, and image stabilization functions. These electronic connections also enable your camera to record correct EXIF data. Budget-friendly manual extension tubes, while more affordable, sacrifice these electronic capabilities, requiring you to focus manually and adjust aperture settings before mounting the tube.
Some extension tubes may not be compatible with certain lens types, particularly those with protruding rear elements or specific electronic configurations. Wide-angle lenses often pose compatibility challenges, while standard and telephoto lenses typically work well with extension tubes.
Before purchasing, verify that your chosen extension tubes support your specific camera model and the lenses you plan to use. Many manufacturers provide compatibility charts on their websites. Remember that while third-party extension tubes can offer excellent value, they may not always provide the same level of electronic compatibility as brand-name options.
Quality vs. Cost
When it comes to extension tubes, the price range can vary significantly, from $20 budget options to $300 premium sets. But does the cost difference really translate to better image quality? The answer lies in the details.
Budget extension tubes often lack electronic contacts, meaning you’ll lose autofocus and aperture control. While this manual approach can work, it makes focusing significantly more challenging, especially in macro photography where precision is crucial. These cheaper options also typically feature plastic mounts and basic construction, which may develop wobble over time and potentially affect image sharpness.
Premium extension tubes from manufacturers like Kenko or original equipment manufacturers (OEM) maintain full electronic communication with your camera. This means retaining autofocus, aperture control, and lens stabilization – features that can make a substantial difference in achieving sharp macro shots. They also feature metal mounts and superior build quality, ensuring better lens alignment and durability.
However, it’s worth noting that the actual optical quality isn’t affected by the price – extension tubes contain no glass elements. The difference lies in functionality, build quality, and convenience. For beginners or occasional macro shooters, budget options can serve as an excellent starting point. But if macro photography becomes a regular part of your workflow, investing in premium tubes will likely save frustration and provide a more reliable shooting experience.
Practical Usage Tips
Setting Up Your Shot
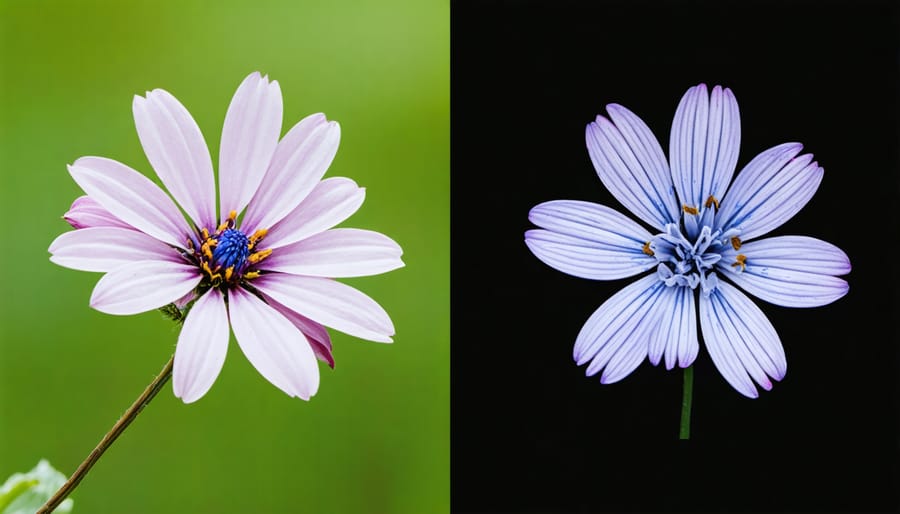
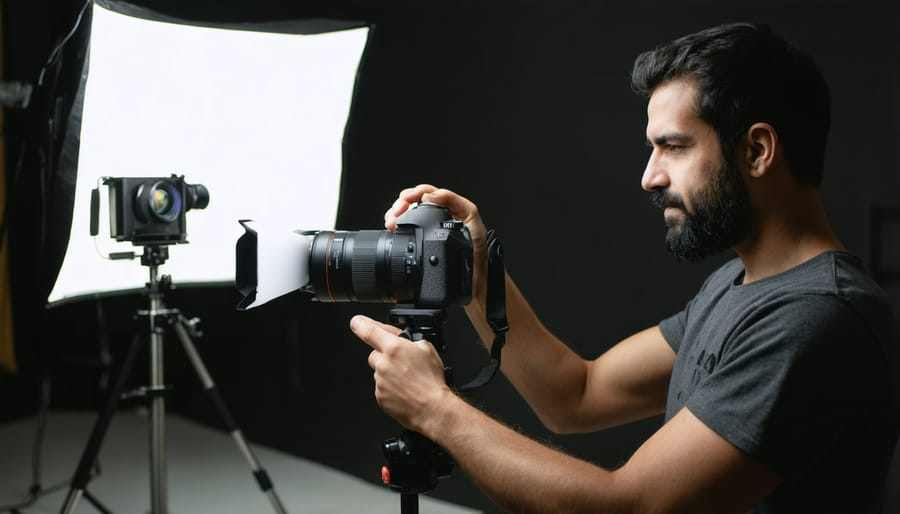
Getting the perfect shot with extension tubes requires careful attention to your camera settings and composition. Start by setting up a stable macro photography setup to minimize camera shake, which becomes more noticeable at higher magnifications.
Begin with manual focus, as autofocus might struggle with the extremely shallow depth of field. Set your aperture between f/8 and f/16 to achieve a workable depth of field – remember, the closer you get to your subject, the shallower this becomes. Keep your ISO as low as possible to maintain image quality, typically starting at ISO 100 or 200.
Position your camera parallel to your subject’s plane to ensure maximum sharpness across the frame. When composing your shot, leave some breathing room around your subject, as the magnification might be stronger than you expect through the viewfinder.
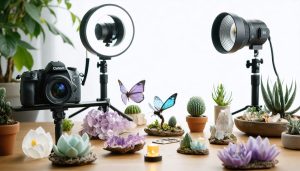
Light becomes crucial at this scale, so consider using artificial lighting or a ring light to illuminate your subject evenly. For handheld shots, use a faster shutter speed (at least 1/250) to combat motion blur. If working on a tripod, you can use slower speeds but remember to disable any image stabilization.
Take test shots and adjust as needed, paying special attention to focus accuracy. Small adjustments in camera position can make a huge difference in macro photography, so be patient and precise with your movements.
Lighting Considerations
When using extension tubes for macro photography, lighting becomes particularly challenging due to two main factors: reduced light transmission and closer working distances. As you extend the lens further from the camera sensor, you’ll notice a significant drop in the amount of light reaching your subject, often requiring compensation through various macro photography lighting techniques.
A ring light can be your best friend in these situations, as it provides even illumination around your subject without casting shadows from your lens. For budget-conscious photographers, a regular speedlight with a diffuser can work wonders, though you’ll need to position it carefully to avoid lens shadow.
Working distance becomes crucial when lighting macro shots with extension tubes. Since you’re typically just inches away from your subject, traditional lighting setups might not fit between your lens and the subject. Consider using small LED panels or flexible fiber optic lights that can squeeze into tight spaces.
Remember to adjust your exposure settings accordingly. You might need to:
– Increase your ISO (while watching for noise)
– Use a wider aperture (though this reduces depth of field)
– Employ a slower shutter speed (with proper stabilization)
– Add artificial lighting to maintain image quality
For moving subjects like insects, flash becomes essential to freeze motion while providing adequate light. A diffused flash helps prevent harsh highlights and maintains natural-looking results.
Common Challenges and Solutions
While extension tubes are fantastic tools for macro photography, they do present some unique challenges. One of the most common issues photographers face is reduced light reaching the sensor. Since extension tubes increase the distance between the lens and camera body, less light makes it through, often requiring slower shutter speeds or higher ISO settings.
Focus accuracy can also be tricky, as the depth of field becomes extremely shallow when using extension tubes. Even the slightest movement can throw your subject out of focus. To combat this, consider using a tripod and working with smaller apertures (f/8 to f/16) to increase depth of field, though this requires even more light compensation.
Another challenge is maintaining proper working distance. Extension tubes bring you very close to your subject, which can be problematic when photographing living subjects like insects or causing unwanted shadows from your camera. Using longer focal length lenses with extension tubes can help maintain a more comfortable working distance.
Image quality might suffer if you’re stacking multiple extension tubes, as this can amplify any optical imperfections. To minimize this, start with a single tube and add more only when necessary. Additionally, auto-focus may become slower or less reliable with extension tubes, so many photographers opt for manual focus for more precise control.
Remember that practice and patience are key to overcoming these challenges. Start with static subjects and good lighting conditions until you become comfortable with the technical demands of extension tube photography.
Extension Tubes vs. Dedicated Macro Lenses
When choosing between extension tubes and dedicated macro lenses, photographers often find themselves weighing various factors. Let’s explore how these two approaches compare to help you make an informed decision for your macro photography journey.
Extension tubes offer a budget-friendly entry point into macro photography, typically costing a fraction of what you’d spend on a dedicated macro lens. They’re also lightweight and portable, making them an excellent choice for photographers who want to experiment with macro without committing to expensive gear. However, they do come with some limitations, particularly in terms of light loss and potential image quality impact.
Dedicated macro lenses, while more expensive, provide superior optical quality and are specifically designed for close-up work. They maintain autofocus capabilities and don’t compromise light transmission, which can be crucial when implementing professional macro photography techniques. They also offer consistent performance across their focusing range and typically include features like image stabilization.
Here’s a practical comparison:
Extension Tubes:
– More affordable
– Lightweight and portable
– Work with existing lenses
– Can achieve higher magnification ratios
– May reduce image quality
– Light loss
– Manual focusing often required
Dedicated Macro Lenses:
– Superior optical quality
– No light loss
– Maintain autofocus
– Built-in features (stabilization, weather sealing)
– Higher cost
– Additional weight in your bag
– Fixed maximum magnification
For beginners or occasional macro shooters, extension tubes provide an excellent starting point. However, if you find yourself frequently shooting macro subjects or requiring consistent professional results, investing in a dedicated macro lens might be worth considering. Many photographers actually use both, combining their benefits for maximum versatility in different shooting situations.
Extension tubes offer an accessible and cost-effective entry point into the fascinating world of macro photography. As we’ve explored throughout this article, these simple yet powerful tools can transform your standard lenses into macro-capable equipment, opening up new creative possibilities without breaking the bank.
Remember that success with extension tubes comes down to understanding a few key principles. Start with a single tube or a basic set, and practice with stationary subjects in well-lit conditions. Pay special attention to your working distance and depth of field, as these are the main challenges you’ll need to master. Manual focus often yields better results, and adding artificial lighting can significantly improve your shots.
For beginners, we recommend starting with shorter extension tubes on longer focal length lenses, as this combination is generally easier to handle. As your confidence grows, experiment with different lens combinations and stacking multiple tubes for greater magnification.
Don’t be discouraged if your first attempts aren’t perfect. Macro photography with extension tubes requires patience and practice, but the results can be truly remarkable. Focus on developing a steady hand, maintaining proper camera settings, and finding interesting subjects in your immediate environment.
Whether you’re photographing flowers, insects, or small everyday objects, extension tubes can help you discover and capture the hidden details of our world in stunning detail. Start small, practice regularly, and watch as your macro photography skills flourish.