By
By 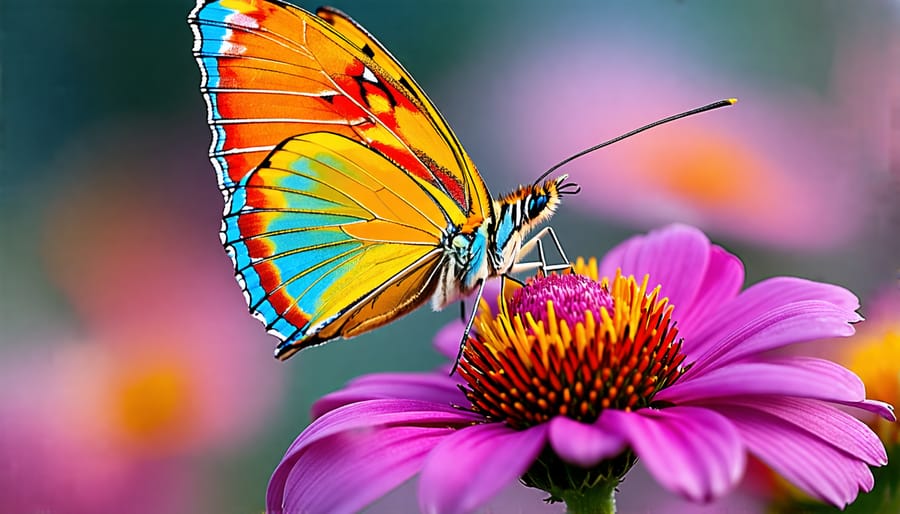
Dive into the miniature world with these macro photography secrets:
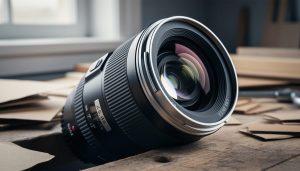
- Invest in a dedicated macro lens with 1:1 magnification for razor-sharp close-ups that reveal intricate details invisible to the naked eye.
- Maximize depth of field by setting a small aperture (f/11-f/22), ensuring your tiny subjects are tack-sharp from front to back – crucial for extreme close-ups.
- Illuminate your micro scenes with diffused off-camera flash or LED light to freeze motion, enhance colors, and avoid the softening effects of natural light.
- Compose for impact by filling the frame, eliminating distractions, and experimenting with angles – get down to your subject’s level for an immersive Bug’s Life perspective.
With these fundamental techniques, you’ll be capturing stunning, larger-than-life images that showcase the breathtaking beauty of the tiny world around us.
Understanding Macro Lenses
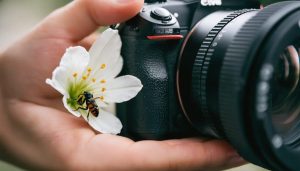
A close-up image of a butterfly on a flower, showcasing the intricate details of its wings and the flower’s petals
A true macro lens is defined by its ability to reproduce subjects at 1:1 magnification or greater. This means the subject appears life-size on your camera’s sensor. When you photograph a 10mm insect with a 1:1 macro lens, that insect projects as 10mm on the sensor itself.
Most zoom lenses marketed with “macro” features only achieve 0.25:1 or 0.5:1 magnification. They’ll get you closer than a standard lens, but they won’t deliver the extreme detail that defines macro photography. Dedicated macro lenses, typically available in focal lengths from 50mm to 180mm, are engineered to focus much closer while maintaining optical quality at near-minimum focus distances.
The working distance between your lens and subject varies with focal length. A 50mm macro lens requires you to get within a few inches of your subject, which works well for stationary objects but can spook insects or block natural light. A 100mm or 180mm macro lens gives you more breathing room, making it easier to light your subject and photograph skittish creatures without disturbing them.
Macro lenses also excel at general photography. Their optical design prioritizes sharpness and minimal distortion, making them fantastic for portraits, product shots, and any situation where fine detail matters. The precise focus control and excellent composition possibilities make them versatile tools beyond close-up work alone.
Types of Macro Lenses
When choosing a macro lens, you’ll find a range of focal lengths available, each producing distinct effects. Shorter focal lengths, like 50mm or 60mm, are lighter and more affordable but require you to get very close to your subject. This can be challenging with skittish insects or when shooting in tight spaces. Mid-range focal lengths around 90mm to 105mm provide a comfortable working distance and are versatile for various subjects. Longer focal lengths, such as 150mm or 180mm, allow you to maintain a greater distance from your subject while still achieving high magnification. These are ideal for photographing wildlife or when you need more space to work with lighting setups. However, longer lenses are heavier, pricier, and may require a tripod for stability. When deciding on a focal length, consider your intended subjects, shooting conditions, and budget. Many photographers start with a 90mm or 105mm lens as a happy medium before specializing in shorter or longer options as their macro interests evolve.
Extension Tubes and Close-Up Filters
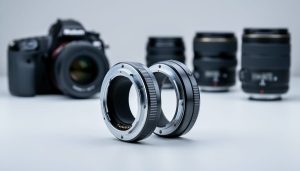
For those on a budget or just starting out in macro photography, extension tubes and close-up filters offer an affordable way to explore this fascinating genre without investing in a dedicated macro lens. Extension tubes are hollow cylindrical spacers that fit between your camera body and an existing lens, effectively increasing the distance between the lens and the sensor. This allows your lens to focus more closely on small subjects, achieving greater magnification. Extension tubes come in various lengths and can be stacked for even higher magnification ratios.
Close-up filters, on the other hand, are essentially magnifying lenses that screw onto the front of your existing lens, similar to attaching a filter. These filters come in different strengths, typically ranging from +1 to +10 diopters, with higher numbers providing greater magnification.
Pros
- Extension tubes maintain excellent image quality since they contain no glass elements.
- Close-up filters are extremely portable and quick to attach or remove in the field.
- Both options cost significantly less than dedicated macro lenses, making them ideal for beginners.
- Extension tubes work with any lens you already own, maximizing your existing gear.
Cons
- Extension tubes reduce the amount of light reaching your sensor, requiring compensation with aperture priority controls depth adjustments or higher ISO.
- Close-up filters can introduce image quality issues like chromatic aberration and reduced sharpness.
- Both accessories limit your focusing range, often eliminating the ability to focus at infinity.
- Stacking multiple extension tubes or filters can amplify optical imperfections and vignetting.
While extension tubes and close-up filters may not match the image quality of a dedicated macro lens, they provide an excellent starting point for experimenting with macro photography and honing your skills before committing to more expensive gear. Once you’ve mastered essential camera settings and understand how to work with shallow depth of field, you’ll be better prepared to evaluate whether a premium macro lens is worth the investment for your photography goals.
Camera Settings for Macro
Setting your camera properly is crucial for capturing stunning macro shots. Start by selecting Aperture Priority mode, which allows you to control depth of field while the camera automatically adjusts shutter speed. For most macro subjects, use a narrow aperture (higher f-number) between f/11 and f/16 to ensure sharpness throughout the frame. In low light, you may need to open up the aperture to maintain a fast enough shutter speed and avoid blur from camera shake or subject movement.
Speaking of camera settings, keep ISO as low as possible (100-400) for the cleanest images. Only raise it if you require faster shutter speeds and can’t adjust aperture or add more light. For handheld shots, aim for a shutter speed of at least 1/200th or 1/250th of a second. Use a tripod whenever possible to stabilize your camera and allow for slower speeds.
Autofocus can struggle with close-up subjects, so switch to manual focus for full control. Live View mode on a DSLR or mirrorless camera helps you nail focus precisely. Magnify the preview image and carefully adjust until key details are tack-sharp.
Some cameras offer focus bracketing or focus stacking modes. These capture multiple shots at slightly different focus distances, which you can merge in post for extraordinary depth of field – a lifesaver when you need both foreground and background in focus.
Lastly, consider back-button focus to separate autofocus activation from the shutter button. This lets you lock focus with AF, then fine-tune manually as needed without worrying about refocusing when you snap the photo. With practice, these techniques will become second nature, empowering your macro photography.
Lighting Your Macro Shots
Natural Light
When shooting macro outdoors, natural light is often the most accessible and versatile option. Position your subject to avoid harsh shadows, aiming for soft, even lighting. Backlighting can create a beautiful glow around translucent subjects like leaves or flower petals. Experiment with side lighting to emphasize texture and depth.
Diffusers, like a scrim or even a thin white cloth, can soften harsh sunlight. Alternatively, try shooting in the shade for a naturally diffused effect. Early morning and late afternoon offer warm, directional light that’s perfect for macro.
Pay attention to the background, ensuring it complements your subject without distracting from it. A shallow depth of field can blur busy backgrounds, keeping the focus on your macro subject.
When there’s a breeze, use a faster shutter speed to freeze motion and prevent blur. With practice, you’ll learn to harness natural light to create stunning, eye-catching macro images.
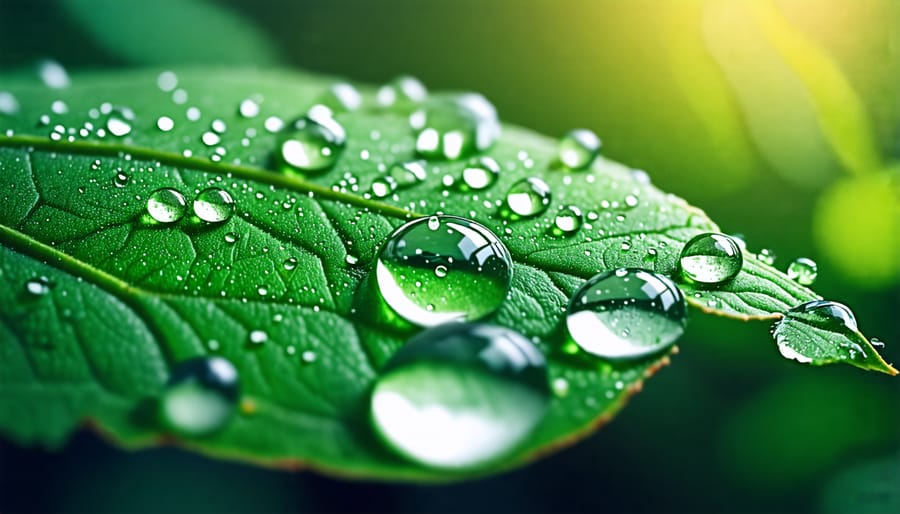
- Golden hour (early morning and late afternoon) provides warm, directional light with long, flattering shadows
- Overcast days deliver naturally diffused, even illumination that eliminates harsh contrast
- Avoiding harsh midday sun prevents blown highlights and overly dark shadows
- Using open shade offers consistent, soft light without direct sun
Flash and Diffusers
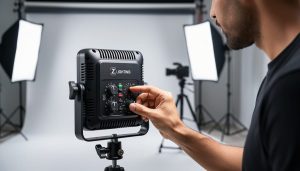
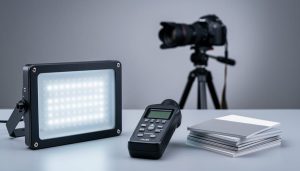
When working with tiny subjects, lighting can be a challenge. A dedicated macro flash or ring light attached to your lens provides even, shadowless illumination. Experiment with flash power and positioning to highlight textures and colors without harsh shadows.
For a softer, more natural look, use diffusers to soften the flash output. Simple DIY options include a small softbox made from white paper or a ping pong ball cut in half placed over the flash. Commercial diffusers designed for macro photography are also available.
When using off-camera flash, position the light at an angle to create depth and dimension. A small reflector or white card can bounce light back into shadows for more balanced exposure. With patience and practice, you’ll learn to control light to create stunning, well-lit macro images that reveal your tiny subject’s intricate details.
Composition and Creativity
When it comes to creating captivating macro photographs, composition techniques play a crucial role. One effective approach is to use the rule of thirds, dividing your frame into a 3×3 grid and placing your subject at the intersections or along the lines. This creates a more balanced and dynamic image. Another tip is to experiment with different angles—get down low, shoot from above, or tilt your camera for a unique perspective.
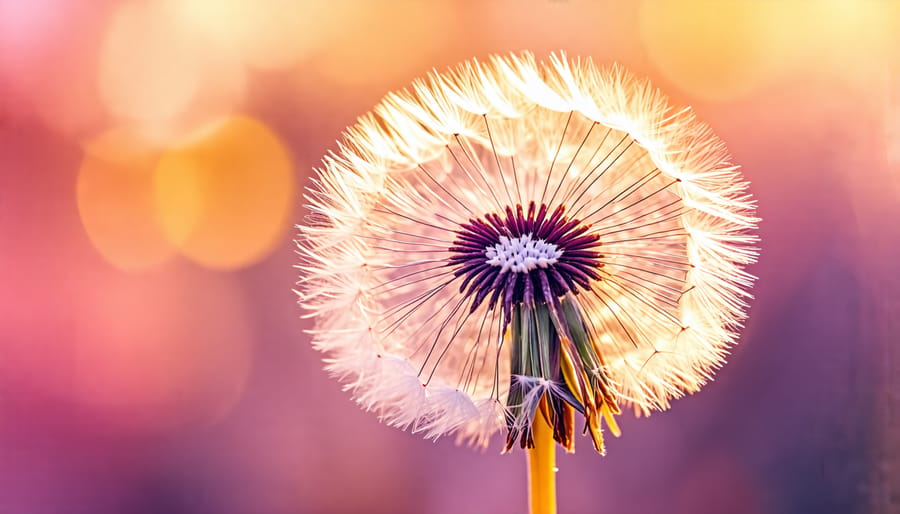
Simplifying your composition by eliminating distracting background elements can also make your subject stand out. Try using a wide aperture to blur the background and isolate your subject. Leading lines, such as stems or petals, can guide the viewer’s eye through the frame and toward your focal point.
Don’t be afraid to get creative with your macro shots! Try capturing water droplets on leaves or petals for interesting textures and reflections. Experiment with backlighting to create a glowing effect or to highlight translucent subjects. You can also tell a story by showcasing your subject in its natural environment, such as an insect on a flower or a dewdrop on a spider web. Macro photography opens up a world of artistic possibilities—let your imagination run wild!
Remember, practice makes perfect. Take lots of shots, experiment with different settings and compositions, and don’t be discouraged if your first attempts aren’t perfect. With time and experience, you’ll develop an eye for captivating macro compositions that showcase the beauty of the tiny world around us.
Conclusion
In conclusion, macro photography opens up a fascinating world of tiny details and hidden beauty that often goes unnoticed by the naked eye. By understanding the basic concepts, choosing the right equipment, and mastering essential techniques like lighting and composition, you can create stunning close-up images that showcase the intricacies of nature, everyday objects, or even abstract patterns.
Remember, the key to success in macro photography is experimentation and practice. Don’t be afraid to try different angles, settings, and subjects to find what works best for you. With patience and persistence, you’ll develop your own unique style and vision for capturing the miniature world around you.
The possibilities in macro photography are truly endless. From the delicate petals of a flower to the intricate details of an insect’s wing, there’s always something new and exciting to discover through your lens. So grab your camera, dive into the world of close-up photography, and let your creativity run wild. Who knows what incredible images you’ll capture next?
Happy shooting, and may your journey into the captivating realm of macro photography be filled with wonder, learning, and breathtaking visuals that showcase the extraordinary beauty of the ordinary.

 By
By