Specialized Photography Techniques

Advanced and specific photography methods for various situations and subjects

Prepping a Car for a Photo Shoot: Why Ceramic-Coated Finishes Photograph Better

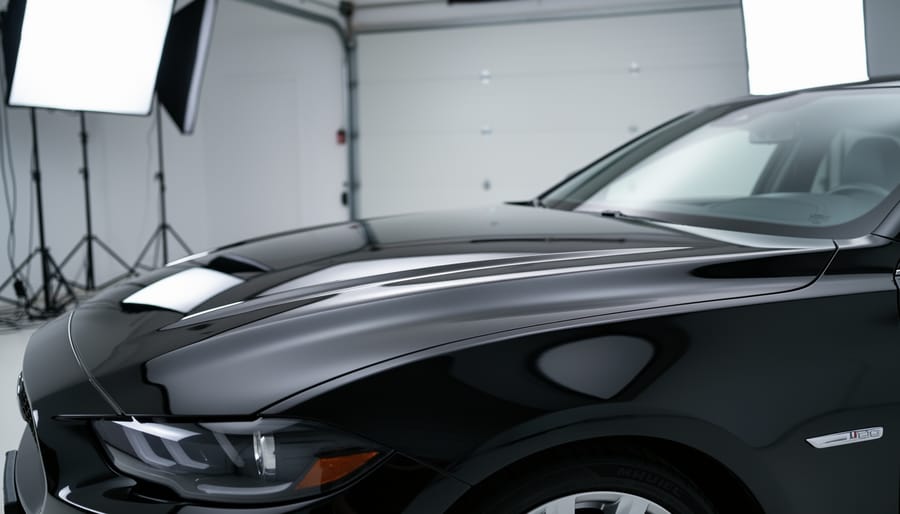
Prepping a ceramic-coated car for a photo shoot requires three essential steps: thorough decontamination, proper lighting assessment, and strategic reflection management. The entire process takes about two to three hours and delivers a mirror-like finish that photographs dramatically better than traditional wax or sealant finishes. The difference isn’t subtle. Ceramic coatings create a glass-like surface that amplifies depth, color saturation, and clarity in ways that transform automotive photography from good to exceptional.
The science behind this visual impact lies in the coating’s hydrophobic properties and uniform …
Guide to Urban Skyline Vantage Points Near You: Top Spots, Practical Information, and Local Tips

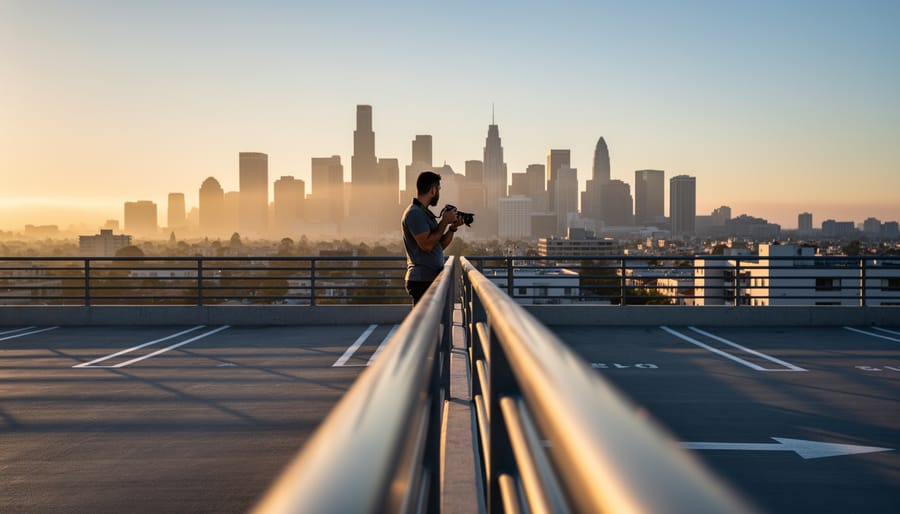
Finding exceptional skyline shots in your city doesn’t require a helicopter or access to the tallest building downtown. You need seven types of vantage points that most photographers overlook: parking garages with open upper decks, pedestrian bridges over highways, hilltop parks away from the tourist zones, riverfront piers that jut into the water, hotel rooftop bars where the cost of entry is a drink, elevated train platforms with unobstructed sightlines, and museum or university terraces that open at specific hours. Each offers a different perspective on the same skyline, and most are free or nearly free to access.
The …

Why One Light Is All You Need for Stunning Portrait Photography

Position your single light source 45 degrees to your subject’s face and slightly above eye level to create the foundational Rembrandt lighting pattern—recognizable by the small triangle of light beneath the shadowed eye. Master feathering by angling your light so the edge of the beam, rather than its center, illuminates your subject, producing softer transitions and more dimensional skin tones. Control the shadow intensity using a reflector on the opposite side of your light source, bouncing fill light back into darker areas to achieve ratios ranging from dramatic 4:1 splits to gentle 2:1 portraits. Experiment with light-to-subject…

Three Places Where Your Camera Can Actually Save Wildlife

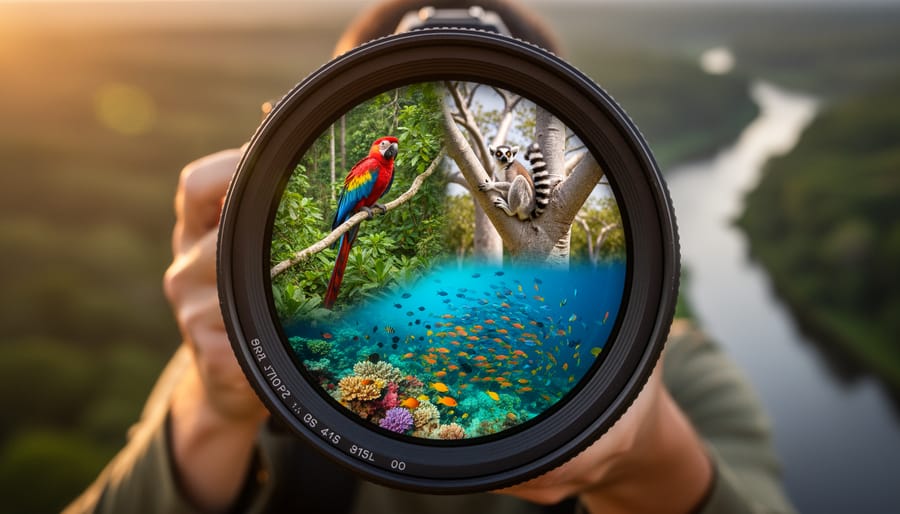
The planet’s most biodiverse regions are disappearing at an unprecedented rate, and photographers hold a unique power to document these vanishing ecosystems before they’re lost forever. Your images can become powerful conservation tools, influencing policy decisions, raising public awareness, and generating funding for protection efforts. But capturing these fragile environments requires more than technical skill—it demands an understanding of where to go, what makes each location ecologically significant, and how to photograph responsibly without causing harm.
Biodiversity hotspots represent just 2.4% of Earth’s…

Why Deep Space Astrophotography Is Harder Than You Think (And How to Master It)

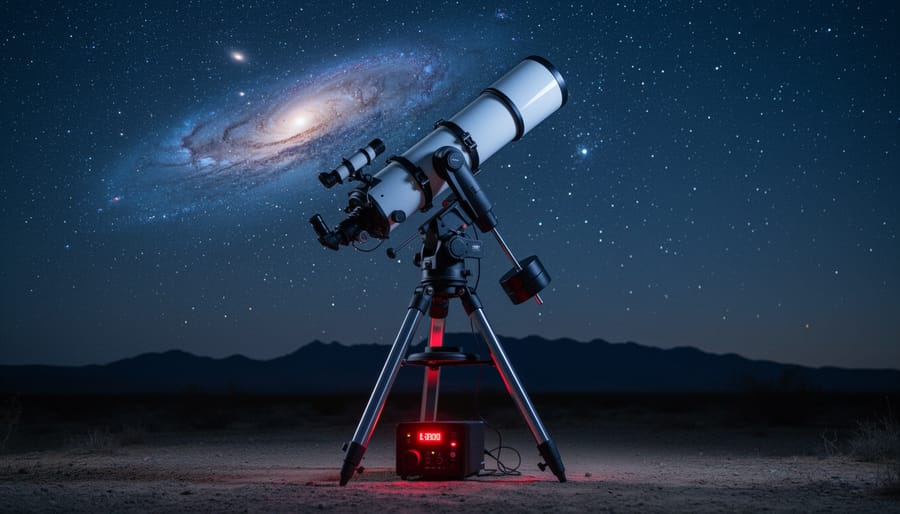
Point your telescope-mounted camera at a galaxy millions of light-years away, and you’ll quickly discover that night sky photography basics won’t cut it anymore. Deep space astrophotography demands a fundamental shift in both equipment and technique—you’re no longer capturing the Milky Way arching over a landscape, but instead revealing celestial objects so faint that a single exposure captures almost nothing visible.
Invest in an equatorial mount that tracks the sky’s …

Your DSLR Can Capture Deep Space Tonight (Here’s Exactly How)

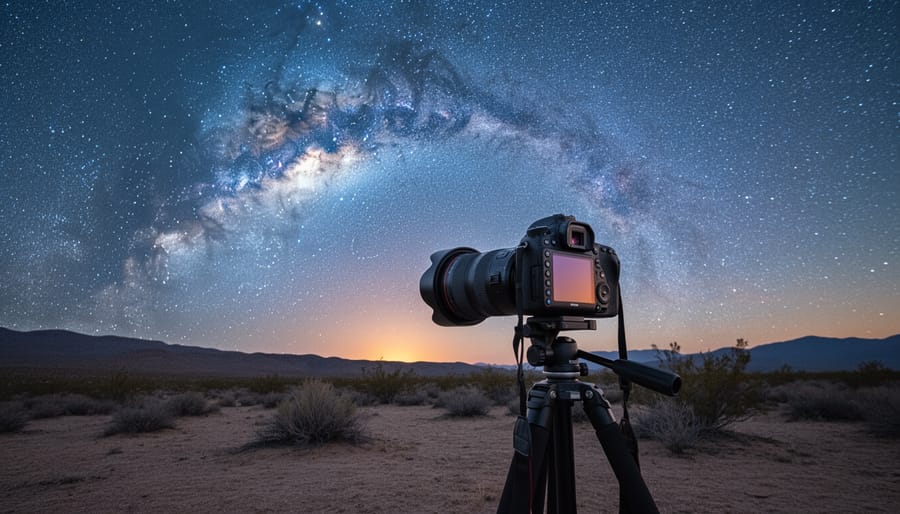
Point your DSLR at the Milky Way tonight—you already own the most important piece of equipment for capturing stunning astrophotography. That camera body sitting in your bag, whether it’s an entry-level Canon Rebel or a professional full-frame model, is perfectly capable of photographing stars, nebulae, and galaxies when paired with the right accessories and settings. The difference between a disappointing black frame and a breathtaking star field isn’t expensive gear—it’s understanding what your DSLR needs to gather light efficiently in near-total darkness.
Mount your camera on a sturdy tripod, attach a fast …

Transform Your Home Into a Minimalist Photography Studio

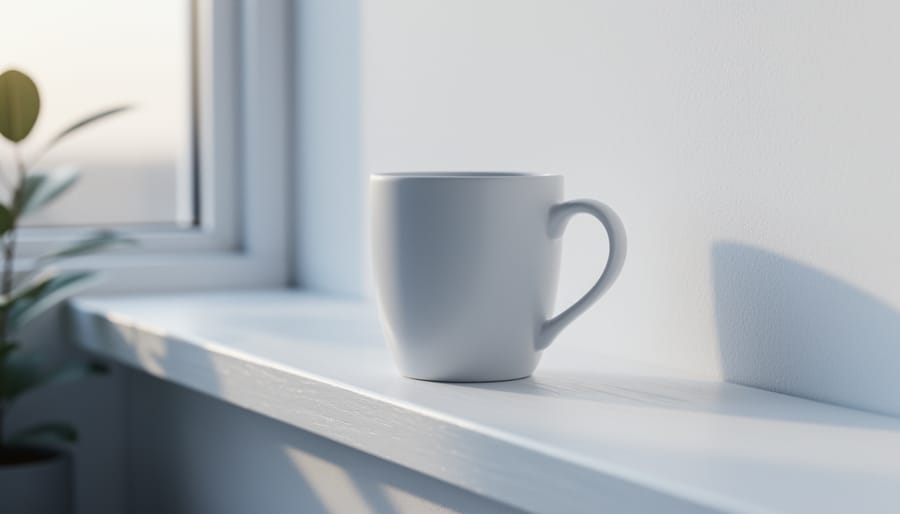
Transform your living space into a minimalist photography studio by clearing a single surface—a windowsill, kitchen counter, or bedside table—and photographing one object against a plain backdrop. This immediate exercise reveals the core principle of minimalist photography: less visual information creates more emotional impact.
Your home already contains everything needed for compelling minimalist images. The soft, directional light filtering through bathroom windows at dawn eliminates harsh shadows that distract from your subject. White walls, bed sheets, or even poster board positioned behind simple objects like coffee cups, …

Why Your Flash Photos Look Better When You Take It Off the Camera

Position your flash anywhere beyond your camera’s hot shoe, and you’ve unlocked the single most transformative technique in modern photography. Off-camera flash separates adequate snapshots from compelling images by giving you complete control over light direction, quality, and mood—something your pop-up flash or on-camera speedlight can never achieve.
The difference is dramatic and immediate. Instead of that flat, harsh light that screams “amateur snapshot,” you can sculpt dimension across a portrait subject’s face, eliminate unflattering shadows under the eyes, or replicate the soft window light of …

How Photographers Are Tracking Climate Change One Shot at a Time

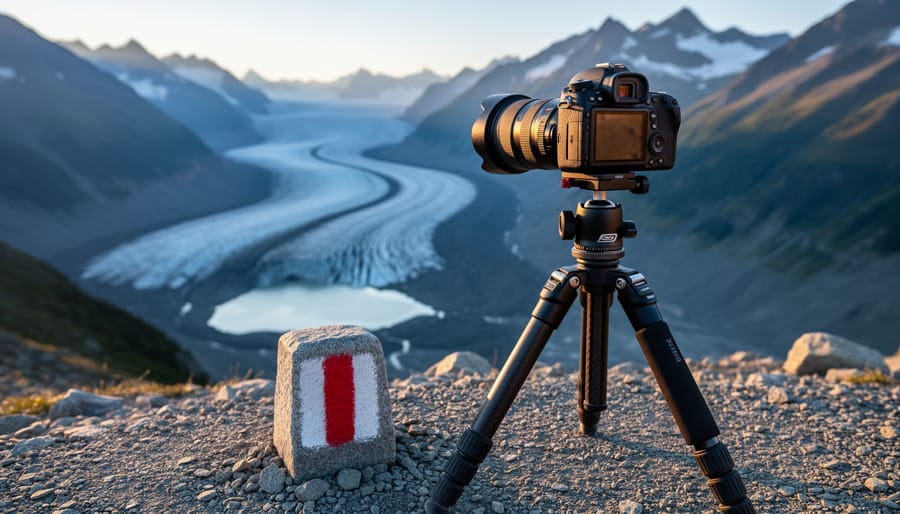
Imagine returning to the exact same spot year after year, camera in hand, capturing the identical frame as glaciers shrink, forests regenerate, or coastlines reshape before your lens. This is photo monitoring—a deceptively simple technique that transforms ordinary photography into a powerful scientific tool for documenting environmental change.
The concept is straightforward: photograph a location from a precise position, then return periodically to capture the same scene using identical framing and camera settings. What emerges is a visual timeline that reveals transformations invisible to casual observation. A single photograph …

Why Your Ocean Photos Look Dull (And How to Fix Them Underwater)

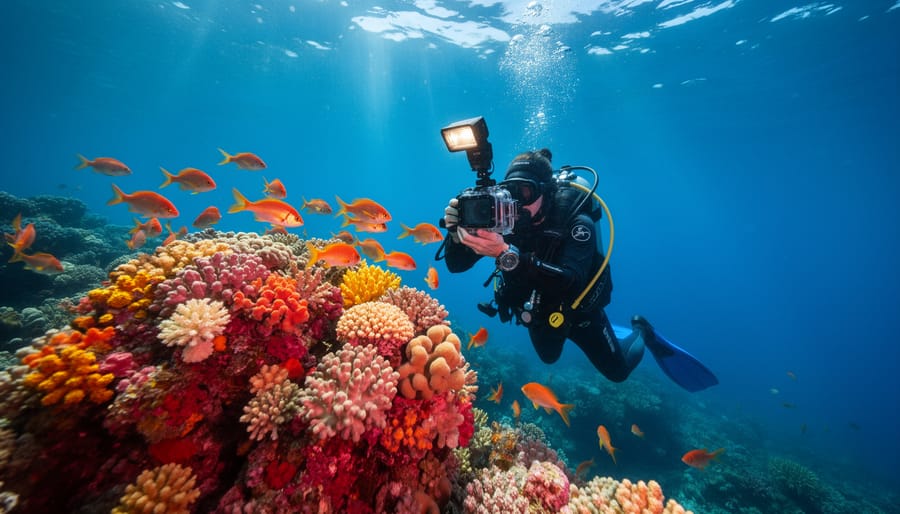
Descend below the surface with your camera in proper housing rated for your maximum diving depth, ensuring all O-rings are cleaned and properly sealed before each dive. Position yourself slightly below your subject and shoot upward whenever possible—this technique captures the magical interplay of natural light filtering through the water column while creating dramatic silhouettes and preventing the common mistake of photographing subjects against monotonous, darker backgrounds.
Shoot in RAW format exclusively and set your white balance to a custom underwater preset or around 5500-6500K, as water absorbs red wavelengths within the…