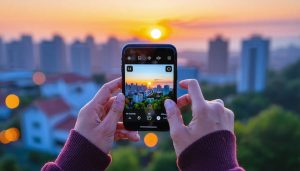
Transform your smartphone’s professional video camera capabilities into a powerful storytelling tool with proven techniques used by content creators worldwide. Master mobile videography without expensive gear or complex training – your pocket already holds everything needed to capture stunning footage. Whether you’re creating content for social media, documenting life’s precious moments, or launching a video-based business, these fundamental tips will elevate your mobile filming from shaky amateur clips to polished, professional-looking videos. From basic stability techniques to advanced composition strategies, we’ll explore practical methods that deliver immediate results using the device you already own. Get ready to unlock your smartphone’s full potential and join millions of creators who are revolutionizing digital storytelling through mobile videography.
Master Your Phone’s Video Settings
Resolution and Frame Rate
Choosing the right resolution and frame rate is crucial for creating professional-looking mobile videos. For most social media content, shooting in 1080p (Full HD) at 30fps provides an excellent balance between quality and file size. However, if you’re planning to showcase your work on larger screens or want more flexibility in post-production, consider recording in 4K when available.
Frame rate matters significantly depending on your content type. For regular scenes and interviews, stick to 30fps for natural-looking motion. If you’re capturing fast action or sports, bump up to 60fps for smoother movement. Some phones also offer 24fps, which gives your footage a more cinematic feel, perfect for narrative-style videos.
Keep in mind that higher resolutions and frame rates consume more storage space and battery life. A practical approach is to match your settings to your end goal: use 4K/30fps for professional projects, 1080p/60fps for action sequences, and 1080p/30fps for everyday social media content. Always test your chosen settings before important shoots to ensure your phone can handle extended recording sessions without overheating or running out of storage.
Manual Controls
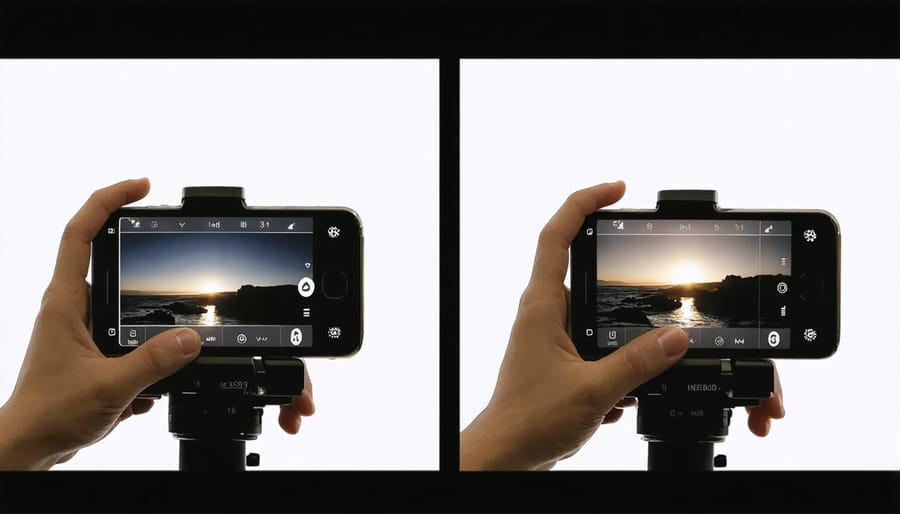
Understanding manual controls is one of the most crucial essential camera features for creating professional-looking videos on your smartphone. Start by mastering exposure controls – adjust your ISO and shutter speed to achieve the perfect brightness balance. In low light, increase ISO but be mindful of noise, while in bright conditions, faster shutter speeds can prevent overexposure.
Focus control is equally important. While auto-focus works well in many situations, manual focus gives you precise control over your subject. Tap and hold on your subject to lock focus, or use your phone’s manual focus slider for more refined adjustments. This is particularly useful when filming moving subjects or creating dramatic focus transitions.
White balance affects how colors appear in your footage. Though auto white balance is convenient, learning to set it manually ensures consistent color temperature throughout your shots. Most smartphone camera apps offer presets like “daylight” or “tungsten,” or allow you to set a custom white balance using a white reference point.
Remember to lock these settings once you’ve achieved your desired look to prevent unwanted automatic adjustments during recording.
Stabilization Techniques That Work
Built-in Stabilization Features
Modern smartphones come equipped with impressive built-in stabilization features that can significantly improve your video quality. Most devices utilize both optical image stabilization (OIS) and electronic image stabilization (EIS) to combat camera shake and deliver smoother footage.
To make the most of these features, start by enabling your phone’s built-in stabilization in your camera settings. Many phones offer different stabilization modes, such as “Standard” and “Cinematic” or “Ultra-steady.” Standard mode works well for everyday shots, while more intensive modes are perfect for action sequences or walking shots.
When filming, keep your stabilization mode in mind. Ultra-steady modes often crop in slightly on your image, so frame your shots accordingly. Hold your phone with both hands, keeping your elbows tucked close to your body for additional stability. For even better results, try to move smoothly and deliberately, avoiding sudden jerky movements that even the best stabilization can’t fully correct.
Remember that while these features are powerful, they work best in good lighting conditions. In low light, some stabilization modes might introduce subtle artifacts or slight blur, so test different settings before your actual shoot.
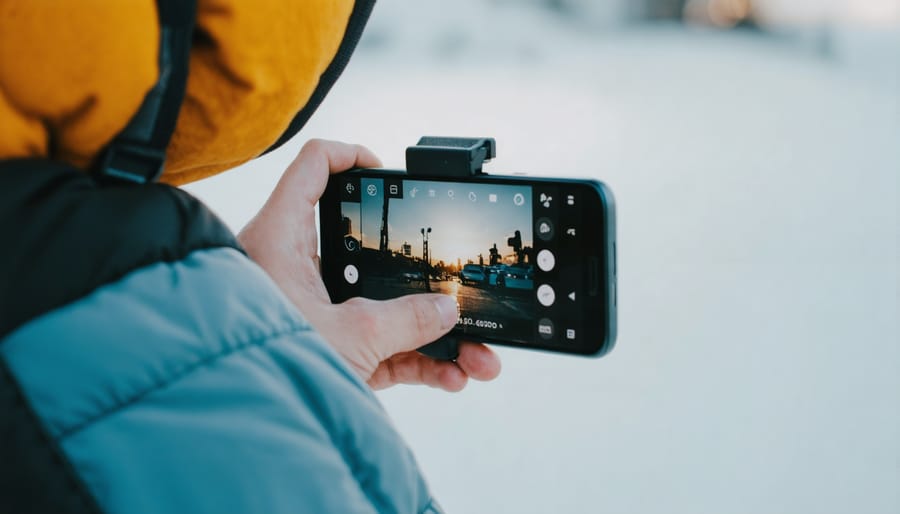
Hand-holding Techniques
Steady hands are crucial for professional-looking mobile videos, and you don’t always need expensive stabilization equipment to achieve smooth shots. Start by creating a stable foundation with your body: keep your elbows tucked close to your sides and hold your smartphone with both hands. This natural “human tripod” position significantly reduces shake.
When walking, bend your knees slightly and move with gentle, fluid steps. Think of yourself as a steady-cam operator – keep your upper body relaxed but stable while your legs absorb the movement. For static shots, try the wall technique: lean against a solid surface for added stability while filming.
Another effective method is the “breath control” technique used by professional photographers. Take a deep breath, then start recording while slowly exhaling. This natural process helps minimize body movement. For longer shots, try creating a makeshift stabilizer by pressing your elbows against your chest while holding the phone.
Remember to avoid sudden movements and always move your phone slowly and deliberately. When possible, use physical contact points like tables, chairs, or railings to create additional stability points for your shots.
Lighting Like a Pro
Natural Light Mastery
Natural light is your smartphone’s best friend when it comes to creating stunning videos. The golden hours – just after sunrise and before sunset – offer warm, directional light that can transform ordinary scenes into cinematic masterpieces. During these times, position your subject facing the sun for a beautiful front-lit glow, or capture them from the side for dramatic shadows and depth.
When shooting in harsh midday sun, seek out shade to avoid unflattering shadows and overexposed highlights. Trees, buildings, or even a simple diffuser can create soft, even lighting that’s perfect for interviews or detailed shots. If you must shoot in direct sunlight, try positioning your subject with the sun behind them and use your phone’s HDR mode to balance exposure.
Cloudy days provide naturally diffused light that’s ideal for consistent, professional-looking footage. Take advantage of these conditions for longer shooting sessions without worrying about changing light conditions. When indoors, position your subject near windows to harness natural light, but avoid direct sunlight streaming through glass, as it can create harsh contrasts.
Remember to lock your exposure by tapping and holding on your subject in your camera app, preventing unwanted brightness fluctuations as you move.
Indoor Lighting Solutions
Don’t let poor indoor lighting ruin your mobile videos! You can create professional-looking lighting setups using everyday household items. Start by positioning yourself near a window to harness natural light, ideally during the golden hours of early morning or late afternoon. If direct sunlight is too harsh, diffuse it by hanging a white sheet or curtain sheer over the window.
For evening shoots, create a DIY lighting setup using desk lamps or floor lamps you already own. Position one main light at a 45-degree angle to your subject, and use a second lamp on the opposite side to fill in shadows. No professional lights? No problem! A plain white piece of paper or foam board can work wonders as a reflector, bouncing light back onto your subject to eliminate harsh shadows.
For a softer look, diffuse artificial light by covering lamps with parchment paper (keeping it away from the bulb for safety) or bouncing the light off a white wall. Remember to maintain consistent lighting throughout your shot by turning off any overhead lights that might create conflicting color temperatures. These simple techniques can transform your indoor videos from dark and grainy to bright and professional-looking.
Composition Rules That Matter
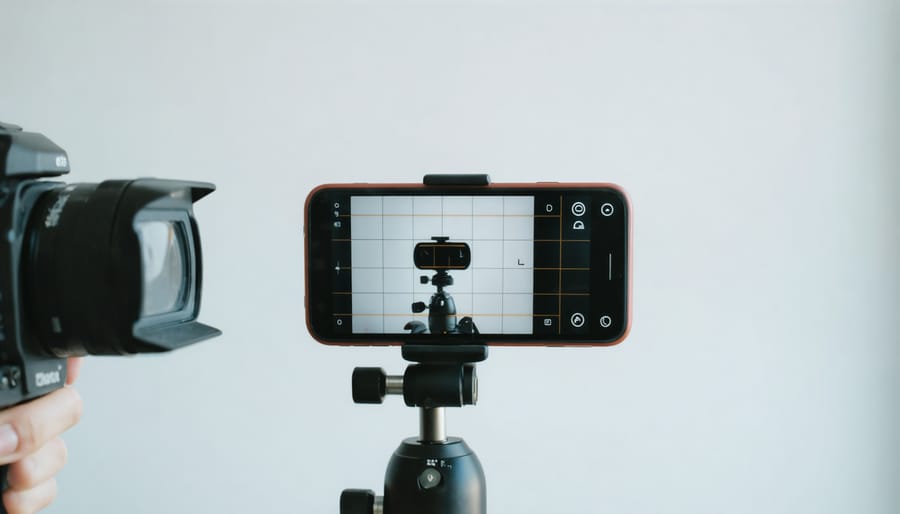
Rule of Thirds in Motion
The Rule of Thirds remains one of the most powerful composition techniques in visual arts, and it’s especially impactful in mobile videography. Imagine your phone screen divided into a 3×3 grid by two horizontal and two vertical lines. The key points where these lines intersect are your power points – perfect for positioning important subjects.
When filming with your smartphone, try to align significant elements along these lines or at their intersections. For example, if you’re recording a person walking, position them along one of the vertical lines rather than dead center. For landscape shots, align the horizon with either the top or bottom horizontal line instead of splitting the frame in half.
The beauty of the Rule of Thirds in motion is that it creates dynamic, engaging footage. As subjects move through your frame, guide them through these power points to maintain visual interest. Most smartphone cameras offer a grid overlay option in their settings – turn this on to help you compose your shots until it becomes second nature. Remember, while rules are made to be broken, mastering this fundamental principle will dramatically improve your mobile video compositions.
Leading Lines and Movement
Leading lines are powerful compositional tools that can transform your mobile videos from static recordings into dynamic visual narratives. When filming, look for natural lines in your environment – roads, hallways, fences, or even tree branches – that can guide your viewer’s eyes through the frame. Try positioning these lines so they lead toward your main subject or create a sense of depth.
Movement can be created in two ways: by following these leading lines with your camera or by using them to frame moving subjects. For instance, when filming someone walking down a corridor, position yourself so the walls create converging lines that draw attention to your subject. Remember to keep your movements smooth – use both hands to hold your phone and walk heel-to-toe when moving.
Urban environments are particularly rich in leading lines. Try experimenting with architectural features like staircases, building edges, or subway platforms. For added drama, combine leading lines with the “rule of thirds” by placing your subject at the intersection points where these lines meet your frame’s thirds.
A simple yet effective technique is to start your shot focused on a leading line, then slowly pan or track along it to reveal your subject. This creates anticipation and keeps viewers engaged throughout your sequence.
Audio Excellence
Built-in Mic Optimization
While your smartphone’s built-in microphone might not match professional audio equipment, you can significantly improve your sound quality with a few simple techniques. First, always check for any debris or dust blocking your phone’s microphone ports and gently clean them if necessary.
When recording, position yourself within 3-6 feet of your subject for optimal audio capture. Shield your microphone from wind by using your body as a natural windbreak or creating a DIY wind barrier with a small piece of microfiber cloth. In windy conditions, try recording with your phone’s microphone facing away from the wind direction.
Monitor audio levels by using headphones while recording whenever possible. Most phones automatically adjust audio levels, but you can often prevent distortion by maintaining some distance from very loud sounds. For interviews or dialogue, choose quieter locations and position your subject closer to the phone than any background noise sources.
Remember to tap your screen gently when adjusting focus or composition during recording to avoid handling noise. If you’re narrating, speak clearly and slightly louder than your normal speaking voice without shouting.
External Audio Options
While your smartphone’s built-in microphone can capture basic audio, investing in an external microphone can dramatically improve your video’s sound quality without breaking the bank. The Rode VideoMic Me-L is an excellent entry-level option that connects directly to your phone and provides crisp, directional audio for around $80. For budget-conscious creators, the Boya BY-M1 lavalier microphone offers impressive quality at under $20.
If you’re recording interviews or vlogs, consider a dual wireless lavalier microphone system like the RØDE Wireless GO II. Though pricier, it allows you to record two subjects simultaneously with professional-grade audio. For versatility, the Shure MV88+ Video Kit includes a digital stereo condenser microphone that works great for both close-up and ambient sound recording.
Don’t forget about windscreens and furry wind muffs – these inexpensive accessories can eliminate wind noise when shooting outdoors. Even a basic foam windscreen for $5-10 can make a noticeable difference in your audio quality. Remember, clear audio is just as important as good visuals in creating engaging mobile video content.
Essential Filming Techniques
Basic Camera Movements
Mastering basic camera movements is essential for creating professional-looking mobile videos. Start with the pan, where you smoothly move your phone horizontally from left to right (or vice versa). Keep your movements slow and steady, taking about 5-8 seconds to complete the motion. For best results, pivot from your hips rather than just moving your arms.
The tilt is similar to panning but involves moving your phone vertically. Whether tilting up or down, maintain the same slow, controlled pace. Practice keeping your elbows close to your body for added stability.
Tracking shots involve moving alongside or toward/away from your subject. Walk smoothly with bent knees, almost as if you’re stalking, to minimize camera shake. Try walking backward while filming someone approaching – just ensure you have a clear path!
For all these movements, imagine your phone is floating on water – any sudden motion will create ripples. Using both hands to hold your device and keeping your movements fluid will dramatically improve your footage quality. Consider using your body as a natural stabilizer by bracing your elbows against your torso.
Shot Variety
Varying your shot types is crucial for creating engaging mobile videos that keep viewers interested. Start with the basic wide shot to establish your scene and give viewers context. Then, move in closer with medium shots to show more detail and create a sense of intimacy with your subject.
Don’t forget to capture close-up shots, which are perfect for highlighting specific details or emotions. Mix in some low-angle shots to make subjects appear more powerful or dramatic, and high-angle shots to provide an overview or make subjects appear smaller.
Try incorporating movement with tracking shots (walking alongside your subject) or panning shots (rotating your phone horizontally). The rule of thirds still applies in video – position key elements at the intersection points of an imaginary 3×3 grid for more compelling compositions.
For added visual interest, experiment with Dutch angles (tilting your phone slightly) and point-of-view shots that show the scene from your subject’s perspective. Remember to hold each shot for at least 10 seconds to give yourself plenty of editing flexibility later.
Simple Editing Tips
Even with minimal experience, you can create polished videos using basic mobile editing techniques and free apps. Start by trimming unnecessary footage from the beginning and end of your clips – this simple step instantly makes your videos look more professional. Most built-in phone editors offer this basic function.
For smooth transitions between scenes, try using simple fade-ins and fade-outs. These classic transitions work well for most situations and won’t make your video look overly edited. Apps like InShot and VivaVideo offer these effects for free.
Color correction is another essential step. Look for basic adjustment tools like brightness, contrast, and saturation. Don’t go overboard – subtle tweaks often work best. If your footage is too dark or too bright, gradually adjust the exposure until it looks natural.
Adding music can transform your video, but be mindful of copyright issues. Many editing apps provide royalty-free music libraries. Keep the volume balanced – your background music shouldn’t overpower any dialogue or natural sounds.
Finally, experiment with text overlays for titles or captions. Choose readable fonts and keep text on screen long enough for viewers to read comfortably. Remember to maintain consistent styling throughout your video for a cohesive look.
Start with these fundamentals before moving on to more advanced techniques. As you become comfortable with basic editing, you can gradually explore more sophisticated features and effects.
Mastering mobile videography doesn’t happen overnight, but with these beginner-friendly camera tips, you’re well on your way to creating compelling videos with your smartphone. Remember to always stabilize your shots, pay attention to lighting, and maintain clean composition. Practice implementing the rule of thirds, experimenting with different angles, and capturing smooth movements. Don’t be afraid to try new techniques and learn from your mistakes – every professional started as a beginner. The beauty of mobile videography lies in its accessibility and the ability to carry your creative tool everywhere. Start small, focus on one technique at a time, and gradually build your skills. With dedication and regular practice, you’ll soon notice a significant improvement in your video quality and storytelling abilities.