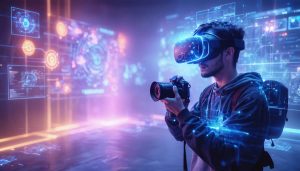
Transform your standard webcam into a professional-grade motion capture system using breakthrough computer vision algorithms and affordable software solutions. Modern webcam-based motion tracking now rivals expensive dedicated hardware, enabling creators to produce immersive VR experiences and sophisticated animation from their home studio.
By leveraging deep learning models and real-time skeletal tracking, today’s webcam motion capture achieves sub-millimeter precision while handling complex movements, multiple subjects, and challenging lighting conditions. Whether you’re an indie game developer, virtual photographer, or content creator, this accessible technology opens up new creative possibilities without the five-figure investment traditionally required for professional motion capture.
This guide explores the latest webcam-based tracking solutions, essential setup considerations, and practical workflows to help you capture clean, usable motion data. From optimizing your camera placement to processing raw captures into polished animations, you’ll learn how to overcome common technical hurdles and achieve professional-quality results using equipment you likely already own.
How Webcam Motion Capture Actually Works
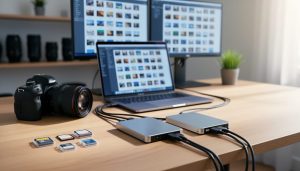
Essential Hardware Requirements
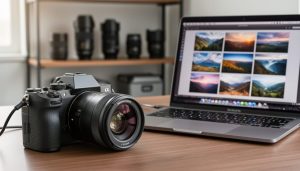
To achieve reliable motion capture with a webcam, you’ll need hardware that meets specific quality standards. A high-definition webcam capable of at least 720p resolution is essential, though 1080p is recommended for better tracking accuracy. Look for cameras that offer a minimum frame rate of 30fps, with 60fps being ideal for capturing smooth motion.
The webcam’s field of view (FOV) is crucial – aim for one with at least 78 degrees FOV to capture a sufficiently wide area for movement. Auto-focus capabilities can be helpful, but make sure the camera allows manual focus control to prevent unwanted focus hunting during recording.
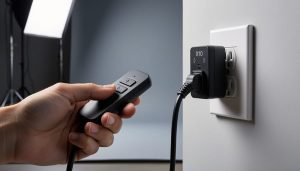
Lighting plays a vital role in successful motion capture. You’ll need consistent, even illumination – preferably two or three soft LED lights positioned strategically to eliminate harsh shadows. Avoid fluorescent lights that can cause flickering in your footage. The room should be well-lit but not overly bright, as excessive light can wash out tracking markers.
For optimal results, consider a webcam with good low-light performance and manual exposure controls. This allows you to fine-tune the image quality based on your specific setup and lighting conditions.
Software Solutions for Webcam Motion Capture
Several software solutions make webcam motion capture accessible to creators at various skill levels. Adobe Character Animator stands out as a popular choice, offering real-time facial tracking and animation capabilities through your webcam. It’s particularly useful for creating animated characters that mirror your movements and expressions.
For full-body motion capture, iPi Soft’s iPi Recorder works well with standard webcams, though it performs better with depth-sensing cameras. It offers a free version that’s perfect for beginners to experiment with basic motion tracking.
OpenCV, an open-source computer vision library, provides a foundation for developers to build custom motion capture applications. While it requires programming knowledge, it offers unlimited possibilities for customization and specific use cases.
For those interested in VR integration, Driver4VR enables users to create full-body tracking using multiple webcams. This budget-friendly solution has become popular among VR enthusiasts looking to enhance their virtual presence.
Newer options like MediaPipe offer free, ready-to-use motion tracking solutions that work directly through web browsers. These tools are particularly useful for quick prototyping or simple tracking needs.
When choosing software, consider factors like:
– Required tracking precision
– Real-time vs. post-processing needs
– Available computing power
– Budget constraints
– Integration requirements with other tools
Most solutions offer free trials or basic versions, making it easy to test different options before committing to one that best suits your needs.
Setting Up Your Webcam Motion Capture System
Optimal Camera Placement
Getting your webcam placement right is crucial for successful motion capture. The ideal setup starts with positioning your camera at a height between 6 and 7 feet, angled slightly downward to capture your full range of motion. This height provides the best perspective for tracking movement while minimizing potential blind spots.
For optimal results, ensure your camera has a clear, unobstructed view of your performance space. The recording area should be well-lit with consistent, even lighting – natural daylight or diffused artificial lighting works best. Avoid backlighting or strong directional lights that can create shadows and interfere with motion tracking.
Distance matters too. Position your webcam about 8-12 feet away from your performance area, depending on the space you need to move in. This distance allows the camera to capture your full body while maintaining enough detail for accurate tracking. If you’re working with multiple cameras, maintain at least a 60-degree angle between them for better coverage and depth perception.
Consider the background as well. A plain, contrasting wall works best – avoid patterns or reflective surfaces that might confuse the tracking software. If possible, use a slightly darker background than your subject to improve tracking accuracy.
Remember to secure your camera mount firmly – any camera shake can disrupt the motion capture data. Use a sturdy tripod or wall mount, and always double-check the stability before starting your session.
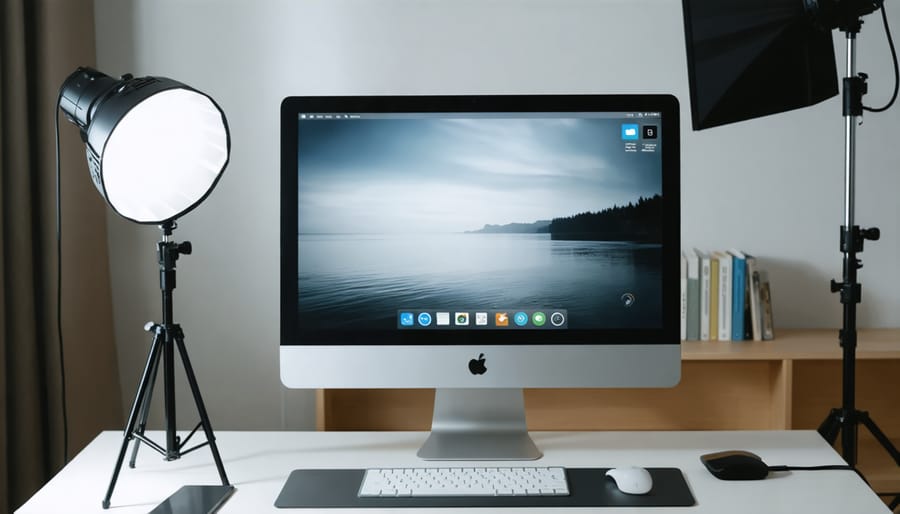
Lighting Configuration
Proper lighting is crucial for accurate motion capture with a webcam. Unlike professional motion capture setups, webcams rely heavily on an optimal lighting configuration to track movement effectively.
Start by eliminating harsh shadows and creating even illumination across your capture space. Position two soft light sources at 45-degree angles to your subject, ensuring they’re slightly elevated to minimize ground shadows. LED panels work well for this purpose, as they produce consistent, flicker-free light that won’t interfere with your webcam’s frame rate.
Avoid backlighting at all costs, as it can create silhouettes that make tracking difficult. Instead, consider adding a subtle fill light behind the camera to eliminate any remaining shadows on your subject. The goal is to create enough contrast for the tracking software to identify movement while maintaining even illumination.
Pay attention to ambient light sources like windows, which can introduce inconsistent lighting throughout the day. Use blackout curtains or schedule your capture sessions when natural light remains constant. If you’re using tracking markers, ensure they’re well-lit but not reflecting light directly into the camera, as this can cause tracking errors.
Remember to test your lighting setup with your tracking software before beginning a session. Look for areas where markers or points of interest become difficult to track and adjust your lights accordingly.
Integration with VR Photography
Creating Interactive VR Experiences
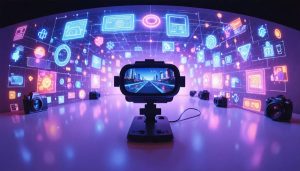
Creating immersive VR experiences with webcam-based motion capture opens up exciting possibilities for photographers and content creators. By combining traditional VR photography techniques with motion data, you can develop interactive environments that respond to viewer movements and gestures.
Start by mapping your captured motion data to specific trigger points within your VR environment. For example, you might set hand movements to control virtual camera positions or create gesture-based navigation through your photo spheres. Many photographers find success using Unity or Unreal Engine to implement these interactive elements, as these platforms offer robust VR development tools.
Consider creating hotspots within your VR space that activate when viewers perform specific movements. These can reveal hidden details, trigger transitions between scenes, or display additional information about the captured environment. The key is to make these interactions feel natural and intuitive.
Layer your motion-triggered elements carefully to avoid overwhelming viewers. A good rule of thumb is to implement no more than three or four interactive elements per scene. This keeps the experience engaging while maintaining usability.
Remember to test your interactive elements thoroughly with different users. What feels natural to you might not be intuitive to others. Pay special attention to the responsiveness of your motion triggers – there should be minimal lag between user movements and the corresponding actions in the VR environment.
For best results, consider implementing a brief tutorial sequence that demonstrates the available interactions. This helps viewers understand how to navigate and engage with your VR experience effectively, ensuring they don’t miss any of the interactive elements you’ve carefully crafted.

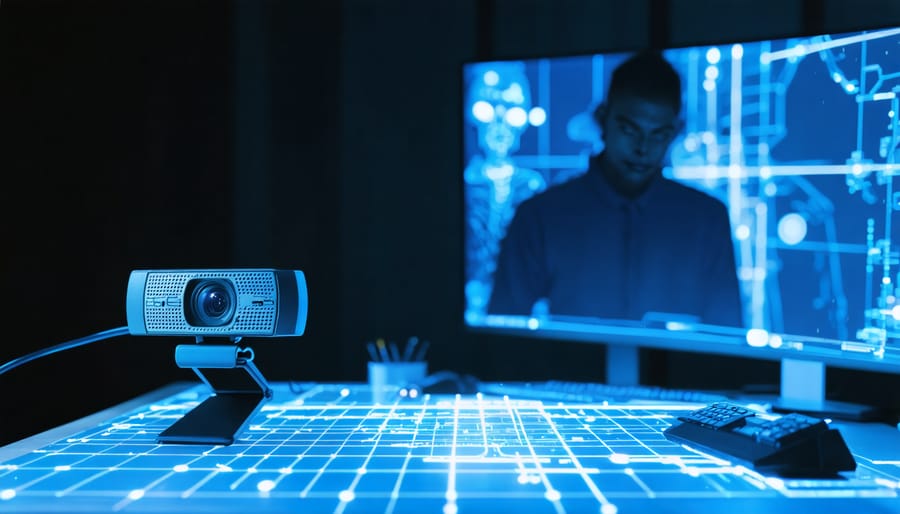
Real-time Motion Tracking Applications
Real-time motion tracking with webcams has revolutionized virtual reality photography sessions, offering photographers innovative ways to capture and create immersive content. By tracking subjects’ movements through webcam feeds, photographers can now seamlessly blend physical gestures with virtual environments, creating dynamic and interactive photo experiences.
In portrait photography sessions, motion tracking enables photographers to preview poses and compositions in real-time, with virtual overlays guiding both photographer and subject. This technology proves particularly valuable when shooting against green screens, as photographers can see their subjects composited into virtual backgrounds instantly, allowing for precise positioning and more efficient shoots.
Virtual reality headset integration takes this capability further, enabling photographers to walk through virtual sets while directing subjects. Using webcam tracking, photographers can maintain awareness of their physical space while immersed in the virtual environment, preventing accidents and ensuring smooth operation of equipment.
For product photography, motion tracking facilitates 360-degree capture sequences by guiding the photographer’s movements around objects with virtual markers and guidelines. This ensures consistent spacing and angles throughout the rotation, resulting in professional-quality virtual product displays.
The technology also enhances remote photography sessions, where photographers can direct poses and compositions through virtual avatars, making distance collaboration more intuitive and effective. This application has become increasingly valuable for international clients and socially distanced shoots.
Common Challenges and Solutions
Tracking Accuracy Issues
Achieving precise tracking with webcam-based motion capture can be challenging, but several proven techniques can significantly improve your results. Start by ensuring your lighting is consistent and well-distributed across your capture space. Harsh shadows or bright spots can confuse tracking algorithms, leading to jittery or inaccurate movement detection.
Position your webcam strategically, ideally at a height and angle that captures your full range of motion without obstruction. A common mistake is placing the camera too close, which can result in tracking loss when movements extend beyond the frame. Aim for a distance that allows about 20% buffer space around your expected movement area.
Consider your background carefully – a plain, contrasting color works best. Busy patterns or moving elements in the background can interfere with tracking accuracy. If possible, use markers or high-contrast points on your body or props to give the software clear reference points to follow.
Frame rate and resolution also play crucial roles in tracking precision. While most webcams default to 30fps, some models offer 60fps options, which can capture faster movements more accurately. Always check that your computer can process the higher data stream without dropping frames, as this can cause tracking inconsistencies.
Remember to calibrate your setup regularly, especially if lighting conditions change throughout the day. Most motion capture software includes calibration tools – use them before each session for optimal results.
Performance Optimization
Getting the most out of your webcam motion capture setup requires careful attention to performance optimization. Start by ensuring your computer meets the minimum processing requirements – a modern multi-core CPU and at least 8GB of RAM will help maintain smooth operation.
Reduce background processes and close unnecessary applications while running your motion capture software. This frees up system resources and helps minimize latency. Consider adjusting your capture resolution – while higher resolutions provide more detail, they also demand more processing power. A resolution of 720p often provides the sweet spot between quality and performance.
Lighting plays a crucial role in tracking accuracy. Set up consistent, diffused lighting to minimize shadows and ensure your subject remains clearly visible. Avoid backlighting and rapidly changing light conditions that can confuse tracking algorithms.
Frame rate stability is essential for smooth motion capture. Lock your webcam to a consistent frame rate (30fps is typically sufficient) rather than allowing it to fluctuate automatically. If you’re experiencing stuttering, try reducing the tracking points or simplifying the capture area.
Network optimization is vital when streaming motion capture data. Use a wired connection whenever possible, and if wireless is necessary, ensure you’re on a 5GHz network with minimal interference. Consider implementing frame buffering to smooth out any network hiccups, but be mindful that this introduces slight additional latency.
These optimizations will help you achieve more reliable and responsive motion capture results with your webcam setup.
As we’ve explored throughout this article, webcam motion capture represents an exciting frontier in the evolution of virtual reality photography. By leveraging readily available hardware and increasingly sophisticated software solutions, photographers can now create immersive experiences that were once possible only with expensive specialized equipment.
The accessibility of webcam-based motion capture opens up countless creative possibilities for both hobbyists and professionals. From creating interactive virtual galleries to developing dynamic photo-based VR experiences, the technology continues to push the boundaries of traditional photography. When combined with AI-enhanced VR photography, these capabilities become even more powerful, offering unprecedented levels of interactivity and realism.
Looking ahead, we can expect to see continued improvements in webcam tracking accuracy, reduced latency, and more seamless integration with popular photography and VR platforms. The democratization of motion capture technology through webcams is not just a temporary trend – it’s a fundamental shift in how we approach visual storytelling and interactive photography.
Whether you’re just starting to experiment with VR photography or looking to enhance your existing workflow, webcam motion capture provides an accessible entry point into this exciting field. As the technology continues to mature, we’ll undoubtedly see even more innovative applications that push the boundaries of what’s possible in virtual reality photography.