Master your camera’s manual settings by starting with one variable at a time – adjust only shutter speed while keeping ISO and aperture fixed, then practice with each setting individually. When you’re ready to break free from auto mode, understanding this methodical approach makes the transition less overwhelming.
Frame your manual journey through real-world scenarios rather than technical specs. Shoot the same scene at different shutter speeds to capture water’s motion, experiment with aperture depths in portrait photography, or test ISO performance in low-light environments. These practical exercises build muscle memory and creative confidence.
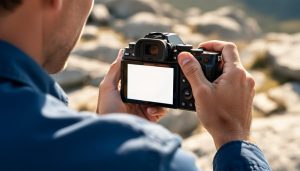
Start with predictable, well-lit environments where you can take time to analyze your results. A stationary subject in consistent natural light provides the perfect laboratory for understanding exposure relationships. Review your LCD screen after each adjustment, noting how changes affect your image’s brightness, depth, and overall quality.
Manual photography isn’t about perfectly technical settings – it’s about intentional creative choices. Learn to anticipate light conditions, pre-visualize your shots, and adjust quickly in dynamic situations. This mindset shift transforms manual mode from a technical challenge into a powerful tool for artistic expression.
Understanding the Exposure Triangle
Aperture: Controlling Depth and Light
Aperture, measured in f-stops, is one of the most powerful creative tools in photography. Think of it as your camera’s pupil – the wider it opens (lower f-number like f/1.8), the more light enters and the shallower your depth of field becomes. Conversely, a smaller aperture (higher f-number like f/16) lets in less light but keeps more of your scene in focus.
Understanding f-stops is simpler than it seems. Each full stop (like f/2.8 to f/4) halves the amount of light entering your camera. This relationship directly affects your creative choices. Want to blur the background in portraits? Open up to f/1.8 or f/2.8. Need everything sharp in a landscape? Stop down to f/11 or f/16.
The magic of aperture lies in its ability to isolate subjects. For food photography, try f/2.8 to draw attention to specific elements while softly blurring others. When shooting architecture, f/8 or higher ensures crisp details throughout your frame. Remember that extremely wide apertures can be challenging to focus precisely, so start around f/2.8 and experiment as your confidence grows.
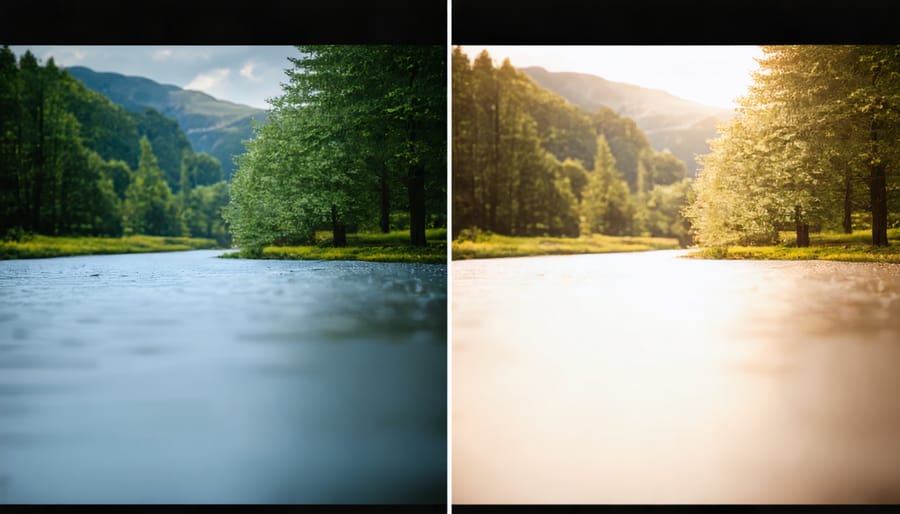
Practice by photographing the same subject at different f-stops to see how depth of field changes. This hands-on experience will help you instinctively choose the right aperture for your creative vision.
Shutter Speed: Freezing or Flowing
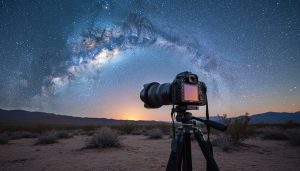
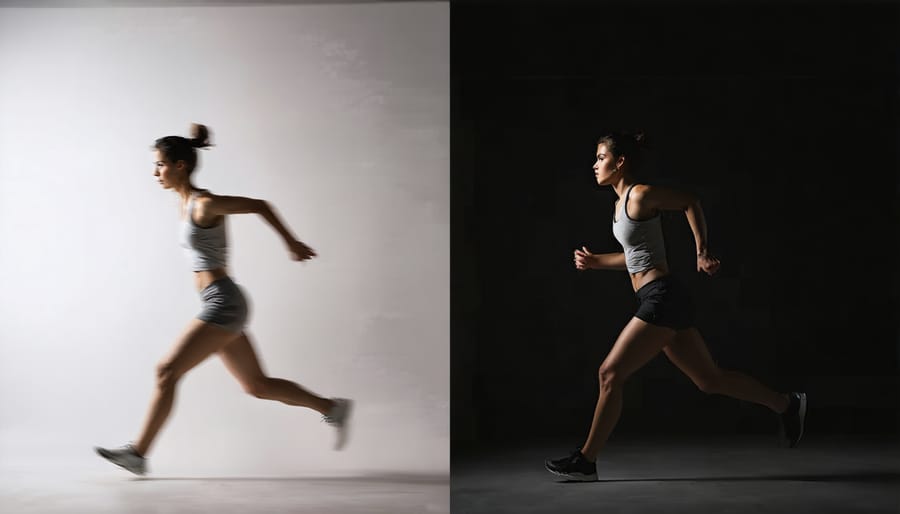
Shutter speed is your creative tool for controlling motion in your images. Fast shutter speeds, like 1/1000th of a second or quicker, freeze action in its tracks – perfect for capturing birds in flight, sports moments, or water droplets suspended in mid-air. Think of it as pressing pause on a video at exactly the right moment.
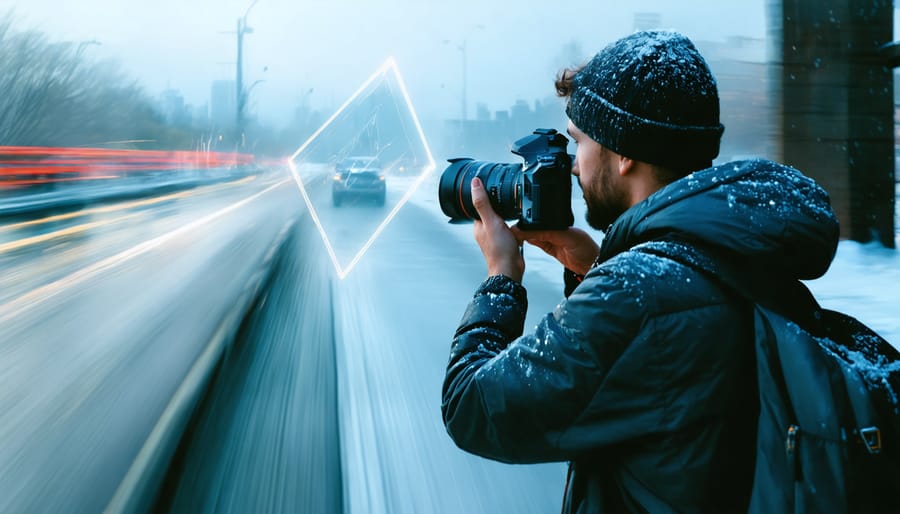
On the flip side, slower shutter speeds create beautiful motion effects. Try setting your camera to 1/15th of a second or slower to transform flowing water into silky streams or capture light trails from passing cars at night. For these longer exposures, a tripod is essential to keep the non-moving elements sharp while allowing the motion to blur intentionally.
Here’s a practical tip: match your shutter speed to your subject’s movement. For running children or pets, start with 1/250th of a second. For waterfalls, experiment with 1-2 seconds. The key is understanding that there’s no “wrong” choice – it’s about the story you want to tell. Are you freezing a decisive moment or showing the flow of time through motion blur?
Remember, when shooting handheld, keep your shutter speed at least as fast as 1/focal length to avoid camera shake. For instance, with a 50mm lens, aim for at least 1/50th second.
ISO: Finding the Sweet Spot
ISO is your camera’s sensitivity to light, and finding the right balance is crucial for achieving clean, professional-looking images. Think of ISO as an amplifier: the higher you go, the brighter your image becomes, but at the cost of introducing digital noise – those grainy specks that can make your photos look less sharp.
Start with the lowest native ISO (typically 100) in well-lit conditions. This setting delivers the cleanest images with maximum detail. When light becomes scarce, gradually increase your ISO, but be mindful of your camera’s “sweet spot” – the highest ISO setting before noise becomes problematic.
Modern cameras handle high ISOs better than ever, but each model has its limits. Test your camera by taking the same shot at different ISO values to learn where noise becomes unacceptable. Remember, some noise is better than a blurry photo, so don’t be afraid to push your ISO when necessary to maintain a proper exposure.
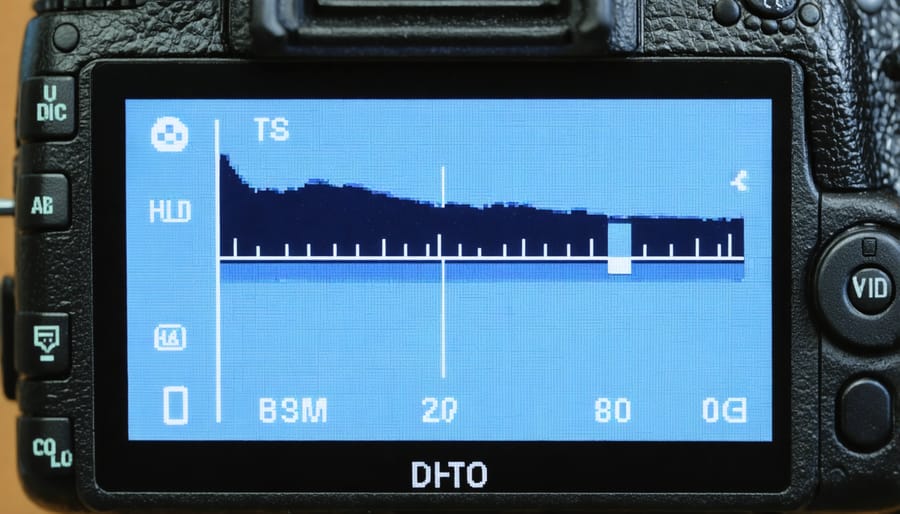
Reading Your Camera’s Light Meter
Your camera’s light meter is like a trusted advisor in mastering light in photography, helping you achieve proper exposure in manual mode. Most modern cameras display the meter as a scale, typically ranging from -3 to +3, with zero representing what the camera considers “correct” exposure.
Think of this scale as a balancing act. When the indicator sits at zero, your exposure settings (aperture, shutter speed, and ISO) work together to create a properly exposed image. If the indicator moves toward the positive side, you’re letting in too much light, resulting in overexposure. Conversely, if it shifts toward the negative, you’re not letting in enough light, leading to underexposure.
To read your meter effectively, start by pointing your camera at your subject and half-pressing the shutter button. Watch how the meter responds as you adjust your exposure settings. For instance, if you’re photographing a sunset and the meter shows +2, you might need to use a faster shutter speed or smaller aperture to bring the indicator closer to zero.
However, remember that your light meter isn’t infallible. It assumes everything should be exposed as middle gray, which isn’t always ideal. For example, when photographing snow, the meter will typically underexpose the scene, trying to make the white snow appear gray. In such situations, you’ll want to intentionally “overexpose” according to the meter to capture the scene’s true brightness.
A helpful practice exercise is to photograph a simple object under consistent lighting. Adjust your settings to move the meter through its range, from -3 to +3, taking photos at each stop. This will help you understand how your camera’s meter relates to actual exposure results and when you might want to deviate from its suggestions.
Real-World Shooting Scenarios
Landscape Photography Settings
For consistently sharp landscape photographs, mastering your camera settings for stunning photos is essential. Start with a small aperture between f/8 and f/11 to achieve maximum depth of field, ensuring both foreground and background elements remain crisp. While you might be tempted to go for f/16 or smaller, remember that diffraction can actually reduce sharpness at extremely small apertures.
Set your ISO as low as possible, typically 100 or 200, to minimize noise and maximize image quality. Since landscapes rarely involve moving subjects, you can afford longer shutter speeds – just remember to use a sturdy tripod to prevent camera shake.
For the sharpest results, use your lens’s sweet spot, usually 2-3 stops from its widest aperture. Enable mirror lock-up if available, and use a remote shutter release or 2-second timer to eliminate vibration. Focus about one-third into the scene (hyperfocal distance) to maximize front-to-back sharpness, and always shoot in RAW format to retain maximum detail for post-processing.
During golden hour, these settings might need slight adjustments, but they’ll serve as an excellent starting point for most landscape situations.
Portrait Photography Settings
When shooting portraits, start with an aperture between f/1.8 and f/2.8 to create that sought-after background blur while keeping your subject’s features sharp. Position your subject a good distance from the background to enhance the bokeh effect. For outdoor portraits in natural light, maintain a shutter speed of at least 1/200th to freeze any slight movements.
ISO selection is crucial for achieving natural skin tones. Keep it as low as possible, ideally between 100-400, to minimize noise and preserve skin texture. In terms of white balance, the “cloudy” preset often adds a pleasing warmth to skin tones, even on sunny days. For more control, consider using a gray card to set a custom white balance.
Metering choices can make or break your portrait. Use spot metering focused on your subject’s face, specifically the cheek area, to ensure proper exposure of skin tones. If your subject has very light or dark skin, you might need to adjust exposure compensation accordingly: +0.3 to +0.7 for darker skin tones, and -0.3 to -0.7 for lighter skin tones.
Remember to shoot in RAW format to give yourself maximum flexibility in post-processing, particularly when fine-tuning skin tones and managing contrast in challenging lighting conditions.
Action Photography Settings
When photographing fast-moving subjects, the right camera settings make all the difference between a crisp action shot and a blurry mess. Start by setting your shutter speed to at least 1/500th of a second for most sports and action scenarios – you might need even faster speeds (1/1000th or higher) for extremely quick movements like racing cars or birds in flight.
Keep your ISO as low as possible while maintaining a fast shutter speed to minimize noise, but don’t be afraid to raise it if needed – a slightly noisy sharp image is better than a clean blurry one. For your aperture, f/4 to f/5.6 usually provides enough depth of field while letting in sufficient light.
Switch your camera to continuous autofocus (AI Servo for Canon, AF-C for Nikon) to track moving subjects. Use burst mode to capture multiple frames, increasing your chances of getting the perfect moment. Pre-focus on a spot where you anticipate the action will occur, especially useful in sports photography.
Remember to pan with your subject when appropriate, following their movement smoothly to maintain focus and create a sense of motion while keeping your subject sharp.
Low-Light Photography Settings
Low-light photography can be challenging, but mastering manual settings will help you capture stunning images in dim conditions. Start by opening up your aperture as wide as possible (lowest f-number) to allow maximum light into the sensor. When working with natural light, you’ll want to keep your ISO as low as possible to minimize noise, but don’t be afraid to push it up to 1600 or even 3200 if necessary.
A good starting point is setting your shutter speed to 1/focal length (for example, 1/50 if using a 50mm lens) to prevent camera shake. If you’re shooting stationary subjects, you can go even slower, but consider using a tripod. For moving subjects in low light, try dragging the shutter – deliberately using a slower shutter speed to create artistic motion blur while maintaining sharp focus on key elements.
Remember that your camera’s light meter might be fooled in dark scenes, often suggesting overexposure. Try underexposing by one stop from what the meter suggests to maintain the mood of the low-light environment. If shooting in RAW, you’ll have more flexibility to adjust exposure in post-processing without compromising image quality.
Common Manual Mode Mistakes
Even experienced photographers can stumble when switching to manual mode. Let’s explore some common mistakes and their solutions to help you avoid these pitfalls in your photography journey.
One of the most frequent errors is forgetting to adjust settings between different shooting scenarios. You might nail the perfect exposure for an outdoor scene, then move indoors and wonder why your images are pitch black. Develop a habit of quickly checking your settings whenever your environment changes.
Incorrect ISO selection often trips up photographers new to manual mode. Many leave their ISO unnecessarily high after shooting in low light, resulting in grainy images even in bright conditions. Remember to lower your ISO when moving to well-lit environments to maintain optimal image quality.
Camera shake is another persistent issue, especially when shooting at slower shutter speeds. Besides maintaining a proper camera holding technique, follow the reciprocal rule: keep your shutter speed at least 1/focal length of your lens to minimize blur.
Many photographers also struggle with achieving sharp focus in manual mode. They often focus and recompose without realizing that slight movements can shift the plane of focus, especially when shooting with wide apertures. Take time to master your camera’s focus points and consider back-button focus for better control.
Another common mistake is relying too heavily on the light meter without considering the scene’s context. Your camera’s meter assumes everything should be middle gray, which can lead to improper exposure for very bright or dark subjects. Learn to read your histogram and adjust exposure accordingly.
Lastly, don’t fall into the trap of always shooting wide open just because you can. While shallow depth of field can create beautiful effects, stopping down your aperture often yields sharper images and ensures more of your subject is in focus.
Practice Exercises
Master manual photography with these hands-on exercises designed to build your confidence and technical skills. Practice each exercise for at least 30 minutes, and don’t be afraid to make mistakes – they’re part of the learning process.
Exercise 1: ISO Exploration
Find a stationary subject in your home and take multiple photos of it using different ISO settings. Start at ISO 100 and double the value each time (100, 200, 400, 800, etc.) while keeping aperture and shutter speed constant. Compare the results to understand how ISO affects image noise and quality.
Exercise 2: The Aperture Walk
Choose a location with good natural light and take a series of photos of the same subject at different apertures. Start wide open (lowest f-number) and work your way up to f/16. Pay attention to depth of field changes and how the background blur shifts. This exercise works particularly well with portraits or small objects.
Exercise 3: Motion Study
Find a moving subject (flowing water, passing cars, or people walking) and experiment with different shutter speeds. Start at 1/1000th of a second and gradually decrease to slower speeds. Try capturing both frozen motion and intentional blur. Keep ISO and aperture constant to isolate the effect of shutter speed.
Exercise 4: The Manual Mode Challenge
Choose three different lighting scenarios:
– Bright outdoor sunlight
– Indoor window light
– Low-light evening
Photograph the same subject in each scenario using only manual mode. Practice quickly adjusting your settings to achieve proper exposure. Use your camera’s light meter as a guide but trust your eyes too.
Exercise 5: Exposure Triangle Balance
Select a subject and create three different exposures using different combinations of settings that result in the same exposure value. For example:
– f/2.8, 1/1000, ISO 400
– f/4, 1/500, ISO 400
– f/5.6, 1/250, ISO 400
Compare the results to understand how different combinations affect the final image.
Exercise 6: Light Reading Practice
Using your camera’s spot meter, take readings from the brightest and darkest parts of various scenes. Practice determining the correct exposure for different lighting situations. This helps develop an intuitive understanding of dynamic range and exposure compensation.
Remember to review your images on a computer screen rather than just your camera’s LCD. Make notes about what worked and what didn’t, and keep practicing until manual mode becomes second nature. These exercises build muscle memory and technical understanding, making manual photography increasingly intuitive over time.
Mastering manual photography is a journey that rewards patience and practice. Throughout this guide, we’ve explored the fundamental pillars of manual photography: aperture, shutter speed, and ISO. These three elements work in harmony to create the perfect exposure, but more importantly, they give you creative control over your images that automatic modes simply can’t match.
Remember that becoming proficient in manual mode doesn’t happen overnight. Start by practicing in controlled environments where you can take your time to experiment with different settings. As you gain confidence, challenge yourself with more dynamic situations like street photography or rapidly changing lighting conditions.
Keep these key takeaways in mind: always start with your ISO at its base value, choose your aperture based on your creative vision for depth of field, and then adjust your shutter speed to achieve proper exposure. When in doubt, take test shots and review your histogram – it’s your most reliable guide to proper exposure.
Don’t be discouraged by initial mistakes; they’re valuable learning opportunities. Every professional photographer started exactly where you are now. Make it a habit to shoot in manual mode regularly, even for casual photos. With time, adjusting these settings will become second nature, allowing you to focus more on composition and capturing the perfect moment.
The real joy of manual photography comes when technical mastery meets creative vision. Keep practicing, stay curious, and most importantly, enjoy the process of creating images that truly reflect your artistic intent.