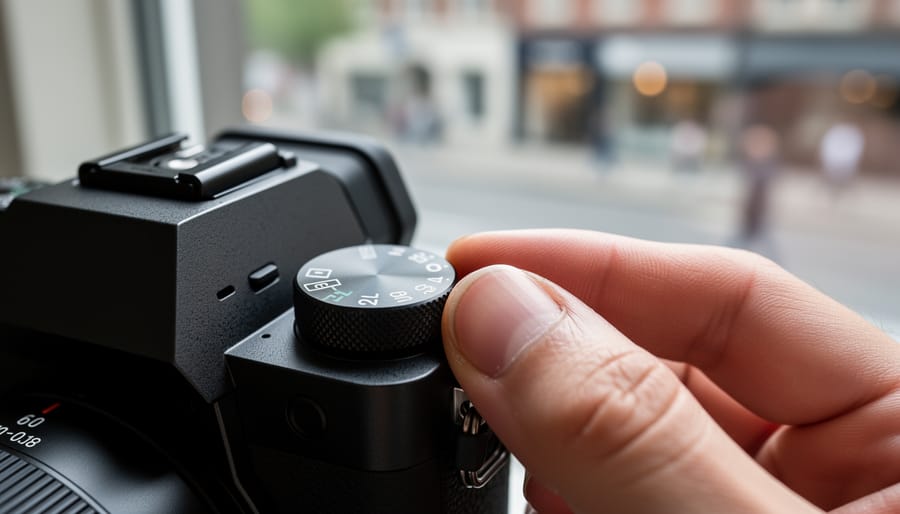
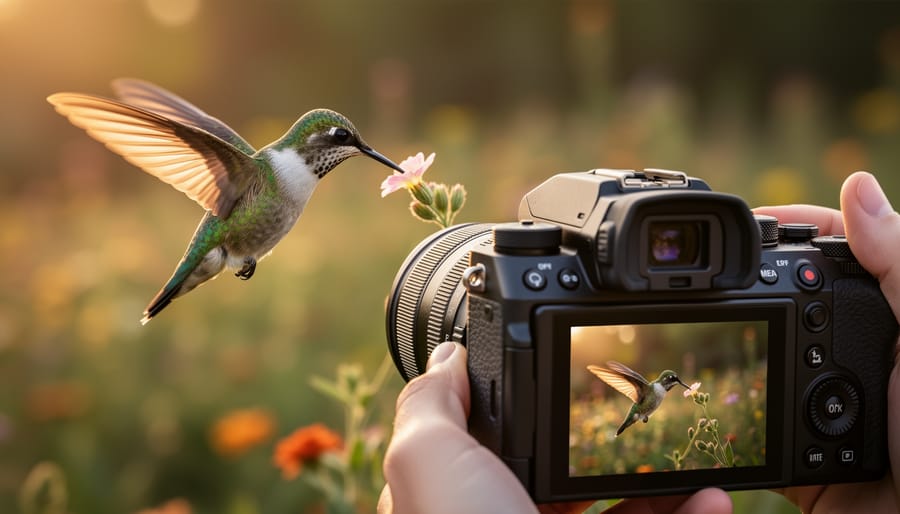
Normal camera settings are a trio of foundational controls that work together in predictable harmony: ISO 100 to 400 for clean images in good light, aperture between f/5.6 and f/8 for balanced sharpness, and shutter speed at 1/125th or faster to freeze everyday motion. These baselines give you sharp, well-exposed photos in typical daylight conditions without requiring moment-to-moment adjustments or complex technical knowledge.
Think of these settings as your photographic center point. Just as a recipe starts with standard measurements before you adjust for taste, …
Black and White Portrait Photography: How to Master Light, Shadow, and Timeless Expression
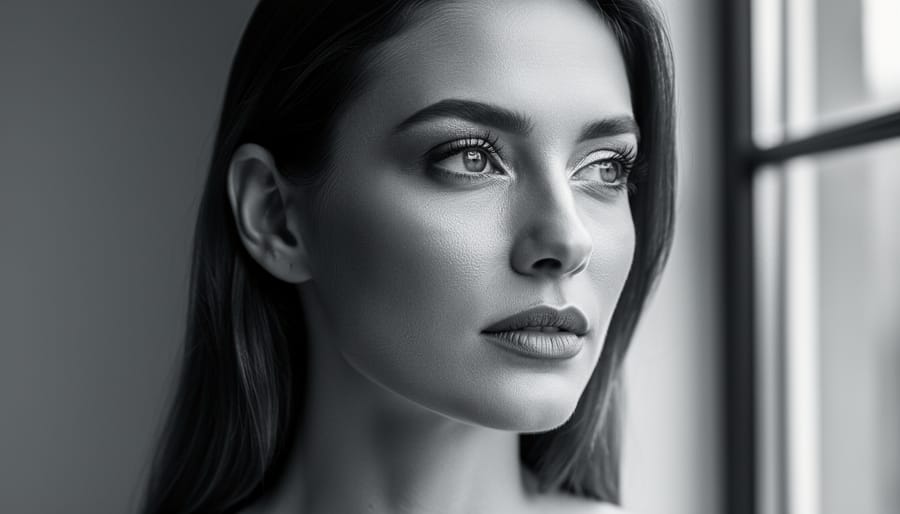
Black and white portrait photography strips away the distraction of color to reveal the essential elements that make an image powerful: light, shadow, texture, and emotion. By eliminating the chromatic layer, you force the viewer to focus on form, contrast, and the subtle interplay of tones that define a face, making every wrinkle, glance, and highlight count toward the story you’re telling.
This technique isn’t just a nostalgic throwback. It remains one of the most effective ways to create timeless, emotionally resonant portraits because it simplifies your visual language while amplifying mood. When you shoot in …
Prepping a Car for a Photo Shoot: Why Ceramic-Coated Finishes Photograph Better
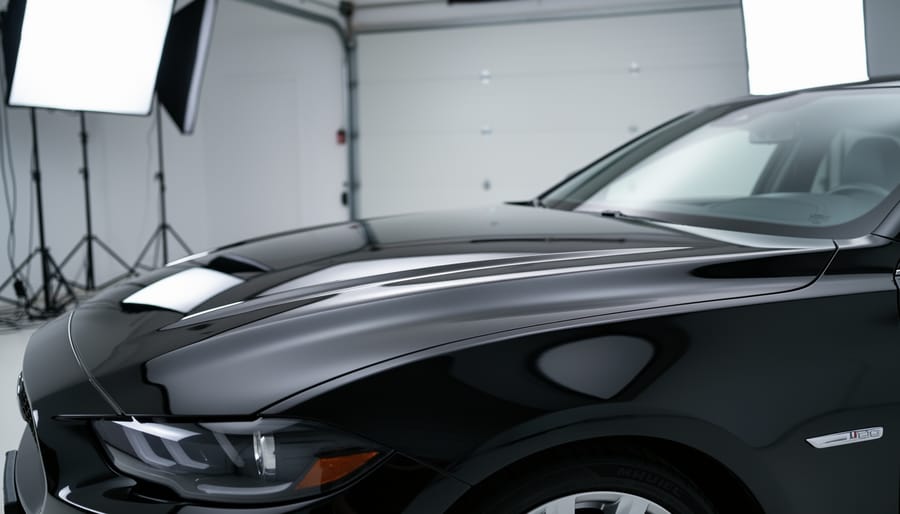
Prepping a ceramic-coated car for a photo shoot requires three essential steps: thorough decontamination, proper lighting assessment, and strategic reflection management. The entire process takes about two to three hours and delivers a mirror-like finish that photographs dramatically better than traditional wax or sealant finishes. The difference isn’t subtle. Ceramic coatings create a glass-like surface that amplifies depth, color saturation, and clarity in ways that transform automotive photography from good to exceptional.
The science behind this visual impact lies in the coating’s hydrophobic properties and uniform …
Guide to Urban Skyline Vantage Points Near You: Top Spots, Practical Information, and Local Tips
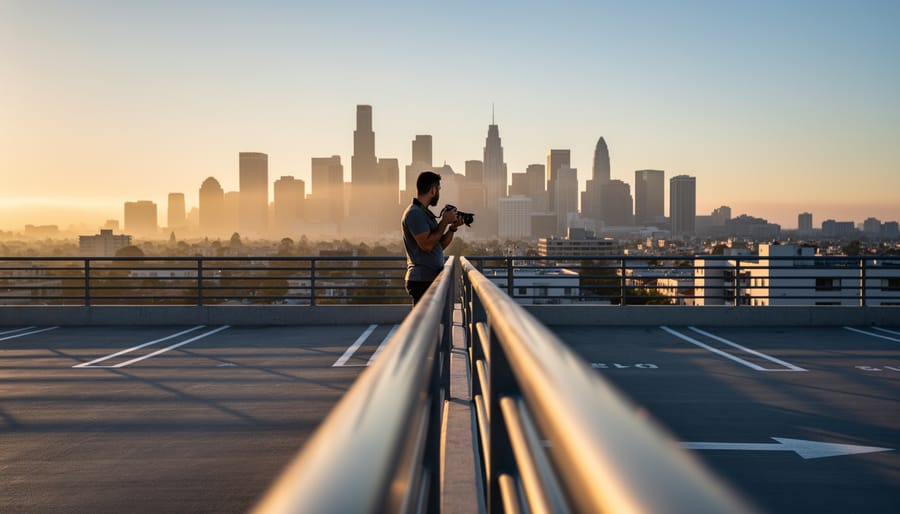
Finding exceptional skyline shots in your city doesn’t require a helicopter or access to the tallest building downtown. You need seven types of vantage points that most photographers overlook: parking garages with open upper decks, pedestrian bridges over highways, hilltop parks away from the tourist zones, riverfront piers that jut into the water, hotel rooftop bars where the cost of entry is a drink, elevated train platforms with unobstructed sightlines, and museum or university terraces that open at specific hours. Each offers a different perspective on the same skyline, and most are free or nearly free to access.
The …
The P Camera Setting That Most Photographers Completely Misunderstand
That P on your camera’s mode dial isn’t a cop-out for photographers who can’t handle manual mode—it’s Program mode, an intelligent semi-automatic setting that deserves a place in every photographer’s toolkit. While Auto mode makes all exposure decisions for you and locks you out of creative control, P mode calculates the aperture and shutter speed pairing but leaves you free to override the camera’s choice, adjust ISO, modify exposure compensation, and control every other camera settings …
Why Your Photos Are Blurry (And How Autofocus Actually Works)
Nothing ruins a potentially spectacular photograph faster than soft, out-of-focus subjects. That split-second moment you captured—your child’s first steps, a hummingbird hovering at a flower, a landscape bathed in golden hour light—becomes unusable because your camera focused on the wrong element or missed focus entirely. Understanding how your camera’s autofocus system works transforms these frustrating missed shots into consistently sharp images that showcase your creative vision.
Modern autofocus systems contain sophisticated technology that can track moving subjects, detect eyes and faces, and adjust focus in …
Master Your X100VI: Camera Settings That Actually Make Sense
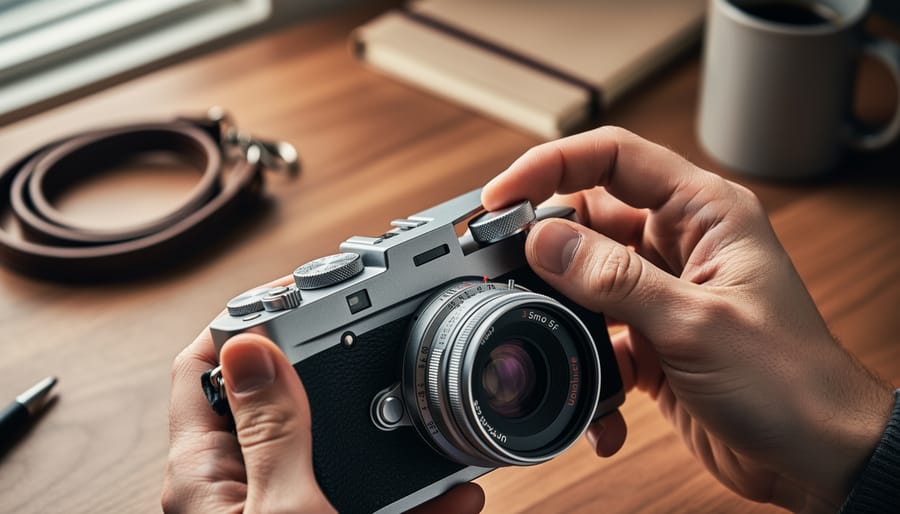
Grab your X100VI, flip the exposure compensation dial to zero, set the shutter speed dial to ‘A’ (for Aperture Priority), and rotate the aperture ring to f/5.6—you’ve just configured the most forgiving shooting mode for learning this camera. Unlike other compact cameras that hide controls in menus, the X100VI puts physical dials for shutter speed, aperture, and ISO directly at your fingertips, which feels intuitive once you understand what each dial actually does to your images.
The learning curve exists not because this camera is complicated, but because it respects you enough to offer real control. Many …
Why Your Model Photography Looks Stiff (And How to Fix It)
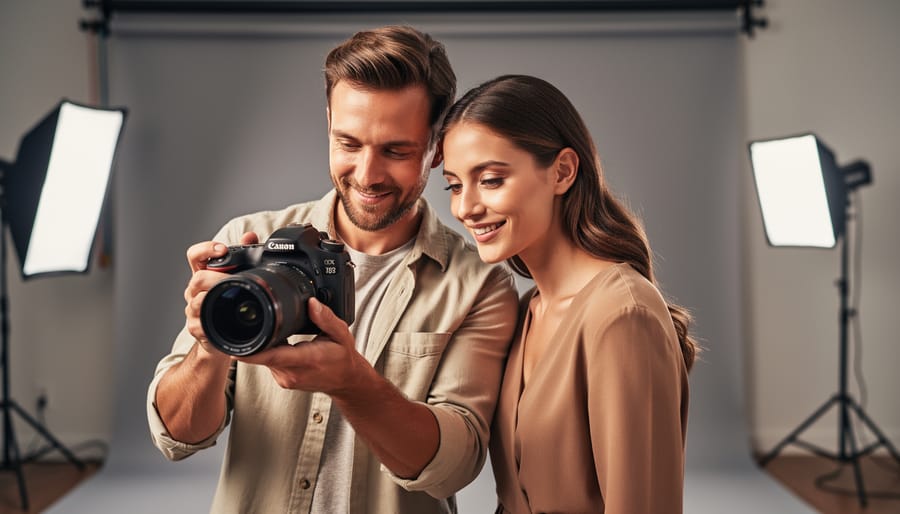
Establish genuine connection with your model before touching your camera—spend five minutes discussing their comfort level, the shoot’s vision, and any concerns they have. This builds trust that translates directly into relaxed, authentic expressions rather than stiff, self-conscious poses.
Position your primary light source at a 45-degree angle to your subject’s face, approximately six feet away, creating dimensional shadows that sculpt facial features naturally. Whether you’re using window light or studio strobes, this Rembrandt lighting setup flatters most face shapes while remaining simple to execute …
Master Your Sony ZV-1 Settings in Under an Hour
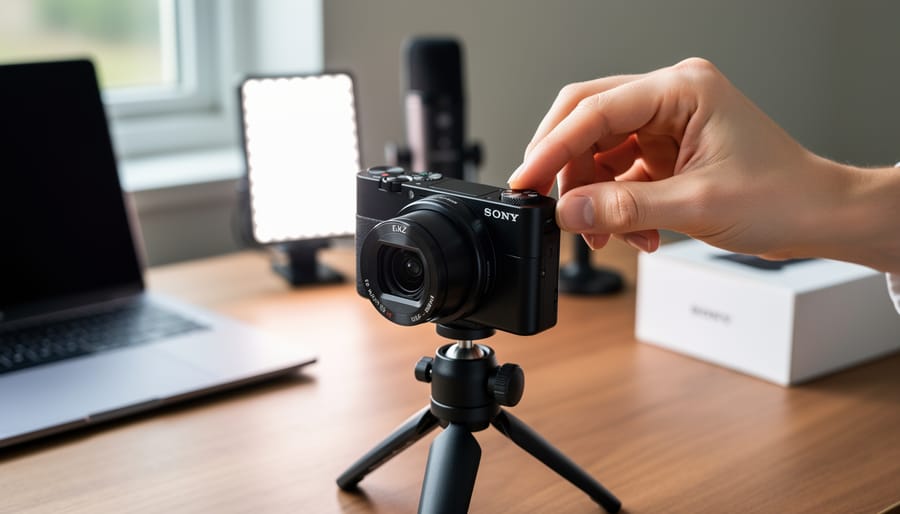
Navigate to Shooting Mode on your Sony ZV-1’s mode dial and select Program Auto (P) for your first sessions—this gives you control over ISO and exposure compensation while the camera handles aperture and shutter speed, creating a safety net as you learn. Open the camera’s Function Menu by pressing the Fn button, then customize your seven shortcut slots to include Product Showcase Setting, Background Defocus, and Self-Timer, which are the three most-used features for content creators and vloggers working solo.
Set your video recording format to XAVC S HD at 1920×1080 with 30p frame rate through Menu > Camera …
Make Your Videos Look Professional Without Film School Training
Master your camera’s shutter speed settings for video by switching from fractions to frame rate multiples—shoot at 1/50th second for 25fps or 1/60th for 30fps to achieve natural motion blur that mimics what our eyes perceive. This “180-degree shutter rule” instantly separates amateur footage from professional-looking video, preventing the jarring, stuttery motion that occurs with faster shutter speeds.
Embrace continuous lighting instead of relying on strobes, since video requires constant illumination throughout the capture. LED panels offer adjustable color temperature and intensity, letting you shape light …