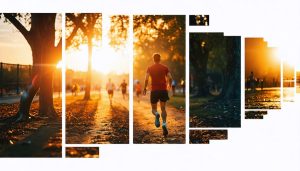
Adjust your camera’s aperture to control depth of field and create captivating portraits or stunning landscapes. Smaller f-stop numbers widen the aperture for blurred backgrounds, while larger numbers increase sharpness throughout. Experiment with shutter speed to freeze fast-moving subjects or introduce motion blur for dynamic effects. Faster speeds capture crisp moments, while slower speeds convey movement. Master ISO settings to balance light sensitivity and minimize noise. A lower ISO provides clarity in well-lit conditions, while higher values are ideal for low light but can increase graininess. Photography skills will flourish with these foundational adjustments, offering endless creative possibilities. Explore manual mode to synergize these elements, gaining full control over your photo composition. Delve into exposure compensation to refine images without altering underlying settings, ensuring optimal results. Backup your newfound knowledge with consistent practice on diverse subjects and settings, enhancing both technical expertise and artistic vision.
Demystifying Camera Settings
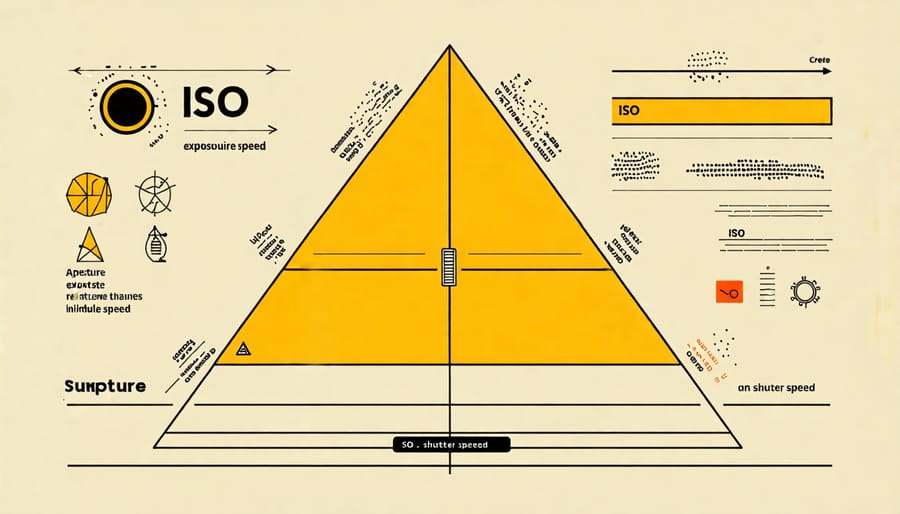
Exposure Triangle: ISO, Aperture, and Shutter Speed
Imagine you’re standing in a brightly lit garden, camera in hand, poised to capture the perfect photo of a butterfly perched gracefully on a flower. Understanding the Exposure Triangle, which consists of ISO, Aperture, and Shutter Speed, is like having the keys to unlock the full potential of your camera. These settings are the backbone of photography, controlling how light interacts with your camera’s sensor and thus, the final exposure of your image.
First up is ISO, your camera’s sensitivity to light. Think of it as your camera’s way of wearing sunglasses. In bright conditions, like our garden scenario, you’d use a lower ISO setting to prevent the photo from being too bright. Conversely, in a dim room, you’d raise the ISO to maintain adequate exposure. However, be aware that higher ISO can introduce noise or grain to your image, much like how sunglasses with a higher shade can sometimes blur vision.
Next, we have the Aperture, the opening in your lens that controls how much light enters the camera. It’s like the iris of your eye adjusting to light. A wider aperture (small f-number, like f/2.8) allows more light in, great for low-light conditions or to achieve that dreamy background blur known as bokeh. Meanwhile, a narrower aperture (large f-number, such as f/16) is useful for landscapes where you want everything in focus. This setting not only influences exposure but also affects depth of field, making it a versatile tool in your creative arsenal.
Finally, Shutter Speed is the gatekeeper of time, dictating how long your camera’s sensor is exposed to light. A faster shutter speed (like 1/1000 of a second) freezes motion, perfect for capturing that butterfly’s wings mid-flap. A slower shutter speed (such as 1/30) can blur motion, ideal for artistic waterfall shots. Yet, too slow without a tripod, and you’ll risk introducing blur from an unsteady hand.
These three settings are interrelated; adjusting one often means tweaking the others. For example, if you want to capture a fast-moving subject with a high shutter speed and also need enough light, you might compensate by widening the aperture or increasing the ISO. Mastering this balance is crucial, and understanding these essential settings will empower you to enhance your photography skills dramatically, regardless of whether you’re a hobbyist or a seasoned pro.
Diving Deeper: Advanced Settings
White Balance
Imagine you’re capturing the golden hues of a sunset, only to find later that the colors look completely off in your photos. This is where understanding white balance comes into play, ensuring that the colors you capture are true to life. White balance adjusts the color temperature of your photos, making sure the whites appear white and not tinged with an unattractive blue, orange, or green cast.
To grasp white balance, think of the difference in light between a sunny day and a candlelit dinner. These environments produce different color temperatures, measured in Kelvin. A higher Kelvin number gives a cooler, bluish light, while a lower number offers a warmer, yellowish tint. Cameras have presets like Daylight, Cloudy, and Tungsten, each calibrated for specific conditions. Selecting the right preset or manually setting the white balance allows you to maintain accurate color reproduction.
A practical tip for hobbyists and professionals alike is to shoot in RAW format. This gives you more flexibility to adjust the white balance in post-processing without degrading image quality. Experiment with different settings and view the results immediately on your camera’s screen to become familiar with the way each setting affects your photos. In time, mastering white balance will help elevate your photography, bringing your creative vision to life with precision and vibrancy.
Focus Modes
Understanding focus modes is crucial for capturing sharp images that reflect your artistic vision. Most cameras offer three primary modes: Single-Point AF (or One-Shot AF), Continuous AF (or AI Servo AF), and Automatic AF (or AI Focus AF). Each serves a distinct purpose, helping you tackle various photographic challenges.
Single-Point AF is ideal when your subject is stationary, like when you’re shooting a portrait or a still life. It locks focus once you press the shutter halfway, ensuring the subject remains sharp without worrying about unexpected movement. Imagine photographing a model in the perfect light as they hold a pose—Single-Point AF allows you to concentrate on composition and lighting without distractions.
Continuous AF shines in dynamic environments, such as sports or wildlife photography, where subjects are always on the move. This mode continuously adjusts focus as the subject approaches or recedes from the camera. Think of capturing a soccer player darting across the field; Continuous AF helps you maintain focus, keeping the action crisp.
Automatic AF offers a versatile approach by blending the benefits of Single-Point and Continuous AF. The camera intelligently decides which mode to employ based on movement within the frame. It’s a handy option when you’re switching between static and moving subjects in a single shoot, such as during a wedding reception where guests alternate between mingling and dancing.
Choosing the right focus mode can be a game-changer, enhancing your ability to tell compelling stories through your images. As you become more familiar with these modes, you’ll develop the instinct to quickly adapt, ensuring your camera’s settings align perfectly with your creative intentions.
Real-World Applications
Portrait Photography
Capturing the essence of a person in a portrait is as much about the technical finesse as it is about the art of photography. To achieve beautifully exposed and focused portraits, start by setting your aperture wide—around f/1.8 to f/2.8. This not only creates a pleasing shallow depth of field that isolates your subject but also allows more light in, making your portraits glow in natural light. Pair this with a modest ISO, typically around 100 to 400, to keep noise to a minimum while ensuring your image remains crisp.
A fast shutter speed, such as 1/200 of a second or quicker, helps freeze motion and maintain sharpness in your subject’s expression. Don’t forget about the importance of focusing. Opt for single-point autofocus to maintain precise control over your subject’s eyes—a technique that draws viewers into the portrait. Experiment with natural light by positioning your subject near a window or shoot during the golden hour for that magical, soft illumination. With these settings in mind, you’ll bring out the best in each portrait, letting your creativity and your camera settings work harmoniously together.
Landscape Photography
Capturing dramatic landscapes is an art that merges creativity with technical precision. As enthusiasts dive deeper into this field, mastering camera settings becomes essential. Start by setting your camera to manual mode, where you have full control over the exposure. For landscape photography, a small aperture (like f/11 or f/16) is crucial as it increases depth of field, making sure everything from foreground to background is sharp.
Consider using a low ISO setting, such as 100 or 200, to reduce noise and ensure crystal-clear details. Shutter speed plays a dramatic role as well; a slower shutter speed can capture the movement of clouds or waterfalls, adding a dynamic edge to your images. Use a tripod to avoid blurriness from longer exposures.
Light is key, so shoot during golden hours—early morning or late afternoon—for the best natural lighting. Experimenting with exposure bracketing can also help, especially in high-contrast scenes, to achieve a balanced shot. Always be open to exploring techniques from different photography styles, like action photography, for unexpected inspiration.
Practical Tips for Learning and Experimentation
Get to Know Your Camera
To truly master your camera settings, start by spending time with your device in hand. It’s not just about knowing what the buttons do but understanding how they contribute to capturing the perfect shot. Get comfortable with the feel and grip of your camera; a proper camera grip serves as the foundation of steadiness and control. Dive into the menu system of your camera, exploring each setting and what it does. Use real-world scenarios to test different modes and lighting conditions. Gradually, what may seem daunting becomes instinctual, allowing creativity to flow without hindrance.
Experimenting with Different Settings
Experimenting with different camera settings is a fantastic way to understand the nuances of photography and discover your artistic style. Start by adjusting the aperture—notice how it affects the depth of field, adding a beautiful blur to backgrounds or keeping everything in crisp focus. Play with shutter speed and capture motion through silky waterfalls or freeze action shots of a bustling street. Don’t forget ISO; it’s your ally in controlling exposure without altering aperture or shutter speed. By regularly mixing up these settings, you’ll see firsthand how they transform an image, fostering both technical growth and creative confidence in your photography journey.
Conclusion
Understanding the intricacies of your camera settings can drastically enhance your photography, bridging the gap between technical expertise and creative expression. By mastering techniques such as adjusting aperture, shutter speed, and ISO, photographers can capture images with remarkable clarity and aesthetic appeal. Embrace this knowledge and apply it to your photography endeavors, experimenting with various settings to find what brings your creative vision to life. Remember, each shot is an opportunity to deepen your understanding and refine your skills. By immersing yourself in the art and science of photography, countless exciting possibilities await discovery.