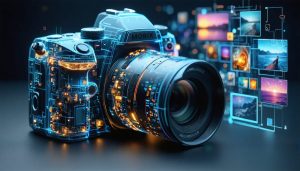
Quality control cameras revolutionize manufacturing precision by detecting microscopic defects invisible to the human eye, operating at speeds of up to 200 frames per second while maintaining sub-millimeter accuracy. These sophisticated imaging systems combine high-resolution sensors, specialized lighting arrays, and advanced AI algorithms to perform real-time inspection across industries from semiconductor fabrication to pharmaceutical packaging.
In today’s high-stakes manufacturing environment, where a single defect can trigger costly recalls or compromise brand reputation, quality control cameras serve as vigilant digital guardians. They operate 24/7, analyzing thousands of products per hour with unwavering consistency, dramatically reducing error rates while increasing production efficiency by up to 40% compared to manual inspection methods.
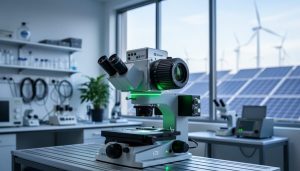
Modern quality control camera systems integrate seamlessly with Industry 4.0 frameworks, providing instant feedback to production lines and generating valuable data analytics that drive continuous process improvement. Whether examining surface finishes in automotive parts, verifying pharmaceutical label accuracy, or ensuring precise component placement in electronics assembly, these systems combine multiple inspection technologies – from basic 2D imaging to advanced 3D mapping and spectral analysis – to deliver comprehensive quality assurance.
The shift toward automated visual inspection represents more than just technological advancement; it’s a fundamental transformation in how manufacturers maintain and verify product quality, ensuring consistency and excellence in every item that rolls off the production line.
What Makes a Camera Perfect for Quality Control
Resolution and Sensor Requirements
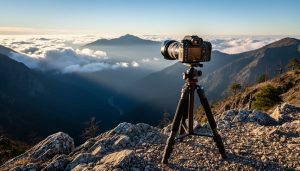
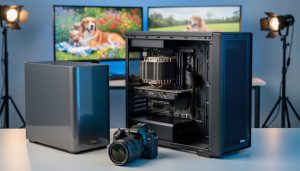
When it comes to quality control photography, selecting the right sensor size and resolution is crucial for achieving optimal results. Modern cameras offer various advanced camera features, but understanding the basic requirements is essential.
For most quality control applications, a minimum resolution of 12 megapixels is recommended, though this can vary depending on the specific inspection requirements. Full-frame sensors (36 x 24mm) typically provide excellent detail and low-light performance, but APS-C sensors (23.6 x 15.7mm) can be equally effective for many industrial applications while offering cost advantages.
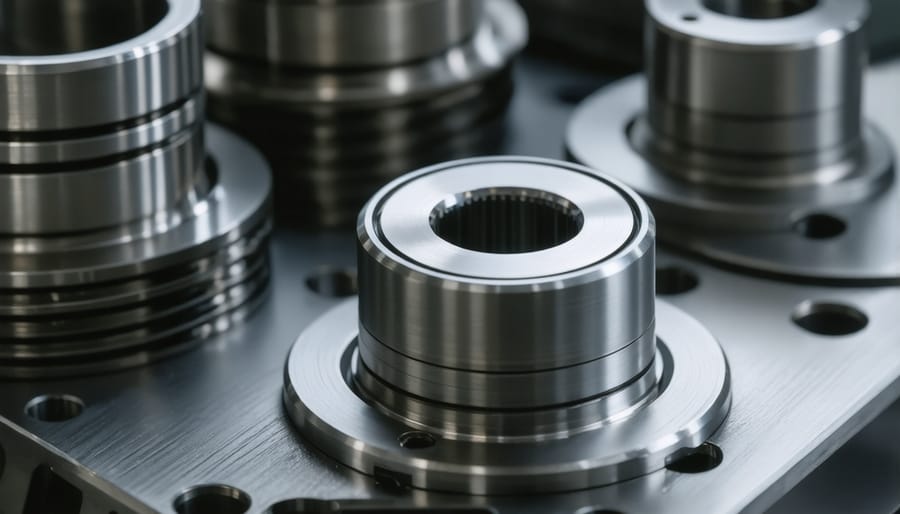
The key factor isn’t always the highest possible resolution, but rather the pixel density relative to the subject size. For small component inspection, cameras with higher pixel density can capture more detail in a confined area. A good rule of thumb is to ensure your sensor provides at least 2-3 pixels per smallest detectable defect size.
Consider these practical guidelines:
– For general quality control: 12-24MP sensors
– For high-precision component inspection: 24MP or higher
– For large-scale industrial monitoring: 16-20MP is typically sufficient
Remember that higher resolutions generate larger file sizes, which may impact storage requirements and processing speed. The sweet spot often lies in balancing resolution with practical workflow considerations and specific inspection requirements.
Lighting and Exposure Controls
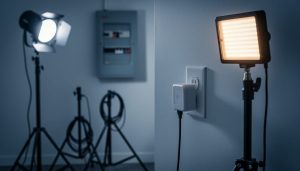
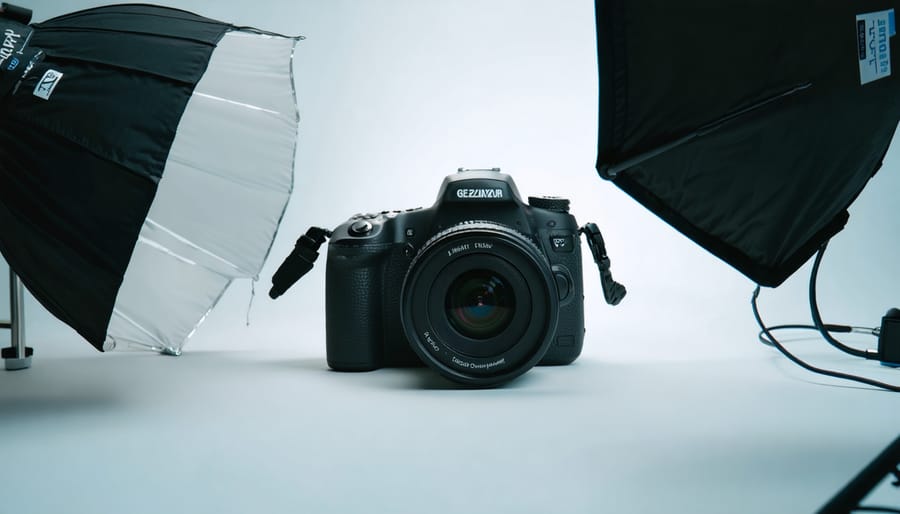
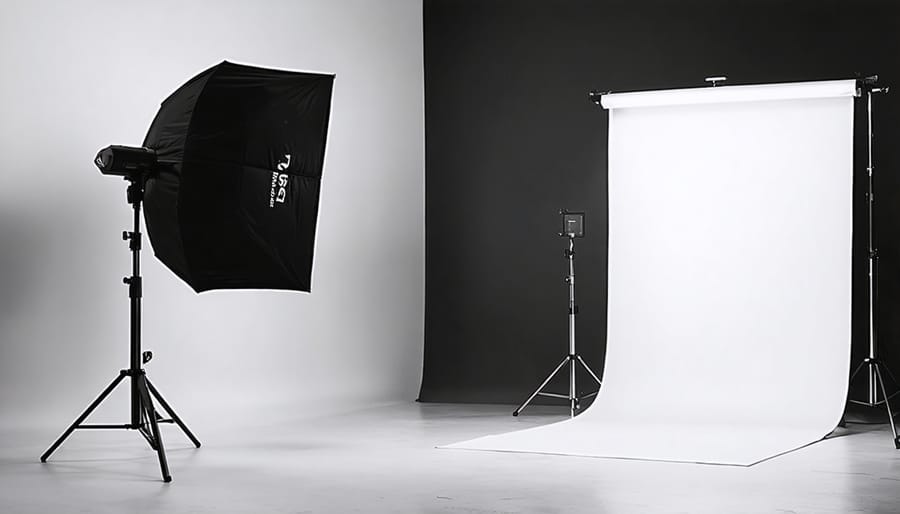
Proper lighting and exposure control are fundamental to achieving consistent results in quality control photography. A well-configured setup typically includes multiple light sources positioned strategically to eliminate shadows and ensure uniform illumination across the subject.
LED panels have become the industry standard due to their consistent color temperature and minimal heat output. When setting up your lighting, consider using diffusers to soften harsh light and reduce unwanted reflections, particularly when photographing products with glossy surfaces.
Exposure settings should be locked once the optimal parameters are determined. Most quality control cameras allow you to save these settings as presets, ensuring consistency across multiple shooting sessions. The key exposure elements to control include:
– Shutter speed: typically set between 1/60 and 1/250 for stationary subjects
– Aperture: usually f/8 to f/11 for adequate depth of field
– ISO: kept as low as possible (100-400) to minimize noise
– White balance: manually set to match your lighting conditions
Many modern quality control cameras feature automatic exposure compensation systems that can detect and adjust for minor variations in lighting conditions. However, it’s essential to regularly calibrate these systems using a standard gray card or color checker to maintain accuracy.
For consistent results, consider implementing a lighting check protocol at the start of each session, measuring illumination levels with a light meter to ensure they match your established standards.
Advanced Camera Settings for Quality Control
Custom White Balance Techniques
Achieving consistent color accuracy starts with proper white balance calibration. While auto white balance can be convenient, custom white balance settings deliver superior results for quality control photography. Begin by photographing a neutral gray card or white balance target under your primary lighting conditions. Position the target to fill at least 60% of the frame, ensuring even illumination without shadows or reflections.
Most professional cameras offer a custom white balance menu option where you can select your reference image. Once set, this calibration serves as your baseline for consistent color reproduction. For critical work, consider using a professional color checker card, which includes multiple neutral patches and color swatches for more precise calibration.
Remember to recalibrate whenever lighting conditions change significantly. In controlled environments, it’s good practice to verify your white balance at the start of each session and after any lighting adjustments. Some photographers keep detailed notes of their white balance settings for different lighting scenarios, enabling quick adjustments when switching between setups.
For mixed lighting situations, spot metering on neutral surfaces can help fine-tune your settings. Advanced users might consider creating custom presets for commonly used lighting configurations. If shooting tethered, many software solutions offer live white balance adjustment tools, allowing real-time monitoring and adjustment of color accuracy.
Exposure Triangle Mastery
The exposure triangle forms the foundation of precise image control, and mastering manual mode settings is crucial for achieving consistent results in quality control photography. Think of ISO, aperture, and shutter speed as three interconnected dials that must be perfectly balanced for optimal image quality.
In controlled environments, start by setting your ISO as low as possible (typically 100-200) to minimize digital noise. This gives you a clean baseline for quality assessment. Next, consider your aperture: for product photography and detailed inspection work, f/8 to f/11 often provides the sweet spot between depth of field and overall sharpness.
Shutter speed becomes your final adjustment point. With stable lighting and a tripod, you can confidently use slower speeds without compromising image quality. A good starting point is 1/125th of a second, adjusting as needed while monitoring your histogram.
Remember that slight adjustments to any corner of the triangle affect the others. If you need more depth of field and stop down to f/16, you’ll need to compensate with either a slower shutter speed or higher ISO. In quality control scenarios, prioritize image clarity over speed – it’s better to take a fraction longer to capture the perfect shot than to compromise on quality.
Practice this balancing act regularly, and soon it’ll become second nature, allowing you to focus on the critical aspects of your quality control workflow.
Focus Stacking and Depth Control
Focus stacking is a game-changing technique that allows you to achieve razor-sharp images with perfect focus throughout your entire frame. In quality control photography, where precision is paramount, this technique becomes particularly valuable when photographing products or components that have multiple depth planes.
The process involves capturing multiple images of the same subject at different focus points, then combining them in post-processing to create a single image with maximum depth of field. Think of photographing a circuit board: you want both the components in the foreground and the traces in the background to be equally sharp.
To implement focus stacking effectively, start by mounting your camera on a sturdy tripod and setting it to manual focus. Begin with the closest point of your subject and take your first shot. Then, gradually adjust the focus point slightly deeper into the scene for each subsequent shot, ensuring there’s about 30% overlap between focus areas. Most modern cameras offer automated focus bracketing, which can streamline this process.
The number of images needed depends on your subject’s depth and the aperture used. While smaller apertures like f/16 require fewer shots, they might introduce diffraction. Instead, shoot at your lens’s sweet spot (typically f/8) and take more images to maintain optimal sharpness.
For industrial applications, consider using specialized focus stacking software that can handle batch processing and maintain consistent results across multiple sessions. This ensures reliability and repeatability in your quality control workflow.
Automating Your Quality Control Workflow
Creating Custom Presets
Creating custom presets for your quality control camera setup is a game-changer for maintaining consistency and establishing an efficient photography workflow. Let’s walk through the process step by step.
Start by determining your most frequent shooting scenarios and the corresponding optimal settings. For product photography, you might want multiple presets for different product sizes, materials, and lighting conditions. Begin with your base settings: aperture, shutter speed, and ISO, then fine-tune white balance and focus points.
To create your first preset:
1. Set up your shooting environment with consistent lighting
2. Adjust your camera settings manually until you achieve perfect results
3. Navigate to your camera’s custom settings menu
4. Select “Save Custom Settings” or “Register Settings” (menu names vary by manufacturer)
5. Choose an empty preset slot
6. Name your preset descriptively (e.g., “Small Products – White Background”)
Remember to include all relevant parameters in your preset:
– Exposure settings
– White balance
– Focus mode and points
– Picture style or color profile
– Flash settings (if applicable)
– File format preferences
For maximum efficiency, create a systematic naming convention for your presets. Consider including the product type, lighting setup, and background in the preset name. Test each preset thoroughly before implementing it in your workflow, and make note of any limitations or specific conditions required for optimal results.
Pro tip: Document your preset settings in a spreadsheet or note-taking app. This backup ensures you can quickly recreate them if needed and share them with team members working on similar projects. Update your presets periodically as you refine your technique or when equipment changes affect your setup.
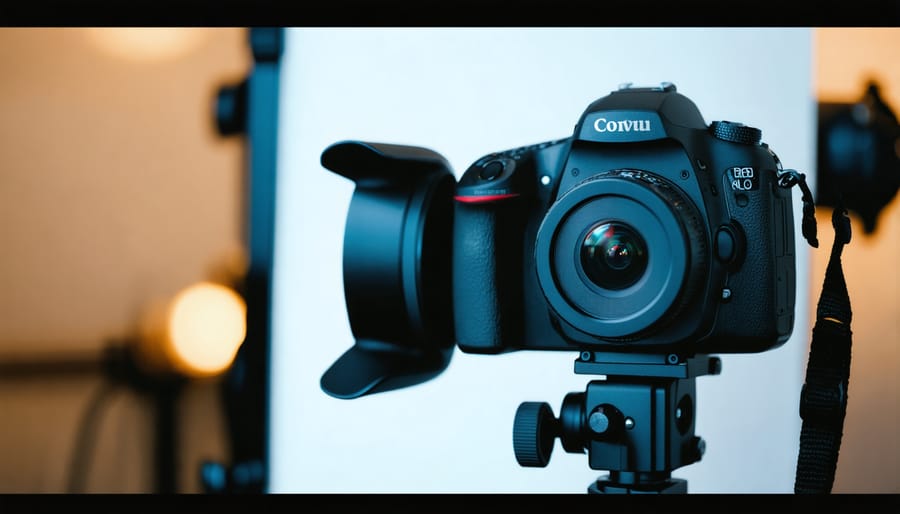
Tethered Shooting Setup
Tethered shooting is a game-changer for quality control in photography, allowing you to review images on a larger screen instantly as you shoot. Let’s walk through the essential setup steps to ensure you’re getting the most out of this powerful technique.
Start by connecting your camera to your computer using a high-quality USB or Firewire cable – invest in a reliable tethering cable as standard ones can be prone to disconnection. Position your computer or laptop on a stable surface, ideally using a dedicated tether table or stand to prevent accidents during shoots.
Install reliable tethering software like Capture One Pro, Adobe Lightroom Classic, or your camera manufacturer’s proprietary software. These applications not only display your images but also enable immediate post-processing techniques and adjustments on the fly.
Configure your software’s auto-import settings to create a streamlined workflow. Set up a designated folder structure for your tethered shoots, and enable auto-backup if available. This ensures your images are safely stored and organized as you shoot.
Pro tip: Create a checklist of camera settings to verify before each tethered session:
– Disable auto power-off
– Set the appropriate color space (usually Adobe RGB or ProPhoto RGB)
– Configure your camera’s USB mode for tethering
– Check your battery level or connect to AC power
To minimize technical hiccups, always carry backup cables and consider using a tethering cable management system to prevent accidental disconnections. A simple velcro strap or dedicated cable holder can secure the connection point at your camera.
Remember to calibrate your display monitor for accurate color representation. This is crucial for maintaining consistency between what you see through the viewfinder and on screen. Consider using a color checker card in your first test shots to verify accurate color reproduction.
Real-world Implementation and Troubleshooting
Common Pitfalls and Solutions
Even the most sophisticated quality control camera systems can encounter challenges. One common issue is inconsistent lighting conditions, which can lead to false rejections or missed defects. To address this, implement a controlled lighting environment using LED panels with consistent color temperature and intensity, and regularly calibrate your lighting setup.
Image blur caused by vibration is another frequent problem, especially in industrial settings. Installing anti-vibration mounts and using faster shutter speeds can significantly reduce this issue. Additionally, ensure your camera is mounted securely and isolated from machinery-induced vibrations.
Focus-related problems often arise when inspecting objects at varying distances or sizes. Consider implementing an auto-focus system with multiple focus points, or use a fixed focus setup with adequate depth of field for your specific application. Regular calibration of focus parameters is essential for maintaining accuracy.
Color accuracy issues can compromise quality control results. Combat this by using proper white balance settings and regularly calibrating your camera’s color profile. Consider using color reference cards in your setup and implementing automated color correction in your image processing workflow.
Storage and processing bottlenecks can slow down inspection processes. Address this by implementing efficient image compression methods, establishing clear file management protocols, and using high-speed storage solutions. Regular system maintenance and updates will help prevent these issues from affecting your quality control operations.
Optimization Tips
To maximize the efficiency of your quality control photography setup, start by creating standardized presets for commonly used scenarios. These presets should include your ideal aperture, shutter speed, and ISO settings for specific product types or inspection requirements. Remember that consistency is key when organizing your photo files and maintaining quality standards.
Consider implementing a color calibration routine at the start of each session using a standard color checker card. This ensures accurate color reproduction across different lighting conditions and makes post-processing more efficient. For automated systems, set up motion detection triggers with a small delay to allow products to stabilize before capture.
Position your lighting to minimize shadows and reflections, using diffusers to create even illumination. Multiple light sources at 45-degree angles often provide the best results for revealing surface defects. If possible, create a dedicated lighting diagram for each product category to maintain consistency across sessions.
To streamline your workflow, develop a checklist for camera positioning and setup verification. Include reference markers in your shooting area to ensure consistent product placement and camera distance. Regular sensor cleaning and lens maintenance will prevent dust spots that could be mistaken for product defects.
When dealing with multiple cameras, synchronize their settings through your quality control software to ensure uniform results across all inspection points. This approach significantly reduces the time spent on individual camera adjustments while maintaining high standards across your production line.
Implementing quality control camera techniques is a journey that requires careful planning, consistent execution, and ongoing refinement. Throughout this article, we’ve explored the essential components of establishing a robust quality control system for your photography workflow, from selecting the right equipment to mastering advanced settings and troubleshooting common challenges.
Remember that success in quality control photography lies in the balance between technical precision and practical application. Start by implementing these techniques gradually, focusing first on the fundamentals of proper camera setup and lighting conditions. As you become more comfortable, incorporate advanced features and automation tools to streamline your workflow.
For best results, create a standardized checklist that includes camera settings, lighting requirements, and quality benchmarks for your specific needs. Regular calibration and maintenance of your equipment remain crucial for maintaining consistency in your results. Don’t forget to periodically review and update your procedures as technology evolves and your requirements change.
Consider investing in training for team members if you’re working in a professional or industrial setting. The more everyone understands the principles behind quality control photography, the better your overall results will be. Keep detailed records of your settings and outcomes to help identify patterns and areas for improvement.
Finally, stay connected with the photography community and industry developments. New tools and techniques are constantly emerging that could enhance your quality control process. Whether you’re a professional photographer, industrial quality inspector, or enthusiast seeking consistency in your work, the principles outlined here will serve as a solid foundation for achieving reliable, high-quality results in your photography endeavors.