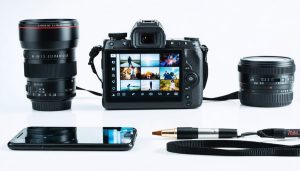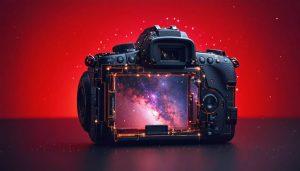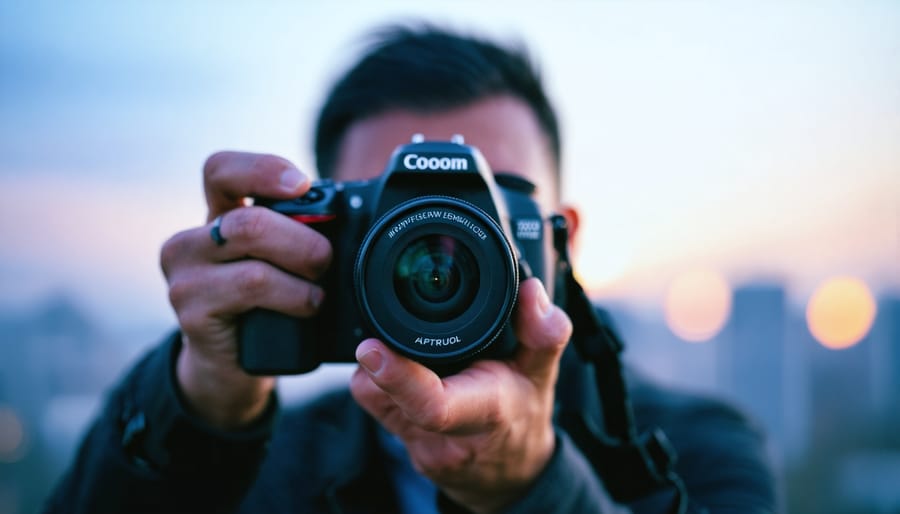
Master your camera’s full potential by learning to take full manual control in M mode, where every creative decision rests in your hands. Manual mode transforms casual snapshots into intentional art by putting you in command of three critical elements: shutter speed, aperture, and ISO. Professional photographers don’t just point and shoot—they deliberately craft each exposure by balancing these settings to capture exactly what their creative vision demands. Whether you’re shooting in challenging lighting conditions or seeking that perfect motion blur effect, M mode provides the precision tools needed to elevate your photography from good to exceptional. Breaking free from automatic settings isn’t just about technical mastery; it’s about developing the confidence to capture images exactly as you envision them, regardless of what your camera’s auto mode might suggest.
Understanding the Manual Mode Trinity
Aperture: Controlling Depth and Light
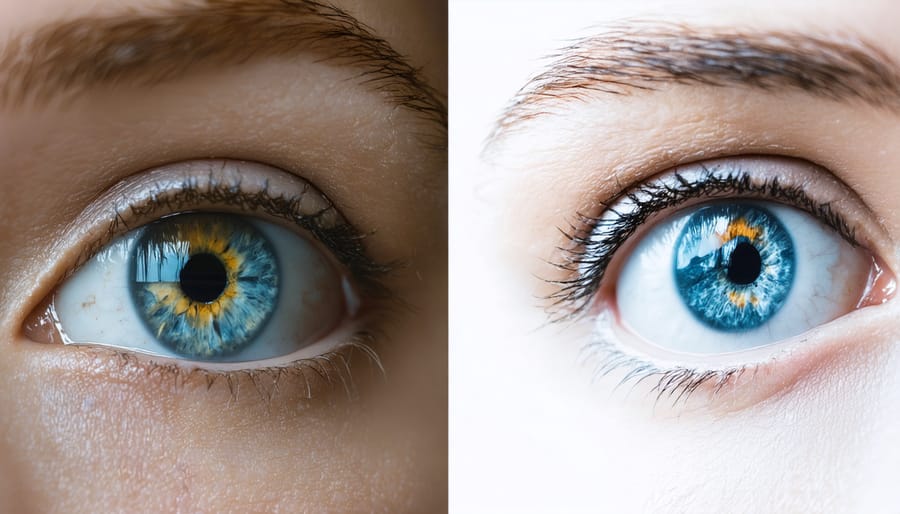
In Manual mode, aperture control gives you creative power over both depth of field and light intake. The aperture, measured in f-stops (like f/1.8 or f/16), is essentially the size of the opening in your lens that lets light pass through to your sensor.
A wider aperture (smaller f-number like f/1.8) creates a shallow depth of field, perfect for portraits where you want your subject sharp and the background beautifully blurred. It also allows more light to enter, making it ideal for low-light situations. Conversely, a narrow aperture (larger f-number like f/16) keeps more of your scene in focus, which is excellent for landscape photography where you want everything sharp from foreground to background.
Remember that each full stop change in aperture either doubles or halves the amount of light entering your camera. For example, moving from f/4 to f/2.8 doubles the light, while going from f/4 to f/5.6 halves it. This relationship between aperture, depth of field, and light is crucial for achieving your creative vision in manual mode.
When selecting your aperture, consider both your artistic intention and the available light. If you’re shooting in bright daylight with a wide aperture, you’ll need to compensate with faster shutter speeds or lower ISO to avoid overexposure.
Shutter Speed: Freezing or Flowing Motion
In manual mode, shutter speed becomes your creative tool for controlling motion in your images. Fast shutter speeds, typically 1/500th of a second or quicker, freeze action in its tracks – perfect for capturing sports events, flying birds, or water droplets suspended in mid-air. When photographing a soccer match, for instance, a fast shutter speed will capture every detail of the player’s kick, from their stretched muscles to the rippling of their jersey.
Conversely, slower shutter speeds create a sense of movement and flow. By setting your camera to speeds like 1/15th of a second or longer, you can transform waterfalls into silky streams or turn car headlights into ribbons of light across a cityscape. This technique, often called motion blur, adds a dynamic element to your photographs that can’t be achieved any other way.
The key is matching your shutter speed to your creative vision. Want to capture the exact moment a hummingbird’s wings extend? Go fast. Looking to convey the hustle and bustle of a busy street? Slow it down. Remember that slower shutter speeds usually require a tripod to avoid camera shake, while faster speeds give you more freedom to shoot handheld.
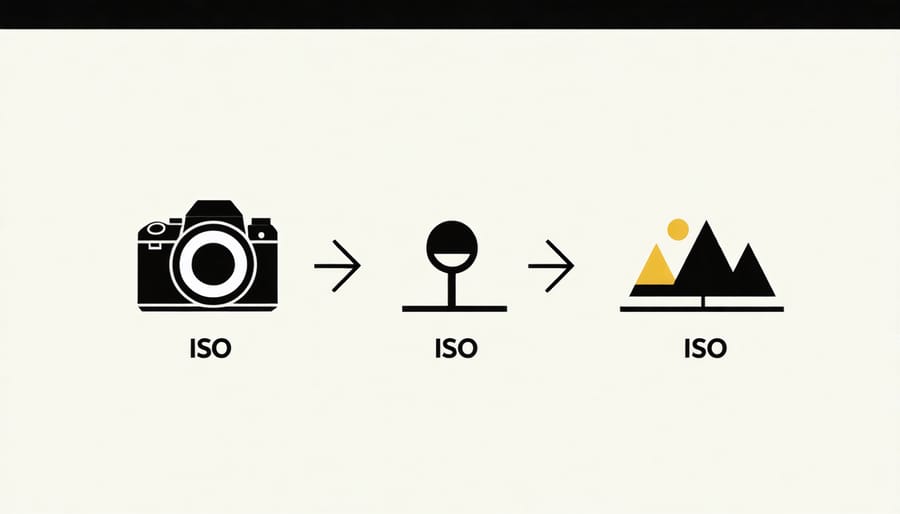
ISO: Balancing Light Sensitivity
ISO is your camera’s sensitivity to light, acting as a powerful tool in your manual mode arsenal. Think of it as adjusting your camera’s light absorption capabilities – higher ISO values make your sensor more sensitive to light, while lower values reduce this sensitivity.
When shooting in manual mode, starting with the lowest possible ISO (typically 100 or 200) is generally ideal for maintaining the highest image quality. However, as lighting conditions become challenging, you might need to increase your ISO to achieve proper exposure without compromising your desired shutter speed and aperture settings.
Be mindful that higher ISO values come with a trade-off: increased digital noise or grain in your images. Modern cameras handle high ISOs better than ever, but you’ll still notice a difference between shots taken at ISO 100 versus ISO 3200. The key is finding the sweet spot where you’re getting enough light sensitivity without compromising image quality beyond acceptable levels.
For optimal results, consider ISO as your last adjustment after setting your aperture and shutter speed. This approach helps maintain the highest possible image quality while still achieving your creative vision.
Reading Your Camera’s Light Meter
Your camera’s light meter is your trusted guide in manual mode, helping you achieve proper exposure by measuring the amount of light in your scene. The meter typically appears as a scale in your viewfinder or on your LCD screen, with markers indicating under- and overexposure.
When you look through your viewfinder, you’ll see a scale that usually ranges from -2 to +2 or -3 to +3, with zero in the middle. A moving indicator or needle shows where your current settings fall on this scale. When the indicator is at zero, your camera considers the exposure “correct” based on its reading of the scene.
However, remember that your camera’s meter aims for middle gray (18% gray) as its baseline. This means it can be fooled by very bright or very dark scenes. For instance, when photographing snow, your meter will typically underexpose the scene, trying to make the white snow appear gray. Conversely, when shooting a black subject, the meter might overexpose to brighten the darkness.
To use the meter effectively, first determine your primary subject and where you want to meter from. Most cameras offer different metering modes: matrix/evaluative (analyzing the entire scene), center-weighted (prioritizing the middle), and spot metering (measuring a specific point). Choose the appropriate mode based on your subject and lighting conditions.
As you adjust your aperture, shutter speed, and ISO, watch how the meter responds. The indicator moving left means underexposure, while right indicates overexposure. With practice, you’ll learn when to trust your meter and when to deliberately override its suggestions based on the scene’s characteristics.
Real-World Manual Mode Scenarios
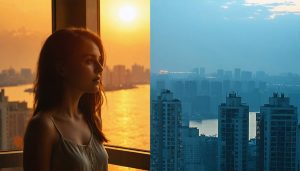
Low-Light Photography
Low-light photography presents unique challenges that manual mode helps you overcome. When shooting in dim conditions, your camera’s automatic settings often struggle to capture the scene as your eyes see it. This is where M mode truly shines, giving you complete control over your exposure triangle.
Start by opening up your aperture as wide as possible (lowest f-number) to allow maximum light into the sensor. Next, set your ISO – while higher values increase brightness, they also introduce noise, so find a balance that works for your scene. A good starting point is ISO 1600-3200 for most modern cameras.
Shutter speed becomes your final adjustment. In low light, you’ll often need slower speeds, but be cautious – anything below 1/60th of a second may introduce camera shake unless you’re using a tripod. If photographing moving subjects, you’ll need to compromise between maintaining a faster shutter speed and increasing ISO.
Remember that manual mode allows you to intentionally underexpose certain elements while preserving the mood of low-light scenes. This is particularly useful for capturing city lights, star trails, or moody portraits where complete brightness isn’t always desirable.
Action and Sports
Manual mode shines when it comes to capturing fast-moving subjects, making it invaluable for sports and action photography. The key is to prioritize shutter speed, typically starting at 1/500th of a second or faster to freeze motion effectively. For high-speed sports like motorsports or basketball, you might need to push this to 1/1000th or even 1/2000th.
Set your ISO first based on available light conditions, then adjust your aperture to maintain proper exposure while keeping your chosen shutter speed constant. For outdoor sports, start with ISO 400 and adjust as needed. Indoor venues might require ISO 1600 or higher to achieve those fast shutter speeds.
A wider aperture (like f/2.8 or f/4) not only helps gather more light but also creates that appealing background blur that makes your subject pop. Remember to use continuous autofocus (AI Servo for Canon, AF-C for Nikon) and burst mode to increase your chances of nailing the perfect moment. Pre-focusing on key areas where action is likely to occur can also give you an edge in capturing decisive moments.
Common Manual Mode Mistakes
Even experienced photographers can stumble when using manual mode. Being aware of these common mistakes will help you avoid them and improve your photography skills significantly.
One of the most frequent errors is forgetting to reset settings between shoots. After shooting in low light with high ISO and slow shutter speed, many photographers forget to adjust these settings when moving to a brighter environment, resulting in overexposed images.
Another classic pitfall is obsessing over “perfect” settings while missing the moment. Manual mode requires quick thinking, and sometimes getting the shot with slightly imperfect settings is better than missing it entirely while adjusting parameters.
Many photographers also make the mistake of always shooting at the widest aperture their lens offers. While this creates beautiful bokeh, it also results in an extremely shallow depth of field that can leave crucial elements out of focus, especially in portraits where eyes might be sharp but the nose and ears are soft.
Neglecting the light meter is another common error. While creative exposure choices can be intentional, consistently ignoring your camera’s light meter can lead to poorly exposed images. The meter is a valuable tool, even if you choose to deviate from its suggestions.
Finally, many photographers fall into the trap of using manual mode for every situation. Sometimes aperture priority or shutter priority modes are more practical choices, especially in rapidly changing lighting conditions or when tracking fast-moving subjects.
Remember, manual mode is a tool, not a badge of honor. Understanding when and how to use it effectively is more important than using it exclusively.
Mastering manual camera mode is a journey that opens up endless creative possibilities in your photography. Throughout this guide, we’ve explored how aperture controls depth of field, shutter speed freezes or blurs motion, and ISO sensitivity balances exposure in challenging lighting conditions. These fundamental elements work together to give you complete control over your images.
Remember that becoming proficient in manual mode takes practice and patience. Start by photographing static subjects in good lighting conditions, gradually progressing to more challenging scenarios. Don’t be discouraged by initial mistakes – they’re valuable learning opportunities that will help you develop your technical skills and artistic vision.
Keep your camera handy and make it a habit to shoot in manual mode regularly. Challenge yourself with different lighting conditions, subjects, and creative concepts. Take notes about your camera settings and results, building a personal reference for future shoots. Combined with powerful post-processing techniques, your manual mode expertise will elevate your photography to new heights.
The reward for mastering manual mode is the ability to capture exactly what you envision, rather than letting your camera make creative decisions for you. With continued practice and experimentation, you’ll develop an intuitive understanding of exposure settings, allowing you to focus more on composition and storytelling through your images.
Trust in your growing skills, embrace the learning process, and most importantly, enjoy the creative freedom that manual mode brings to your photography journey.