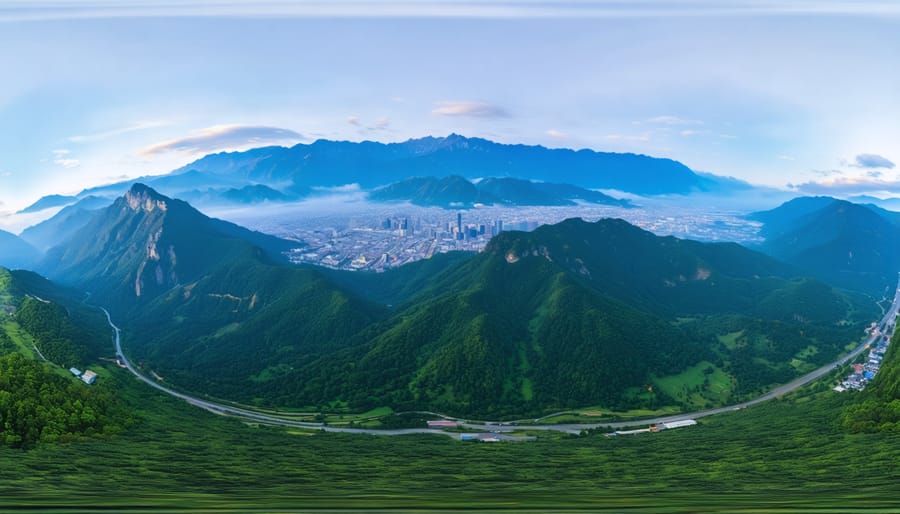
Panoramic photography captures expansive, wide-angle scenes by merging multiple images into a single, breathtaking photograph that exceeds the limitations of standard camera frames. Whether documenting sweeping landscapes, detailed cityscapes, or immersive interior spaces, learning to master panoramic photography opens up new creative possibilities for both professional and amateur photographers.
Unlike traditional single-frame shots, panoramas present a view that more closely matches human peripheral vision, typically spanning 180 degrees or more horizontally. This technique transforms ordinary scenes into extraordinary visual narratives, revealing intricate details and spatial relationships that might otherwise go unnoticed. Modern digital cameras and sophisticated stitching software have democratized this once-specialized form of photography, making it accessible to photographers at every skill level.
From sweeping mountain ranges to detailed architectural studies, panoramic photography combines technical precision with artistic vision. The method requires careful attention to overlap between frames, consistent exposure settings, and proper camera positioning to create seamless, professional-quality results that captivate viewers and preserve the grandeur of expansive scenes.
What Makes a Photo Panoramic?
Technical Characteristics
The technical aspects of panoramic photography revolve around three key elements that determine the final image quality. First, the field of view typically ranges from 120 to 360 degrees horizontally, with some variations in vertical coverage depending on the shooting technique. This expanded perspective is what gives panoramas their distinctive immersive quality.
When it comes to panoramic photo dimensions, aspect ratios usually fall between 2:1 and 4:1, though creative compositions might push these boundaries further. Traditional landscape orientations often work with 3:1 ratios, creating that classic wide-view aesthetic that’s perfect for scenic vistas.
Resolution requirements for panoramic images tend to be higher than standard photographs because they cover a larger visual area. A typical panorama might require 8,000 to 12,000 pixels in width to maintain sharp details when printed or viewed on large displays. This increased resolution demand comes from both the wider field of view and the need to maintain detail clarity across the entire expanded frame. Multiple source images are often stitched together to achieve these high resolutions while maintaining excellent image quality throughout the panoramic sweep.

Types of Panoramic Images
Panoramic images come in three main types, each offering unique perspectives and serving different creative purposes. Cylindrical panoramas wrap around the viewer horizontally, making them perfect for capturing sweeping landscapes or cityscapes. Imagine standing in the center of a cylinder with the image projected on its inner walls – that’s how these panoramas work, maintaining straight vertical lines while bending the horizon around you.
Spherical panoramas take this concept further by covering a full 360-degree view both horizontally and vertically, creating an immersive “bubble” of imagery. These are commonly used in virtual tours and interactive web experiences, allowing viewers to look in any direction, including up at the sky and down at their feet.
Planar panoramas, the simplest type, are wide-angle shots that maintain straight lines in all directions. Think of these as traditional photographs that have been expanded horizontally. They’re ideal for architectural photography or any scene where maintaining geometric accuracy is crucial. While they don’t wrap around the viewer like cylindrical or spherical panoramas, they offer a natural viewing experience that closely matches human perception.
Essential Equipment for Panoramic Photography
Cameras and Lenses
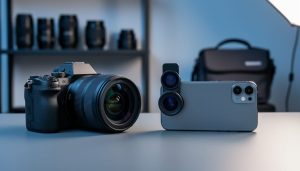
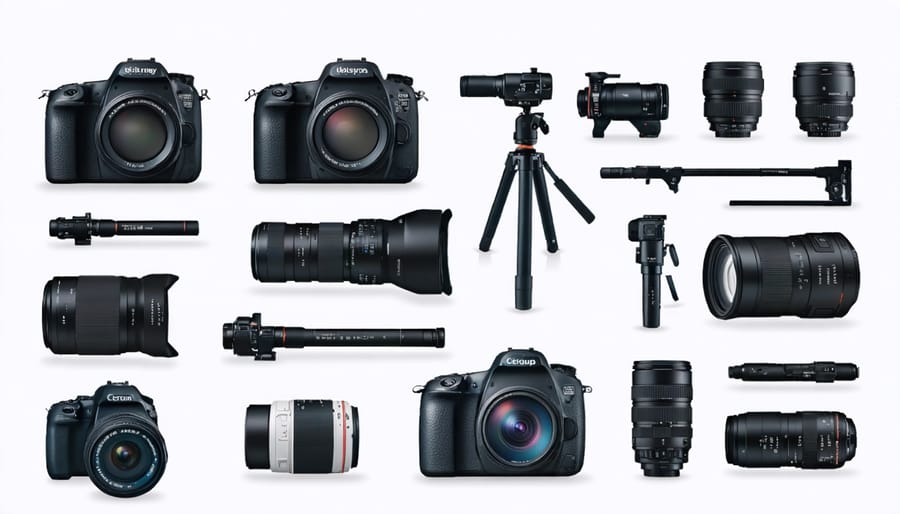
When it comes to capturing stunning panoramas, your choice of camera and lens plays a crucial role. While nearly any modern digital camera can create panoramic images through stitching, certain equipment choices can significantly enhance your results. Much like landscape photography techniques, selecting the right gear for panoramas requires careful consideration.
DSLR and mirrorless cameras are ideal choices due to their manual control capabilities and high-quality sensors. Entry-level cameras can produce good results, but professional bodies offer features like level indicators and higher resolution, which prove invaluable for precise panoramic work.
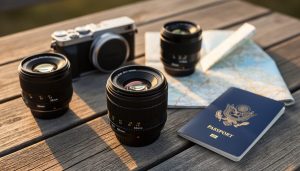
For lenses, medium focal lengths between 35mm and 50mm typically work best, as they provide a natural perspective with minimal distortion. While wide-angle lenses might seem like an obvious choice, they can actually complicate the stitching process due to increased distortion at the edges. Standard zoom lenses offer versatility, allowing you to adjust your focal length based on the scene.
Prime lenses deserve special mention for their superior sharpness and reduced distortion, making them excellent choices for high-quality panoramas. Whatever lens you choose, avoid using polarizing filters as they can create uneven effects across your panoramic sequence.
Remember that stability is crucial, so a sturdy tripod with a proper panoramic head will significantly improve your results, especially in challenging lighting conditions or when shooting multiple-row panoramas.
Support Equipment
Creating successful panoramic photographs requires specialized support equipment to ensure precise alignment and smooth image capture. A sturdy tripod forms the foundation of your setup, helping eliminate camera shake and maintaining consistent height across all shots. Look for a tripod with a bubble level and adjustable legs for uneven terrain.
A panoramic head (also called a pano head) is perhaps the most crucial piece of equipment. This specialized mount allows your camera to rotate around its nodal point, preventing parallax errors that can make stitching difficult. Basic panoramic heads offer simple rotation, while advanced models feature detent stops at precise degree intervals for consistent overlap between shots.
A leveling base sits between your tripod and panoramic head, making it easier to achieve a perfectly horizontal plane. This is essential because even slight tilts can lead to distorted final images. Some photographers also opt for L-brackets, which allow quick switching between landscape and portrait orientations while maintaining the camera’s rotation point.
For more complex panoramas, particularly those involving multiple rows, a multi-row panoramic head offers additional control. These heads enable both horizontal and vertical adjustments, perfect for creating immersive 360-degree panoramas or capturing tall subjects like buildings and landscapes with dramatic height differences.
Remember that while this equipment enhances precision, it’s possible to create panoramas without all these tools. Start with a solid tripod and add specialized gear as your skills and needs evolve.
Capture Methods and Techniques
Single-Shot Panoramas
Single-shot panoramas offer a straightforward approach to capturing wide-angle views without the need for multiple images or complex stitching techniques. These can be achieved using specialized panoramic cameras, which contain unique lens and sensor configurations designed specifically for wide-format photography. Classic examples include the Hasselblad XPan and Fuji GX617, which produce stunning panoramic images in a single exposure.
Modern digital cameras often include a panoramic mode that crops the image to create a wider aspect ratio, though this results in a lower resolution compared to traditional panoramic cameras. Some smartphones also offer this feature, making it accessible to casual photographers.
For those looking to create single-shot panoramas with standard cameras, cropping in post-processing is a viable option. Simply compose your shot with the panoramic crop in mind, leaving enough room above and below your subject. While this method reduces the final image resolution, it can still produce impressive results when working with high-resolution sensors.
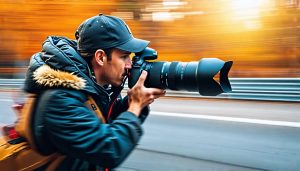
The key advantage of single-shot panoramas is their ability to capture moving subjects without the ghosting or alignment issues common in multi-shot techniques. This makes them particularly valuable for street photography, sports events, or any scenario where timing is crucial.
Multi-Shot Stitching
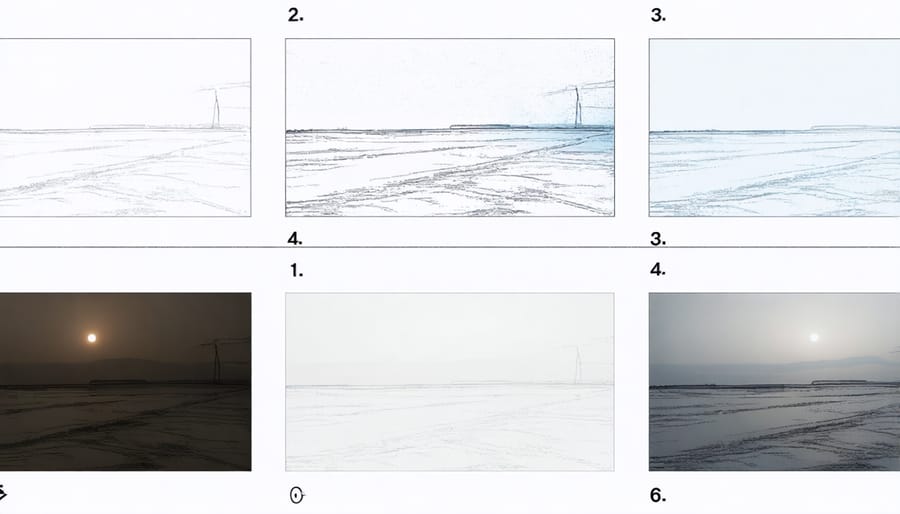
Multi-shot stitching is the most common and versatile technique for creating panoramic photographs. This method involves taking multiple overlapping images and combining them into a single, seamless panoramic image using specialized software. To achieve the best results, photographers typically overlap each shot by 30-40% to give the stitching software enough information to blend the images accurately.
When shooting for a multi-shot panorama, it’s crucial to maintain consistent camera settings across all shots. This means using manual mode to lock in your exposure, focus, and white balance settings. Any automatic adjustments between shots can create noticeable variations in the final stitched image. Using a tripod with a leveled head helps ensure your camera stays on the same horizontal plane, though handheld shooting is possible with practice.
The process typically starts from left to right (or vice versa), with the photographer carefully rotating the camera between shots. For maximum quality and detail, many photographers shoot in portrait orientation, which provides more vertical coverage and results in a higher resolution final image. This technique is particularly useful when photographing landscapes, architecture, or any scene that extends beyond what a single frame can capture.
Modern stitching software like Adobe Photoshop, PTGui, or Hugin can automatically align and blend the images, correcting for lens distortion and exposure differences. These programs can even handle complex panoramas that include moving subjects or varying light conditions, though careful shooting technique will always yield the best results.
Common Challenges and Solutions
While panoramic photography can create stunning wide-view images, photographers often encounter several common challenges. Understanding these issues and their solutions is crucial for achieving professional results.
Parallax error is perhaps the most frequent obstacle, occurring when your camera’s position shifts between shots, causing misalignment in the final image. To combat this, use a proper panoramic head on your tripod and rotate the camera around its nodal point. If shooting handheld, maintain a consistent position while pivoting your body, keeping the camera level throughout the sequence.
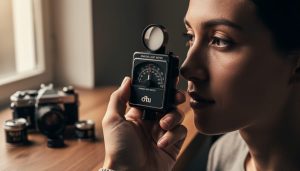
Exposure variations across frames can create visible seams in your panorama, especially in challenging lighting conditions. Lock your exposure settings manually before starting your sequence to ensure consistent lighting across all frames. When shooting scenes with dramatic light differences, consider using graduated neutral density filters or taking multiple exposures for each frame.
Stitching problems often arise from insufficient overlap between images or lens distortion. Maintain at least 30-40% overlap between consecutive shots to give your stitching software enough information to work with. Use a lens with minimal distortion, typically in the 35-50mm range, and keep it at a consistent focal length throughout the sequence. Modern stitching software can handle most minor alignment issues, but clean capture techniques will always yield better results.
Remember to check your panorama’s edges during post-processing, as stitching often creates irregular borders that need creative cropping to achieve a polished final image.
Software and Post-Processing
Stitching Software Options
Creating panoramic images requires reliable software to stitch multiple photos together seamlessly. Several excellent options are available, ranging from free to professional-grade solutions.
Adobe Lightroom remains a popular choice among photographers, offering built-in panorama merging capabilities with its Photo Merge feature. It’s particularly convenient for those already using Adobe’s ecosystem and provides excellent control over the final output.
For those seeking a dedicated panorama tool, PTGui stands out as an industry standard. While it comes with a price tag, its powerful features, including advanced control points and masking tools, make it invaluable for complex panoramas and professional work.
Microsoft’s Image Composite Editor (ICE) offers a free alternative that produces surprisingly good results. It’s user-friendly and handles most straightforward panoramas effectively, making it perfect for beginners or occasional use.
Hugin, an open-source option, provides sophisticated features comparable to premium software. While its interface may seem less polished, it offers extensive control over the stitching process and supports various projection types.
For mobile photographers, apps like AutoStitch and Pano can create panoramas directly on smartphones. These apps utilize your device’s built-in panorama features while offering additional control over the process.
When choosing stitching software, consider factors like ease of use, output quality, and specific features needed for your projects. Most options offer trial versions, allowing you to test their capabilities before committing.
Final Touch-ups
After capturing your panoramic shots, the final touch-ups can make the difference between a good image and a great one. Start by checking for stitching errors, particularly along the seams where individual frames meet. Common issues include ghosting (where moving objects appear multiple times) or misaligned elements that need manual correction in your editing software.
Color and exposure matching across frames is crucial for a natural-looking panorama. Sometimes, different lighting conditions between shots can create visible bands or inconsistencies. Use gradient adjustments to smooth out these transitions and ensure uniform exposure throughout the image.
Distortion correction is often necessary, especially in wide panoramas. The cylindrical or spherical nature of panoramic shots can cause straight lines to appear curved, particularly near the edges. Most editing software offers specific tools to address this issue while maintaining the image’s natural perspective.
Consider cropping your panorama to eliminate any irregular edges created during the stitching process. This often results in a cleaner, more professional look. Pay attention to the horizon line – even slight tilts become more noticeable in panoramic images and should be carefully leveled.
Finally, apply standard image enhancements like contrast adjustments, sharpening, and color saturation with extra care. Remember that these adjustments affect a much larger canvas, so subtle changes often work better than dramatic ones.
Panoramic photography opens up a whole new world of creative possibilities, allowing you to capture the grandeur of sweeping landscapes and the intricate details of vast scenes in a single, compelling image. As we’ve explored, whether you’re using specialized equipment or simply your smartphone, the key lies in proper technique, careful planning, and attention to detail. Remember that successful panoramic shots require steady hands, proper overlap between frames, and consistent exposure settings. Don’t be discouraged if your first attempts aren’t perfect – like any photographic technique, panoramic photography takes practice to master. Start with simple horizontal panoramas of static scenes, then gradually experiment with more complex compositions and subjects. The satisfaction of creating your first stunning panoramic image will be worth every moment spent learning this rewarding photographic art form. So grab your camera, head outside, and start exploring the wonderful world of panoramic photography!