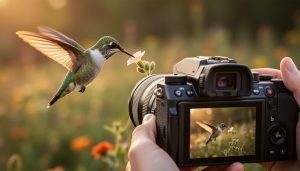
Natural light transforms ordinary film footage into cinematic masterpieces when you master three essential techniques. Position subjects near large windows during golden hour to capture soft, directional lighting that adds depth and dimension to every frame. Scout locations with natural bounce surfaces – white walls, reflective buildings, or pale concrete – to harness professional lighting techniques without additional gear. Shape available light by strategically placing subjects relative to light sources, using shadow edges to create mood and visual interest. The raw authenticity of natural light cinematography connects with viewers on a primal level, evoking emotions that artificial lighting often struggles to match. While mastering natural light requires precision and planning, it rewards filmmakers with a timeless aesthetic that resonates across genres and styles.
The Magic Hours: Golden and Blue Light
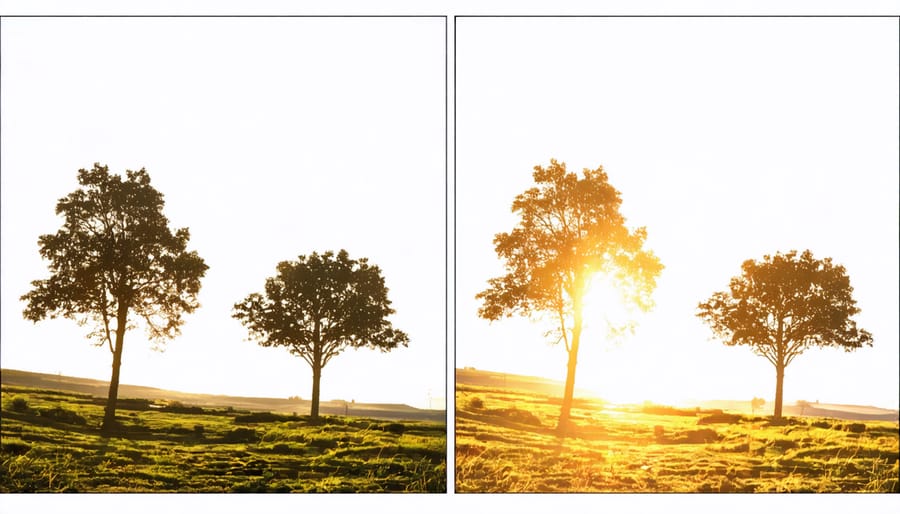
Golden Hour Techniques
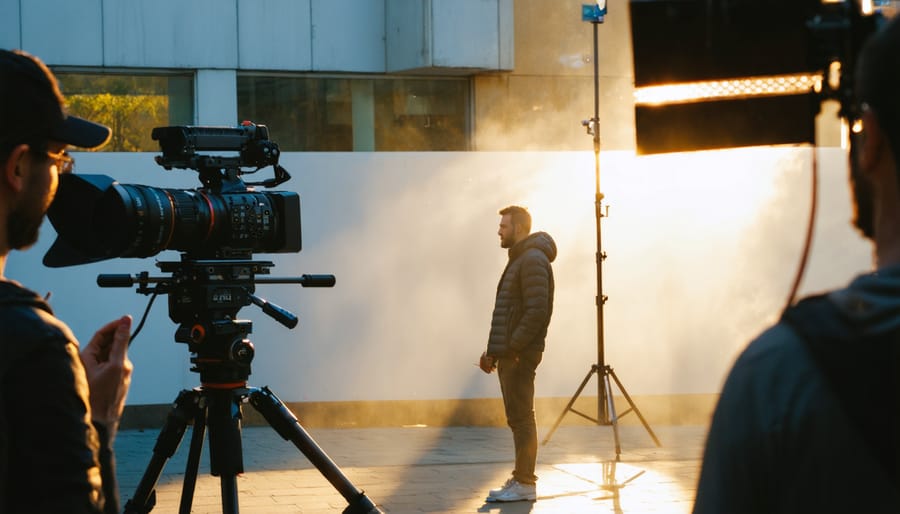
The golden hour presents a magical opportunity for filmmakers, offering warm, directional light that can transform ordinary scenes into cinematic masterpieces. During these precious moments around sunrise and sunset, position your subjects so the sun falls at a 45-degree angle to their faces, creating gentle shadows that add depth and dimension to their features.
To maximize golden hour shooting, arrive at least 30 minutes before sunrise or sunset to set up your equipment and test your exposure settings. Keep in mind that the light changes rapidly during these periods, so consider using manual exposure settings to maintain consistent lighting throughout your sequence. A light meter can be invaluable for maintaining accurate exposure as the light shifts.
When shooting backlit scenes, use a reflector to bounce warm light back onto your subject’s face, creating a natural fill light that preserves detail in the shadows. For dynamic shots, try incorporating lens flare by positioning your camera so the sun grazes the edge of your lens – just be careful not to damage your sensor with direct sunlight.
Movement during golden hour can create stunning effects. Try incorporating slow camera movements or following subjects walking through the light to capture beautiful rim lighting and atmospheric elements like dust or moisture in the air. Remember that golden hour typically lasts about 20-30 minutes, so plan your shots carefully and prioritize your must-have scenes to make the most of this fleeting natural phenomenon.
Blue Hour Cinematography
The blue hour, occurring just before sunrise and after sunset, offers filmmakers a magical window of opportunity for capturing uniquely atmospheric footage. During these brief periods, the sky takes on deep blue hues, creating a natural filter that bathes everything in cool, ethereal light.
To maximize blue hour shooting, timing is crucial. The best footage typically comes during the 20-30 minute sweet spot when the ambient light is balanced enough to capture both the sky and foreground details. Modern cameras’ improved low-light capabilities make this easier than ever, though you’ll want to monitor your exposure carefully as light levels change rapidly.
The blue hour’s distinctive quality makes it perfect for establishing shots, particularly in urban environments where artificial lights begin to twinkle against the deepening blue sky. This interplay of natural and artificial light creates a compelling visual narrative that can enhance your story’s emotional impact.
For the most dramatic results, scout your location in advance and set up early. Use wider apertures to capture more light, but be mindful of your focus. The soft, diffused quality of blue hour light is particularly flattering for character-driven scenes, lending a contemplative mood that’s difficult to replicate artificially.
Consider using graduated neutral density filters to balance exposure between bright skies and darker foregrounds. This technique helps maintain detail across your entire frame while preserving the blue hour’s characteristic atmosphere.
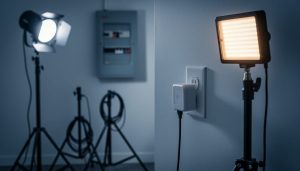
Essential Tools for Natural Light Control
Diffusion and Reflection
Working with natural light doesn’t mean you have to accept it exactly as it falls. Diffusers and reflectors are your best friends when it comes to shaping and controlling available light for film photography. Think of them as your portable lighting studio that works with nature rather than against it.
Diffusers act like clouds on a sunny day, softening harsh direct sunlight and creating a more flattering, even illumination. A simple translucent white fabric or professional diffusion panel held between your subject and the sun can transform harsh shadows into gentle gradients. This technique is particularly useful during midday shoots when the sun is directly overhead.
Reflectors, on the other hand, redirect light to fill in shadows and add dimension to your shots. Whether you’re using a store-bought reflector or a DIY solution like white foam board, these tools can bounce light back onto your subject’s face or add a subtle catchlight to their eyes. Gold reflectors add warmth to skin tones, while silver ones maintain neutral color temperature – perfect companions to cinematic lens filters.
Bounce cards, smaller versions of reflectors, are excellent for precise control in portrait photography. Position them under the chin to eliminate unflattering shadows or use them to create subtle highlights that enhance facial features. The key is experimentation – try different angles and distances to find the perfect balance of natural and reflected light for your specific vision.
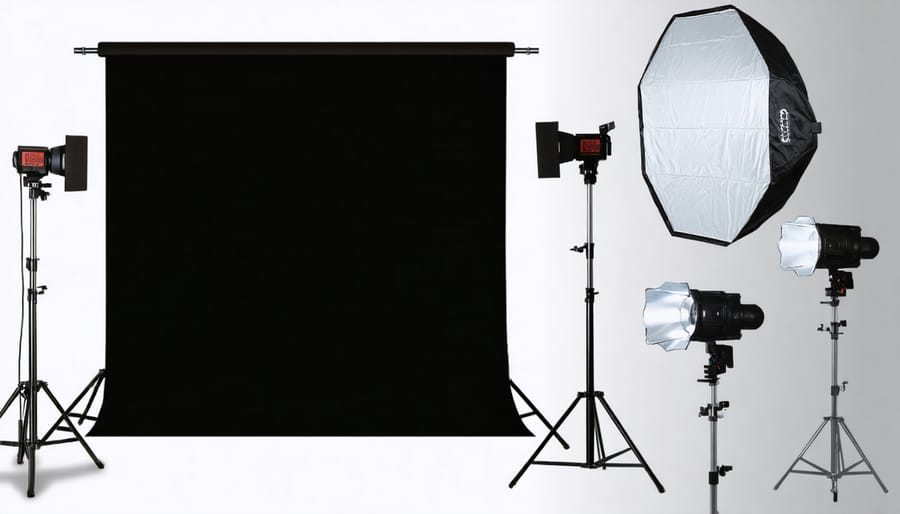
Negative Fill
While natural light can create beautiful illumination, sometimes you need to selectively reduce or block light to create depth and contrast in your shots. This is where negative fill comes into play, serving as a powerful tool in the natural light filmmaker’s arsenal.
Flags, which are typically black fabric or solid materials mounted on stands, can be strategically placed to block and control light. By positioning a flag between your subject and an unwanted light source, you can create intentional shadows that add dimensionality to your image. This technique is particularly effective when shooting outdoors, where you might want to reduce light reflecting off nearby buildings or control harsh sunlight.
Black bounce is another essential negative fill technique. Unlike traditional reflectors that add light, black bounce materials absorb light, creating deeper shadows and increased contrast. Position black foam core or fabric near your subject on the fill side to reduce ambient light reflection and create more dramatic shadows. This method works exceptionally well for portrait shots or when you want to enhance the mood of a scene.
The key to successful negative fill is subtlety. Start by placing your flags or black bounce at a 45-degree angle to your subject, then adjust the distance and angle until you achieve the desired shadow depth. Remember that the closer your negative fill is to the subject, the more pronounced the effect will be.
Camera Settings for Natural Light
Exposure Triangle Mastery
Mastering natural light photography requires a deep understanding of the exposure triangle – the delicate balance between ISO, aperture, and shutter speed. When shooting with natural light, these three elements become your primary tools for achieving the perfect exposure.
Start by setting your ISO as low as possible (typically 100 or 200) to minimize noise and maintain image quality. In bright daylight, this is usually straightforward, but you might need to increase it in dimmer conditions. Remember that higher ISO settings can introduce grain, which, while potentially adding character to your footage, might not always be desirable.
Your aperture choice affects both exposure and depth of field. A wider aperture (lower f-number) lets in more light and creates that coveted shallow depth of field, perfect for interviews or artistic shots. In bright conditions, you might need to stop down to f/8 or higher to avoid overexposure while maintaining sharp focus throughout your frame.
Shutter speed is particularly crucial for motion. The standard rule is setting it to double your frame rate (1/50 for 24fps, 1/60 for 30fps). This creates natural-looking motion blur that viewers expect. However, bright conditions might force you to use faster shutter speeds, requiring ND filters to maintain proper exposure while keeping that cinematic look.
The key is finding the sweet spot where these three settings work together. Start with your desired aperture for creative effect, then adjust ISO and shutter speed accordingly while monitoring your exposure meter.
Picture Profiles
Picture profiles serve as your camera’s foundation for capturing natural light effectively. When shooting in available light conditions, selecting the right profile can dramatically impact your footage’s dynamic range and color rendition. For Sony cameras, S-Log2 or S-Log3 profiles offer excellent flexibility, while Canon users might prefer C-Log or C-Log3 for their natural light work.
Start with a flat profile that preserves highlight and shadow detail, giving you more latitude during post-production color grading for natural light. Consider reducing contrast and saturation in-camera to maintain maximum information in your footage. This approach particularly benefits scenes with challenging lighting ratios, like shooting during golden hour or in partially shaded locations.
For beginners, standard picture profiles with slight modifications can work well. Try decreasing contrast by -2 or -3 steps and reducing saturation slightly. This creates a more balanced image while retaining enough information for post-processing. Remember that your choice of picture profile should align with your project’s final delivery requirements and your comfort level with post-production work.
Location Strategies
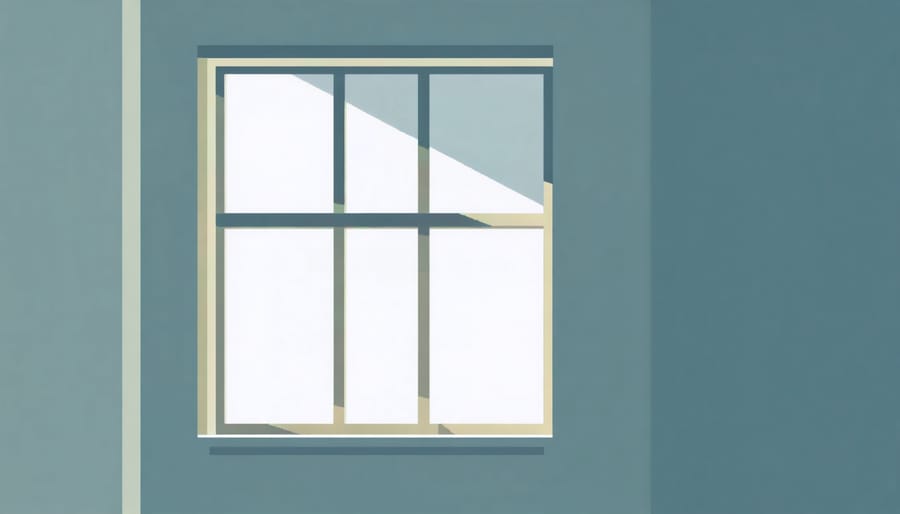
Indoor Natural Light
Working with natural light indoors presents unique challenges and opportunities for filmmakers. Windows are your primary light source, acting as nature’s softboxes. Position your subject facing or at a 45-degree angle to the window to achieve flattering, dimensional lighting. The larger the window, the softer and more diffused the light will be.
Time of day significantly impacts indoor natural lighting. Morning and late afternoon light tends to be warmer and more directional, creating dramatic shadows and highlighting texture. Midday light is typically harder and more neutral in color temperature. Consider scheduling your shoots around these natural lighting cycles to achieve your desired look.
When dealing with harsh direct sunlight through windows, diffuse it using sheer curtains or a white bed sheet. This creates a more even, manageable light source while maintaining the natural quality. For additional control, use bounce cards or white foam boards to reflect light back onto your subject, filling in shadows and creating more balanced exposure.
Be mindful of mixed lighting situations. When natural light mixes with indoor artificial lighting, it can create conflicting color temperatures. Either commit to using only window light by turning off artificial sources or use color correction gels on artificial lights to match the natural light temperature.
Remember that indoor natural light changes constantly throughout the day. Monitor these changes and adjust your camera settings and subject positioning accordingly to maintain consistent exposure and look throughout your shoot.
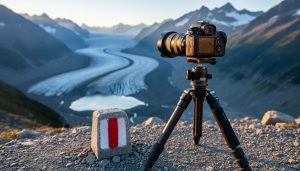
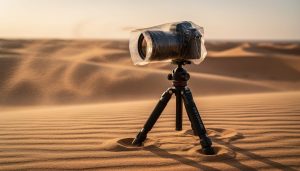
Outdoor Environments
Working with natural light outdoors presents both exciting opportunities and unique challenges for filmmakers. The sun acts as your primary light source, offering incredible power and beauty, but its constantly changing nature requires careful planning and adaptability.
The “golden hours” – shortly after sunrise and before sunset – provide warm, directional light that’s perfect for capturing atmospheric footage. During these periods, the low angle of the sun creates long shadows and adds depth to your scenes, while the warm color temperature adds a cinematic quality that’s difficult to replicate artificially.
Midday sun can be particularly challenging due to harsh shadows and potential overexposure. Combat this by seeking open shade, using diffusion materials like silk screens, or incorporating dynamic camera movements to add visual interest when lighting conditions aren’t ideal.
Cloudy days offer their own advantages, acting as a giant softbox and providing even, diffused light. While this might seem less dramatic, it’s perfect for interviews or scenes requiring consistent exposure across multiple takes.
Remember to monitor weather conditions and plan shooting schedules accordingly. Consider using tools like sun-tracking apps to predict light direction and intensity throughout the day. Keep reflectors and diffusion materials handy to shape and control natural light when needed, allowing you to maintain professional results while working with nature’s most powerful light source.
Mastering natural light cinematography is a journey that combines technical knowledge with artistic vision. Throughout this guide, we’ve explored how to harness available light effectively, from understanding the qualities of different light sources to positioning your subjects for optimal results. Remember that successful natural light filming isn’t just about having the right equipment – it’s about developing an eye for light and learning to work with what nature provides.
Start by practicing these techniques in various lighting conditions, and don’t be afraid to experiment. Keep a shooting diary to track your experiences with different times of day, weather conditions, and locations. While challenges may arise, each obstacle presents an opportunity to grow your skills and creative problem-solving abilities.
Combined with thoughtful post-production enhancements, your naturally lit footage can achieve that professional, cinematic look you’re aiming for. The key is persistence and continuous learning. With time and practice, you’ll develop an intuitive understanding of how to craft beautiful images using nothing but the light around you.
Remember, some of the most memorable films in history were shot using natural light. Your next masterpiece could be too.