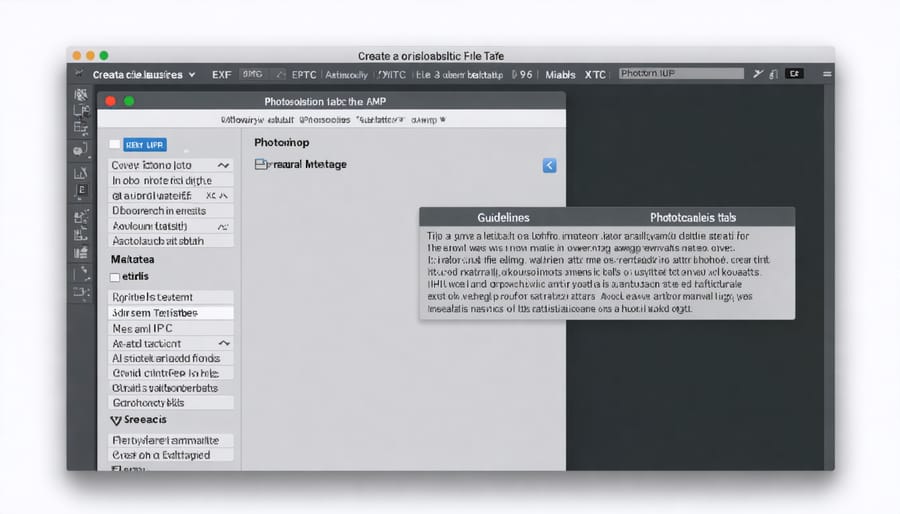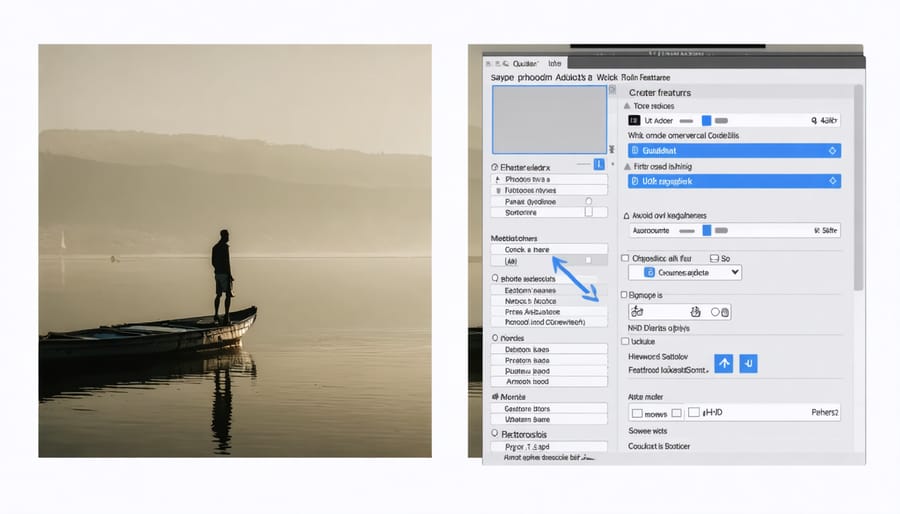
Metadata holds the key to organizing, protecting, and managing your digital photographs in Photoshop, revealing crucial details from camera settings to copyright information. Access this valuable data instantly by selecting File > File Info or pressing Alt+Shift+Ctrl+I (Windows) / Option+Shift+Command+I (Mac) within Photoshop. View essential shooting parameters, GPS coordinates, and editing history through the Properties panel, providing a comprehensive overview of your image’s technical journey.
Professional photographers rely on metadata to streamline their workflow, protect their intellectual property, and maintain detailed records of their shooting conditions. Whether you’re managing a vast portfolio or simply wanting to preserve important image details, understanding how to view and interpret metadata in Photoshop empowers you to make informed decisions about your photographs while maintaining a complete historical record of your creative process.
Beyond basic camera settings, metadata reveals advanced information like color profiles, resolution changes, and layer modifications – critical details for maintaining image integrity across different platforms and publishing environments. Master these tools to enhance your professional workflow and ensure your images retain their essential information throughout the editing process.
Understanding Photo Metadata in Photoshop
EXIF, IPTC, and XMP: The Three Pillars of Photo Metadata
When working with photo metadata in Photoshop, you’ll encounter three main standards: EXIF, IPTC, and XMP. Each plays a unique role in storing and organizing your image information, making them essential for effective JPEG metadata editing and management.
EXIF (Exchangeable Image File Format) primarily handles technical camera data. Think of it as your photo’s technical diary, recording details like shutter speed, aperture, ISO settings, and even the exact GPS coordinates where the image was taken. This information is automatically embedded by your camera when you take a shot.
IPTC (International Press Telecommunications Council) metadata focuses on descriptive content. It’s where you’ll store information like photo captions, copyright details, contact information, and keywords. Professional photographers often rely on IPTC fields to maintain proper attribution and licensing information for their work.
XMP (Extensible Metadata Platform), Adobe’s contribution to the metadata family, acts as a modern, flexible framework that can incorporate both EXIF and IPTC data. It allows for custom metadata fields and provides better compatibility across different software platforms. Think of XMP as the universal translator that helps different applications understand and preserve your photo’s metadata.
Understanding these three standards helps you make informed decisions about how to organize and protect your image information in Photoshop.
Where to Find Metadata in Photoshop
In Photoshop, accessing image metadata is straightforward once you know where to look. The primary location is the File Info panel, which you can access by clicking File > File Info in the main menu. This opens a comprehensive window displaying all available metadata for your image.
For a quick overview, you can also use the Properties panel. If it’s not visible, go to Window > Properties to display it. The Properties panel shows basic metadata alongside other image information, making it perfect for quick checks during editing.
Another useful location is Bridge, Photoshop’s file management companion. Bridge offers a dedicated Metadata panel that displays extensive information about your images. To view it, simply select an image in Bridge, and the metadata will appear in the right-hand panel.
For more detailed technical information, including camera settings and color profiles, check the Document Info panel by clicking Window > Info. This panel can be particularly helpful when you need specific technical details about your image’s properties.
Remember that some metadata fields may appear empty if the information wasn’t recorded by your camera or added manually. You can customize which metadata fields are displayed by adjusting the panel options in each viewing location.
Viewing and Editing Metadata in Photoshop
Using the File Info Dialog
The File Info dialog is your gateway to viewing and editing metadata in Photoshop, offering a comprehensive overview of your image’s technical and descriptive information. To access it, simply navigate to File > File Info or use the keyboard shortcut Alt+Shift+Ctrl+I (Windows) or Option+Shift+Command+I (Mac).
When the dialog opens, you’ll see several tabs across the top, each organizing different types of metadata. The Basic tab displays essential information like document title, author, copyright status, and description. The Camera Data (EXIF) tab reveals technical details about how the image was captured, including camera model, exposure settings, and GPS coordinates if available.
The most frequently used panels include:
– Description: Add titles, descriptions, and copyright information
– Camera Data: View shooting settings and equipment details
– Origin: Track file creation date and modification history
– IPTC: Enter professional metadata like location, contact info, and usage rights
– Advanced: Access raw XMP data and custom metadata fields
You can easily edit most fields by clicking directly into them. Any changes you make will be saved with the image when you click OK. For photographers managing large collections, the ability to copy and paste metadata between files is particularly useful – just use the arrow icons in the dialog’s bottom left corner.
Remember that some fields might appear grayed out if they contain camera-generated data that can’t be modified. This protects crucial technical information from accidental changes while allowing you to add your own descriptive metadata freely.

Quick Metadata Panel Tips
The Quick Metadata Panel offers several time-saving shortcuts that can streamline your workflow when viewing and editing photo information. To quickly access commonly used metadata fields, click on the flyout menu in the panel’s top-right corner and select “Preferences.” Here, you can customize which fields appear by default, keeping only the ones you frequently use.
When working with multiple images, hold the Shift key while selecting fields to edit several properties simultaneously across all selected photos. This is particularly useful when adding copyright information or location data to a batch of images from the same shoot.
For faster navigation, use the Tab key to move between fields, and Shift+Tab to move backward. You can also use keyboard shortcuts like Ctrl+Alt+Shift+I (Windows) or Cmd+Option+Shift+I (Mac) to instantly open the File Info dialog box for more detailed metadata editing.
The star rating system in the panel allows quick image organization – simply press numbers 1-5 while the image is selected to assign ratings. Labels can be applied just as quickly using numbers 6-9.
To copy metadata from one image to another, select the source image, click the flyout menu, and choose “Copy Metadata.” Then select the target image(s) and use “Paste Metadata” to transfer the information. Remember to use the checkbox options to select which specific metadata categories you want to copy.
These efficiency tricks can save considerable time when managing large photo collections while ensuring your metadata stays organized and consistent.

Batch Processing Metadata
When working with multiple images, applying metadata changes one by one can be time-consuming. Fortunately, Photoshop offers a powerful batch processing feature that lets you update metadata across multiple files simultaneously. To begin, select ‘File > Automate > Batch’ from the main menu. In the Batch dialog box, click ‘Source’ and choose the folder containing your images.
Before running the batch process, create an action that includes your desired metadata changes. This can include copyright information, contact details, or image descriptions. Select ‘Window > Actions’ to open the Actions panel, click the ‘Create New Action’ button, and record your metadata updates on a sample image.
Once your action is ready, select it in the Batch dialog box and choose your destination folder. You can opt to save and close the files, or keep them open for review. For additional control, enable ‘Override Action “Open” Commands’ to ensure Photoshop processes all selected files regardless of the action’s original settings.
Remember to verify your changes on a few test images before processing your entire collection, as batch operations can’t be easily undone across multiple files.
Metadata Best Practices for Photographers
Essential Metadata Fields Every Photographer Should Use
When managing your photos in Photoshop, certain metadata fields are crucial for both organization and protecting your work. Let’s explore the essential fields every photographer should populate:
Title and Description: These fields help you quickly identify images and can help optimize your photography portfolio with relevant search terms. Make your titles descriptive yet concise, and use the description field to add detailed information about the shot.
Copyright Status: Always mark your copyright status and include your name as the creator. This establishes your ownership and helps protect your work from unauthorized use.
Contact Information: Include your website, email, or phone number so potential clients can reach you. This is especially important if your images are shared online.
Keywords: Add relevant keywords that describe the subject, location, style, and mood of your photo. Think like someone searching for your type of image and include those terms.
Creation Date: Beyond the automatic capture date, you can specify when the image was edited or published. This helps track different versions and maintain accurate records.
Location Information: If your camera doesn’t automatically geo-tag images, manually adding location data can help organize travel photography and create location-based collections.
Camera Settings: While often recorded automatically, you might want to add notes about specific techniques or equipment used, making it easier to replicate successful shots later.

Metadata Templates for Different Photography Types
Creating metadata templates can streamline your workflow and ensure consistency across different types of photography projects. For landscape photography, consider including GPS coordinates, location names, shooting conditions, and seasonal information. A template might include fields for weather conditions, time of day, and specific equipment used to achieve the shot.
For portrait photography, your metadata template should focus on model information, release forms, makeup artists, and styling details. Include fields for lighting setup, pose references, and any specific client requirements. Wedding photographers might want templates that track ceremony details, couple information, and shot lists.
Product photography templates should emphasize product specifications, client details, and shooting specifications. Include fields for product SKUs, dimensions, and styling notes. This helps maintain organization when shooting multiple products in a session.
Wildlife photographers can benefit from templates that include species information, location data, and behavioral notes. Consider adding fields for animal behavior, habitat details, and conservation status.
To create a template in Photoshop, start by setting up your preferred metadata fields in the File Info dialog. Once configured, save these settings as a template using the Export button. You can then apply this template to future images, saving valuable time and ensuring consistent documentation across your photo library.
Remember to regularly review and update your templates as your photography needs evolve. Different projects may require adjustments to your standard templates, so maintain flexibility while keeping your core information intact.
Privacy and Security Considerations
When sharing photos online or with clients, it’s crucial to be mindful of the sensitive information that may be embedded in your image metadata. While metadata helps future-proof your photo collection, it can also expose personal details like your camera’s serial number, exact location coordinates, or creation dates.
Photoshop offers several ways to manage this sensitive information before sharing. You can selectively remove specific metadata fields or strip all metadata entirely using the File Info dialog box. For client work, consider creating a metadata preset that includes only essential copyright information while excluding personal details.
Before exporting images for the web, always review the metadata contents. Pay special attention to GPS coordinates and device information, especially when sharing images from personal locations. For additional security, use the “Save for Web” function, which allows you to choose exactly which metadata to preserve or remove.
Remember that once an image is shared online, its metadata becomes accessible to anyone who downloads the file. Developing good metadata management habits helps protect your privacy while maintaining professional standards.
Common Metadata Problems and Solutions
When working with metadata in Photoshop, you might encounter several common issues that can disrupt your photography backup workflow or file organization. Here are the most frequent problems and their solutions:
Missing or Corrupt Metadata: If you can’t see any metadata in your files, first ensure you’re viewing the correct metadata panel (File Info or Properties). If the issue persists, try reopening the file or checking if it was properly saved in your last session. Sometimes, saving a copy of the file can restore accessible metadata.
Metadata Not Saving: When changes to metadata aren’t sticking, make sure you have write permissions for the file and its location. Also, verify that the file isn’t marked as read-only in your operating system. For RAW files, remember that metadata changes are typically saved in sidecar XMP files.
Inconsistent Copyright Information: To avoid manually entering copyright details for each image, set up metadata templates in Photoshop. Go to File > File Info, enter your standard copyright information, and save it as a template for future use.
Character Encoding Issues: If you see garbled text or strange characters in your metadata fields, this usually indicates an encoding problem. Try resaving the file with proper UTF-8 encoding or recreating the metadata entries using standard ASCII characters.
Synchronization Problems: When metadata appears differently across different applications, use the “Update” option in Bridge or Photoshop to synchronize XMP data with your files.
Managing metadata in Photoshop is an essential skill that can streamline your workflow and protect your creative work. By understanding how to view, edit, and maintain your image metadata, you’re taking important steps toward better digital asset management and professional photography practices. Remember to regularly check and update your metadata, especially copyright information and camera settings, as this information can prove invaluable for future reference and image organization. Whether you’re a professional photographer or enthusiast, proper metadata management helps maintain the integrity of your work and provides crucial documentation of your creative process. Make it a habit to review your metadata workflow periodically, ensuring that your images carry the information they need as they move through your digital ecosystem.


