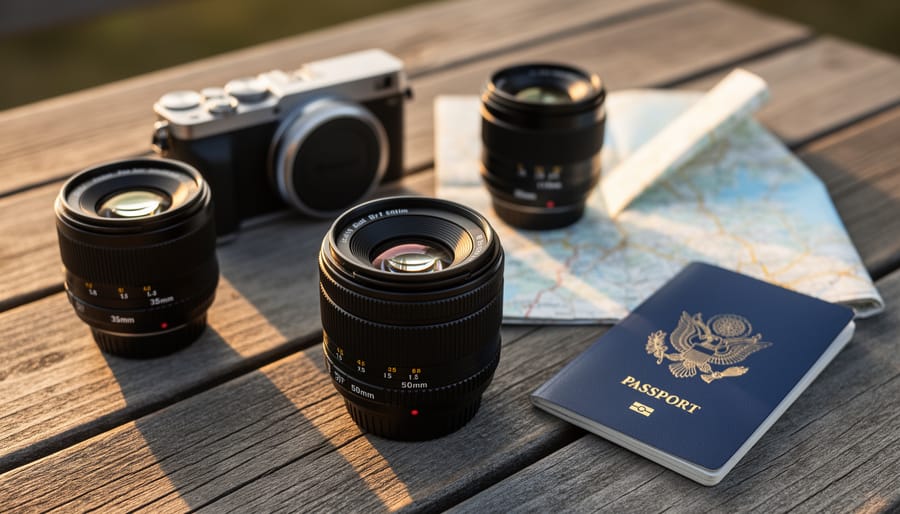
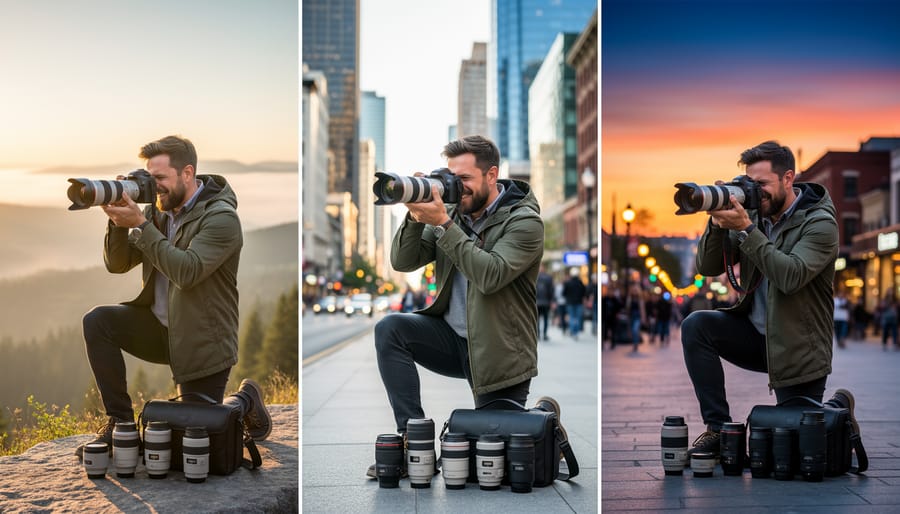
Pack a 35mm for street scenes and environmental portraits, a 50mm as your versatile workhorse for everyday moments, and an 85mm for compelling portraits and compressed perspectives. This three-lens combination covers roughly 90% of travel photography scenarios while keeping your bag light enough to actually enjoy your trip.
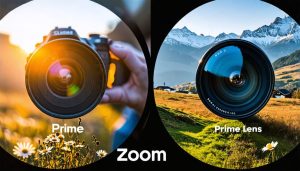
The case for traveling with three prime lenses instead of zooms comes down to a simple equation: better image quality and wider apertures versus convenience. Prime lenses force you to move with your feet, which often leads to more thoughtful compositions and better images. They’re typically sharper, faster in low light, and lighter than their zoom counterparts. While the prime vs zoom debate continues among photographers, those who switch to primes for travel rarely go back.
Consider your typical travel day: wandering through markets and narrow streets (35mm), capturing authentic moments with locals and documenting your experiences (50mm), and photographing details, people, and scenes that benefit from subject isolation (85mm). This focal length spread provides creative flexibility without the paralysis that comes from too many options. You’ll develop an intuitive sense of which lens to reach for before you even raise the camera.
The challenge isn’t whether three primes can handle travel photography, but rather choosing the right three for your style and budget. Whether you’re shooting full-frame or crop sensor, investing $500 or $5000, strategic lens selection transforms your travel photography from documentary snapshots into compelling visual stories.
The Case for Primes When You’re on the Road
Weight and Pack Size: The Traveler’s Reality
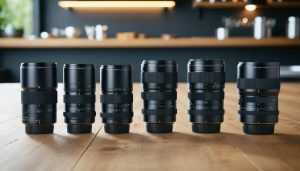
Let’s talk actual numbers, because the weight difference matters when you’re walking cobblestone streets for eight hours. A typical three-prime travel kit—say, a Sony 24mm f/2.8, 40mm f/2.5, and 85mm f/1.8—weighs roughly 650 grams total. Compare that to a 24-70mm f/2.8 zoom at 890 grams alone. Add a telephoto zoom like a 70-200mm f/4, and you’re pushing 1,700 grams for just two lenses versus three compact primes.
The space consideration is equally significant. Compact primes stack efficiently in your bag, often fitting in a small shoulder bag or even a large jacket pocket. I’ve carried my three-prime kit in a 5-liter sling bag that doesn’t scream “expensive camera gear” to potential thieves—a real consideration when traveling.
However, zoom advocates have a fair counterpoint: one 24-105mm f/4 lens (around 700 grams) eliminates lens changes in dusty or rainy conditions. You’ll make more swaps with primes, which increases sensor dust risk. The trade-off comes down to whether you value minimal weight and maximum aperture over convenience and weather-sealed versatility. For my travel style—slow, deliberate exploration—those few hundred grams saved translate to less shoulder fatigue and more shooting stamina.
Image Quality You’ll Actually Notice
The image quality advantages of prime lenses become especially apparent when you’re photographing travel memories you’ll treasure for years. Because primes are optically simpler with fewer glass elements, they typically deliver sharper corner-to-corner performance and better contrast than zoom lenses.
You’ll notice this difference most when photographing architecture. Those cathedral columns stay straight without the barrel distortion that can plague zoom lenses at wide angles. When you’re shooting narrow European streets or temple interiors, this geometric accuracy makes your images look cleaner and more professional.
The sharpness advantage really shows up when you print large or crop your images later. That sunset over Santorini looks stunning on your phone, but when you decide to print a 16×24 for your living room, prime lens sharpness ensures every detail holds up beautifully. Similarly, if you spot an interesting detail in the background of your street photography shot, you can crop in confidently knowing the resolution is there.
Prime lenses also handle high-contrast scenes better, maintaining detail in both shadows and highlights when you’re shooting that backlit market scene or bright beach landscape.
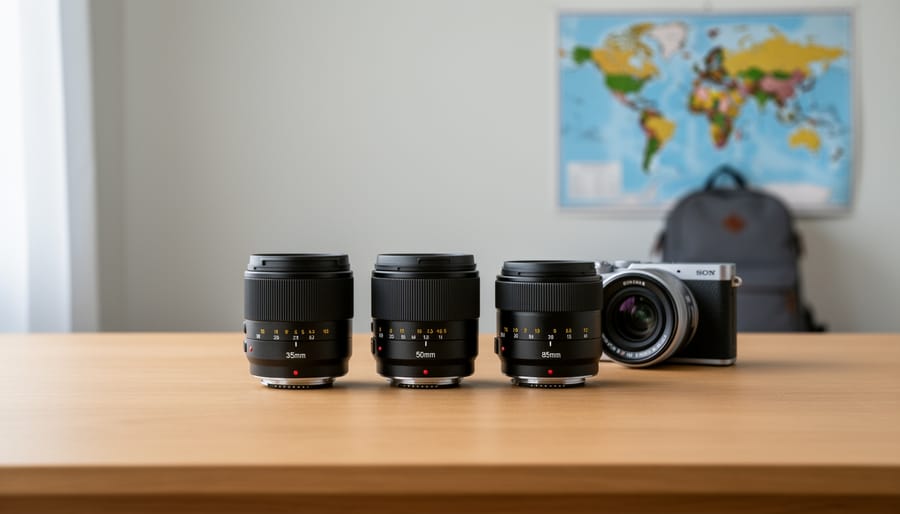
The Three-Lens Formula That Works
Your Wide Angle: Capturing the Scene
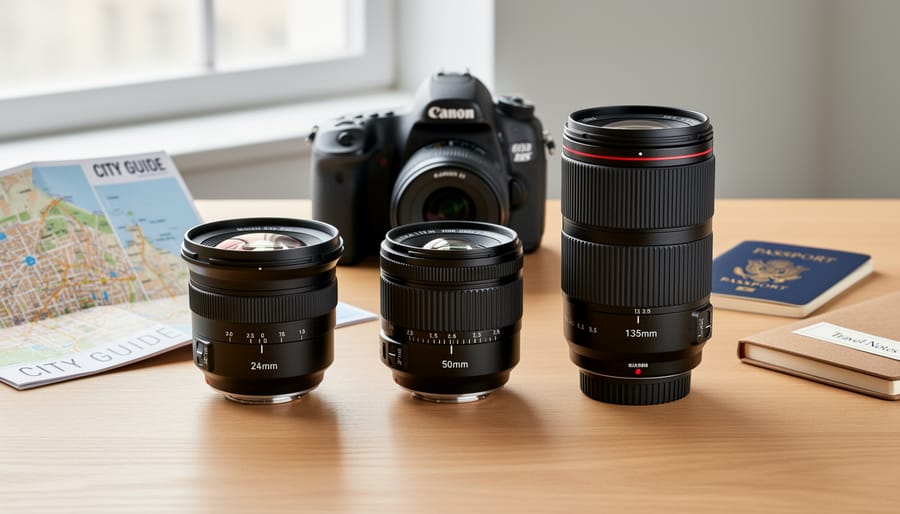
Your wide-angle lens serves as the foundation of your three-prime travel kit, handling everything from sweeping landscapes to bustling markets. For most photographers, this means choosing between a 24mm and 35mm focal length (in full-frame equivalent terms).
The 24mm option gives you that genuinely expansive perspective. When I’m photographing the interior of Barcelona’s Sagrada Familia or trying to capture the entire facade of a Parisian apartment building from a narrow cobblestone street, this focal length delivers. You’ll reach for it when shooting cramped European hotel rooms for travel blogs, capturing the full spread of street food vendors at a night market, or getting that classic “feet on the dashboard” road trip shot. The wider field of view also proves invaluable in tight urban environments where you simply can’t step back any further.
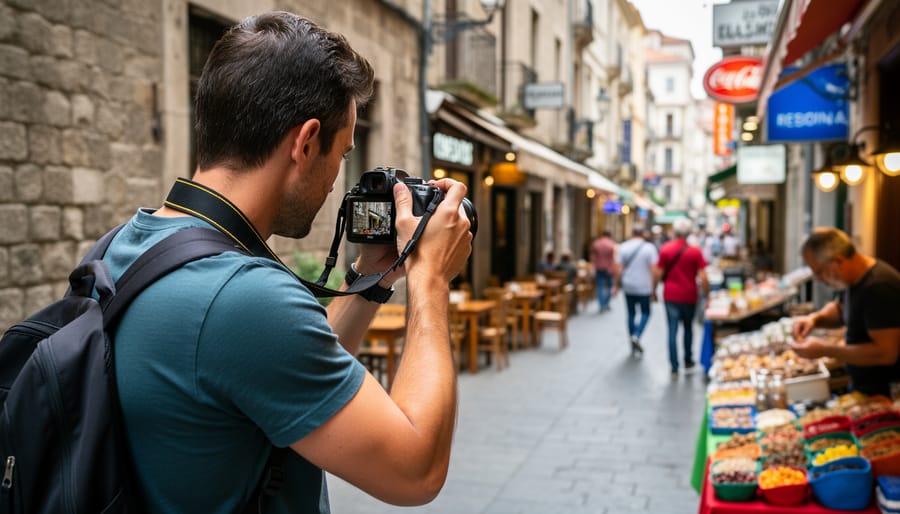
A 35mm lens offers a more moderate perspective that closely matches natural human vision. This makes it exceptional for environmental portraits where you want to show your subject within their surroundings—think a chef in their kitchen or a craftsperson at work. It excels at documentary-style street photography in places like Tokyo’s Shibuya Crossing or Istanbul’s Grand Bazaar, where you’re close to the action but want context. The 35mm also works beautifully for capturing dinner table scenes at local restaurants or the atmosphere of a cozy cafe.
Most travelers find the 24mm more versatile for pure scenery and architecture, while the 35mm better suits narrative photography that includes people.
Your Normal Lens: The Everyday Workhorse
Your normal lens is the one that’ll live on your camera most of the time, and there’s a good reason why. A 50mm lens on a full-frame camera (or 35mm on a crop sensor) closely mirrors how our eyes naturally see the world, which makes it incredibly intuitive for capturing authentic moments as they unfold.
This focal length becomes your everyday workhorse because it’s incredibly versatile without being specialized. Walking through a Moroccan souk? The 50mm captures the spice vendor and enough context to tell the story. Documenting your Airbnb in Lisbon? It frames the room naturally without distortion. Having dinner at a local restaurant? You can photograph your tablemates and their expressions without being intrusive.
The moderate perspective makes it perfect for street photography too. You’re close enough to feel part of the scene but not so close that you’re making people uncomfortable. I’ve found that in busy European city centers or Asian night markets, a 50mm lets me work quickly and discreetly, capturing candid moments that wider or longer lenses would miss.
Here’s what you’ll actually shoot with this lens: environmental portraits of locals, architectural details that need context, food photography that includes the setting, everyday travel documentation, and those spontaneous moments that happen between destinations. It’s fast enough for low light situations in cathedrals or evening streets, and the wide aperture creates beautiful subject separation when you want it.
The result? Your normal lens handles about 60-70 percent of typical travel situations, which is exactly why it earns its place in your kit.
Your Telephoto: Getting Close to the Action
Your 50mm might be perfect for environmental portraits, but what happens when you want to isolate a street musician from a busy background, or capture architectural details on a cathedral facade? This is where your telephoto prime earns its place in the bag.
An 85mm or 100mm lens bridges the gap between your standard and wide-angle perspectives in ways that fundamentally change your photographic approach. The compressed perspective these focal lengths create transforms how subjects relate to their backgrounds. That distant mountain range suddenly appears much closer to your portrait subject, creating a sense of place that wider lenses simply can’t achieve.
For portraits, this is the focal length that flatters. The gentle compression creates more pleasing facial proportions than wider lenses, while the increased working distance helps your subjects relax. Instead of hovering inches from someone’s face with a 35mm, you’re standing at a comfortable conversational distance. I’ve found that street portraits become much easier to capture when you’re not invading personal space.
The shallow depth of field at typical portrait distances creates that sought-after background separation, even at f/2.8. When traveling, this matters for picking details out of chaotic environments. That colorful door, the textured wall, or the interesting architectural element all become possible subjects without surrounding clutter stealing attention.
The real magic happens when you recognize situations your other lenses can’t handle. Market vendor portraits without getting in their workspace, wildlife at a respectful distance, or compressed cityscapes where buildings stack dramatically against each other. This focal length doesn’t replace your others; it completes the vision they started.
Recommended Three-Prime Kits by Camera System
Budget-Friendly Kits (Under $1,000)
You don’t need to break the bank to build an excellent three-prime travel kit. With smart choices, you can assemble a professional-quality setup for under $1,000 that will serve you well for years.
For Canon shooters on a budget, consider the 24mm f/2.8 STM pancake, 50mm f/1.8 STM, and 85mm f/1.8 USM. This combination typically runs around $700-800 total and delivers exceptional image quality. The 24mm gives you a wide perspective for landscapes and architecture, the nifty-fifty handles general photography beautifully, and the 85mm provides gorgeous compression for portraits. All three are lightweight, making them ideal travel companions. For more options across different price points, explore other Canon lens options that might fit your specific needs.
Sony E-mount users should look at the 28mm f/2, 50mm f/1.8, and Samyang 75mm f/1.8. This trio typically costs around $900 and provides excellent optical performance. The Samyang is a third-party gem that rivals first-party quality at a fraction of the price.
Nikon Z shooters can pair the Z 28mm f/2.8, Z 40mm f/2, and Z 50mm f/1.8 for roughly $800. While this gives you three focal lengths in a narrower range, these compact primes are remarkably sharp and perfect for documentary-style travel photography.
What makes these budget kits special isn’t just the price—it’s that you’re getting genuinely excellent optics, not compromised alternatives. These lenses produce images that easily rival much more expensive glass.
Mid-Range Kits ($1,000-$2,500)
At this price point, you’re getting professional-grade optics that’ll serve you for years. For Canon shooters, consider the RF 35mm f/1.8, RF 50mm f/1.8, and RF 85mm f/2 combination—collectively around $1,800. This trio delivers outstanding sharpness and beautifully smooth bokeh while remaining compact enough for all-day shooting.
Sony users have excellent options with Sony prime lenses like the FE 35mm f/1.8, FE 55mm f/1.8, and FE 85mm f/1.8. This setup costs approximately $2,200 but offers exceptional resolving power that really shines when you review images on larger screens. I’ve used this combination throughout Europe, and the 55mm rarely left my camera—it’s that good.
Nikon Z-mount photographers can build around the Z 40mm f/2, Z 50mm f/1.8, and Z 85mm f/1.8, totaling about $1,900. The real-world advantage here is weather sealing across all three lenses, which proved invaluable during an unexpected rainstorm in Iceland. These mid-range kits represent the sweet spot where optical quality genuinely surpasses budget alternatives without the weight penalty of premium glass.
Premium Kits (Above $2,500)
When budget isn’t a constraint, you enter the realm where lenses become investments in image quality and durability that can last decades. I’m talking about flagships like the Sony 24mm f/1.4 GM, 50mm f/1.2 GM, and 85mm f/1.4 GM—a kit that runs over $5,000 but delivers optical performance that’s essentially flawless.
These lenses justify their premium through exceptional sharpness wide open, virtually non-existent distortion, weather-sealed construction built to withstand harsh conditions, and that intangible rendering quality that simply looks different from budget alternatives. When I’ve shot with professional-grade glass in challenging light at f/1.4, the difference isn’t subtle—it’s transformative.
This investment makes sense if photography generates income for you, if you’re shooting once-in-a-lifetime trips where you can’t afford optical compromises, or if you simply demand the absolute best and plan to keep these lenses for ten-plus years. For Canon shooters, the RF 24mm f/1.8, 50mm f/1.2L, and 85mm f/1.2L offer similar excellence. Nikon’s Z-mount 24mm f/1.8, 50mm f/1.2, and 85mm f/1.8 provide comparable performance.
The real-world benefit? Confidence knowing your gear won’t limit your creative vision, regardless of shooting conditions.
When Zooms Actually Make More Sense
Let’s be honest—primes aren’t always the right answer for travel photography. While I genuinely believe a three-prime kit offers fantastic creative advantages, there are absolutely situations where zoom lenses make more practical sense.
Safari photography is perhaps the most obvious example. When you’re photographing wildlife from a vehicle, often at considerable distance, you need serious reach and the flexibility to quickly adjust your framing. A 100-400mm or 150-600mm zoom becomes essential equipment, not a luxury. You simply can’t predict how close animals will approach, and you certainly can’t hop out of your safari vehicle to swap lenses or change position. That zebra won’t wait while you deliberate between your 85mm and 135mm prime.
Similarly, if you’re attending sporting events or festivals where your movement is restricted—think stadium seating or cordoned-off areas—zoom lenses provide the compositional flexibility you need when your feet can’t do the work. I’ve photographed marathons and concerts where a 70-200mm zoom proved invaluable precisely because I couldn’t move closer or further from my subjects.
Dusty or wet environments also tip the scales toward zooms. Changing lenses in a sandstorm in Morocco or during a rainy hike in Iceland risks getting debris or moisture on your sensor. If you’re trekking through challenging conditions, a weather-sealed 24-70mm might be smarter than carrying three primes that require frequent swapping.
Consider your travel style too. If you prefer structured, organized shooting where you can anticipate scenarios, primes work beautifully. But if you’re the spontaneous type who jumps from street photography to distant architecture within minutes, constantly changing lenses becomes frustrating rather than freeing.
The key question isn’t which system is objectively better—it’s which matches how you actually shoot. A three-prime kit demands intentionality and accepts some limitations. If those limitations conflict with your destination’s demands or your photography style, there’s absolutely no shame in reaching for zooms instead.
Working Within Your Prime Kit’s Limitations
Smart Lens Selection Throughout Your Day
Your lens selection each morning starts with asking one question: what am I shooting today? For urban exploration and street photography, mount your 35mm as your default—it handles everything from architecture to candid moments without constant swaps. Planning a portrait session or visiting gardens? Start with your 85mm already attached.
Here’s the practical reality: if you’re walking 10+ miles through a city, carrying one body with your most versatile lens (typically the 35mm or 50mm) makes sense. Keep the other two lenses in your bag for specific opportunities. I’ve found that genuinely needing all three lenses within minutes rarely happens outside of professional assignments.
For more deliberate shooting days—sunrise landscapes, specific locations—consider the two-body approach if you own multiple cameras. Mount your 24mm on one and 50mm on the other, leaving the 85mm as your swap option. This eliminates fumbling with lens changes during golden hour.
The swap strategy matters too. Always change lenses with the camera pointed downward, in sheltered spots away from wind and ocean spray. In dusty or wet conditions, commit to one lens for the entire outing rather than risking sensor contamination. I’ve shot entire days in Marrakech with just my 35mm rather than risk desert dust on my sensor.
Keeping Your Gear Safe While Changing Lenses
Changing lenses while traveling presents unique challenges, but with smart habits, you can protect your gear without slowing down your creative flow. The key is minimizing the time your camera’s sensor is exposed to the elements.
Before you even open your camera bag, scout your location. In dusty environments like Moroccan markets or windy beaches, position your body as a shield against blowing particles. I’ve learned to change lenses inside my jacket or even inside the camera bag itself when conditions are particularly harsh. Turn your camera body downward when the lens is off—gravity becomes your friend, preventing dust from settling on the sensor.
Organization is everything. Arrange your bag so the lens you’ll need next sits in the most accessible pocket. On a recent trip through Lisbon’s winding streets, I kept my 35mm front and center with my 85mm in the quick-access side pocket, allowing me to swap in under ten seconds when I spotted a compelling portrait opportunity.
Invest in a lens changing pouch or wrap. These create a protected environment for swaps and give you a clean surface to set down lens caps. Consider bringing a rocket blower for quick sensor checks each evening—catching dust early prevents ruined shots later. Remember, confidence comes with practice, so rehearse your lens-changing routine at home before departure.
The three-prime approach to travel photography isn’t about limiting yourself—it’s about intentionally choosing simplicity that enhances creativity. By committing to just three focal lengths, you’ll develop an intuitive understanding of what each lens sees, allowing you to anticipate shots before you even raise the camera. You’ll move faster, pack lighter, and spend less time switching lenses and more time capturing moments.
Before investing in a prime kit, honestly evaluate your shooting style. Review your last hundred travel photos and note which focal lengths you used most. If you rarely shoot wider than 35mm or find yourself constantly zooming, a three-prime setup might feel restrictive initially. That’s perfectly fine—zooms serve many photographers exceptionally well.
However, if you value image quality, low-light performance, and the creative constraints that sharpen your photographic eye, give primes a serious chance. Start with a single prime in your most-used focal length. Shoot exclusively with it for a week. If that discipline feels energizing rather than limiting, you’re likely a prime shooter at heart.
Ready to build your kit? Identify your three focal lengths, set a realistic budget, and remember that great travel photography comes from vision and timing, not gear alone. Now pack light, shoot thoughtfully, and capture your journey.