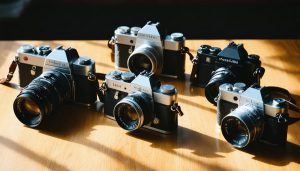
Film cameras demand meticulous care to maintain their precision and reliability. Protect your analog investment by following these essential camera maintenance tips. A well-maintained film camera can last generations, but even minor neglect risks permanent damage to delicate mechanical components. Beyond basic cleaning, proper storage, and regular servicing, understanding your camera’s unique maintenance needs ensures consistent performance and preserves its value. Whether you’re shooting with a classic Leica M3 or a beloved Pentax K1000, mastering these maintenance fundamentals transforms casual film photography into a lasting artistic pursuit. This guide explores proven techniques for protecting your gear, from routine cleaning protocols to advanced troubleshooting methods, helping you maintain your camera’s precision for years to come.
Essential Cleaning Tools and Materials
Basic Cleaning Kit Components
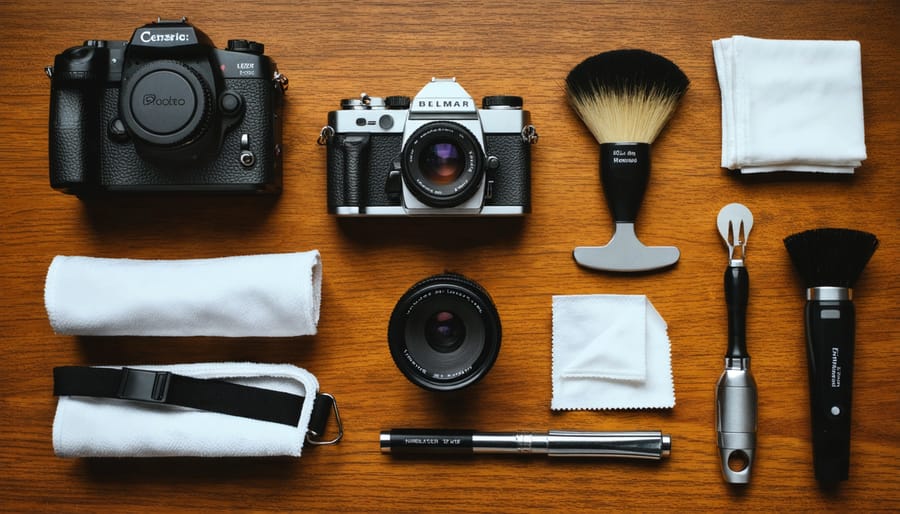
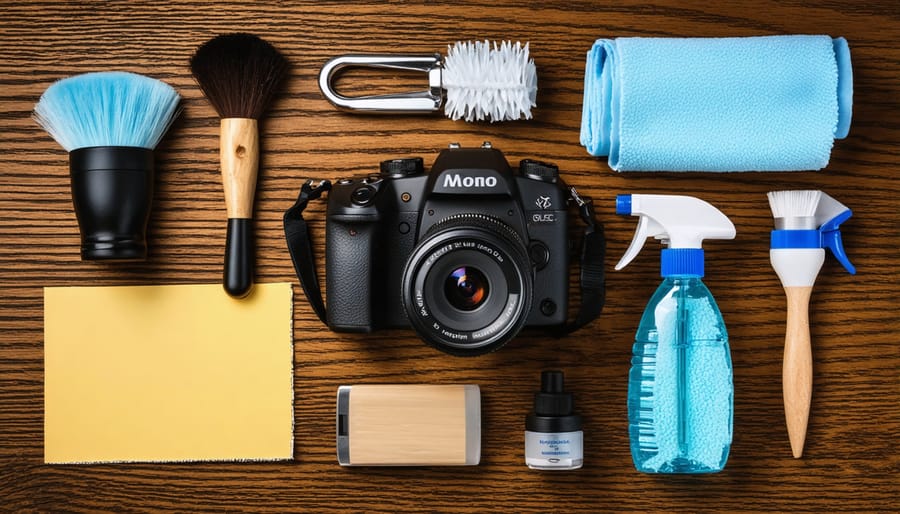
A well-maintained film camera starts with the right cleaning tools. At the bare minimum, your basic cleaning kit should include a blower bulb for removing loose dust and debris without making contact with delicate surfaces. Add to this a set of soft, lint-free microfiber cloths for wiping external surfaces and a pack of lens tissues for one-time use on optical elements.
For more thorough cleaning, you’ll want isopropyl alcohol (90% or higher) and cotton swabs for tackling stubborn dirt and residue. A small, soft-bristled brush is essential for reaching tight corners and cleaning around mechanical components. Consider adding a cleaning solution specifically formulated for camera lenses – avoid household glass cleaners, which can damage lens coatings.
Don’t forget about storage solutions: a silica gel packet helps control moisture, while a properly-sized camera bag protects your equipment when not in use. For those serious about maintenance, investing in a sensor scope or loupe can help you spot issues that might affect your images. Keep these tools organized in a dedicated case to prevent contamination and ensure they’re always ready when needed.
Optional Advanced Tools
For photographers ready to take their camera maintenance to the next level, a few specialized tools can make a significant difference. A proper lens spanner wrench allows for safe removal of lens elements when deep cleaning is necessary. A sensor scope with LED illumination helps inspect hard-to-see areas inside the camera body, particularly useful for identifying fungus or debris in older cameras.
Consider investing in a precision screwdriver set with JIS (Japanese Industrial Standard) bits, as many vintage Japanese cameras use these specific screws. A rubber lens filter wrench can help remove stuck filters without damaging them, while lint-free PEC-PADs are excellent for cleaning delicate optical surfaces without leaving residue.
For serious collectors, an ultrasonic cleaner can be invaluable for cleaning metal parts and mechanisms, though it should never be used on optical elements. A multimeter can help diagnose electrical issues in cameras with light meters or electronic components, while specialized lubricants designed for camera mechanisms ensure smooth operation without attracting dust.
Remember that these tools require knowledge and experience to use properly – if you’re unsure, it’s best to consult a professional repair technician.
Regular Maintenance Routines
External Body Care
Regular exterior maintenance of your film camera not only preserves its appearance but also protects its functionality. Start by using a soft, lint-free microfiber cloth to gently wipe down the camera body, removing dust, fingerprints, and other surface debris. For stubborn dirt, slightly dampen the cloth with distilled water – never use harsh cleaning solutions or alcohol-based products, as these can damage the camera’s finish.
Pay special attention to the viewfinder and LCD display areas if your camera has them, as these spots tend to collect grime. For hard-to-reach areas like dials and button surrounds, use a soft-bristled brush or air blower to dislodge debris. If your camera has a leather covering, consider applying a small amount of leather conditioner once or twice a year to prevent drying and cracking.
Check and clean the film door seals regularly, as degraded light seals can cause light leaks. The battery compartment should also be inspected for any signs of corrosion, especially if the camera hasn’t been used for an extended period. Always store your camera in a dry, dust-free environment, preferably in a dedicated camera bag or case when not in use.
Lens Care and Cleaning
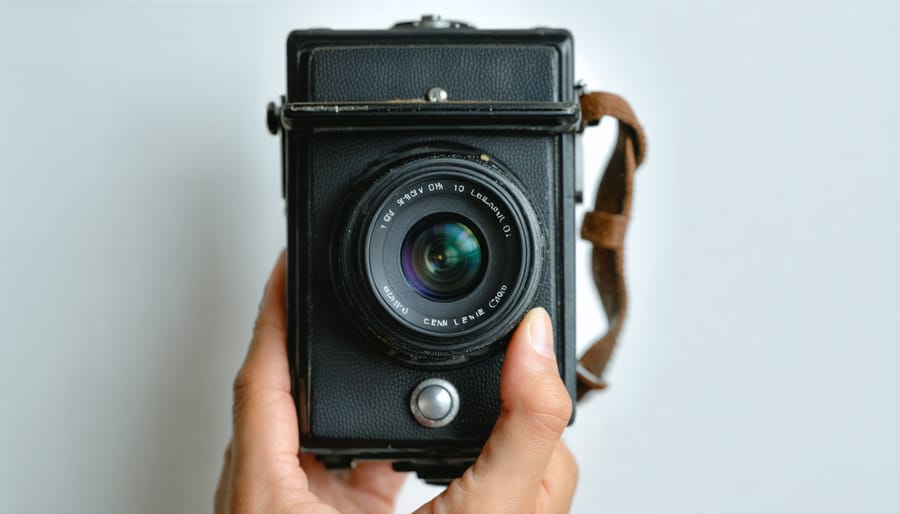
Your camera’s lens is its eye to the world, and keeping it pristine is crucial for capturing sharp, clear images. Start by investing in a basic lens cleaning kit that includes a blower, lens cleaning solution, microfiber cloths, and lens tissues. Before any cleaning session, use the blower to remove loose dust and debris – this prevents scratching when you move on to contact cleaning methods.
When it comes to proper lens cleaning techniques, always work from the center outward in a gentle, circular motion. Apply cleaning solution to your lens tissue or microfiber cloth rather than directly on the lens surface. Be particularly careful with the front element, as it’s most exposed to the elements and prone to fingerprints.
Never use your shirt, regular tissues, or household glass cleaners on your lenses – these can scratch the coating or leave residue. When not in use, always keep lens caps on both ends and store your lenses upright in a cool, dry place. Consider using a UV filter for additional protection, but remember that it needs the same careful cleaning attention as your lens.
For stubborn smudges or fungus, resist the urge to scrub harder – this is when you should consider professional cleaning services. Regular maintenance prevents buildup and extends the life of your valuable glass investments.
Shutter and Mirror Maintenance
The shutter and mirror mechanisms are among the most delicate components of your film camera, requiring a gentle touch during maintenance. Start by inspecting these parts in a well-lit, clean environment. For the mirror, use a rocket blower first to remove loose dust particles without making contact with the surface. If stubborn particles remain, use a clean microfiber brush, sweeping in one direction from top to bottom.
When cleaning the shutter curtain, extreme care is essential as these components are incredibly fragile. Never use liquid cleaners directly on the curtain, as this can cause irreparable damage. Instead, rely on gentle air blasts from a rocket blower. If you notice oil spots or stubborn debris, it’s best to consult a professional repair technician rather than risk damage through DIY cleaning attempts.
For cameras with focal plane shutters, regularly check for proper operation by testing different shutter speeds. Listen for any unusual sounds or hesitation in the mechanism. If you notice light leaks or uneven exposure in your photos, this could indicate shutter curtain damage or misalignment.
The mirror dampening foam often deteriorates over time, leading to increased vibration and noise. While replacement foam kits are available, this is another task best left to professionals unless you’re confident in your repair skills. Regular inspection of the mirror return mechanism ensures smooth operation and helps prevent future issues.
Remember that both the shutter and mirror mechanisms are precision-engineered parts. If you encounter any resistance or unusual behavior, stop using the camera immediately and seek professional assistance to prevent further damage.
Storage and Protection
Ideal Storage Conditions
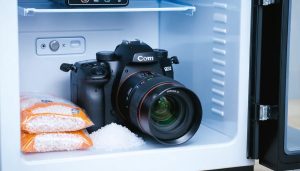
Proper storage is crucial for maintaining your film camera’s longevity and functionality. The ideal storage environment should maintain a temperature between 68-72°F (20-22°C) and relative humidity between 35-45%. Excessive heat can damage light seals and lubricants, while extreme cold might affect the camera’s mechanical components and battery performance.
Avoid storing your camera in basements, attics, or garages where temperature and humidity fluctuate dramatically. Instead, choose a climate-controlled room in your home where you can properly display your cameras while protecting them from harmful environmental factors.
Keep your camera in a dedicated storage container or camera bag with silica gel packets to absorb excess moisture. If you’re storing the camera for an extended period, remove the batteries to prevent corrosion and store them separately. For added protection, consider using a camera wrap or microfiber cloth to prevent dust accumulation.
Direct sunlight is another storage hazard to avoid, as UV rays can deteriorate leather coverings and potentially damage light seals. Position your storage area away from windows and heat sources. Remember to occasionally exercise the camera’s mechanical components, even during storage, by cycling through shutter speeds and advancing the film lever to prevent lubricants from becoming sticky or settling in one position.
Protective Equipment
Protecting your film camera from physical damage, dust, and moisture is essential for its longevity. A well-padded camera bag is your first line of defense, and it’s worth investing in one specifically designed for film cameras. Look for bags with adjustable dividers that allow you to customize the space for your camera body, lenses, and accessories.
For additional protection, consider using a dedicated hard case for transportation, especially during travel. Pelican and Nanuk cases offer excellent protection with their waterproof, dustproof, and shockproof designs. These cases come with customizable foam inserts that cradle your equipment securely.
When it comes to everyday protection, always keep a lens cap on when the camera isn’t in use, and invest in a good quality UV filter for each of your lenses. A camera strap isn’t just convenient – it’s protective equipment that prevents accidental drops. Consider neoprene straps for added comfort and security.
For storage at home, a dry cabinet or desiccant box is invaluable, especially if you live in a humid climate. These solutions help prevent fungus growth on lenses and maintain optimal conditions for your equipment. If a dry cabinet isn’t feasible, store your camera with silica gel packets in a sealed container.
Don’t forget to protect your camera during shooting. A lens hood prevents unwanted flare and protects the front element from bumps, while a rain cover can be essential for unpredictable weather conditions.
Common Issues and Solutions
Mechanical Problems
Film cameras can develop various mechanical issues over time, but many are fixable with proper attention and care. The shutter mechanism is often the first component to show problems, manifesting as sticky or sluggish operation, especially in valuable vintage cameras. If you notice inconsistent shutter speeds or hear unusual sounds during operation, it’s time to investigate.
Film advance issues are another common concern. If the advance lever feels stiff or doesn’t complete its stroke, don’t force it. This could indicate jammed gears or a misaligned mechanism. Similarly, rewind problems might surface as difficulty turning the crank or incomplete film rewinding.
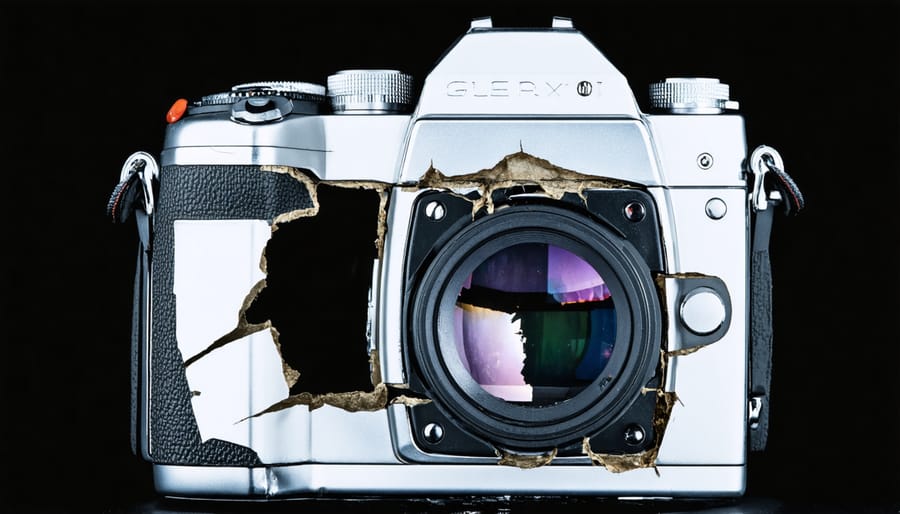
Light seals deteriorate over time, leading to light leaks that can ruin your photos. Check the foam seals around the film door and replace them if they’re crumbly or compressed. The mirror mechanism in SLR cameras can also become sluggish or stick in the up position, usually due to old lubricants hardening.
The aperture blades might become oil-contaminated or stick together, resulting in irregular exposure. While some issues can be resolved with careful cleaning, others require professional intervention. For precision mechanisms like rangefinder coupling or focusing helicoids, it’s best to seek expert help rather than attempting DIY repairs that might cause further damage.
Light Seal Replacement
Light seals are crucial components in film cameras that prevent unwanted light from leaking into the film chamber. Over time, these foam seals can deteriorate, turning sticky or crumbly, which can compromise your photos and even damage your camera.
To check your light seals, open the camera back and inspect the foam strips along the hinge area and film door. If they’re sticky, crumbling, or missing altogether, it’s time for a replacement. While you can have this done professionally, replacing light seals yourself is a cost-effective DIY project that requires patience and attention to detail.
You’ll need light seal foam (available in pre-cut kits or sheets), isopropyl alcohol, cotton swabs, tweezers, and a plastic scraper. Start by completely removing the old seals using alcohol to soften the adhesive. Clean the channels thoroughly, ensuring no residue remains. Measure the required lengths and depths carefully – precision is key here.
Cut new foam strips to size, making them slightly wider than needed. Apply them to the cleaned channels, starting with the hinge side. Press firmly but gently to ensure proper adhesion. For the film door, ensure the seals aren’t too thick, as this could prevent proper closure.
Once installed, let the camera sit open for a few hours to allow any alcohol fumes to dissipate before loading film. Test the door closure to ensure it’s light-tight and operates smoothly.
Regular maintenance of your film camera isn’t just about preserving a piece of equipment – it’s about protecting a creative companion that helps you capture life’s precious moments. By following proper cleaning routines, storing your camera correctly, and addressing issues promptly, you can significantly extend its lifespan and maintain optimal performance. Remember to clean your lens and viewfinder regularly, keep batteries removed during long storage periods, and exercise the shutter mechanism periodically. Most importantly, develop a maintenance schedule that works for you and stick to it. While some photographers may find camera maintenance tedious, consider it an investment in your artistic journey. A well-maintained film camera can serve you faithfully for decades, continuing to produce those uniquely beautiful analog images that digital simply can’t replicate. Whether you’re a casual shooter or a dedicated professional, your camera deserves the care that will keep it clicking for years to come.