Transform raw footage into cinematic masterpieces through video post-processing, the crucial step that elevates amateur recordings into professional productions. Like its photography counterpart, post-processing fundamentals in video editing demand both technical precision and creative vision. Modern post-processing workflows combine color grading, motion stabilization, and audio enhancement to create compelling visual narratives that capture and hold viewer attention.
From basic color correction to advanced compositing techniques, post-processing shapes every frame of professional video content you see today. Industry-standard software like DaVinci Resolve, Adobe Premiere Pro, and Final Cut Pro X offer powerful tools that, when mastered, enable editors to manipulate everything from exposure and contrast to complex visual effects and seamless transitions. Whether you’re crafting content for social media, developing commercial projects, or producing independent films, understanding these post-processing techniques isn’t just beneficial—it’s essential for creating professional-quality video content that stands out in today’s competitive digital landscape.
Essential Video Post-Processing Tools
Professional vs. Consumer Software Options
The video editing software landscape offers solutions for every skill level and budget. For beginners, free options like OpenShot and DaVinci Resolve provide robust features without the investment, making them perfect starting points for developing an efficient editing workflow. These programs offer basic cutting, transitions, and color correction tools that help newcomers learn the fundamentals.
For intermediate users, Adobe Premiere Elements and Filmora strike an excellent balance between functionality and accessibility, offering more advanced features without overwhelming complexity. These mid-tier options typically range from $60-100 and include guided editing modes and pre-built effects.
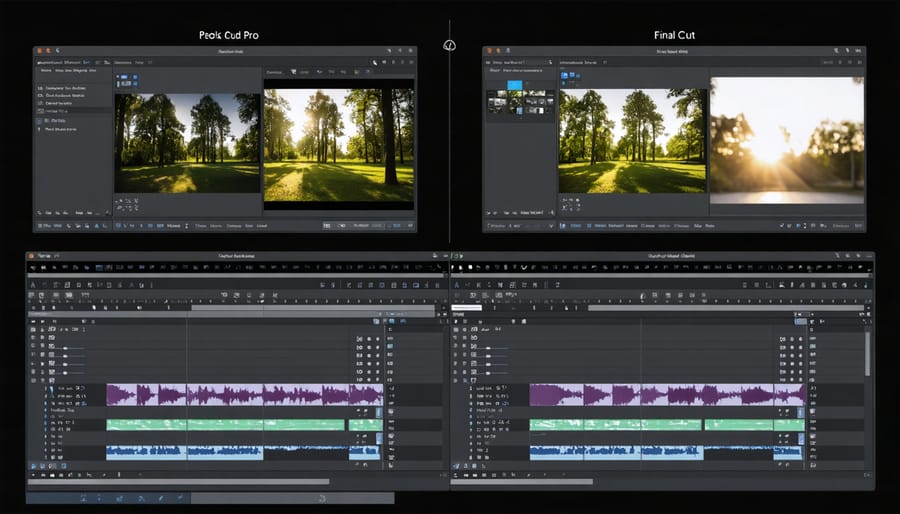
When you’re ready to explore professional editing software options, industry standards like Adobe Premiere Pro, Final Cut Pro X, and the full version of DaVinci Resolve offer comprehensive toolsets for color grading, motion graphics, and advanced effects. While these come with steeper learning curves and higher price tags (usually subscription-based or one-time purchases around $300), they provide the precision and control needed for professional-quality output.
Hardware Requirements for Smooth Editing
A powerful computer setup is essential for smooth video editing and post-processing workflows. At minimum, aim for a processor with at least 6 cores and 16GB of RAM, though 32GB is recommended for handling 4K footage. A dedicated graphics card with 6GB+ VRAM will significantly speed up rendering times and enable real-time previews.
Storage is equally crucial – work with a three-tier system: a fast SSD (preferably NVMe) for your operating system and editing software, a secondary SSD for current project files, and larger HDDs for archiving completed projects. Plan for about 100GB per hour of raw 4K footage.
Monitor selection matters too. Look for displays with at least 100% sRGB coverage and 1440p resolution. For color-critical work, consider investing in a color-accurate monitor that covers 100% of the DCI-P3 color space.
Don’t overlook peripherals – a mouse with programmable buttons can streamline your editing workflow, while a dedicated scratch disk can improve performance when working with large files.
Core Post-Processing Techniques
Color Grading and Color Correction
Color grading and color correction are essential steps in video post-processing that can transform ordinary footage into visually compelling stories. While color correction focuses on fixing technical issues and achieving natural-looking colors, color grading for emotional impact allows you to establish specific moods and create a cohesive visual style.
Start with basic color correction by adjusting white balance, exposure, and contrast to ensure your footage has a neutral, balanced foundation. Pay special attention to skin tones, which viewers instinctively recognize when they’re off. Tools like waveform monitors and vectorscopes can help you make precise adjustments.
Once your footage is properly corrected, dive into creative color grading. Popular techniques include:
– Split-toning: Adding different colors to shadows and highlights
– LUT application: Using preset color profiles for quick stylization
– Selective color: Adjusting specific color ranges independently
– Vignetting: Darkening frame edges to draw attention to the center
Remember that less is often more when it comes to color grading. Subtle adjustments can be more effective than dramatic color shifts. Consider your content’s purpose – corporate videos might need natural, clean looks, while narrative films could benefit from more stylized grades.
Always maintain consistency across your entire project by saving and applying the same adjustment settings to similar scenes. This helps create a professional, cohesive look that enhances your story’s impact.

Exposure and Contrast Adjustment
Exposure and contrast adjustments are fundamental steps in video post-processing that can transform flat, poorly exposed footage into visually striking content. When working with exposure, start by analyzing your footage’s histogram to identify any under or overexposed areas. Most editing software offers basic exposure controls like brightness, highlights, and shadows, which should be adjusted incrementally to maintain a natural look.
For challenging footage, consider using curves adjustment layers, which provide precise control over different tonal ranges. The S-curve technique, where you slightly darken the shadows and brighten the highlights, is particularly effective for adding depth and dimension to your footage. However, be careful not to push these adjustments too far, as this can lead to unwanted noise in the shadows or blown-out highlights.
HDR recovery tools can help salvage details in extremely bright or dark areas, especially useful for footage shot in high-contrast situations. When working with log footage, proper exposure adjustment is crucial during the color grading process to restore natural contrast and vibrance.
Remember that exposure adjustments often work hand-in-hand with contrast. Instead of relying solely on the contrast slider, try using a combination of blacks, whites, and mid-tone adjustments to achieve more nuanced results. For scenes with varying exposure levels, consider using mask-based adjustments or tracking to selectively adjust different areas of your frame, ensuring consistent exposure throughout your video.
Stabilization and Frame Rate Optimization
Stabilizing shaky footage and optimizing frame rates are crucial steps in creating professional-looking videos. For handheld shots that exhibit unwanted movement, most modern editing software offers powerful stabilization tools. When applying stabilization, start with a mild setting of 10-15% and gradually increase it while monitoring the results – too much stabilization can create an unnatural “floating” effect or unwanted warping around the edges.
To achieve the smoothest results, consider the following tips: First, enable “Rolling Shutter Reduction” if your footage was shot on a DSLR or mirrorless camera. This helps eliminate the wobble effect common in digital sensors. Second, use the “Position, Scale, and Rotation” analysis method for general shake correction, but switch to “Perspective” analysis for footage with significant perspective changes.
Frame rate optimization is equally important. If you shot at 60fps but want a cinematic 24fps look, ensure you’re using proper frame blending techniques. For slow-motion sequences, shoot at higher frame rates (120fps or more) and conform to your timeline’s frame rate during post-processing. Remember that mixing different frame rates in one project requires careful handling – always match your sequence settings to your most-used frame rate.
A common mistake is trying to fix severely shaky footage with software alone. While modern stabilization is impressive, it’s always better to shoot stable footage initially using proper camera support or gimbal systems.
Advanced Enhancement Techniques
Noise Reduction and Sharpening
In the quest for pristine video quality, noise reduction and sharpening play crucial roles in enhancing your footage. Video noise, those pesky grainy artifacts that often appear in low-light situations or high-ISO recordings, can significantly detract from your final product. Modern post-processing software offers sophisticated tools to combat this issue while maintaining detail.
When applying noise reduction, start with temporal noise reduction, which analyzes multiple frames to distinguish between noise and actual detail. This technique is particularly effective for static shots or scenes with minimal movement. For scenes with more action, spatial noise reduction works better by analyzing and smoothing noise patterns within individual frames.
Sharpening, meanwhile, should be approached with careful consideration. Over-sharpening can create unsightly halos and artificial-looking edges. The key is to apply selective sharpening, focusing on areas that genuinely need enhancement while avoiding already sharp regions. Many editors use a combination of unsharp mask and high-pass filtering techniques to achieve natural-looking results.
Pro tip: Always view your footage at 100% scale when applying these effects, and remember that different display devices might show varying levels of noise and sharpness. It’s often better to err on the side of subtle adjustments rather than aggressive processing. For optimal results, consider using multiple passes with lower intensity settings rather than a single heavy-handed application.
Remember that both noise reduction and sharpening should be among the final steps in your post-processing workflow to avoid compounding issues with subsequent adjustments.
LUTs and Creative Effects
LUTs (Lookup Tables) are powerful tools that can transform the mood and aesthetic of your video with just a few clicks. Think of them as Instagram filters on steroids – they’re pre-calculated mathematical formulas that adjust colors and tones to achieve specific looks. Whether you’re aiming for a cinematic feel with teal and orange tones or want to replicate the nostalgic warmth of vintage film, LUTs can help you get there quickly.
Creative effects go beyond basic color adjustments, allowing you to add artistic elements that enhance your storytelling. Popular effects include light leaks for dreamy transitions, film grain for that classic movie feel, and lens flares for dramatic impact. However, remember that less is often more – effects should enhance your story, not distract from it.
When applying LUTs and effects, start with subtle adjustments and gradually increase intensity until you achieve the desired look. Pay special attention to skin tones, as aggressive color grading can make people look unnatural. It’s also worth creating a few variations of your edit with different intensities, as footage can appear different across various screens and devices.
Many professional colorists recommend building a personal library of favorite LUTs and effects. This not only streamlines your workflow but also helps develop a consistent style across your projects. Just remember to preview your effects at full resolution before finalizing, as some effects can introduce unwanted artifacts or noise when rendered.

Common Mistakes to Avoid
When diving into video post-processing, even experienced editors can fall into common traps that diminish their final output. One of the most frequent mistakes is over-processing, particularly with color grading. It’s tempting to push those vibrant colors and high contrast, but this often results in unrealistic skin tones and oversaturated footage that looks artificial and unprofessional.
Another critical error is inconsistent color correction across scenes. Your audience will notice if one shot appears warm and golden while the next has a cool, bluish tint. Always maintain a consistent color palette throughout your project, using reference frames to ensure continuity.
Poor audio synchronization is a subtle yet jarring mistake that can ruin viewer experience. Always verify that your audio tracks perfectly align with your video, especially after making cuts or transitions. Using waveform visualization and listening carefully during preview can help catch these issues early.
Many editors also struggle with export settings, either choosing inappropriate codecs or incorrect rendering parameters. This can result in massive file sizes, poor playback performance, or compromised quality. Take time to understand your delivery requirements and choose appropriate export settings for your platform.
Failing to organize your workflow is another common pitfall. Working without proper file management, backup systems, or project organization can lead to lost work, confusion, and inefficiency. Create a consistent folder structure and naming convention for all your projects.
Rushing through the stabilization process often leads to warped footage or unnatural movement. When applying stabilization effects, watch the entire clip carefully for artifacts or distortion, particularly around the edges of your frame.
Finally, many editors skip the crucial step of taking breaks during long editing sessions. Fresh eyes can spot issues that fatigued ones miss. Schedule regular breaks and return to your project with renewed perspective to catch subtle problems in timing, transitions, or color balance that you might have overlooked while working continuously.
Video post-processing is an art that combines technical skill with creative vision, and mastering it can truly elevate your videography to new heights. Throughout this guide, we’ve explored various techniques and tools that can transform raw footage into polished, professional content. From basic color correction to advanced effects, each step in the post-processing workflow plays a crucial role in crafting your final vision.
Remember that while these techniques are powerful, they should enhance rather than overshadow your original footage. The key is to find the right balance – subtle adjustments often yield more professional results than heavy-handed effects. Start with the basics like color correction and exposure adjustment before venturing into more complex techniques like LUTs and motion tracking.
Don’t be afraid to experiment with different approaches and develop your own style. Every project is unique, and what works for one video might not suit another. Keep practicing and building your post-processing toolkit, but always stay true to your creative vision. Save your favorite presets and workflows to streamline future projects, but remain flexible enough to adapt when needed.
Most importantly, always preview your work on different devices and screens before finalizing. What looks perfect on your editing monitor might appear different on mobile devices or televisions. With dedication and practice, you’ll develop an intuitive sense of what works best for your specific content and audience.