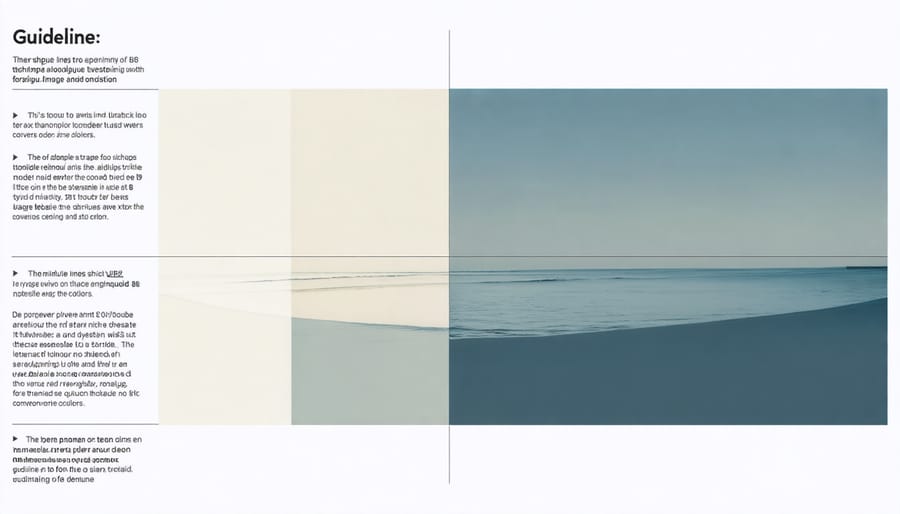
Capture breathtaking panoramic images by mastering three fundamental techniques that transform ordinary landscapes into immersive visual stories. Position your camera at the nodal point—the precise spot where lens rotation eliminates parallax error—to ensure seamless alignment between consecutive shots. Maintain consistent panoramic photo dimensions by locking your exposure, focus, and white balance settings before initiating your sequence of overlapping frames. Overlap each shot by 30-40% while keeping your camera perfectly level, using the horizon line as your guide to maintain perspective accuracy throughout the series.
This time-tested approach, refined by landscape photographers worldwide, delivers professional-quality panoramas that preserve both technical precision and creative vision. Whether you’re documenting vast mountain ranges or urban skylines, these core principles form the foundation of compelling panoramic photography, enabling you to create images that captivate viewers with their scope and detail.
Essential Equipment for Panoramic Photography
Camera Requirements
While you can create panoramic images with virtually any camera, certain features make the process much smoother and more successful. A camera with manual exposure control is essential, as this allows you to maintain consistent settings across all frames. Interchangeable lens cameras (both mirrorless and DSLRs) are ideal, as they offer the necessary control and image quality.
Your camera should have the ability to shoot in RAW format, which provides greater flexibility during the stitching process. Manual focus capability is crucial to prevent focus shifts between frames. While not mandatory, a built-in electronic level can be incredibly helpful in maintaining straight horizons.
For optimal results, use a moderate focal length lens (typically 35-50mm full-frame equivalent) to minimize distortion. Wide-angle lenses can work but may require more careful technique to avoid perspective issues. Some cameras offer a built-in panorama mode, which can be convenient for casual shots, but manual shooting typically produces higher quality results.
The ability to lock exposure and white balance settings ensures consistency across all frames, which is crucial for seamless stitching. A camera with good dynamic range will help capture detail in both highlights and shadows across the entire panoramic scene.
Tripod and Head Systems
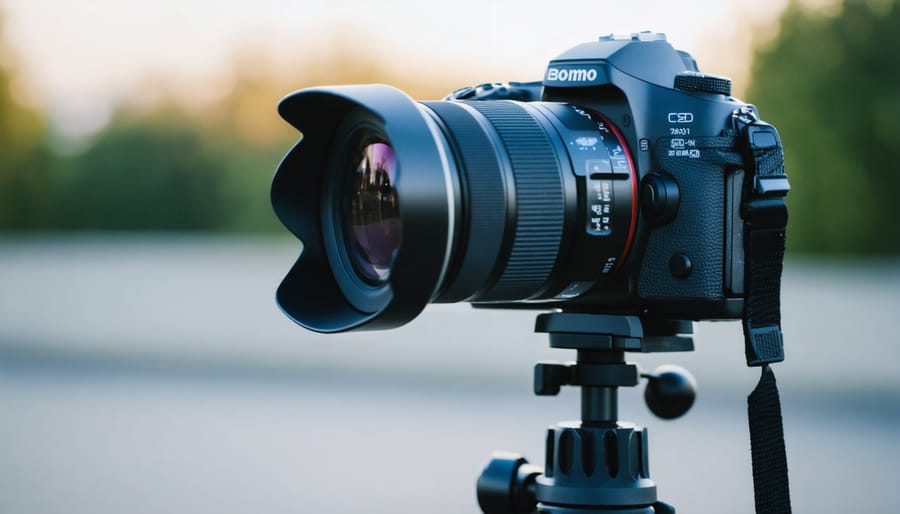
A stable tripod is the cornerstone of successful panoramic photography, preventing unwanted camera movement that could compromise image alignment. When selecting a tripod for panoramas, opt for one that’s sturdy enough to handle your camera setup while remaining perfectly level throughout the rotation process.
The real game-changer in panoramic photography is using a specialized panoramic head. These devices allow your camera to rotate around what’s known as the nodal point – the optical center of your lens. This prevents parallax errors, which occur when foreground and background elements appear to shift position between frames.
Basic panoramic heads are simple rotating platforms, while more advanced models offer precise adjustments and click-stop mechanisms for consistent degree intervals. Some photographers start with a basic L-bracket setup, which can work well for simple panoramas. However, for more complex shots, especially those involving multiple rows, a dedicated panoramic head becomes invaluable.
For best results, ensure your tripod is perfectly level using its built-in bubble level, and take time to properly calibrate your panoramic head before starting your shoot.
Additional Accessories
To ensure your panoramic shots are precise and professional, several essential accessories can make a significant difference. A bubble level, either mounted on your hot shoe or built into your tripod head, helps maintain perfect horizontal alignment across frames. This is crucial for avoiding distortion and simplifying post-processing work.
A remote trigger or cable release is invaluable for minimizing camera shake, especially during longer exposures. When shooting multiple frames, even slight camera movement can create alignment issues. Many photographers also find L-brackets helpful, as they allow quick switching between landscape and portrait orientations while maintaining the camera’s rotation point.
Consider investing in a panoramic head for your tripod, which provides precise click-stops at specific degree intervals, ensuring consistent overlap between frames. For those shooting in challenging light conditions, a polarizing filter can help manage reflections and enhance color saturation across your panorama, though be mindful of uneven effects across wide scenes.
Mastering Panoramic Shooting Techniques
Planning Your Shot
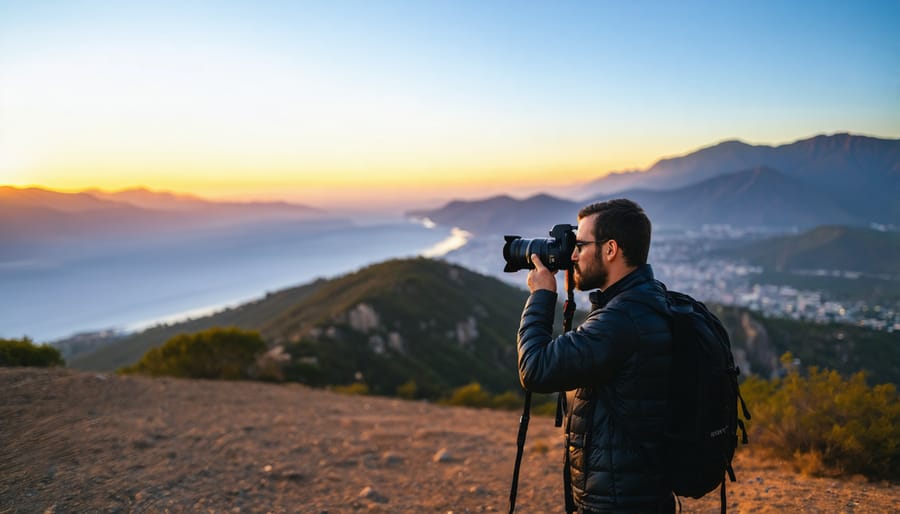
Success in panoramic photography starts with careful planning and composition. Just like other landscape photography techniques, the key lies in thoughtful preparation before pressing the shutter.
Begin by scanning your scene from end to end, identifying potential challenges like moving objects or dramatic light variations. Choose a composition that tells a complete story – look for leading lines, interesting foreground elements, and a clear subject that draws the viewer’s eye across the frame.
For optimal results, maintain an overlap of 30-40% between each frame. This generous overlap gives your stitching software plenty of reference points to work with and helps avoid alignment issues later. In situations with complex textures or patterns, consider increasing the overlap to 50% for better results.
When selecting your scene, avoid areas with fast-moving objects like crowds or vehicles, as these can create ghosting effects in your final image. Look for scenes with consistent lighting conditions – dramatic changes in brightness can make stitching difficult. Early morning or late afternoon often provide the most favorable lighting for panoramas, with softer shadows and more manageable contrast.
Remember to keep your horizon level throughout the sequence, and if possible, choose a vantage point that gives you an unobstructed view of your entire scene. This careful planning will save you countless hours of post-processing frustration and result in more compelling panoramic images.
Camera Settings for Perfect Panoramas
Getting your optimal camera settings right is crucial for creating stunning panoramic images. Start by switching your camera to manual mode, which gives you complete control over your exposure settings throughout the entire panoramic sequence.
Set your focus to manual after achieving sharp focus on your subject. This prevents the camera from hunting for focus between shots, ensuring consistency across all frames. For landscape panoramas, use an aperture between f/8 and f/11 to maintain adequate depth of field while avoiding diffraction issues that can occur at smaller apertures.
ISO should be kept as low as possible, typically at your camera’s base ISO (usually 100 or 200), to minimize noise and maximize image quality. However, adjust this if needed based on your lighting conditions and desired shutter speed.
Speaking of shutter speed, choose one that’s fast enough to prevent camera shake – generally at least 1/focal length of your lens. If you’re using a tripod (highly recommended), you can opt for slower shutter speeds without compromising image quality.
White balance must be set manually rather than automatic to maintain consistent color temperature across all frames. This is particularly important during sunset or sunrise shots when light conditions can change rapidly.
For the best results, shoot in RAW format. This gives you more flexibility in post-processing and helps maintain consistent exposure and color across the panorama. Enable any electronic level displays your camera offers to ensure straight horizons.
Remember to turn off auto-exposure bracketing and image stabilization when using a tripod, as these features can actually introduce inconsistencies between frames. If your camera has a mirror lock-up feature, consider using it to minimize vibration during longer exposures.
Overlap your shots by 30-40% to give your stitching software enough information to work with. This overlap is crucial for proper alignment and blending of your final panoramic image.
Shooting Sequence and Movement
The key to successful panoramic photography lies in your shooting sequence and movement technique. Start by finding your composition and identifying the start and end points of your panorama. Position yourself firmly, keeping your feet planted throughout the entire sequence to maintain a consistent perspective.
Begin by rotating your body (or tripod) to the leftmost or rightmost point of your intended panorama. Take your first shot, then rotate approximately 30 degrees for your next frame. The crucial part is maintaining an overlap of about 30-40% between consecutive shots – this gives your stitching software enough information to blend the images seamlessly.
As you rotate, keep your camera as level as possible. If you’re shooting handheld, imagine your body as a human tripod: pivot from your hips rather than your shoulders, and keep your arms locked against your body. For extra stability, you can also try the “heel-to-toe” technique: as you rotate, pivot on your back foot while keeping your front foot anchored.
When shooting multiple rows for vertical coverage, start at the top and work your way down. After completing each horizontal sequence, tilt your camera down slightly and shoot the next row in the opposite direction. This back-and-forth pattern helps maintain consistent exposure and reduces the time between capturing adjacent frames.
Pay special attention to your pacing – move smoothly and deliberately between shots. Rushing can lead to uneven spacing or camera shake, while moving too slowly might result in changing light conditions affecting your final result. If you’re shooting a scene with moving elements like clouds or water, work quickly to minimize movement between frames.
Remember to capture a few extra frames beyond your intended panorama’s edges. This provides additional flexibility during the stitching process and ensures you don’t miss any crucial details at the periphery of your composition.
Common Challenges and Solutions
Dealing with Moving Subjects
Moving subjects present one of the biggest challenges in panoramic photography, but with the right techniques, you can minimize or even creatively utilize this movement. When people or vehicles appear in your scene, try shooting your sequence faster than usual to reduce the chance of subjects moving between frames. If possible, start with the section containing moving elements and work your way across quickly.
For scenes with predictable movement, like flowing water or passing cars, you have two creative options. You can either embrace the movement by intentionally allowing subjects to appear multiple times across your panorama, creating an artistic effect, or attempt to capture clean frames where the movement occurs in only one segment of your final image.
A helpful trick is to wait for a natural pause in movement before starting your sequence. In urban settings, this might mean waiting for a traffic light change, while in nature, it could be timing your shots between gusts of wind. When photographing crowds, try to position yourself at an elevated vantage point where people appear smaller and their movement becomes less noticeable in the final composition.
For situations where movement is unavoidable, consider taking multiple sequences of the same panorama. This gives you the option to blend the cleanest portions of each sequence during post-processing, effectively removing unwanted movement artifacts from your final image.
Managing Exposure Differences
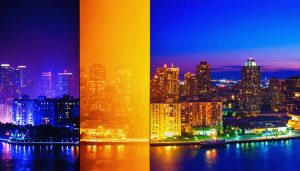
One of the biggest challenges in panoramic photography is managing varying exposure levels across your scene. As you pan across a wide vista, you might encounter dramatic differences in lighting, similar to low-light photography challenges. For instance, shooting a sunset panorama often means dealing with bright skies and darker foregrounds.
To tackle this, start by shooting in manual mode to maintain consistent exposure settings across all frames. Use the exposure settings that work best for the mid-tones of your scene, as this provides the most flexibility when editing. If you’re using automatic exposure, engage your camera’s AE (Auto Exposure) lock feature to prevent unwanted exposure shifts between frames.
Bracketing can be your best friend here. Consider taking multiple exposures of each panel position – one for highlights, one for mid-tones, and one for shadows. This gives you more latitude during post-processing to blend exposures seamlessly. Modern panorama software can handle HDR merging alongside panorama stitching, making this process much more manageable.
Remember to check your histogram frequently while shooting. If the exposure difference is extreme, you might need to use graduated neutral density filters to balance the sky and ground exposure in-camera, ensuring more natural-looking results in your final panorama.
Avoiding Parallax Issues
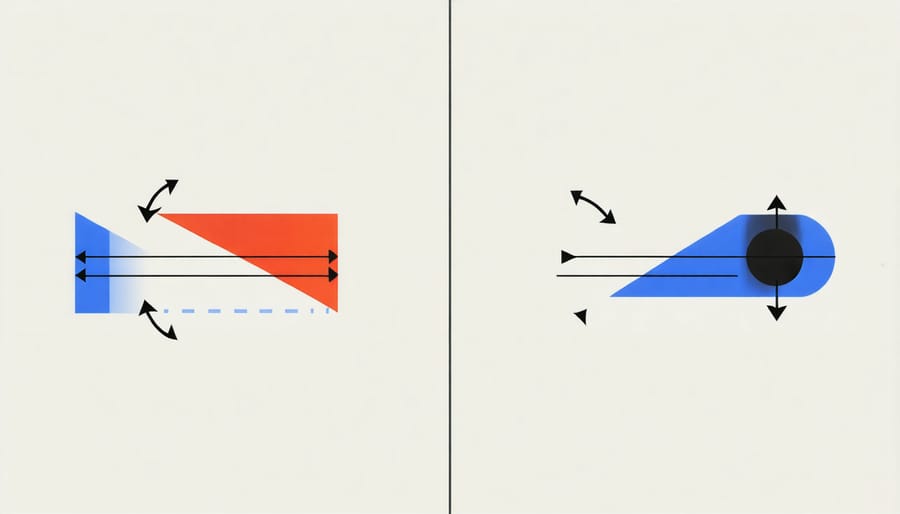
Parallax issues can be one of the most frustrating challenges when creating panoramic images, but they’re entirely preventable with the right approach. This optical phenomenon occurs when foreground objects appear to shift position relative to background elements as you rotate your camera, potentially ruining your panorama’s alignment.
To avoid parallax problems, the key is to rotate your camera around what’s called the nodal point or no-parallax point. This is the precise spot within your lens where light rays converge. When you rotate around this point, foreground and background elements maintain their relative positions throughout your sequence.
The easiest way to achieve this is by using a panoramic head on your tripod. These specialized tools allow you to adjust your camera’s position until you find the nodal point. If you’re shooting without specialized equipment, try to position your camera so the lens’s entrance pupil (typically near the front element) is directly over the rotation point.
A simple test to check for parallax: Hold up your finger about a foot from your lens and align it with a distant object. As you rotate your camera, watch if your finger appears to move relative to the background. If it does, adjust your camera’s position until this movement disappears.
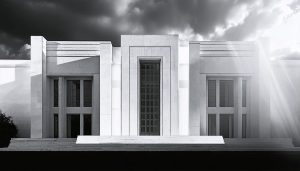
When shooting, maintain a good distance from nearby objects whenever possible, as parallax effects are most noticeable with close foreground elements. For landscape panoramas, this usually isn’t an issue, but it becomes crucial for interior or architectural shots.
Post-Processing Panoramas
Software Options
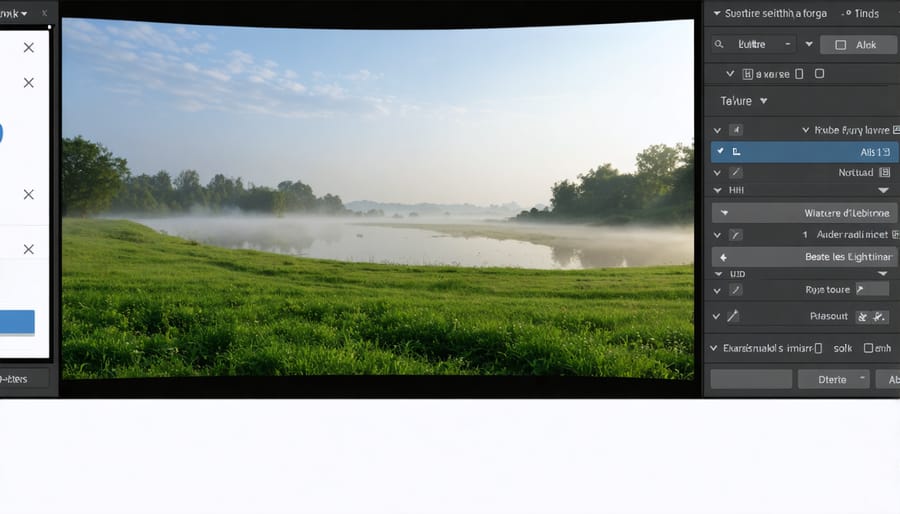
Several excellent software options are available for stitching your panoramic images together, each offering unique features and capabilities. Adobe Lightroom remains a popular choice among photographers, providing a straightforward workflow and reliable results for basic panoramas. Its Photo Merge feature handles most situations well and integrates seamlessly with your existing editing workflow.
For more advanced control, PTGui stands out as a professional-grade solution. It offers superior control over stitching parameters and excels at handling challenging scenarios like multiple rows or complex perspective corrections. While it has a steeper learning curve, the results are often worth the extra effort.
Microsoft’s Image Composite Editor (ICE) deserves mention as a free alternative that delivers surprisingly good results. It’s particularly user-friendly and works well for straightforward panoramas. Another notable free option is Hugin, which offers powerful features comparable to commercial software, though its interface may feel less polished.
For mobile photographers, AutoStitch and PhotoSynth provide convenient on-the-go solutions. These apps can create decent panoramas directly from your smartphone, though they may lack the refined control of desktop alternatives.
When choosing software, consider your specific needs. If you’re just starting, begin with the tools you already have, like Lightroom or free options. As your skills advance, you might want to explore more specialized tools for greater control over the final result.
Final Touch-ups
After stitching your panoramic images together, it’s time to perfect your masterpiece with some essential final adjustments. Start by carefully examining the edges of your panorama for any distortion or unwanted elements. Crop judiciously to eliminate these while maintaining your intended composition – this is particularly important in architectural photography composition where straight lines are crucial.
Pay special attention to the horizon line, ensuring it’s perfectly level across the entire image. Most editing software includes a straightening tool that can help achieve this precision. Check for any exposure inconsistencies between the merged frames and use graduated filters or selective adjustments to blend them seamlessly.
Color correction is another critical step. Look for variations in white balance between frames and harmonize them for a cohesive look. Don’t forget to address any vignetting that might appear more pronounced in the overlapping areas.
For the sharpest results, apply selective sharpening to your focal points while being careful not to over-sharpen the edges where images merge. Finally, consider the overall contrast and saturation of your panorama. Sometimes, the merging process can flatten these elements, so subtle adjustments might be needed to restore the image’s visual impact.
Remember to save your work in both high-resolution and web-friendly formats, preserving the original files for future editing if needed.
Mastering panoramic photography is a journey that combines technical skill with creative vision. By understanding the fundamental principles we’ve discussed – from equipment selection and camera settings to composition techniques and post-processing considerations – you’re well-equipped to create stunning panoramic images that capture the grandeur of expansive scenes.
Remember that practice is essential. Start with simple panoramas in good lighting conditions, and gradually challenge yourself with more complex scenarios. Don’t be discouraged by initial struggles with alignment or exposure – these are common hurdles that every photographer faces when learning panoramic techniques.
As you develop your skills, experiment with different subjects and perspectives. Whether you’re capturing sprawling landscapes, urban cityscapes, or intimate interior spaces, each scenario will help you refine your technique and develop your unique style.
Keep these key principles in mind: careful planning, steady technique, proper overlap between frames, and consistent settings throughout your sequence. With dedication and practice, you’ll soon be creating breathtaking panoramic images that tell compelling visual stories.