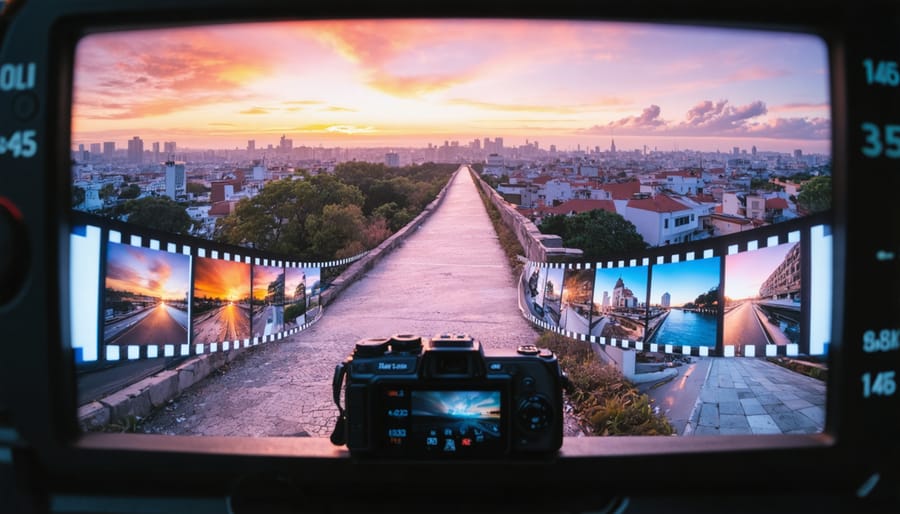
Transform ordinary action camera footage into stunning time-lapse masterpieces by mastering the essential fundamentals of interval shooting, motion control, and post-production techniques. Whether you’re capturing the dramatic sweep of storm clouds or the bustling energy of city streets, action cameras offer unique advantages for time-lapse photography – their durability, wide-angle perspective, and compact size enable shots that larger cameras simply can’t achieve.
Modern action cameras pack sophisticated time-lapse capabilities into their tiny frames, allowing both beginners and professionals to create compelling temporal narratives. From basic intervalometer settings to advanced techniques like motion-controlled hyperlapse and day-to-night transitions, these versatile devices have revolutionized how we compress time into captivating sequences.
This comprehensive guide will walk you through everything you need to know about creating professional-quality time-lapse videos with your action camera – from optimal camera settings and essential accessories to advanced shooting techniques and post-processing workflows that will elevate your footage from simple recordings to cinematic experiences.
Essential Time Lapse Settings for Action Cameras
Interval Selection
Selecting the right interval between shots is crucial for creating compelling time-lapse footage. For slow-moving subjects like clouds or sunsets, intervals of 5-10 seconds typically work well, capturing the gradual changes while maintaining smooth motion in the final video. When shooting faster-moving subjects like busy street scenes or crowds, shorter intervals of 1-2 seconds help preserve the flow of movement.
For extremely slow transitions like construction projects or growing plants, consider longer intervals of 30 seconds to several minutes. A good rule of thumb is to observe your subject for a few minutes and imagine how you want the final footage to look. If you’re unsure, start with this simple formula: divide the expected duration of the event by the desired length of your final video, then multiply by your target frame rate (usually 24 or 30 fps).
Remember that shorter intervals will consume more battery life and storage space. For a 1-minute final video at 30fps, you’ll need 1,800 individual photos, so plan accordingly. When shooting day-to-night transitions (holy grail time-lapses), start with 3-4 second intervals and adjust your camera settings as the light changes rather than modifying the interval.
Resolution and Field of View
When setting up your action camera for time-lapse photography, resolution and field of view (FOV) choices play crucial roles in the final output quality. While 4K resolution might seem like the obvious choice, it’s worth considering your camera sensor capabilities and intended use before making this decision.
For cityscape or landscape time-lapses, shooting in 4K provides exceptional detail and allows for post-production cropping and stabilization. However, if you’re creating time-lapses for social media or web viewing, 1080p resolution often suffices and saves valuable storage space.
As for FOV settings, Wide offers the most comprehensive view and works beautifully for landscape shots or capturing expansive scenes. Linear FOV, which removes the fish-eye effect, is ideal for architectural time-lapses or when straight lines are important. Narrow FOV works best for detailed subjects like clouds or flowing water, creating a more focused and intimate perspective.
Consider switching between FOV settings based on your subject matter – Wide for sweeping vistas, Linear for urban environments, and Narrow for close-up nature shots. This thoughtful approach to resolution and FOV selection will significantly enhance your time-lapse results.
Battery Life Management
Managing battery life is crucial for successful time-lapse shoots, especially during extended sessions. Consider using an external power bank connected to your action camera for longer recordings. Most modern action cameras accept USB power while recording, effectively extending your shooting time by several hours. Lower your screen brightness and disable unnecessary features like wireless connectivity to conserve power. For ultra-long sessions, investing in multiple batteries and a multi-battery charger can be worthwhile. In cold conditions, keep spare batteries warm in your pocket as low temperatures significantly reduce battery performance. If possible, use the camera’s scheduling feature to automatically start and stop recording, preventing unnecessary battery drain between scheduled capture times. Some photographers also use solar charging solutions for multi-day outdoor time-lapses, ensuring continuous power supply during daylight hours.
Advanced Time Lapse Techniques
Motion Time Lapse
Adding motion to your time-lapse sequences can transform them from simple recordings into cinematic masterpieces. While static time-lapses have their place, incorporating smooth camera movements creates a more engaging and dynamic viewing experience. Much like high-speed video techniques, motion time-lapses require careful planning and the right equipment.
Motorized sliders are the go-to choice for linear movements, offering precise control over the camera’s path. These devices can move your action camera horizontally, vertically, or at any angle you choose, typically controlled through a dedicated app or built-in programming. For best results, set your slider to move slowly and steadily – remember, even minimal movement will appear more pronounced in the final video.
Rotating mounts, or panoramic heads, add another dimension to your time-lapse arsenal. These devices can create smooth rotating movements around a fixed point, perfect for capturing cityscapes, star trails, or dramatic landscape transitions. Many modern rotating mounts integrate with your action camera’s time-lapse settings, ensuring perfect synchronization between rotation speed and capture interval.
When combining movement with time-lapse, start with simple, single-direction movements before attempting more complex patterns. This approach helps you master the basics while building confidence in your creative capabilities. Keep your movements subtle – dramatic camera shifts can be disorienting for viewers and may detract from your subject’s impact.
Day-to-Night Transitions
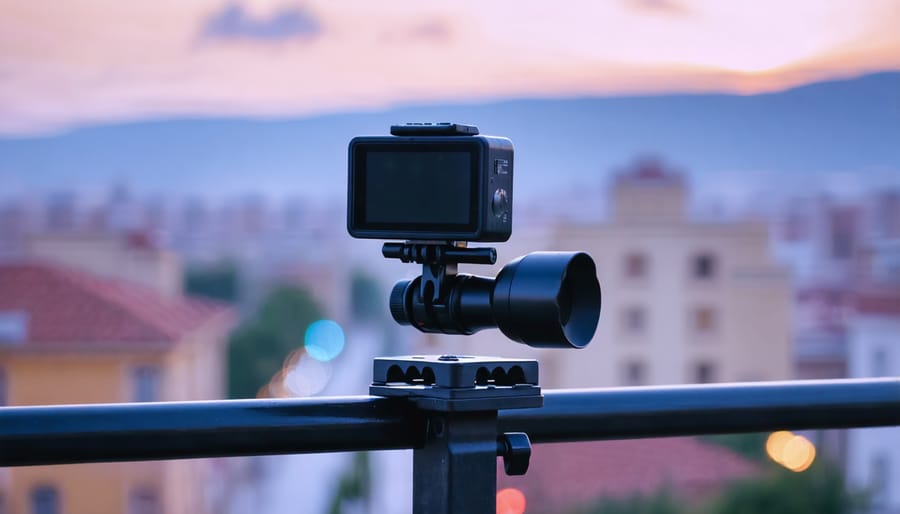
Capturing the transition from day to night (or vice versa) creates some of the most dramatic and visually stunning time-lapse sequences possible with your action camera. To achieve smooth transitions, start by using Manual mode to prevent sudden exposure changes. Set your initial exposure for the brighter daylight conditions, then gradually adjust your settings as the light fades.
A key technique is “ramping” – the gradual adjustment of your camera settings throughout the sequence. For the smoothest results, make tiny adjustments to your ISO and shutter speed every 10-15 minutes as the light changes. Start with the lowest possible ISO during daylight and slowly increase it as darkness falls. Similarly, begin with a faster shutter speed and gradually lengthen it.
One pro tip is to shoot in RAW format if your action camera supports it. This gives you more flexibility in post-processing to balance exposure across the entire sequence. Consider using neutral density filters during the brighter portions of the day to maintain consistent motion blur throughout your sequence.
The interval between shots is crucial for day-to-night transitions. A 5-10 second interval usually works well, providing enough frames for a smooth transition while ensuring your camera’s battery and storage can handle the extended shooting duration. Remember that these transitions typically require 2-3 hours of continuous shooting, so external power and sufficient storage are essential.
For the most natural-looking results, try to time your sequence around the golden hour and blue hour, when the light changes are most dramatic and colorful.
Weather-Proof Setup
When shooting time-lapses outdoors, protecting your action camera from the elements is crucial for capturing those epic long-duration shots. Start by investing in a reliable waterproof housing if your camera isn’t already weatherproof. Even water-resistant cameras benefit from extra protection during extended shoots.
Position your camera under natural cover when possible, such as beneath tree canopies or overhangs, but ensure this doesn’t compromise your composition. For completely exposed locations, consider using a small portable awning or camera umbrella mounted on a separate stand – just make sure it’s out of frame.
Condensation can be a silent killer for time-lapse shoots. Place silica gel packets inside your housing and consider using anti-fog inserts to prevent moisture buildup on the lens. For cold weather shoots, hand warmers secured near (but not touching) the camera can help prevent battery drain and reduce condensation risks.
Keep extra batteries in an insulated container during cold weather shoots, as cold temperatures significantly reduce battery life. For extremely long shoots, consider using an external power bank connected through a weather-sealed port.
Don’t forget to secure your setup against wind. Use additional weight on your tripod’s center column or create a wind barrier with natural elements. A stable platform is essential for smooth time-lapse footage, regardless of weather conditions.
Remember to regularly check your setup during the shoot, especially during changing weather conditions. A quick wipe of the lens or housing can save hours of footage from being ruined by water droplets or debris.
Post-Processing Your Time Lapse
Frame Rate Conversion
Frame rate conversion is a crucial step in creating smooth, professional-looking time-lapse footage with your action camera. Most action cameras capture time-lapse sequences as individual photos, which need to be converted into video at an appropriate frame rate. The standard video frame rates are 24fps, 30fps, or 60fps, with 24fps being the most cinematic choice for most situations.
To determine your output frame rate, consider how many photos you’ve captured and how long you want your final video to be. For example, if you’ve captured 600 photos and want a 30-second video at 24fps, you’ll need 720 frames total (24 frames × 30 seconds). This might require some frame interpolation or slight adjustments to your sequence length.
Many editing software packages offer frame smoothing or interpolation features that can help create more fluid motion between frames. These tools analyze adjacent frames and generate intermediate frames to reduce choppiness. While this can significantly improve your time-lapse quality, be careful not to overuse smoothing effects as they can create artificial-looking motion artifacts.
For action camera time-lapses of fast-moving subjects like clouds or traffic, consider using a higher output frame rate of 30fps or 60fps. This helps maintain smooth motion in scenes with rapid changes, though you’ll need more source photos to achieve the same video duration.
Color Correction and Stabilization
Even the most carefully planned time-lapse sequences can suffer from exposure flickering and unwanted camera movement. Fortunately, with today’s modern video creation techniques, these issues can be effectively addressed in post-processing.
Let’s tackle exposure variations first. Flickering often occurs when your camera’s auto-exposure adjusts between frames, creating an uneven, jittery appearance. Most editing software offers deflicker tools specifically designed for time-lapse sequences. In Adobe After Effects, the “Smooth” function can help eliminate these variations, while LRTimelapse provides powerful tools for handling complex exposure transitions.
Stabilization is equally crucial for professional-looking results. While action cameras like GoPros feature built-in stabilization, post-processing stabilization can further enhance your footage. When working with longer sequences, consider using the “Warp Stabilizer” effect in Premiere Pro or After Effects. For more precise control, point tracking can help lock down specific elements in your frame.
Color grading is another essential step in creating cohesive time-lapse sequences. Start by adjusting white balance to ensure consistency across all frames. Then, use curves and color wheels to enhance the mood of your sequence. For sunrise or sunset time-lapses, consider using graduated filters to balance bright skies with darker foregrounds.
Pro tip: Work with your footage in a high bit-depth color space to prevent banding or color artifacts during aggressive corrections. If you’re shooting in a flat color profile, remember to add contrast and saturation gradually to maintain a natural look.
For the best results, always shoot in RAW or the highest quality format your camera offers. This provides maximum flexibility during the correction phase and helps preserve detail in both highlights and shadows. Remember that subtle adjustments often yield more professional results than dramatic ones.
Common Time Lapse Mistakes to Avoid
Even experienced photographers can fall into common traps when creating time-lapse sequences with action cameras. Let’s explore these pitfalls and learn how to avoid them for better results.
One of the most frequent mistakes is incorrect interval timing. Setting intervals too far apart can result in jumpy, disjointed footage, especially when capturing fast-moving subjects like clouds or crowds. Conversely, intervals that are too short might not show enough change over time, making your final video less impactful.
Battery management is another crucial consideration often overlooked. Action cameras can drain quickly during long time-lapse sessions, leading to incomplete sequences. Always carry spare batteries or connect to an external power source for extended shoots. Consider using a battery grip or power bank for those longer sessions.
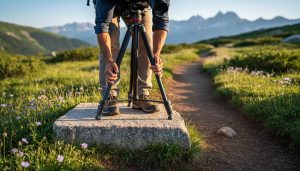
Unstable mounting is a common issue that can ruin your footage. Even slight camera movement can create jarring results in the final video. Always secure your action camera firmly using a robust tripod or mount, and avoid setting up on unstable surfaces or in areas with heavy vibration.
Many photographers forget to check their composition throughout the sequence. Changes in lighting, weather, or subject movement might require adjustments to maintain the intended frame. Set reminders to periodically review your setup, especially during longer shoots.
Camera settings oversight is another frequent mistake. Leaving your camera in auto mode can result in exposure flickering as lighting conditions change. Instead, lock your exposure settings manually and consider using gradual exposure adjustments for day-to-night transitions.
Memory card errors can be devastating. Using cards that are too slow or nearly full can cause dropped frames or recording failures. Always format your card before starting and ensure it has sufficient speed and capacity for your planned sequence.
Lastly, many creators overlook the importance of proper weather protection. Action cameras are robust, but extended exposure to elements can still cause issues. Use appropriate weather protection and monitor your equipment during adverse conditions to prevent damage or compromised footage.
Creating stunning time-lapse videos with your action camera opens up a world of creative possibilities. From capturing dramatic sunsets to documenting urban life, the techniques we’ve explored will help you tell compelling visual stories through the magic of time-lapse photography.
Remember to start with the basics: secure mounting, appropriate intervals, and proper camera settings. As you gain confidence, experiment with different subjects and scenarios. Try capturing both slow-changing scenes like clouds and fast-moving subjects like city traffic. Don’t be afraid to push creative boundaries by combining movement, varying intervals, and different perspectives.
Post-processing is your friend in perfecting your time-lapse videos. Take time to adjust colors, smooth transitions, and add subtle effects that enhance your story. When challenges arise, return to the fundamentals and troubleshoot methodically.
Most importantly, have fun with the process. Every time-lapse project is an opportunity to learn and improve. Start with simple sequences and gradually work your way up to more complex productions. With practice and patience, you’ll develop your unique style and create captivating time-lapse videos that stand out.

