Inspect the shutter by pointing the camera at a light source and firing it at different speeds—a sticky or inconsistent shutter means costly repairs that quickly erase any thrift store savings. Test the film advance mechanism by dry-firing the camera multiple times; it should move smoothly without grinding or sticking, as a jammed advance renders the camera unusable. Check the light seals around the film door and mirror box by looking for deteriorated foam that crumbles to the touch—replacing these costs $20-40 but remains a manageable DIY project unlike mechanical failures. Examine the lens for fungus, haze, or separation by holding it up to bright light and rotating it; minor dust is acceptable, but visible webbing patterns or cloudiness will degrade your images permanently.
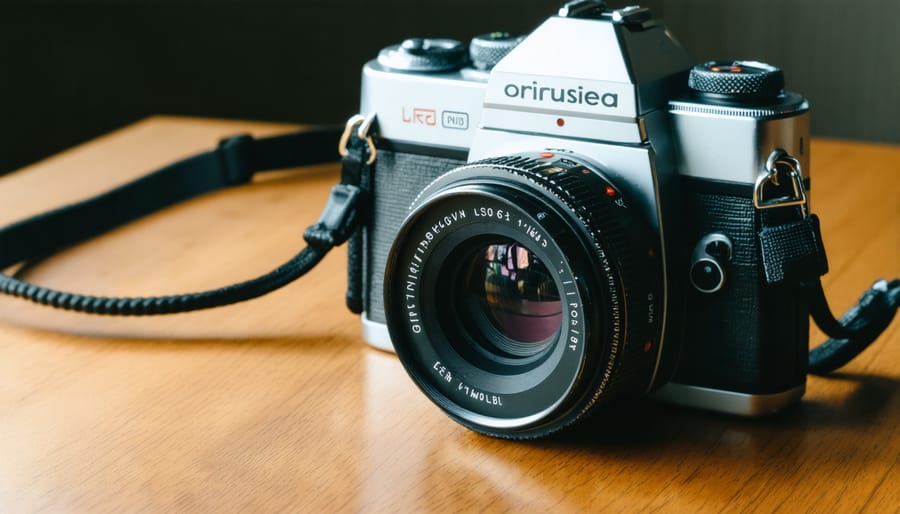
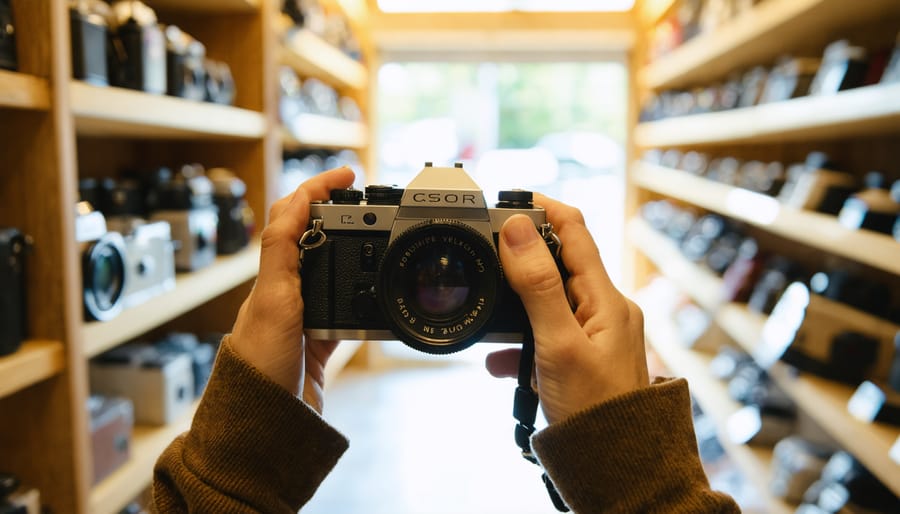
Thrift stores have become unexpected goldmines for film cameras as casual shooters abandoned analog photography during the digital revolution. That same Canon AE-1 gathering dust on a Goodwill shelf for $15 might cost $150-200 online, making thrift hunting financially compelling for anyone interested in buying your first camera or expanding their collection. The challenge lies in distinguishing a functional classic from an expensive paperweight.
Most thrift store cameras lack batteries, so bring CR2032 or LR44 batteries to test light meters on-site. Focus on fully manual cameras like the Pentax K1000 or Minolta SRT series if electronics concern you—these mechanical workhorses function without batteries and often survive decades of neglect. Expect to visit multiple stores over several weeks; unlike online marketplaces, thrift inventory changes constantly, rewarding persistent hunters with remarkable finds. Budget an additional $30-50 beyond the purchase price for fresh light seals, a deep cleaning, and your first rolls of film—realistic preparation prevents disappointment when your $10 treasure needs minor restoration.
The Real Advantages of Buying Thrifted Film Cameras
Beyond the obvious appeal of saving money, thrifted film cameras offer genuine advantages that new equipment simply can’t match. Understanding these benefits helps you appreciate what you’re really getting when you rescue a classic camera from a secondhand shelf.
**Access to Discontinued Legends**
Many of the most beloved film cameras haven’t been manufactured in decades. Models like the Olympus OM-1, Pentax K1000, or Minolta X-700 built legendary reputations for their reliability and image quality, yet they’re only available secondhand today. Thrifting gives you access to these proven performers at a fraction of what they cost new. You’re not settling for second-best—you’re often acquiring cameras that professional photographers relied on for years. These discontinued models frequently outperform modern budget film cameras in build quality and lens selection.
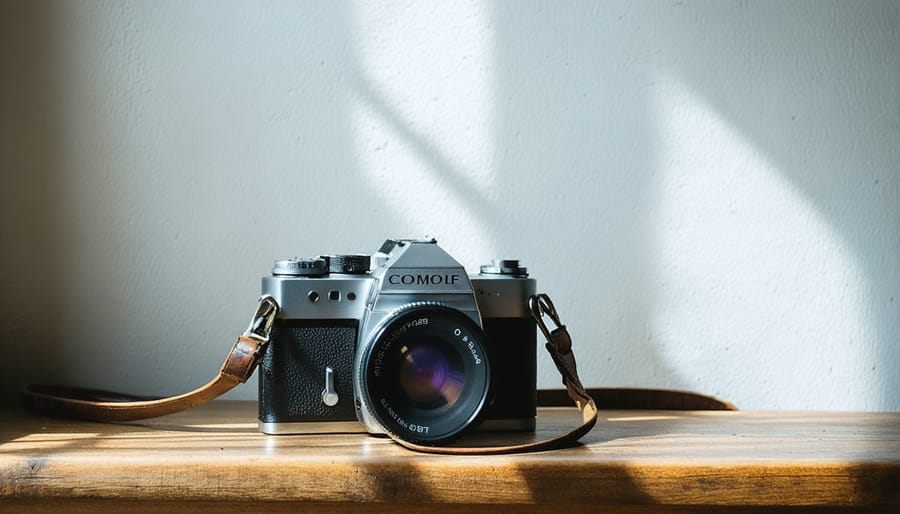
**Character That Can’t Be Replicated**
Vintage cameras carry aesthetic qualities that manufacturers don’t replicate anymore. The satisfying mechanical click of an all-manual shutter, the warm brass finish under worn black paint, or the compact elegance of 1970s rangefinders—these tangible characteristics create a more intimate shooting experience. This isn’t nostalgia talking; physical connection to your equipment genuinely affects how you approach photography. Each camera’s unique wear pattern tells a story, making your thrifted find truly one-of-a-kind.
**Learning Without Financial Anxiety**
Starting with thrifted cameras removes the psychological barrier that expensive equipment creates. When your camera cost $30 instead of $300, you’re more willing to experiment, take risks, and learn through trial and error. This freedom accelerates your development as a photographer because you’re focused on technique rather than protecting your investment. If you’re building your essential beginner gear, thrifted cameras let you explore different systems affordably before committing to one ecosystem.
**Genuine Environmental Impact**
Choosing thrifted cameras represents meaningful sustainability. Photography equipment contains precious metals, plastics, and glass—materials requiring significant energy to produce. By giving functioning cameras second (or third) lives, you’re directly reducing manufacturing demand and keeping perfectly usable equipment from landfills. It’s circular economy in action, proving that older technology doesn’t equal obsolete technology. Film photography already embraces slower, more intentional practices; thrifting extends that mindfulness to your gear choices.
What to Look For: Camera Types Worth Your Time
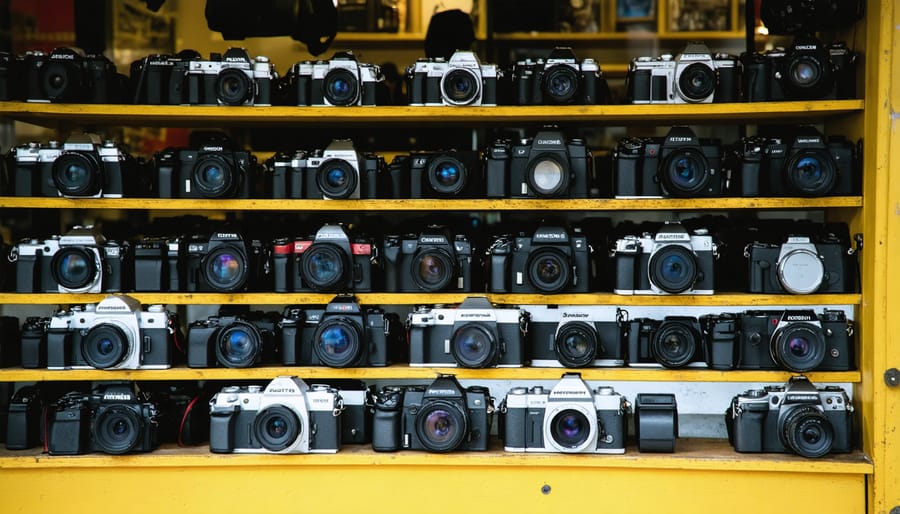
35mm Point-and-Shoots: The Thrift Store Goldmine
Compact 35mm cameras represent the sweet spot for thrift store hunting—they’re abundant, affordable, and remarkably beginner-friendly. These point-and-shoot cameras flooded the market throughout the 1980s and 1990s, meaning you’ll frequently encounter them wedged between outdated electronics and forgotten kitchenware.
The beauty of these cameras lies in their simplicity. Most handle focus and exposure automatically, letting you concentrate on composition rather than technical settings. They’re genuinely pocket-sized, making them perfect companions for everyday photography without the bulk of larger SLRs.
Certain models have developed cult followings among film photographers. The **Olympus Stylus Epic** (also called the mju-II) features a sharp 35mm f/2.8 lens that rivals far more expensive equipment. Canon’s **Sure Shot series**, particularly the Tele models with dual focal lengths, offer impressive versatility. The **Nikon L35AF** delivers legendary image quality despite its utilitarian appearance.
When browsing thrift store shelves, look for cameras with intact battery compartments and clean lenses. Test the shutter if batteries are available—you should hear a distinct click. These cameras typically range from $5 to $25 at thrift stores, though certain models command higher prices once sellers recognize their value online.
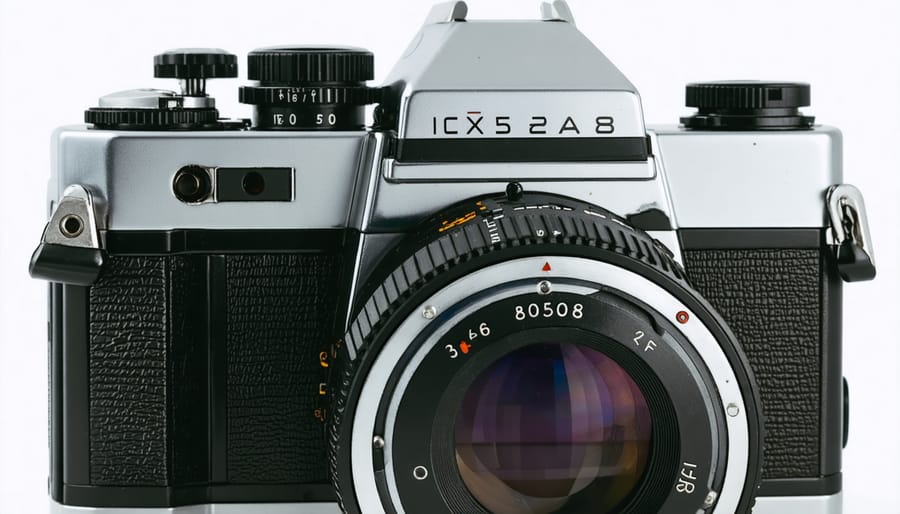
SLRs: Where Quality Meets Affordability
SLRs represent the sweet spot in thrift store film camera hunting—they’re built like tanks, widely available, and remarkably affordable. When you’re scanning those dusty shelves, three names should immediately catch your eye: Canon AE-1, Pentax K1000, and Minolta X-700.
The Canon AE-1 revolutionized photography in the late 1970s as the first microprocessor-controlled camera, making it incredibly popular and therefore easy to find today. Look for one with a responsive shutter button and clean viewfinder. The light meter should activate when you press the button halfway—if it doesn’t, you might need a battery replacement, which is an easy fix. These typically run $40-80 at thrift stores, depending on condition.
The Pentax K1000 earned its legendary status through pure mechanical simplicity. It’s an entirely manual camera with virtually nothing to break electronically. When examining one, check that the film advance lever moves smoothly and the shutter fires at different speeds. The satisfying “click” should vary noticeably between 1/1000 and 1/60. This mechanical reliability makes it perfect for beginners learning exposure fundamentals.
The Minolta X-700 offers more sophisticated features like program mode while maintaining excellent build quality. Test the aperture priority mode by rotating the aperture ring—the viewfinder should display corresponding shutter speeds.
All three cameras use readily available batteries and have extensive lens ecosystems, making them genuinely practical choices for actual shooting, not just shelf decoration.
Medium Format Cameras: The Unexpected Finds
While 35mm cameras dominate most thrift store camera bins, occasionally you’ll stumble upon a medium format camera—a genuinely exciting find worth celebrating. These larger-format cameras, which use 120 or 220 film, produce significantly higher image quality and are highly valued by serious photographers.
Keep an eye out for classic models like the Mamiya 645, Yashica-Mat twin-lens reflex cameras, or folders like the Agfa Isolette. These often get overlooked because they’re bulkier or less familiar to casual shoppers. A Yashica-Mat 124G that might sell for $200-400 online could appear priced at $20-40 in a thrift store simply because staff don’t recognize it.
The key is learning to identify the “120” film format marking—your signal that you’ve found something special. Check the film door for format indicators, and examine the lens for coating quality (a purple or blue tint suggests better glass). While medium format cameras require more investment in film and processing, finding one at thrift prices makes the format suddenly accessible. Even if it needs minor repairs like new light seals, you’re still ahead financially compared to market prices.
Instant Cameras: Handle With Realistic Expectations
Thrifted Polaroid and instant cameras are tempting, but proceed cautiously. Many older models suffer from deteriorated seals, failing electronics, or motor issues that aren’t obvious until you’ve loaded expensive film. The bigger challenge? Film costs. Instant film runs $2-3 per shot, making test shoots pricey. If you find a Polaroid 600 or SX-70, inspect the battery compartment for corrosion and test the shutter mechanism. Fujifilm Instax cameras are more reliable if found, with better film availability. However, vintage instant cameras often become shelf decorations rather than working tools. Unless you’re committed to the instant format’s ongoing costs and accept potential disappointments, traditional 35mm cameras offer better value and predictability for thrift store purchases.
The In-Store Inspection: Your Essential Checklist
Physical Condition: Red Flags and Good Signs
Start by examining the camera body for cracks, particularly around the film door hinges and battery compartment—these stress points reveal how carefully the camera was handled. A few cosmetic scratches on the base plate are normal, but deep gouges or dents near the film advance lever might indicate a drop that could affect internal mechanisms.
The lens mount deserves special attention. Gently rotate it while looking for wobble or resistance, and check the metal contacts for corrosion or bent pins. A smooth, secure mount is essential for proper function. Similarly, inspect the film door seal—it should feel slightly tacky, not crumbly or detached, as light leaks will ruin your shots.
When buying pre-owned photography gear, wear patterns tell a story. Brassing (exposed brass beneath worn black paint) on grip points often indicates heavy use by an enthusiast who maintained their equipment. However, sticky residue, missing screws, or mismatched parts suggest repairs or neglect.
Good signs include intact strap lugs, clean viewfinders without fungus or separation, and smooth-operating dials with legible markings. If the camera comes with its original case showing matching wear patterns, that’s usually a positive indicator of careful ownership.
Mechanical Function Tests You Can Do Without Film
Before you hand over cash for that thrifted camera, spend five minutes testing its mechanical components—no film or batteries required. These simple checks can reveal deal-breakers and save you from hauling home an expensive paperweight.
Start with the **shutter mechanism**, which is the heart of any camera. Set the shutter speed dial to 1/60th or 1/125th of a second, then fire the shutter while looking through the back of the camera (with the film door open). You should see the shutter curtain open briefly and close smoothly. Repeat this at various speeds—from the slowest setting to the fastest. Listen for consistent, crisp sounds. Sticky shutters produce a hesitant “click…thud” rather than a clean snap. Test the bulb mode too if available; the shutter should stay open as long as you hold the release button.
Check the **film advance lever**. It should move smoothly through its full range without grinding or excessive resistance. After advancing, the shutter should cock properly. If the advance lever feels crunchy or gets stuck midway, internal gears may be damaged.
Examine the **aperture blades** by removing the lens (or looking through the front element while triggering the depth-of-field preview button). The blades should form a clean, symmetrical opening and respond crisply when you change f-stops. Sticky, oil-coated blades often appear sluggish or don’t close completely—a common issue with vintage cameras that signals an expensive repair ahead.
Inspect **light seals** around the film door and mirror box. These foam strips deteriorate into black goo over time. While replaceable, severely degraded seals indicate the camera hasn’t been maintained.
Optical Inspection: Lens and Viewfinder Assessment
The lens and viewfinder reveal crucial information about a camera’s history and usability. Start by holding the camera toward a light source—a store window works perfectly. Look through the lens from both ends, slowly rotating it to catch light at different angles.
**Fungus** appears as delicate, web-like patterns or small dots that resemble spider silk. It’s a dealbreaker, as fungus spreads to other gear and rarely cleans completely. **Haze** looks like a milky cloudiness throughout the lens elements, reducing contrast in your final images. Light haze might be acceptable on a bargain camera, but severe haze significantly impacts image quality.
Check for **scratches** on both front and rear elements. Small hairline scratches on the front element rarely affect photos, but deep gouges or scratches on the rear element can create visible artifacts. **Separation** between cemented lens elements appears as rainbow-like patterns or Newton’s rings—another condition worth avoiding.
Peer through the viewfinder at a well-lit area. It should be clear and bright. A dim, cloudy viewfinder makes composition frustrating, even if it doesn’t affect image quality directly.
The Deal-Breakers vs. The Fixables
Some camera issues are easily fixable, while others mean walking away. **Deal-breakers** include cracked or fungus-infested lenses (visible as spider-web patterns inside the glass), shutter mechanisms that don’t fire at any speed, or severe light leaks from damaged body seals. These repairs often exceed the camera’s value.
**Fixable issues** are more forgiving. Dirty viewfinders can be cleaned with compressed air, stuck film advance levers often respond to gentle working back-and-forth, and light seals—those foam strips around the film door—cost just a few dollars to replace yourself. A dead light meter isn’t ideal, but you can learn to use a smartphone app instead. Before buying, test the shutter at different speeds, advance the film mechanism smoothly, and inspect the lens carefully under bright light.
Common Problems and How to Fix Them at Home
Light Seal Replacement: The Most Common DIY Fix
Light seals are the foam strips that prevent light from leaking into your camera and ruining your film. Unfortunately, they’re also the first component to deteriorate in older cameras. If you open your thrifted camera and find sticky black residue or crumbling foam around the film door and mirror box, congratulations—you’ve identified the culprit behind those mysterious light streaks.
The good news? Replacing light seals is surprisingly straightforward and requires minimal tools. You’ll need a light seal replacement kit (available for $10-20 for most camera models), tweezers, a cotton swab, and isopropyl alcohol. Start by carefully removing all old foam with tweezers, then clean the adhesive residue with alcohol-dampened swabs. Let everything dry completely.
Next, cut the new foam strips to match your camera’s channels—most kits include thickness guides and templates. Peel the backing and press the foam firmly into place along the film door edges, hinge side, and mirror cushions. The entire process typically takes 30-45 minutes.
I’ve personally revived three “unusable” thrift store finds this way, transforming them from light-leaking paperweights into reliable shooters. It’s genuinely the most satisfying repair you can tackle as a beginner.
Battery Compartment Corrosion and Dead Batteries
Pop open that battery compartment and prepare yourself—corrosion is incredibly common in thrifted cameras. Those telltale white or green crusty deposits form when old batteries leak, but minor corrosion is usually fixable. Remove the old batteries wearing gloves, then gently clean the contacts with a cotton swab dipped in white vinegar or lemon juice. For stubborn buildup, a pencil eraser works surprisingly well on metal contacts. Let everything dry completely before inserting fresh batteries.
Here’s where things get interesting: many vintage cameras used mercury batteries (like the PX625) that are no longer manufactured due to environmental regulations. Don’t panic—you have options. Adapter batteries like the Wein Cell provide the correct 1.35V voltage, or you can use modern alkaline batteries with slightly different voltage, which typically works fine for mechanical cameras with basic light meters. Some photographers simply use a handheld light meter instead, which actually gives you more precise readings anyway.
For cameras requiring obsolete battery sizes, online retailers specializing in vintage photography gear often stock suitable replacements. Always test the light meter after installing new batteries to ensure accurate readings.
When to Walk Away vs. When to Seek Professional Help
Before purchasing a thrifted camera with issues, apply the “50% rule”—if professional repair costs exceed half the camera’s working value, walk away. For example, a $40 thrift store Pentax K1000 needing a $75 shutter replacement isn’t economical when working models sell for $100-120.
**Walk away when you encounter:**
– Severe fungus inside lens elements (cleaning costs $80-150)
– Broken film advance mechanisms (repairs often $100+)
– Cracked or missing viewfinder prisms (irreparable on many models)
– Heavy corrosion on battery contacts and internal circuits
**Seek professional help for:**
– Simple light seal replacements you’re uncomfortable doing yourself ($30-50)
– Light meter calibration on premium cameras like Leica or Hasselblad
– Cleaning and lubrication (CLA) for high-value finds ($100-200, but worthwhile for $500+ cameras)
Remember, some cameras like the Canon AE-1 or Minolta X-700 have abundant affordable parts, making repairs more justifiable than obscure models. Always research typical repair costs before committing to a fixer-upper.
Smart Thrift Store Hunting Strategies
Finding a quality film camera at a thrift store isn’t just about luck—it’s about strategy. With the right approach, you can significantly increase your chances of scoring an excellent camera at a fraction of retail prices.
**Timing Your Visits**
Thrift stores typically receive donations on weekdays, with Monday and Tuesday mornings being prime time for newly stocked shelves. Many stores refresh their inventory midweek, so establishing a regular visiting routine—say, every Tuesday and Thursday—helps you catch fresh arrivals before other hunters. Weekend shopping tends to be picked over, though Sunday evenings occasionally yield surprises after weekend estate sales.
**Location Matters**
Not all thrift stores are created equal when it comes to camera hunting. Target stores in affluent or retirement-heavy neighborhoods where photography enthusiasts are downsizing. Suburban locations often have better selections than urban stores, which see higher foot traffic from experienced thrifters. Don’t overlook smaller, church-run thrift shops—they frequently receive estate donations with vintage cameras that haven’t been cherry-picked.
Chain thrift stores like Goodwill and Salvation Army offer consistency, but independent shops sometimes lack the expertise to properly price cameras, leading to better deals. One photographer I know found a pristine Pentax K1000 for $15 at a small-town church shop, while the same model sat at a city Goodwill for $75.
**Building Relationships**
Get to know the staff. Ask when cameras typically arrive and whether they can notify you about incoming photography equipment. Many thrift store employees will hold items briefly for regular customers who show genuine interest. A friendly conversation and consistent visits can transform you from just another shopper into someone who gets first dibs.
**Negotiation Techniques**
While thrift stores aren’t traditional negotiation venues, polite bargaining sometimes works, especially on items that have sat unsold. Point out obvious flaws or missing parts tactfully. Bundling multiple items can also create negotiating leverage—if you’re buying the camera plus accessories, requesting a modest discount is reasonable, particularly at independent shops with flexible pricing policies.
What’s a Fair Price? Valuation Guidelines
Walking into a thrift store without price awareness is like entering a poker game without knowing the cards. Let me give you some realistic benchmarks to work with.
**Entry-Level Expectations**
Basic point-and-shoot film cameras typically range from $5 to $25 at thrift stores. Think Olympus Trip, Canon Sure Shot, or Nikon One Touch models. If you’re seeing prices above $30 for these, the store may be pricing based on online retail rather than actual thrift value. Popular 35mm SLRs like the Canon AE-1, Minolta X-700, or Pentax K1000 should fall between $20 and $60, depending on condition and included lenses. Anything above $75 for a body-only SLR in a thrift setting warrants scrutiny.
**Quick Research Strategies**
Your phone is your best negotiating tool. While examining a camera, pull up eBay and filter by “sold listings” rather than current prices—this shows what buyers actually paid, not wishful thinking. Search the exact model name plus “film tested” to see realistic market values. Check multiple sources: KEH.com provides excellent condition-based pricing, even if you’re not buying from them. A quick Reddit search in r/AnalogCommunity often reveals which cameras are overvalued trends versus solid performers.
**When to Walk Away**
If a thrift store prices a camera at online retail values, politely pass. The trade-off for thrifting is accepting some uncertainty about function—you shouldn’t pay premium prices without guarantees. Negotiation works best at smaller thrift shops; chains typically have fixed pricing systems. However, cameras sitting on shelves for weeks often qualify for markdowns. Don’t hesitate to ask when items will be discounted, or simply return later. Remember, another camera always exists somewhere, but your money spent unwisely doesn’t come back.
The hunt for a thrifted film camera is as much part of the experience as shooting with it. Don’t let the fear of imperfection hold you back—those light leaks, minor scratches, and quirky shutter sounds often become the signature elements that give your photos character. Every vintage camera has a story, and finding yours means embracing both the search and whatever small surprises come with your discovery.
Before you head out to your local thrift stores, remember that patience is your greatest asset. The perfect camera might not appear on your first visit, or even your fifth. But that’s exactly what makes the eventual find so rewarding. When you do discover a promising camera, take your time with the inspection process. Check the basics we’ve covered, trust your instincts, and don’t hesitate to walk away if something feels off.
Here’s one final piece of practical advice: once you’ve brought your thrifted treasure home, load it with an affordable roll of film first—something like Kodak ColorPlus or Fujifilm C200. Shoot through the entire roll under various conditions, from bright daylight to indoor scenes. This test run will reveal any issues without the heartbreak of wasting expensive film stock on a camera that needs adjustment. Think of it as a dress rehearsal before the main performance.
Whether you’re starting photography or adding to your collection, thrift store camera hunting offers an accessible entry point into film photography. So grab your checklist, visit those thrift stores, and start your adventure—your next favorite camera is waiting to be discovered.