By
By 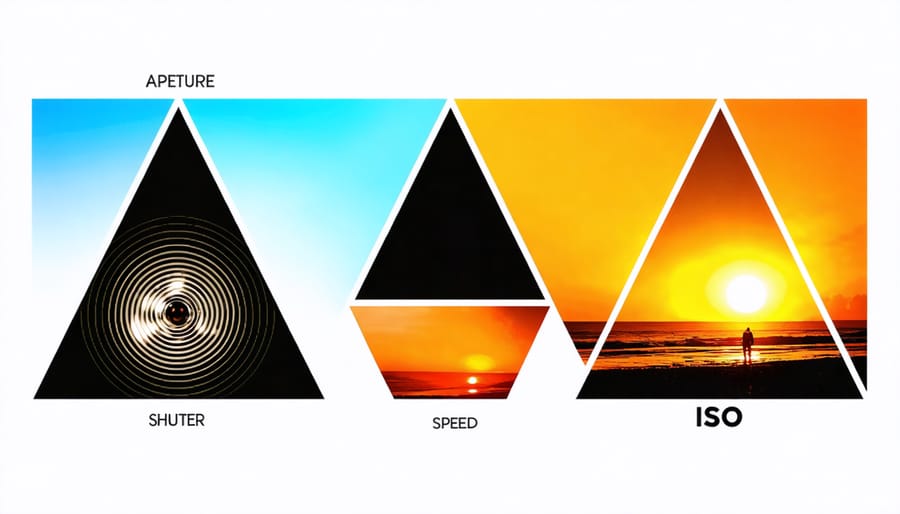
Pick up an entry-level DSLR or mirrorless camera and master its basic functions before investing in expensive gear. Photography begins with understanding three fundamental elements: aperture, shutter speed, and ISO – known as the exposure triangle. These core settings control how light enters your camera and shapes your images.
Start with your camera’s automatic mode to build confidence, then gradually transition to manual settings as you learn how each adjustment affects your photos. Join local photography groups, follow established photographers on social media, and practice daily with whatever camera you have – even a smartphone. The best photographers aren’t defined by their equipment but by their ability to see and capture compelling moments.
Learning photography isn’t about memorizing technical specs or buying the latest gear. It’s about developing your eye, understanding light, and creating images that tell stories. Whether you dream of shooting landscapes, portraits, or street photography, the journey starts with these basics and grows through consistent practice and experimentation.
Note: This introduction combines practical advice with encouragement, addressing both the technical and artistic aspects of photography while maintaining an accessible tone for beginners.
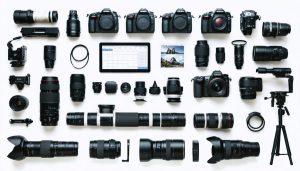
Essential Camera Gear for Your Photography Journey
Choosing Your First Camera
When it comes to choosing the perfect camera you’ll typically encounter three main options as a beginner: mirrorless cameras, DSLR cameras, and advanced point-and-shoots. Each has distinct characteristics that affect how you’ll learn and grow as a photographer.
By 2026, mirrorless cameras have become the clear standard for beginners. Entry-level models like the Canon EOS R50, Nikon Z30, and Sony a6400 deliver exceptional image quality with interchangeable lenses, all in compact bodies. They excel at showing your exposure settings in real-time through the electronic viewfinder, which makes learning fundamentals far more intuitive. Most major manufacturers have shifted their development focus to mirrorless systems, meaning you’ll have access to the latest technology and growing lens ecosystems.
DSLRs still have merit, particularly for budget-conscious beginners. Models like the Canon Rebel T7 or Nikon D3500 offer solid image quality and optical viewfinders that show exactly what you’re shooting. Their battery life remains superior to most mirrorless options, and the used market is flooded with affordable bodies and lenses. However, fewer new DSLR models are being released as manufacturers prioritize mirrorless development.
Advanced point-and-shoots, such as the Sony RX100 VII or Canon G7X Mark III, provide excellent image quality in pocket-sized packages. These cameras feature larger sensors than typical compact cameras and manual controls, making them serious tools for learning. You can’t swap lenses, but their built-in zoom range covers most everyday shooting situations.
Mirrorless
- Real-time exposure preview makes learning settings faster and more intuitive.
- Compact, lightweight bodies with modern features and growing lens selection.
- Industry standard with full manufacturer support and development.
DSLR
- Excellent battery life and comfortable ergonomics for extended shooting.
- Massive used market offers budget-friendly bodies and lenses.
- Limited new models as manufacturers shift focus to mirrorless systems.
Point-and-Shoot
- Ultra-portable size fits in a pocket for everyday carry.
- No lens decisions to make, simplifying the learning process.
- All-in-one solution with good image quality for casual shooting.
Cons
- Fixed lens limits creative flexibility as your skills advance.
- Higher price per feature compared to entry-level interchangeable lens cameras.
- Smaller sensor options may struggle in low-light situations.
For most beginners in 2026, I recommend starting with an entry-level mirrorless camera. These offer the best combination of learning tools, growth potential, and long-term value. The electronic viewfinder alone accelerates your understanding of exposure, and you’ll have access to expanding lens systems as your skills develop. Whatever you choose, the best first camera is one that matches your budget and learning style.
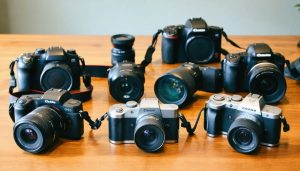
Side-by-side comparison of DSLR, mirrorless, and advanced point-and-shoot cameras
Basic Lens Selection
When starting your photography journey, choosing the right lens is crucial but doesn’t need to be overwhelming. Let’s focus on two essential lenses that can serve you well as you develop your skills. Understanding the basic prime and zoom lens options will help you make an informed decision.
For beginners, a standard zoom lens (typically 18-55mm for crop sensors or 24-70mm for full-frame cameras) is an excellent starting point. This versatile kit lens covers most everyday shooting situations, from landscapes to portraits, making it perfect for learning composition and basic techniques. The 18-55mm range lets you capture wide environmental shots at 18mm, standard street scenes around 35mm, and flattering portraits at 55mm. It’s often included as a kit lens with entry-level cameras for good reason: it handles around 80% of typical beginner subjects.
Consider adding a 50mm prime lens (often called a “nifty fifty”) as your second lens. Despite its fixed focal length, this affordable lens offers excellent image quality and a wide maximum aperture, usually f/1.8, perfect for low-light situations and creating beautiful background blur. The 50mm focal length excels at portraits, food photography, and everyday documentary-style shooting. It’s also lightweight and compact, making it ideal for travel and street photography. On a crop sensor camera, the effective focal length becomes around 75-80mm, which works beautifully for headshots and detail work.
If you’re drawn to specific subjects, your lens selection might shift slightly. Wildlife and sports photographers should look at telephoto zooms starting around 70-300mm, while macro enthusiasts need dedicated 1:1 reproduction lenses in the 60-105mm range.
Remember, it’s better to master a couple of versatile lenses than to get overwhelmed with too many options early on. These two lens types will give you plenty of creative possibilities while you develop your photographic eye and technical skills.
Essential Accessories
While having a good camera is crucial, your photography journey won’t be complete without a few essential photography accessories. Building a smart collection of photography accessories doesn’t have to break the bank, but it does require some planning.
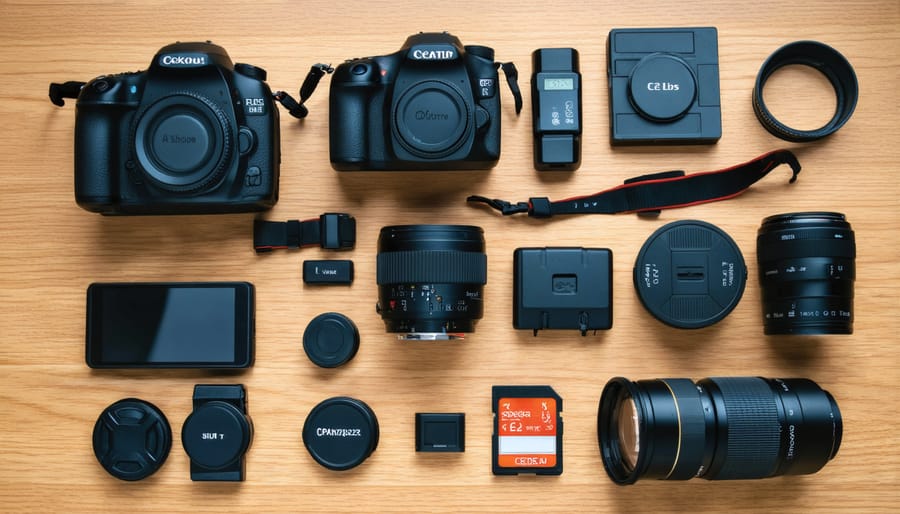
Here’s a prioritized checklist to guide your first purchases:
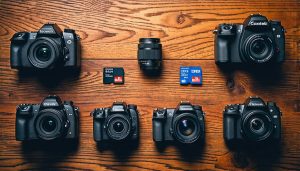
- Memory cards – At least two fast cards with 64GB+ capacity ($20-50 each)
- Camera bag – Padded, weather-resistant protection for your gear ($40-120)
- Extra batteries – Minimum one spare, fully charged ($30-70 each)
- Tripod – Sturdy build for sharp low-light and long-exposure shots ($50-150)
- Lens cleaning kit – Microfiber cloths, blower, and cleaning solution ($15-30)
- Lens hood – Reduces flare and protects the front element ($15-40)
Start with high-quality memory cards. Invest in at least two cards with sufficient storage capacity and fast write speeds. Don’t skimp on these, as they’re responsible for safely storing your precious images.
Extra batteries are non-negotiable. There’s nothing worse than running out of power during a shoot. Keep at least one fully-charged spare battery in your bag at all times. A proper camera bag is vital for protecting your equipment, so look for one with adequate padding, weather resistance, and comfortable straps.
A basic lens cleaning kit will maintain your camera gear’s optimal performance, while a sturdy tripod can be invaluable for sharp images in low light or when experimenting with long exposures. Finally, don’t forget about storage solutions for your home. External hard drives or cloud storage subscriptions will help keep your growing collection of photos safe and organized.
Building Your Kit Without Breaking the Bank
New vs. Used Equipment
When starting your photography journey, one of the biggest decisions you’ll face is whether to buy new or used equipment. Both options have their merits, and understanding the pros and cons can help you make an informed choice that suits your budget and needs.
New equipment offers several advantages. You’ll get a manufacturer’s warranty, ensuring peace of mind if anything goes wrong. The latest models feature cutting-edge technology and improved performance, which can enhance your learning experience. You’ll also receive official support and access to the most recent firmware updates. However, new gear comes at a premium price, and its value depreciates significantly once you start using it.
Used camera equipment, on the other hand, can offer exceptional value for beginners working with a tight budget. Many photographers have successfully started with second-hand cameras and lenses, often getting higher-end models at the price of entry-level new gear. Professional-grade equipment that might be out of reach when new becomes more accessible on the used market. Since cameras and lenses can last for many years when properly cared for, buying used doesn’t necessarily mean compromising on quality.
The new vs used camera debate really comes down to your priorities and budget. If you value warranty protection and the latest features, buying new makes sense. But if you’re willing to do some homework and want to maximize your budget, used gear can deliver excellent results.
When purchasing used camera equipment, careful consideration is essential. Always buy from reputable sellers or established camera stores that offer return policies. Check for any signs of damage, test the equipment thoroughly if possible, and verify the shutter count on cameras. Be particularly cautious with electronic components and watch out for sensor damage or lens fungus.
For beginners, a smart approach might be to start with a used camera body and invest in new lenses. Quality glass tends to retain its value and performance longer than camera bodies, making it a worthwhile investment that will grow with you.
Where to Buy Your Gear
When it comes to purchasing your first photography gear, there are several reliable options to consider. Established camera retailers like B&H Photo, Adorama, and KEH Camera offer extensive selections of both new and used equipment, along with excellent customer service and return policies. These retailers frequently provide educational resources and detailed product descriptions to help you make informed decisions.
For those on a budget, the used market presents fantastic opportunities. KEH Camera specializes in used equipment and grades their items transparently, while MPB offers a similar service with competitive prices. Both platforms thoroughly test their equipment before selling, providing peace of mind for buyers.
Local camera shops, though sometimes slightly more expensive, offer invaluable hands-on experience with equipment before purchase. They often provide personalized advice and after-sales support that online retailers can’t match. Many also offer repair services and photography classes, making them excellent long-term resources for developing photographers.
Amazon can be a viable option, but exercise caution and stick to items sold directly by Amazon or authorized retailers. Be wary of deals that seem too good to be true, as counterfeit photography equipment is unfortunately common on marketplace platforms.
For accessories like filters, camera bags, and tripods, retailers like Moment and Peak Design offer innovative, high-quality products designed specifically for photographers. Remember to factor in warranty coverage and return policies when making your purchase decisions, especially for expensive items like cameras and lenses.
If you’re just starting out, consider renting equipment first through services like LensRentals or BorrowLenses. This allows you to test different gear before making significant investments and helps you understand what features matter most for your photography style.
Getting Started With Your New Equipment
Basic Camera Settings
Getting started with your camera’s basic settings doesn’t have to be overwhelming. While understanding camera settings takes time, focusing on these fundamental controls will help you build a strong foundation.
First, familiarize yourself with your camera’s exposure triangle: aperture, shutter speed, and ISO. Aperture (f-stop) controls depth of field and how much light enters your camera. Lower f-numbers like f/1.8 create beautiful background blur, while higher numbers like f/16 keep more of your scene in focus. Shutter speed determines how long your sensor is exposed to light, affecting motion blur and freeze action. ISO represents your camera’s light sensitivity – keep it as low as possible to maintain image quality.
Start by using these semi-automatic modes:
Aperture Priority (A or Av): You control the aperture while the camera handles shutter speed. Perfect for portraits and landscapes where controlling depth of field matters most.
Shutter Priority (S or Tv): You set the shutter speed while the camera manages aperture. Ideal for sports, wildlife, or any moving subjects.
Program Mode (P): A step up from Auto, giving you control over ISO and exposure compensation while the camera balances aperture and shutter speed.
Focus on mastering one mode at a time. Practice adjusting your camera’s exposure compensation when images appear too bright or dark. Learn to read your histogram – it’s your best friend for ensuring proper exposure.
Remember to set your focus mode (Single or Continuous AF for moving subjects) and metering mode (evaluative/matrix for most situations). While Auto White Balance works well in many situations, learning to adjust it manually will help you capture more accurate colors.
Care and Maintenance
Proper camera maintenance is essential for ensuring your gear’s longevity and optimal performance. Start by investing in a quality camera bag that provides adequate protection and organization for your equipment. Keep everything in a cool, dry place when not in use, as moisture and extreme temperatures can damage sensitive electronics.
Developing a consistent cleaning routine will protect your investment and keep your camera performing at its best. Here’s a step-by-step approach to regular camera maintenance:
- Power off and remove battery/card: Always turn off your camera completely and remove the battery and memory card before cleaning to prevent electrical damage or accidental shutter activation.
- Blow dust with an air blaster: Use a hand-powered air blaster (not compressed air cans) to remove loose particles from the camera body, lens mount, and exterior crevices.
- Clean lens with microfiber cloth: Start with a lens blower to remove surface debris, then gently wipe the glass in circular motions using a clean microfiber cloth designed for lens cleaning.
- Clean sensor (if needed): If you notice spots in your images, use a sensor cleaning kit or have it professionally cleaned. This requires care and should only be done when necessary.
- Wipe camera body: Use a soft, lint-free cloth slightly dampened with water (or specialized camera cleaning solution) to wipe down the camera body, LCD screen, and viewfinder.
- Store properly: Return all components to your camera bag with silica gel packets to absorb moisture, ensuring everything is dry and protected.
Battery care is crucial for reliability. Keep spare batteries charged and store them in a cool place away from extreme temperatures. For memory cards, format them in-camera regularly rather than simply deleting images, and always safely eject them from your computer after file transfers.
Protect your lens with a UV filter, which acts as a sacrificial barrier against scratches and impacts. When changing lenses, work quickly in a clean environment to prevent dust from entering the camera body. Point the camera downward during lens changes to minimize dust settling on the sensor.
Consider getting your camera professionally cleaned and serviced once a year, especially if you shoot frequently or in challenging conditions. Never leave equipment in a hot car or direct sunlight for extended periods. These simple habits will help preserve your investment and keep your photography journey running smoothly.
Person cleaning camera equipment with proper maintenance tools
First Practice Sessions
Once you have your camera in hand, it’s time to start practicing! Begin in a familiar environment, like your home or backyard, where you can concentrate without distractions. First, familiarize yourself with your camera’s basic controls and learn proper camera handling techniques to ensure sharp, steady shots.
Start with simple subjects that won’t move or change – houseplants, furniture, or architectural details make excellent first subjects. This allows you to focus on mastering your camera settings without the pressure of a fleeting moment. Experiment with different angles and perspectives of the same subject to understand how position affects your images.
Try this basic exercise: Take 20 photos of a single object, changing one setting each time. Start in auto mode, then gradually experiment with aperture, shutter speed, and ISO. Review each image on your camera’s LCD screen, noting the differences between shots. Pay attention to how changing these settings affects the final image.
Light is your best teacher in these early sessions. Practice during different times of day – morning, noon, and evening – to observe how natural light changes your subjects. Start with window light indoors, which provides soft, manageable illumination perfect for learning.
Don’t worry about creating masterpieces just yet. These practice sessions are about building muscle memory with your camera controls and developing an eye for composition. Keep a simple photo diary noting what worked, what didn’t, and why. This reflection will accelerate your learning and help you identify areas for improvement.
Next Steps in Your Photography Journey
As you become more comfortable with your camera and basic techniques, it’s natural to wonder about your next steps in photography. The key is to progress gradually, focusing on mastering one skill at a time rather than trying to learn everything at once.
Start by identifying the type of photography that most interests you. Whether it’s portraits, landscapes, street photography, or macro work, specializing in one area will help guide your learning path and future gear investments. Join local photography groups or online communities where you can share your work and learn from others’ experiences.
Consider enrolling in intermediate photography courses or workshops that focus on specific techniques. These structured learning environments can help you refine your skills and introduce you to advanced concepts like studio lighting, advanced composition, or post-processing techniques.
As your skills grow, you might want to expand your gear collection. However, resist the urge to buy expensive equipment immediately. Instead, rent different lenses or accessories first to determine what truly adds value to your photography style. When you’re ready to invest, prioritize quality glass (lenses) over upgrading your camera body, as good lenses often have a more significant impact on image quality.
Develop a consistent editing workflow and learn to use professional editing software. While smartphone apps are great for beginners, programs like Adobe Lightroom or Capture One will give you more control over your final images and help develop your unique style.
Consider creating a photography portfolio website or Instagram account to showcase your work. This not only helps track your progress but can also lead to networking opportunities and potential client work if you’re interested in pursuing photography professionally.
Remember, photography is a journey of continuous learning. Even professional photographers constantly evolve and adapt their techniques. Stay curious, experiment often, and don’t be afraid to make mistakes – they’re valuable learning opportunities that will help shape your photographic voice.
Photography is a journey of continuous learning and creative growth, and now you have the fundamental knowledge to begin your adventure. Remember, starting with basic equipment and mastering manual settings will build a strong foundation for your skills. Don’t feel pressured to buy expensive gear right away – focus on understanding composition, lighting, and camera basics first. Practice regularly, join photography communities, and don’t be afraid to experiment with different styles and subjects. Every professional photographer started exactly where you are now, and many achieved remarkable results with entry-level equipment. Take your time to explore each aspect of photography at your own pace, learn from your mistakes, and most importantly, enjoy the process of capturing moments and telling stories through your lens. Your photography journey starts now – grab your camera and start shooting!

 By
By