Organize your smartphone photos into dated folders using a YYYY-MM-DD format the moment you transfer them from your device. This simple structure prevents the overwhelming chaos that happens when thousands of images pile up in default camera rolls, and it works seamlessly whether you’re using cloud storage, external drives, or your computer’s native file system.
Delete obvious failures and duplicates immediately after each shoot, not weeks later when you’ve forgotten the context. Professional photographers routinely cull their collections right away, eliminating blurry shots, accidental pocket photos, and redundant frames before they contaminate your library. This single habit can reduce your storage needs by 30-40% while making your best work easier to find.
Tag your keeper images with searchable keywords that match how you’ll actually look for them later. Instead of generic labels like “vacation,” use specific descriptors like “sunset beach California 2024” or “daughter birthday cake.” Modern DAM systems rely on metadata to surface the right image at the right time, and your future self will thank you when you can locate that perfect shot in seconds rather than scrolling through thousands of thumbnails.
Apply these smartphone photography tips alongside your organizational system, because better capture techniques mean fewer mediocre images cluttering your library from the start. The combination of intentional shooting and disciplined management transforms casual phone photography into a sustainable creative practice that scales with your growing skills and expanding collection.
Why Smartphone Photographers Need Digital Asset Management
If you’re like most smartphone photographers, you probably have thousands of photos scattered across your phone’s camera roll, cloud storage, and maybe a few backup drives. Sound familiar? You’re not alone, and this digital chaos creates problems that many of us don’t recognize until it’s too late.
The average smartphone user takes around 20-30 photos per week, but enthusiast photographers can easily shoot hundreds in a single weekend. Unlike traditional cameras that require you to physically offload images to your computer, smartphones make it incredibly easy to just keep shooting without ever organizing. Before you know it, you’re scrolling endlessly through your camera roll, trying to find that perfect sunset shot from three months ago.
Here’s where things get messy. Your photos might live in multiple places: some in your phone’s storage, others backed up to iCloud or Google Photos, duplicates on Instagram, and maybe a few you texted to friends that disappeared into message threads. Without a systematic approach, these scattered storage locations create a nightmare scenario.
Consider Sarah, a travel blogger who lost an entire month of vacation photos when her phone was stolen. She thought her images were backed up automatically, but her cloud storage had maxed out weeks earlier without notification. Or think about Mark, a real estate agent who spent 45 minutes searching through 15,000 phone photos trying to find specific property shots for a client presentation. These aren’t rare occurrences, they’re everyday realities for people without proper digital asset management.
The consequences go beyond frustration. Lost photos mean lost memories and potentially lost income if you shoot professionally. Wasted time searching for images translates to missed opportunities and decreased productivity. And let’s be honest, those “I’ll organize this later” moments never actually happen without a system in place.
The good news? Implementing even basic digital asset management principles can prevent these headaches entirely. The key is understanding that your smartphone deserves the same organizational respect as any professional camera.

The Foundation: Capture and Import Strategies
Setting Up Your Smartphone for Better Organization
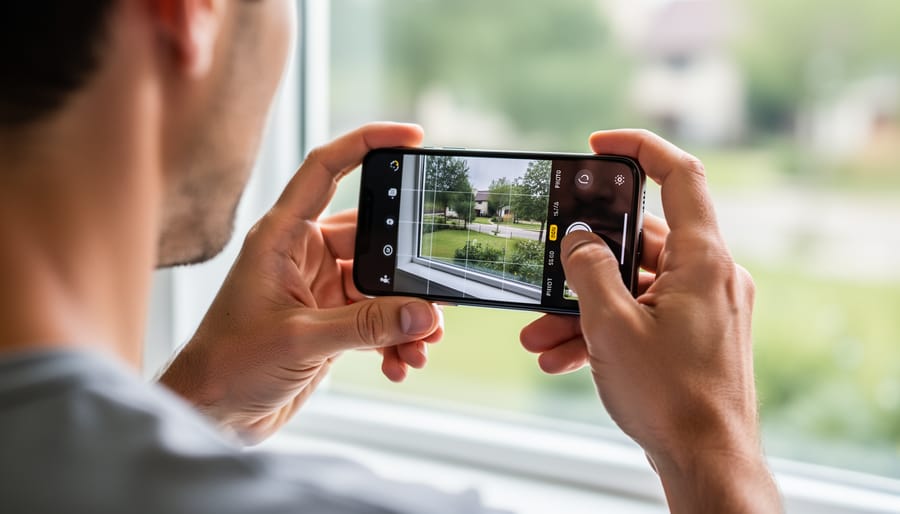
Your smartphone’s default settings might be sabotaging your organizational efforts before you even press the shutter button. The good news? A few simple tweaks can transform your phone into a DAM-friendly capture device.
Start by diving into your smartphone camera settings and enable location tagging. This automatically embeds GPS coordinates into your image metadata, making it infinitely easier to search for photos later. Whether you’re tracking travel locations or documenting local projects, this data becomes invaluable when you’re sorting through thousands of images.
Next, verify that your date and time settings are accurate. It sounds obvious, but incorrect timestamps create organizational nightmares, especially when merging photos from multiple devices. Enable automatic time zone updates if you travel frequently.
The default camera app works fine, but third-party options like ProCamera, Halide, or Adobe Lightroom Mobile offer superior file management features. These apps let you customize file naming conventions, add copyright information automatically, and capture in formats like RAW that preserve maximum editing flexibility. Some even allow you to add custom metadata fields or apply presets that tag images by project or client as you shoot.
For Android users, Open Camera provides extensive free customization options. iPhone photographers should explore the native Camera app’s format settings under Settings, choosing High Efficiency when storage matters or Most Compatible for universal file compatibility. These small decisions upstream prevent major headaches downstream in your workflow.
Creating a Regular Import Routine
The secret to staying organized isn’t importing photos perfectly—it’s importing them consistently. Think of it like doing dishes: waiting until the sink overflows makes the task unbearable, but handling a few plates daily keeps things manageable.
For smartphone photographers, aim to transfer images weekly if you’re shooting casually, or daily if you’re working professionally. The key is establishing a rhythm before your phone storage hits capacity and forces your hand. I recommend setting a calendar reminder for the same day and time each week, treating it as non-negotiable as any other appointment.
When choosing between cloud-based and local storage, consider your internet reliability and budget. Cloud services like Google Photos or iCloud offer convenient automatic backups but require stable connectivity and often subscription fees. Local storage through external hard drives gives you physical control and one-time costs, though it demands more discipline since backups won’t happen automatically.
Many photographers use a hybrid approach: cloud storage for accessibility and sharing, paired with local drives for archival security. This redundancy protects against both hardware failure and account issues.
The real magic happens when you couple your import routine with immediate culling. Delete obvious duds right after transferring files—blurry shots, accidental pocket photos, duplicate frames. This prevents the psychological weight of massive backlogs that make future organization feel impossible.
Choosing Your Digital Asset Management System
Cloud-Based Solutions for Mobile Workflows
Cloud-based solutions have become the backbone of mobile photography workflows, offering automatic backup and cross-device accessibility. Let’s break down the major players and where each fits best.
Google Photos remains a favorite for Android users and anyone shooting high volumes. The free tier provides unlimited storage for compressed images (up to 16MP), which works perfectly for social media sharing. However, original quality files count toward your Google Drive storage quota. The search functionality is exceptional—you can find photos by searching for objects, locations, or even people without manual tagging. It’s ideal for hobbyists and content creators who prioritize accessibility over absolute quality preservation. Plans start at $1.99 monthly for 100GB.
iCloud Photos integrates seamlessly within the Apple ecosystem, making it the natural choice for iPhone photographers. The 5GB free tier fills quickly, but paid plans ($0.99 for 50GB) are reasonable. The biggest advantage is how effortlessly it syncs across Mac, iPad, and iPhone, maintaining full-resolution originals. The limitation? It’s less useful if you ever switch to Android or need to collaborate with non-Apple users.
Amazon Photos offers unlimited full-resolution photo storage for Prime members—a standout feature that saves serious photographers considerable money. However, video storage is limited, and the organizational tools feel basic compared to competitors. Best suited for Prime members who shoot mostly stills.
Dropbox excels at professional workflows with robust folder structures and excellent sharing capabilities. At $11.99 monthly for 2TB, it’s pricier but offers superior file management flexibility. Professional photographers who need client galleries and precise organizational control will appreciate its capabilities, though casual users might find it overkill.
Desktop DAM Software That Works with Smartphones
Professional desktop DAM software has evolved significantly to embrace the reality that many photographers now shoot extensively on smartphones. The good news is that several major platforms have developed robust mobile integrations that make managing your smartphone photos alongside your traditional camera work surprisingly seamless.
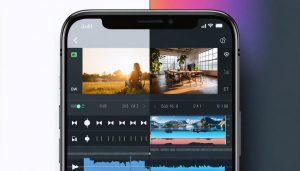
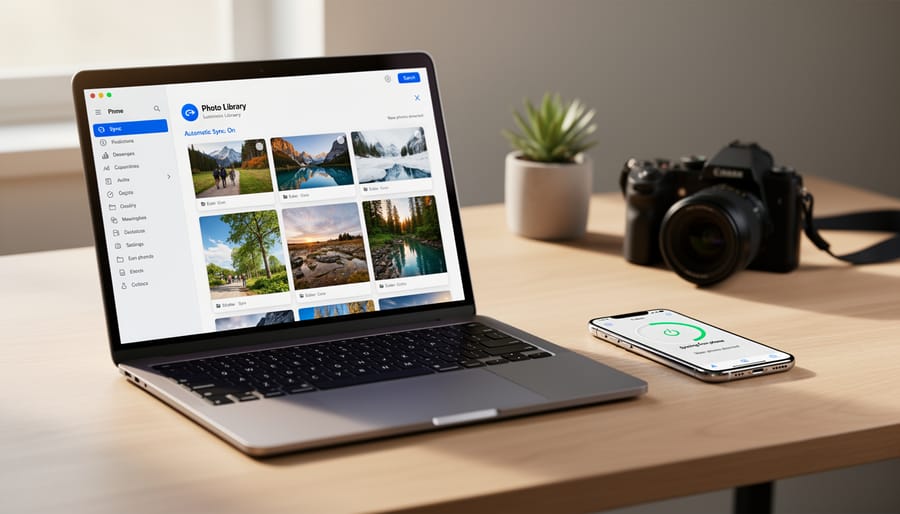
Adobe Lightroom Mobile leads the pack with its cloud-based sync system. When you capture an image on your phone using the Lightroom mobile app, it automatically uploads to Adobe’s cloud and appears in your desktop catalog within moments. This means you can start editing on your phone during your commute and finish the work on your desktop workstation later. The synchronization works bidirectionally too, so edits made on either device instantly reflect everywhere. Plus, your entire organizational structure, including collections, star ratings, and keywords, stays perfectly synced across devices.
Capture One offers a similar approach with Capture One Live, though it’s designed more for tethered shooting sessions. For smartphone integration, many photographers pair Capture One’s desktop power with Photo Mechanic for ingesting mobile shots, creating a hybrid workflow that leverages each tool’s strengths.
Other options like ACDSee Photo Studio and Luminar Neo provide varying degrees of mobile integration. The key is choosing software where your mobile and desktop work genuinely complement each other rather than requiring duplicate effort or manual file transfers that defeat the purpose of having a unified DAM system.
Building Your Organizational Structure
Folder Hierarchies That Actually Work
The folder structure you choose will either save you countless hours or become a source of endless frustration, so let’s look at what actually works in real-world scenarios.
The date-based approach is brilliantly simple: Year > Month > Day format like 2024/03_March/2024-03-15_Beach_Sunset. This system works exceptionally well for travel photographers and anyone who shoots sporadically. You’ll always know when you captured something, and chronological browsing becomes intuitive. The downside? If you’re looking for “that fall foliage shot from a few years ago,” you’ll need to remember when you took it.
Event-based organization flips this around: Client_Name/Project_Type/Date or Personal/Vacations/Italy_2024. Wedding and commercial photographers swear by this system because they think in terms of jobs, not dates. It’s also perfect for hobbyists who shoot specific subjects regularly—think sports parents tracking their kid’s soccer seasons or pet photographers building portfolios by breed.
Here’s what I’ve found works best for most smartphone photographers: a hybrid approach. Create main folders by year, then subfolder by event or subject: 2024/Travel/Morocco_April or 2024/Family/Birthday_Celebrations. This gives you chronological context while keeping related images together.
Whatever system you choose, stick to a consistent naming convention. Use underscores instead of spaces, keep dates in YYYY-MM-DD format, and frontload the most important information. Your future self will thank you when searching through thousands of images.
Metadata and Tagging for Quick Retrieval
The secret to effective metadata isn’t tagging everything exhaustively—it’s building a system you’ll actually use. When you’re managing hundreds of smartphone photos, spending five minutes per image adding detailed keywords simply isn’t sustainable. Instead, focus on what I call the “three-layer approach” that balances thoroughness with practicality.
Start with automatic metadata capture. Your smartphone already records essential information like date, time, location, and camera settings. Most photo apps preserve this data, so you don’t need to manually tag these basics. Check that location services are enabled for your camera app if you want geographic data attached to your images.
Next, implement a simple rating system immediately after shooting or during your daily review. Use a five-star scale: one star for snapshots you’ll probably delete, three stars for keepers, and five stars for your best work. This takes seconds per photo but makes retrieval dramatically faster. Looking for great sunset shots from last month? Filter for five-star images instead of scrolling through everything.
For keywords, adopt a minimalist strategy. Choose three to five broad categories that reflect how you actually search for images. A travel photographer might use location names, activity types, and subjects (people, landscapes, architecture). Apply these during your weekly batch-processing session rather than immediately after shooting. Most mobile apps like Adobe Lightroom Mobile or Google Photos allow bulk tagging—select multiple similar images and apply keywords simultaneously.
The final layer is collections or albums organized by project or purpose. Create albums for client work, social media posts, or personal projects. This provides context-based retrieval without requiring granular tagging. Remember, the goal isn’t creating the perfect organizational system—it’s creating one efficient enough that you consistently maintain it while still enjoying photography.
Culling and Editing Within Your Workflow
The culling process separates good photographers from great ones, but it doesn’t have to be painful. The key is building culling directly into your workflow rather than treating it as a separate, dreaded task you’ll tackle “someday.”
Start your culling immediately after importing images. Think of it as a three-pass system. Your first pass is ruthless: delete obvious failures like accidental shots, closed eyes, or blurry misfires. Don’t overthink this stage. If an image makes you hesitate for more than two seconds, it’s probably not a keeper. On smartphones, this often means eliminating 30-40% of your shots right away, especially those pocket photos or duplicates from burst mode.
Speaking of burst sequences, here’s a practical approach: review them as a group, select the single best frame, then delete the rest immediately. Keeping entire burst sequences “just in case” is how photo libraries balloon to unmanageable sizes. If you shot ten nearly identical images of your kid blowing out birthday candles, choose one winner and move on. The exceptions? Action sequences you might use for animations or comparison shots where subtle differences matter.
Your second pass involves rating or flagging potential keepers. Use a simple system: one star for decent shots, two stars for portfolio-worthy images. Avoid complex rating systems with five tiers that you’ll never remember or use consistently.
The third pass integrates editing. Here’s where many photographers create chaos by generating multiple edited versions without clear naming conventions. Instead, use your DAM software’s built-in editing features or ensure your external editor creates versions that link back to originals. If you’re using mobile editing features, verify your app preserves original files rather than overwriting them.
Create a “Culled” or “Reviewed” folder to track your progress. This simple step prevents you from reviewing the same images repeatedly, which wastes precious shooting time you could spend creating new work instead.
Backup Strategies That Protect Your Work
The single most important thing you can do for your smartphone photography is implement a solid backup strategy. I learned this the hard way when a friend dropped her phone in a lake, losing three years of family photos. Don’t let that be your story.
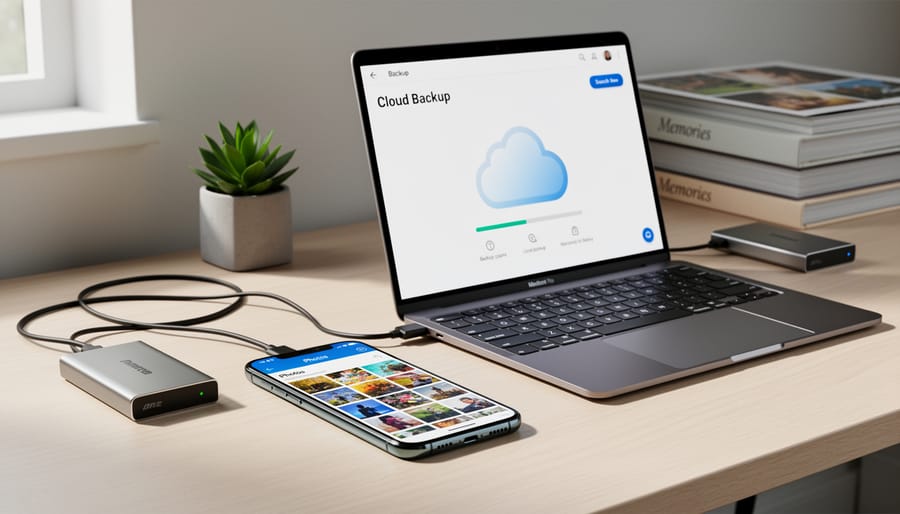
The 3-2-1 rule is your safety net: keep three copies of your photos, on two different types of storage media, with one copy stored off-site. For smartphone photographers, this translates beautifully into practical steps. Your phone holds the first copy, an external hard drive or computer stores the second, and a cloud service provides that crucial third, off-site backup.
Cloud storage services like Google Photos, iCloud, or Dropbox offer automated backup solutions that work silently in the background. Once configured, they’ll upload your photos whenever you’re connected to WiFi, requiring zero ongoing effort. Google Photos provides free storage for high-quality images, while iCloud integrates seamlessly with iPhones. The key is choosing one service and letting it run automatically rather than manually transferring files, which inevitably gets forgotten during busy periods.
Local storage remains important despite cloud convenience. External hard drives are inexpensive and give you complete control over your files. I recommend a portable SSD that you update monthly with your entire photo library. This protects against scenarios where cloud accounts get compromised or services change their terms. Plus, local backups offer faster access when you need to retrieve older images for projects.
Creating a sustainable backup routine means removing friction. Set your cloud service to auto-upload when connected to WiFi. Schedule a monthly calendar reminder to connect your external drive and run a manual backup. That’s it. The system should be so simple that it happens even during your busiest months.
Consider using your computer as an intermediate step. When you import photos to organize and edit them, that becomes your second copy. Then your external drive backup becomes the third. This workflow naturally incorporates the 3-2-1 rule into your existing process without adding extra steps.
The peace of mind from knowing your work is protected across multiple locations is worth the minimal setup time. Your photos represent memories, creative effort, and sometimes professional work. Treat them accordingly with backups that happen automatically, because the best backup system is the one you don’t have to think about.
Maintaining Your System Long-Term
Even the best digital asset management system will deteriorate without regular maintenance. Think of it like your camera gear—you wouldn’t let dust accumulate on your lenses indefinitely, and the same principle applies to your photo library.
The biggest threat to any organizational system is drift. This happens when you start making exceptions to your own rules. Maybe you’re traveling and skip adding keywords to a batch of photos, promising yourself you’ll do it later. Or perhaps you save a quick edit directly to your phone’s camera roll instead of properly filing it. These small compromises compound quickly. To prevent this, schedule a weekly 15-minute maintenance session. Review recent imports, verify your backup systems ran successfully, and ensure everything landed in the right folders with appropriate metadata.
Every three to six months, conduct a deeper audit. Check that your folder structure still makes sense for how you actually search for photos. If you find yourself constantly drilling down through unnecessary subfolders, simplify. Review your keyword taxonomy and consolidate redundant tags. Delete obvious rejects you’ve been hoarding. This is also when you should verify your backups by actually attempting to restore a few files—many photographers discover their backup system failed only when disaster strikes.
As your library grows, monitor your storage capacity. When you reach 70-80 percent full, start planning your expansion rather than waiting until you’re desperately trying to free up space. Cloud storage can usually be upgraded seamlessly, but external drives require thoughtful migration planning.
Technology changes rapidly in photography. What works today might be obsolete in three years. Stay flexible and periodically reassess whether your tools still serve your needs. The best system is one that evolves with you, not one frozen in time because change feels overwhelming.
Here’s the truth: effective digital asset management doesn’t require a degree in computer science or a premium subscription to the latest app. You don’t need to dedicate an entire weekend to overhauling your photo library, either. What you do need is consistency and a willingness to start somewhere, even if that somewhere feels small.
Think of DAM as building a habit, much like improving your smartphone photography. You wouldn’t expect to master composition overnight, and the same principle applies here. Begin with one simple change: maybe it’s backing up your photos tonight, or spending ten minutes this weekend creating a basic folder structure. Next week, add another habit. Small steps compound into significant results.
Consider what you’re really protecting when you organize your photos. These aren’t just files taking up storage space; they’re memories you can’t recreate. That first vacation after lockdown, your child’s spontaneous laugh, the perfect golden hour moment you captured while walking home. Every minute you spend searching through thousands of unsorted images is time stolen from actually enjoying those memories.
Start today. Pick one strategy from this guide and implement it. Your future self, frantically searching for that one specific photo, will thank you. The investment isn’t measured in money or marathon organizing sessions, but in the peace of mind that comes from knowing your memories are safe, accessible, and actually findable when you need them.