You’ve captured an amazing VR photograph, but when you put on your headset, something feels wrong. The scene looks flat, almost like viewing a regular panorama wrapped around you instead of standing inside an actual space. The culprit? Field of view isn’t just about how wide your camera sees—it’s the critical factor that determines whether your VR content creates genuine presence or leaves viewers feeling like they’re looking at pictures on curved walls.
Field of view in VR photography operates differently than traditional photography because you’re not just capturing what’s in front of the lens. You’re reconstructing a three-dimensional space that viewers will inhabit. When your camera’s FOV doesn’t match how your VR headset displays content, or when the FOV settings don’t properly capture depth information between objects, you lose the stereoscopic cues that make viewers believe they’re actually there.
Professional VR photographers understand that FOV directly impacts both immersion and viewer comfort. Too narrow, and you’re missing crucial peripheral information that helps the brain process spatial relationships. Too wide without proper consideration for stereo overlap, and you create distortions that cause nausea within minutes. The sweet spot depends on your capture method—whether you’re using a single 360 camera, a multi-camera rig, or a light field array—and how that FOV translates to the specific headset your audience will use.
This isn’t about memorizing technical specifications. It’s about understanding the relationship between capture FOV, interpupillary distance, stereo baseline, and display FOV so you can make informed decisions in the field. When you grasp these connections, you’ll know exactly why your VR photos aren’t delivering the depth you expected and what to adjust before your next shoot.
What Field of View Actually Means in VR Photography
The Human Vision Benchmark
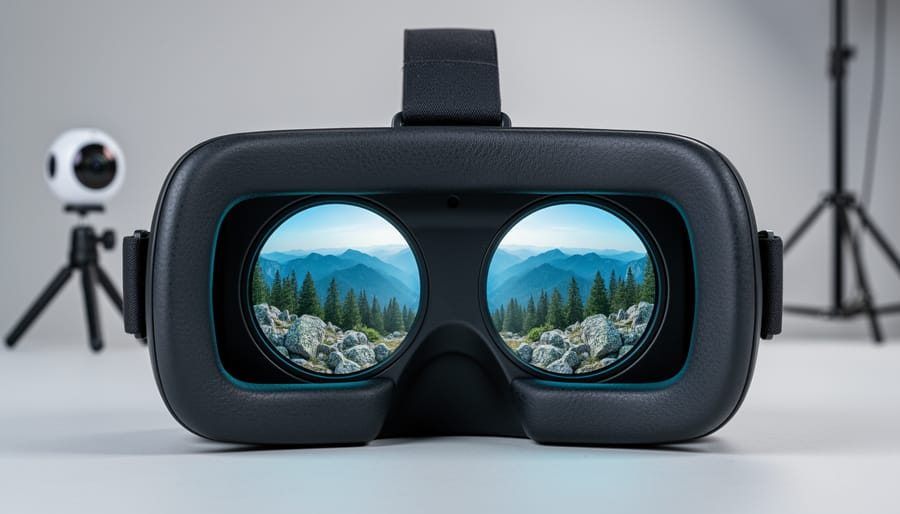
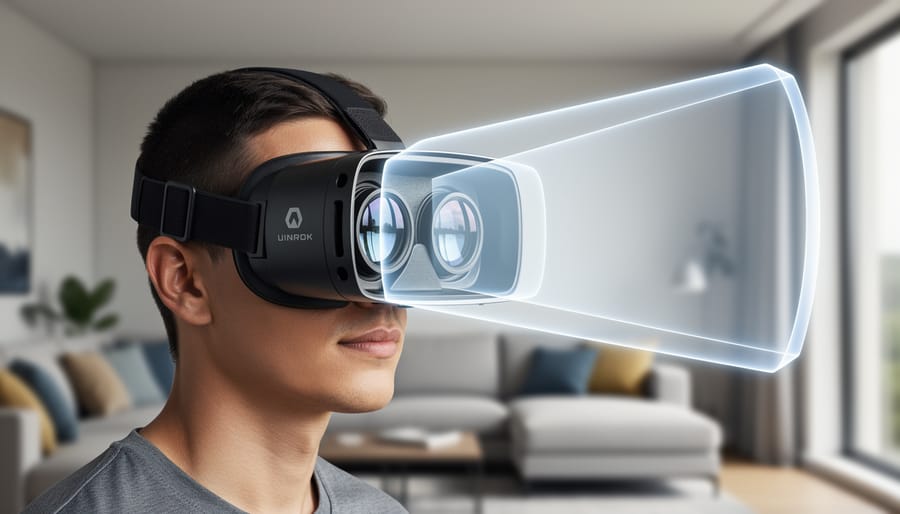
Your eyes naturally work together to create a field of view of roughly 200-220 degrees horizontally when you include peripheral vision, though your sharp, focused vision only covers about 120 degrees. This binocular overlap in the center, where both eyes see the same scene from slightly different angles, is what gives you depth perception and that immersive sense of “being there.”
When VR headsets can’t match this range, your brain notices something’s off. Think about looking through a pair of binoculars versus simply standing in a field. That’s the difference between limited FOV and natural vision. Most consumer VR headsets today offer between 90-110 degrees, which feels like viewing the world through a scuba mask or ski goggles. You’re aware of the boundaries, and that persistent tunnel effect can break immersion and even contribute to motion sickness.
Professional-grade headsets pushing 120-130 degrees get closer to that sweet spot where peripheral awareness kicks in naturally. At these ranges, you stop noticing the edges and start feeling present in the virtual space. The difference is dramatic: imagine the claustrophobic feeling of peering through a paper towel tube versus the expansive view you get looking out an open window.
For VR photographers, this matters tremendously. If your capture FOV doesn’t match or exceed what your playback device can display, you’re essentially asking viewers to look at a cropped version of reality. That’s why understanding both your camera’s capture capabilities and your target viewing platform is essential for creating truly immersive experiences.
FOV in 360-Degree vs. 180-Degree VR
When you’re diving into VR photography, understanding the difference between 360-degree and 180-degree captures is crucial for planning your shoots and managing expectations.
Full 360-degree VR captures the entire sphere around you, providing complete freedom for viewers to look in any direction, including behind them and straight up or down. This creates a truly immersive experience but comes with significant technical challenges. You’ll need specialized rigs with multiple cameras or dedicated 360 cameras, and the FOV requirements are demanding because every angle must be covered without gaps. Stitching becomes complex, especially at the nadir (directly below) and zenith (directly above) points where distortion is most pronounced. The file sizes are also substantially larger since you’re capturing twice the visual information compared to 180-degree content.
In contrast, 180-degree stereoscopic VR focuses on the front hemisphere, which is actually where most viewers naturally look. This approach allows for higher resolution per degree of view within your budget and processing capabilities. The stereoscopic effect, which creates depth perception through slightly offset images for each eye, is easier to manage across 180 degrees than a full sphere. Many professional VR photographers prefer 180-degree captures for narrative content because it offers better image quality and more controlled composition while still delivering impressive immersion.
The choice between formats depends on your content goals. Documentary work often benefits from full 360-degree coverage, while cinematic projects typically favor the quality advantages of 180-degree 360-degree VR techniques capture.
How Light Field Capture Solves the Depth Problem
Why Traditional VR Photos Feel Wrong
You’ve probably experienced this: you put on a VR headset, excited to view those 360-degree photos you captured, and something just feels off. The scene looks oddly flat, or maybe your eyes strain trying to make sense of the depth. Perhaps the edges of the frame feel distorted, making you slightly uncomfortable after just a few minutes of viewing.
This discomfort stems from fundamental stereoscopic photography limitations that arise when the field of view doesn’t align properly between capture and playback. Traditional VR photos rely on a single viewpoint for each eye, creating a fixed perspective. When you move your head even slightly in the headset, the image doesn’t respond naturally because there’s no true three-dimensional information captured—just two flat images trying to trick your brain into seeing depth.
The parallax errors become especially noticeable with nearby objects. In the real world, when you shift your head side to side, close objects appear to move more than distant ones. But in conventional VR photos, everything stays locked in place, breaking the illusion your brain expects. This mismatch between visual cues and your natural head movements creates what researchers call vergence-accommodation conflict—essentially, your eyes are telling your brain one thing while other depth cues suggest something completely different.
The result? Eye strain, headaches, and that nagging feeling that something isn’t quite right, even if you can’t immediately pinpoint why.
What Light Field Technology Actually Captures
Unlike traditional photography that captures a single viewpoint, light field technology records something far more ambitious: the complete light information flowing through a scene. Think of it as photographing not just what you see, but how light behaves in three-dimensional space.
In practical terms, this means capturing multiple perspectives simultaneously. A light field camera doesn’t just grab one image—it records how the scene appears from numerous slightly different angles at the same moment. Imagine having dozens of tiny cameras arranged in a grid, each seeing the world from its unique position. This multi-angle capture is what separates immersive VR content from flat panoramas.
The system also generates depth maps, which assign distance values to every point in the scene. When you look at a light field image in VR, the technology knows that the coffee cup sits three feet away while the bookshelf stands at ten feet. This depth information becomes crucial when you tilt your head or lean slightly in VR—the parallax effect you’d experience in real life happens naturally because the system understands spatial relationships.
Most importantly, light field technology captures volumetric information. Rather than recording surfaces, it documents the actual volume of space, including how light travels between objects. This approach aligns closely with 3D photography techniques but extends beyond simple stereo pairs.
The result within your headset’s field of view feels remarkably natural. When you move your head, objects shift realistically because the display isn’t just showing you a pre-rendered image—it’s reconstructing what your eyes would actually see from that position. This creates comfortable, believable viewing experiences that don’t trigger the disconnect your brain feels when depth cues are missing.
Depth Capture Techniques That Work With Different FOV Requirements
Stereoscopic Depth Mapping
Stereoscopic depth mapping relies on the same principle your eyes use to perceive depth: viewing a scene from two slightly different positions. In VR photography, dual-camera systems capture two images simultaneously, separated by a distance called the interaxial distance (typically around 63-65mm to match human eye spacing). Your brain interprets the slight differences between these images to create a sense of three-dimensional space.
Here’s where field of view gets tricky. When capturing stereoscopic content, both cameras need overlapping fields of view to create the depth effect. This overlap requirement immediately limits your effective FOV. If you’re using two cameras with 180-degree lenses positioned side-by-side, you’ll lose some coverage area where the views don’t align properly, particularly at the extreme edges. Think of it like a Venn diagram: the intersection is your usable stereoscopic zone.
Consumer cameras like the Insta360 EVO and the Vuze XR tackle this challenge by using precisely calibrated dual-lens systems with 180-degree coverage per eye. The Ricoh Theta Z1, while popular, actually captures 360 degrees but only provides stereoscopic depth in a limited frontal zone, with the remaining areas stitched in monoscopic (flat) view.
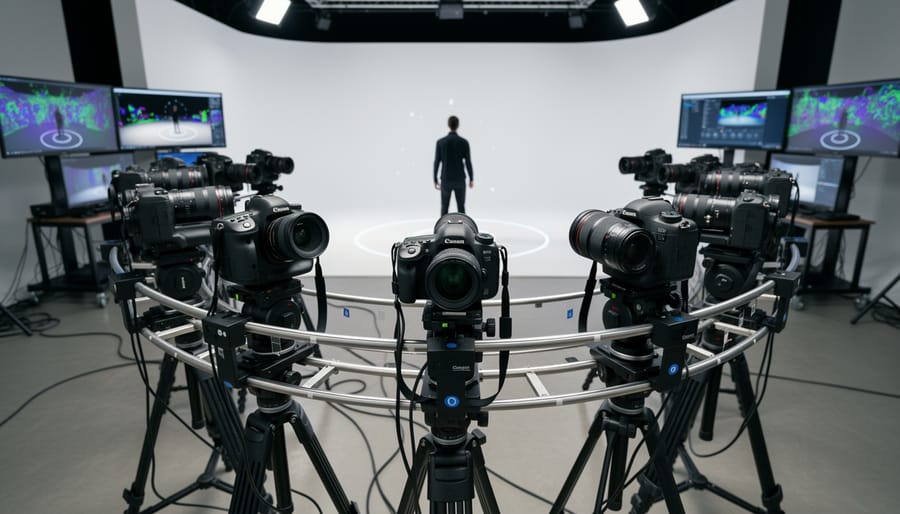
The practical limitation? You can’t achieve true 360-degree stereoscopic coverage with just two lenses. Professional multi-camera rigs like the GoPro Odyssey use 16 cameras to maximize stereoscopic coverage across a fuller sphere, but even these have blind spots where depth information becomes unreliable. Understanding these FOV constraints helps you position your subject matter where the depth effect works best.
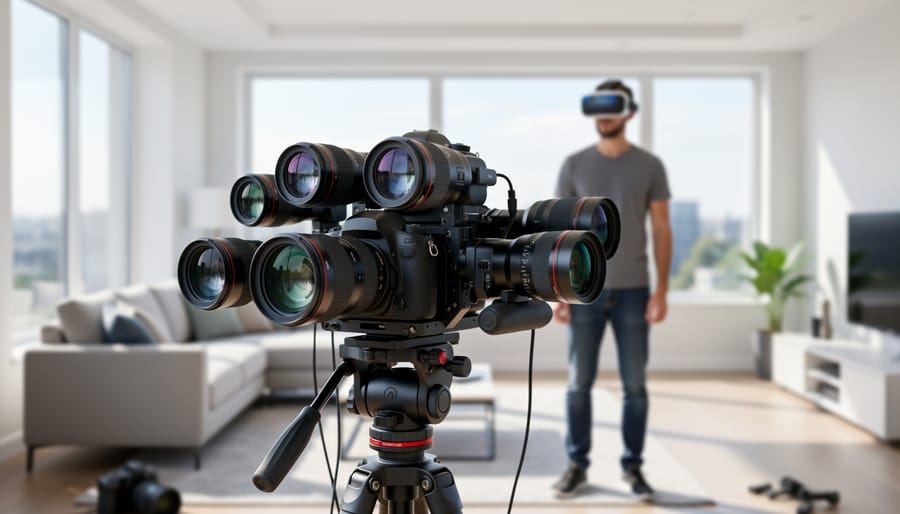
Multi-Camera Arrays for Extended FOV
When you need to capture truly immersive VR experiences with extended field of view, single-camera solutions hit their limits. That’s where multi-camera VR rigs come into play, allowing professionals to capture wider perspectives with the accurate depth data that makes VR content feel genuinely three-dimensional.
Professional rigs like the Google Jump (which used 16 GoPros in a circular array) pioneered this approach, while more recent systems like the Insta360 Titan offer eight Micro Four Thirds sensors working together. These arrays work by capturing overlapping footage from multiple angles simultaneously, which specialized software then stitches together while calculating precise depth information between viewpoints.
The practical considerations are significant. You’ll need to budget for not just multiple cameras, but also the computing power to process and stitch all that footage. Synchronization is critical – even a few milliseconds of difference between cameras creates noticeable artifacts. Battery management becomes complex too, as you’re coordinating power across numerous devices.
Real-world applications include Google Street View’s immersive imagery and high-end VR documentaries where authentic depth perception matters. While these setups require substantial investment and technical expertise, they deliver the most convincing sense of presence available in VR photography today.
Computational Depth and AI Enhancement
Modern VR software has become remarkably clever at filling in the gaps when cameras can’t capture everything perfectly. Using artificial intelligence, these programs can analyze your VR photos and generate depth maps—essentially creating a 3D understanding of your scene from limited capture data. This is particularly useful when you’re working with consumer-grade 360 cameras that might not have multiple lenses positioned ideally for depth capture.
Think of it like this: the AI examines visual cues in your image—objects that appear smaller are probably farther away, textures that look less detailed are likely more distant—and builds a depth map accordingly. This computational approach effectively expands what your camera’s field of view can deliver in terms of immersive depth information.
However, there are important limitations to consider. AI-generated depth maps work best with scenes containing clear visual hierarchies and familiar objects. Complex subjects like reflective surfaces, transparent materials, or repetitive patterns can confuse the algorithms, leading to artifacts or incorrect depth assignments. You might notice objects appearing at the wrong distance or strange warping effects during head movement.
For professional results, computational depth works wonderfully as a supplement to proper multi-camera capture, not a complete replacement. Use it to enhance and refine your VR content, but don’t rely on it to fix fundamental capture issues.
Matching Your Capture FOV to Your Display FOV
Understanding Headset FOV Limitations
Most VR headsets available today offer a field of view between 90 and 120 degrees, which is considerably narrower than human vision’s natural 180-210 degree range. This limitation has a direct impact on how immersive your VR photography feels to viewers.
Take the Meta Quest 2, for instance, which delivers roughly 90 degrees of FOV. Compare that to the Valve Index at approximately 130 degrees, or the Pimax 8K X pushing toward 170 degrees. These differences might seem like mere numbers, but they dramatically affect the viewing experience. A narrower FOV creates what many describe as a “binocular effect” or “tunnel vision,” where users feel like they’re peering through a window rather than being truly present in the scene.
For content creators, this matters because your 360-degree photographs will be viewed through these limited windows. If you’re shooting VR content with proper depth information and spatial awareness, understanding these constraints helps you compose scenes more effectively. You’ll want to place key visual elements within that central viewing area where most headsets perform best, ensuring your audience catches important details without excessive head movement. This knowledge becomes especially crucial when capturing intimate spaces or detailed subjects where peripheral awareness enhances the sense of presence.
The Sweet Spot for Comfortable Viewing
Finding the sweet spot for comfortable VR viewing depends largely on what you’re shooting. For general 360-degree photography, most viewers feel comfortable with a horizontal FOV between 90 and 110 degrees per eye. This range closely matches natural human vision and creates an immersive experience without causing the discomfort that comes from distortion or unnatural perspectives.
When capturing landscapes or architectural interiors, you can push toward the wider end of this spectrum. A FOV of 100-110 degrees works beautifully here, giving viewers that satisfying sense of space and presence. Think about how you’d naturally take in a grand cathedral or sweeping vista – you want your VR capture to replicate that expansive feeling.
For portrait-focused VR content or intimate scenes, dial it back to 90-100 degrees. This narrower FOV prevents facial distortion and maintains natural proportions, which is crucial when viewers examine details up close. Remember, in VR photography, people can lean in and inspect elements that interest them, so maintaining realistic proportions matters more than in traditional photography.
Action sports and dynamic content benefit from 95-105 degrees, offering enough peripheral information to convey movement and context without overwhelming the viewer. When planning your VR scene composition, always test your chosen FOV with sample viewers before committing to a full shoot. What looks perfect on your monitor might feel different when someone experiences it through a headset, so gathering feedback early saves significant post-processing time.
Practical Shooting Tips for Better FOV and Depth
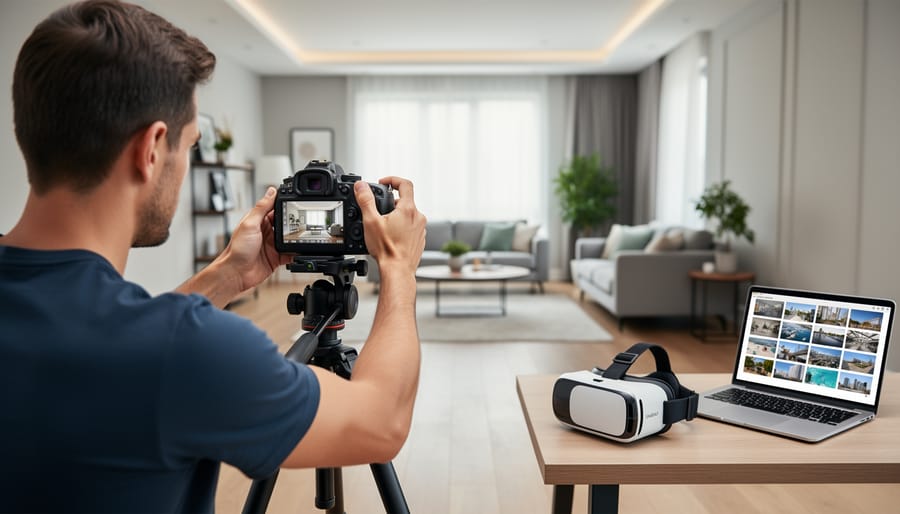
Camera Positioning and IPD Considerations
Understanding interpupillary distance, or IPD, is essential for creating VR content that feels natural to viewers. IPD refers to the distance between your eyes—typically between 58 and 72 millimeters for adults—and replicating this spacing when positioning your VR cameras directly affects how realistic depth perception appears in your final content.
When shooting VR, your camera lenses should be spaced at an average human IPD of about 63-65mm to match most viewers’ eyes. Position them too far apart, and viewers experience what’s called hyperstereo, where everything looks miniaturized like a dollhouse. Place them too close, and depth flattens out, defeating the purpose of VR capture. Think of your dual cameras as a pair of eyes—they need to work together within your chosen field of view to deliver convincing dimensionality.
Here’s a practical consideration: the optimal IPD remains constant regardless of your FOV selection. Whether you’re shooting at 100 degrees or 180 degrees horizontally, maintain that 63-65mm spacing. However, you’ll need to ensure your camera rig allows both lenses to capture overlapping areas within your FOV—this overlap zone is where the magic of depth perception happens. Without sufficient overlap, typically at least 60-80% of your frame, you’ll create uncomfortable viewing experiences with gaps in stereo information that break immersion.
Scene Composition for Variable FOV
When designing VR scenes that viewers can explore with different headsets and FOV settings, think about the viewing sweet spot where most people naturally look first. Research shows viewers initially focus straight ahead in a roughly 90-degree horizontal cone before exploring their surroundings. Place your primary subject or point of interest within this central zone to ensure it catches attention regardless of the viewer’s FOV settings.
Build outward from this central focus using compositional layers. Position secondary elements at the periphery to reward exploration when viewers turn their heads. This layered approach works beautifully whether someone’s viewing on a narrow FOV mobile headset or a wide FOV premium device. Consider the example of a VR travel photo capturing a mountain vista: place the dramatic peak dead center, frame it with foreground rocks at medium distance, and let the surrounding landscape fill the wider angles.
Avoid placing critical details too close to the edges of your captured frame, as different headsets crop the viewing area differently. Leave at least a 10-15 degree buffer zone around your frame edges. Test your compositions by viewing them through different devices if possible, noting how the scene feels at various FOV ranges. This practical approach ensures your VR photography delivers impact and immersion regardless of how it’s ultimately viewed.
Understanding field of view in VR photography is what separates images that feel like looking through a window from experiences that truly transport you. When you combine proper FOV with light field capture techniques and accurate depth information, you’re not just taking photos anymore—you’re recreating reality in a way that feels natural and comfortable for viewers.
Think of FOV, light field data, and depth as three pillars supporting immersive VR photography. Your camera’s field of view determines how much of the scene you capture. Light field techniques preserve the directional information of light rays, letting viewers perceive subtle parallax shifts. Depth information adds that critical third dimension that makes objects feel tangible and spatially accurate. Together, these elements eliminate the flat, uncomfortable feeling that plagues poorly executed VR content.
The beauty of this knowledge is that you can start applying it immediately. Begin by matching your camera’s FOV to your intended viewing device. Experiment with stereoscopic capture distances for different subject types. Pay attention to how depth cues affect viewer comfort during longer viewing sessions.
Professional VR photographers didn’t master these concepts overnight, and neither will you. Start with simple scenes, test different approaches, and carefully review your results in the headset where they’ll actually be viewed. Each project will teach you something new about how FOV interacts with human perception. The technical aspects might seem daunting initially, but understanding them is absolutely essential for creating VR experiences that people want to return to again and again.