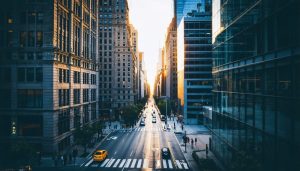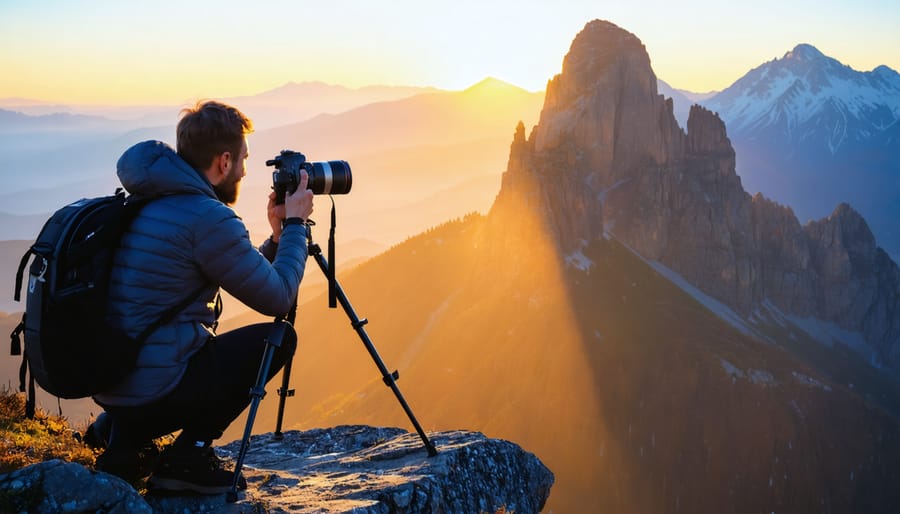
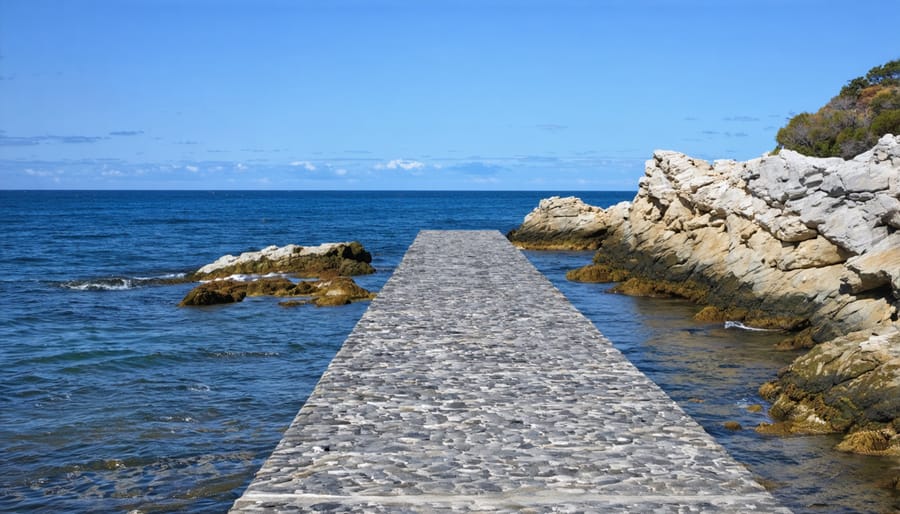
Frame nature’s raw beauty through your lens by mastering these landscape photography secrets. Position yourself at elevation during golden hour—those precious moments before sunrise and after sunset—when warm light paints the landscape in rich, dramatic hues. Scout locations days before your shoot, marking precise GPS coordinates and tracking seasonal weather patterns to capture fleeting moments of extraordinary light. Study topographical maps to identify compelling compositional elements: winding rivers, dramatic cliff faces, and natural leading lines that draw viewers into your frame.
Pack essential gear strategically: a sturdy tripod for sharp long exposures, graduated neutral density filters to balance bright skies with darker foregrounds, and weather-sealed equipment that performs reliably in challenging conditions. Master the art of hyperfocal distance to achieve edge-to-edge sharpness, while maintaining creative control through manual exposure settings and careful histogram analysis. Every compelling landscape photograph blends technical precision with artistic vision, transforming ordinary scenes into extraordinary visual stories that resonate with viewers on an emotional level.
Essential Gear for Stunning Landscape Photography
Camera Bodies and Sensor Considerations
When choosing a camera for landscape photography, resolution and dynamic range should be your primary considerations. Full-frame sensors typically offer superior image quality and better performance in low-light conditions, though modern crop-sensor cameras can also produce excellent results. Look for cameras with weather sealing, as you’ll often be shooting in challenging conditions.
A high megapixel count (30MP or more) allows for detailed large prints and provides flexibility for cropping, while good dynamic range helps capture both bright skies and shadowy foregrounds in a single shot. However, don’t feel pressured to buy the most expensive camera – many mid-range bodies offer fantastic image quality for landscape work.
Features like in-body image stabilization can be helpful when shooting handheld in low light, though you’ll typically use a tripod for most landscape work. Live view with focus peaking and exposure zebras aids in achieving precise focus and proper exposure. Built-in GPS for location tagging can be useful but isn’t essential.
Battery life is another important consideration, as cold conditions and long exposures can drain power quickly. Consider carrying spare batteries, especially for extended shooting sessions.
Lens Selection for Different Landscapes
Choosing the right lens for landscape photography can dramatically impact your creative possibilities. Wide-angle lenses (typically 14-35mm) are often considered the go-to choice, perfect for capturing vast scenes and creating a sense of depth with prominent foregrounds. They excel at emphasizing leading lines and including dramatic skies in your compositions.
However, don’t overlook the power of a telephoto lens for landscapes. These longer focal lengths (70-200mm and beyond) allow you to compress perspective, isolate interesting patterns in distant terrain, and capture intimate details that might get lost in wider shots. They’re particularly effective for photographing layered mountain ranges or abstract compositions of light and shadow.
For specialized situations, consider macro lenses for close-up details of nature or tilt-shift lenses for controlling perspective, especially useful in forest scenes or when photographing tall elements like waterfalls. A standard zoom (24-70mm) can serve as a versatile option when you need flexibility in the field without carrying multiple lenses.
Remember, each lens type offers unique creative possibilities, and building a kit that includes different focal lengths will give you the most artistic freedom in diverse landscape situations.
Essential Accessories
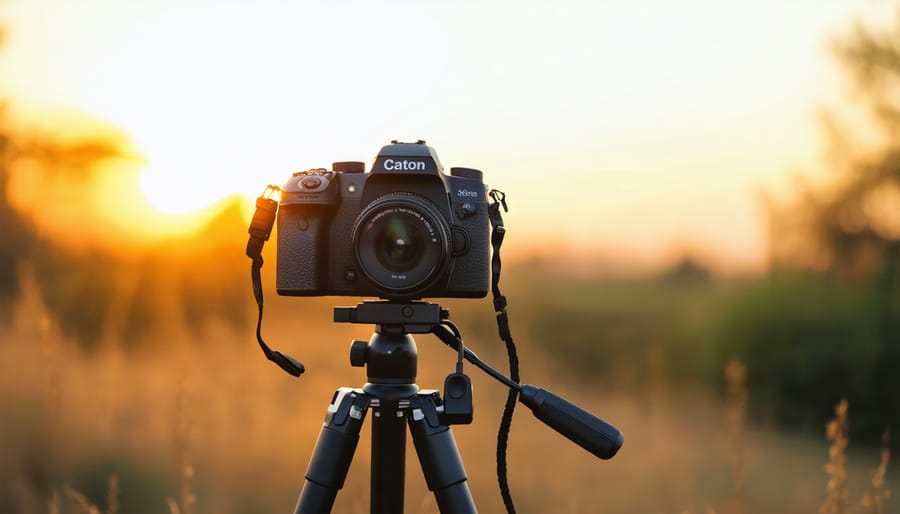
To capture stunning landscape photos, you’ll need more than just your camera and lens. A sturdy tripod is essential for sharp images, especially during long exposures and low-light conditions. Look for one that’s both lightweight for hiking yet stable enough to withstand wind.
Filters are another crucial investment. A polarizing filter reduces glare and enhances colors, particularly useful for water and sky shots. Neutral density (ND) filters help control exposure in bright conditions, while graduated ND filters balance bright skies with darker foregrounds.
Don’t forget practical accessories like a remote shutter release to minimize camera shake, a lens cleaning kit to maintain clear optics, and a reliable camera bag that’s weather-resistant and comfortable for long hikes. A bubble level can help ensure straight horizons, while spare batteries and memory cards are absolute necessities for extended shooting sessions.
Mastering Light in Landscape Photography
Golden and Blue Hours
The golden and blue hours represent nature’s gift to landscape photographers, offering spectacular lighting conditions that can transform an ordinary scene into something extraordinary. During the golden hour – roughly the first hour after sunrise and the last hour before sunset – the sun’s low position creates warm, directional light that bathes landscapes in rich golden tones and produces long, dramatic shadows.
Working during the golden hour requires preparation and timing. Scout your location in advance and arrive at least 30 minutes before sunrise or sunset to set up your equipment. The light changes quickly during these periods, so having your composition planned ahead allows you to focus on capturing the perfect moment rather than scrambling to find a shot.
The blue hour occurs just before sunrise and after sunset, when the indirect sunlight creates a cool, ethereal atmosphere with soft, even illumination. This period is ideal for capturing moody landscapes, cityscapes, and water scenes. The balanced light reduces harsh contrasts and allows for longer exposures without requiring neutral density filters.
To make the most of these magical hours, check your local sunrise and sunset times, and use apps designed for photographers to plan your shoots. Consider using a tripod for sharper images in low light conditions, and experiment with different white balance settings to enhance or cool the natural color temperature. Remember that weather conditions can dramatically affect the quality and character of light during these periods, so don’t be discouraged if you need multiple attempts to capture your vision.
Working with Challenging Light
Working with challenging light conditions is one of the biggest hurdles in landscape photography, but it can also lead to some of the most dramatic and compelling images. While the golden hours offer optimal lighting, we often find ourselves shooting during less-than-ideal conditions.
When dealing with harsh midday sun, consider using graduated neutral density filters to balance the exposure between bright skies and darker foregrounds. Alternatively, try bracketing your shots – taking multiple exposures of the same scene at different settings – which you can later blend in post-processing for a more balanced final image.
Overcast days, often dismissed as dull, can actually be perfect for capturing certain landscape elements. The soft, diffused light acts like a giant softbox, reducing harsh shadows and making it easier to capture details in both highlights and shadows. These conditions are particularly suitable for photographing waterfalls, forests, and intimate landscape scenes where subtle textures and colors take center stage.
During bright conditions, look for opportunities to create silhouettes or use the sun creatively in your composition. Position the sun behind trees or rocks to create striking sunbursts, or use it to rim-light elements in your scene. For overcast situations, focus on leading lines, patterns, and textures that might be lost in harsher lighting.
Remember that challenging light doesn’t mean bad light – it’s about adapting your approach and choosing subjects that work well with the conditions at hand. Sometimes, adverse weather can lead to uniquely atmospheric shots that wouldn’t be possible during “perfect” conditions.
Long Exposure Techniques
Long exposure techniques can transform ordinary landscape scenes into ethereal masterpieces, revealing motion and light in ways our eyes can’t naturally perceive. Whether you’re capturing silky-smooth waterfalls, creating dreamy cloud movements, or diving into long exposure night photography, mastering these techniques will add a powerful tool to your creative arsenal.
To get started, you’ll need a sturdy tripod and neutral density (ND) filters. ND filters act like sunglasses for your lens, reducing the amount of light entering your camera and allowing for longer exposure times even in bright conditions. For waterfalls and streams, try starting with exposures between 1/2 and 2 seconds to achieve that coveted silk-like effect.
For cloud movement, longer exposures of 30 seconds to several minutes can create dramatic streaking effects across the sky. The key is to experiment with different durations based on cloud speed and the mood you’re trying to convey. Ocean scenes benefit from exposures between 1-4 seconds to capture the perfect balance of motion in the waves while maintaining detail in the surrounding landscape.
Remember to use your camera’s built-in spirit level or gridlines to ensure a straight horizon, and always enable your camera’s long exposure noise reduction feature when shooting exposures longer than 30 seconds. For the sharpest results, use your camera’s timer or a remote shutter release to avoid camera shake when pressing the shutter button.
Composition Techniques for Dynamic Landscapes
Leading Lines and Natural Patterns
Nature provides us with countless opportunities to create compelling compositions through leading lines and natural patterns. Rivers, tree branches, rock formations, and winding paths can serve as powerful visual elements that guide viewers’ eyes through your landscape photographs.
Leading lines are particularly effective when they draw attention to your main subject or create depth in your image. A meandering stream cutting through a valley, for instance, can lead the viewer’s gaze from the foreground to a distant mountain peak. Similarly, rows of trees or fence posts stretching toward the horizon create a natural sense of perspective and distance.
Look for repeating patterns in nature, such as ripples in sand dunes, waves breaking on a shore, or the symmetrical arrangement of petals in wildflowers. These patterns can create rhythm and visual interest in your compositions. The key is to position yourself to maximize their impact – sometimes getting lower to the ground or finding a higher vantage point can dramatically improve how these patterns appear in your frame.
When incorporating leading lines and patterns, remember that diagonal lines tend to create more dynamic compositions than straight horizontal or vertical ones. Early morning and late afternoon light can also enhance these natural elements by creating longer shadows that form additional leading lines in your photographs.
Consider using these elements to frame your shots or create a sense of movement within otherwise static landscapes. The goal is to help viewers navigate through your image while maintaining their interest throughout the entire frame.
Foreground Interest and Depth
Creating depth in landscape photography transforms a flat image into an immersive visual experience that draws viewers into the scene. One of the most effective techniques is incorporating strong foreground elements, such as rocks, flowers, or fallen leaves, which serve as an entry point to your composition.
The rule of thirds can be particularly powerful when combined with foreground interest. Position compelling elements in the lower third of your frame, then use leading lines or natural patterns to guide the viewer’s eye through the middle ground and into the background. For instance, a winding stream or a fence line can create natural pathways through your image.
Layering is another crucial technique for adding depth. Look for opportunities to include distinct planes in your composition – perhaps weathered driftwood in the foreground, a stand of trees in the middle distance, and mountains in the background. Each layer should have its own visual weight and contribute to the overall story.
Consider using a wide-angle lens and getting close to your foreground subject while maintaining a small aperture (f/11 to f/16) to achieve front-to-back sharpness. This technique, known as hyperfocal distance focusing, ensures both nearby and distant elements remain crisp and detailed.
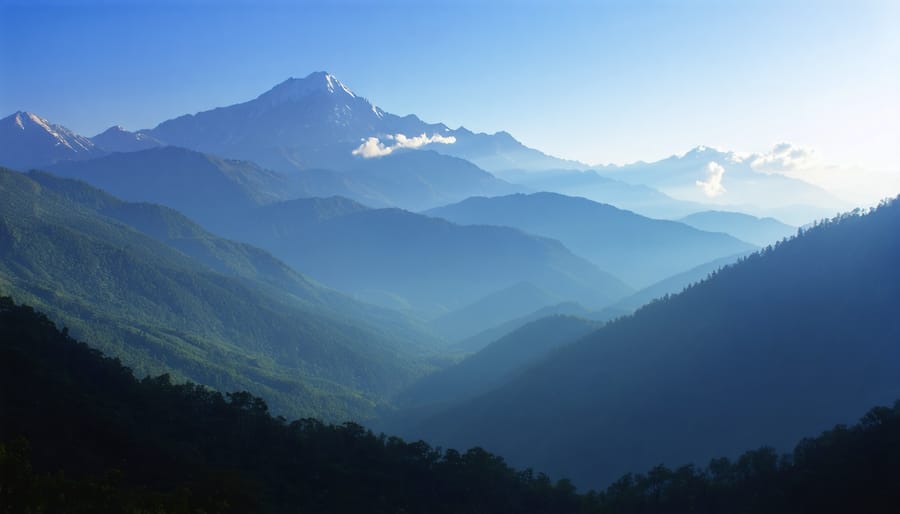
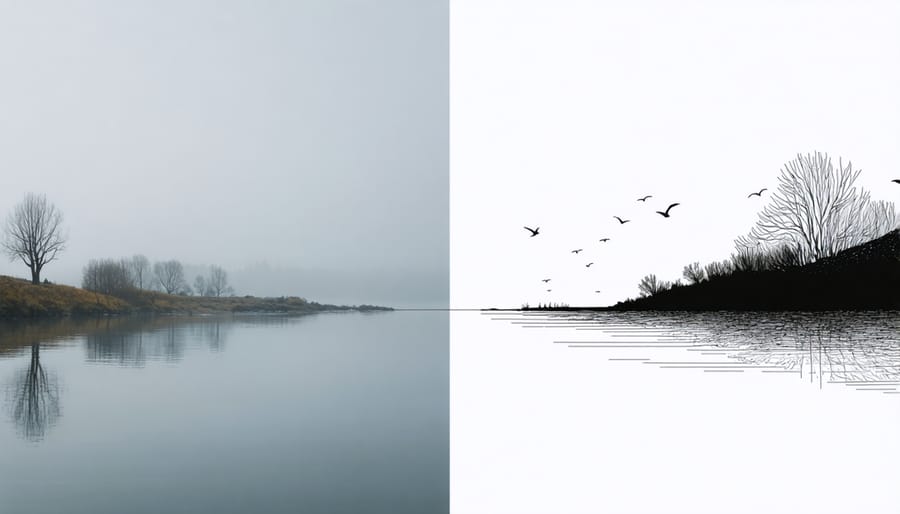
Remember that atmospheric conditions can enhance depth naturally. Morning mist, fog, or even air pollution can create atmospheric perspective, where distant objects appear lighter and less saturated than closer ones, reinforcing the sense of distance and space in your photographs.
Weather and Atmospheric Elements
Weather elements can transform an ordinary landscape into something truly extraordinary. Clouds, in particular, add drama and dimension to your compositions, acting as natural light diffusers and creating interesting patterns in the sky. Don’t shy away from overcast days – these conditions can provide soft, even lighting that’s perfect for capturing subtle details and rich colors in the landscape.
Fog and mist create an ethereal atmosphere that can elevate your images from simple snapshots to fine art. Early morning fog is particularly magical, adding layers of depth and mystery to your scenes. Try shooting during the “blue hour” when fog is most likely to form, especially in valleys or near bodies of water.
Storm clouds, lightning, and dramatic weather patterns offer exciting opportunities for unique shots. However, always prioritize safety when shooting in adverse conditions. Keep your gear protected with weather-sealed equipment or rain covers, and never put yourself at risk for a photo.
Rainbow photography requires perfect timing and positioning – remember that rainbows appear opposite the sun at a 42-degree angle. For the best results, use a polarizing filter to enhance the rainbow’s visibility while managing glare and reflections.
Snow and rain can add mood and texture to your images. When shooting in snow, be mindful of your camera’s exposure settings, as bright white scenes can fool your meter. Consider bracketing your exposures to ensure you capture the full range of tones in challenging weather conditions.
Post-Processing for Natural Vibrancy
RAW Processing Fundamentals
RAW processing is a crucial step in transforming your landscape photos from good to exceptional. When shooting landscapes, it’s essential to capture in RAW format rather than JPEG, as this preserves all the image data and gives you maximum flexibility during post-processing. After mastering your camera settings for nature photography, your RAW workflow becomes your second creative palette.
Start by adjusting your white balance to ensure natural-looking colors, particularly during golden hour or blue hour shots. Pay special attention to the highlights and shadows – landscapes often have extreme dynamic range, from bright skies to shadowy foregrounds. Use the highlights slider to recover detail in bright clouds, and lift the shadows to reveal texture in darker areas without introducing noise.
Clarity and texture adjustments can enhance the detail in rock formations and foliage, but use these tools sparingly to maintain a natural look. For vibrant sunset shots, carefully adjust vibrance rather than saturation to prevent colors from becoming unrealistic. The dehaze tool can be particularly useful for cutting through atmospheric haze and adding depth to mountain scenes.
Local adjustments are your secret weapon in landscape processing. Use graduated filters to balance bright skies with darker foregrounds, and employ radial filters to guide the viewer’s eye to your main subject. Don’t forget to remove sensor spots – they’re particularly visible in clear skies and can ruin an otherwise perfect shot.
Finally, consider creating presets for your favorite adjustments, but remember that each landscape scene is unique and may require different processing approaches to achieve the best results.
Advanced Color and Tone Control
Color and tone control in landscape photography requires a delicate balance between enhancing natural beauty and maintaining authenticity. Start by shooting in RAW format, which preserves maximum color information and gives you greater flexibility in post-processing. When adjusting colors, focus first on white balance to establish the correct overall tone of your image – warm golden hours typically benefit from slightly warmer temperatures, while blue hours might need subtle cooling.
The HSL (Hue, Saturation, Luminance) panel in your editing software is your best friend for natural-looking enhancements. Instead of boosting overall saturation, which can look artificial, target specific colors individually. For instance, slightly increasing the saturation of blues in skies or greens in foliage while reducing the luminance can create depth without appearing overdone.
Pay special attention to transitional zones where colors meet, such as the horizon line or where mountains meet the sky. These areas often benefit from selective adjustments using graduated filters or masks. When enhancing sunset colors, resist the temptation to push oranges and reds too far – subtle adjustments often yield more pleasing results.
Split-toning can add sophistication to your landscapes by introducing complementary colors into highlights and shadows. Try adding warm tones to highlights and cool tones to shadows for a balanced, professional look. Remember that different monitor calibrations can affect how others view your work, so it’s wise to err on the side of restraint.
Finally, before finalizing any edit, step away from your screen for a few minutes and return with fresh eyes. This helps ensure your adjustments remain true to the natural beauty you witnessed in the field.
Nature and landscape photography is a journey of continuous learning and discovery. As we’ve explored throughout this guide, successful landscape photography combines technical expertise with artistic vision, careful planning with spontaneous creativity. Remember that mastering the fundamentals of composition – including the rule of thirds, leading lines, and natural framing – provides the foundation for creating compelling images that tell stories and evoke emotions.
Don’t let technical challenges discourage you. Start with the equipment you have, focusing on understanding light, weather conditions, and timing. Practice during golden and blue hours when natural light is at its most dramatic, and gradually expand your shooting schedule to explore different lighting conditions and weather phenomena.
The key to improvement lies in consistent practice and experimentation. Challenge yourself to visit the same location multiple times under different conditions, or try new perspectives on familiar scenes. Keep a photography journal to track your settings and experiences, learning from both successes and mistakes.
Remember that post-processing is an integral part of landscape photography, but it should enhance rather than completely transform your images. Start with subtle adjustments and develop your editing style gradually.
Most importantly, maintain your connection with nature. The best landscape photographs come from photographers who truly appreciate and understand the environments they’re capturing. So pack your gear, head outdoors, and start creating your own stunning landscape images. The natural world awaits your unique perspective.