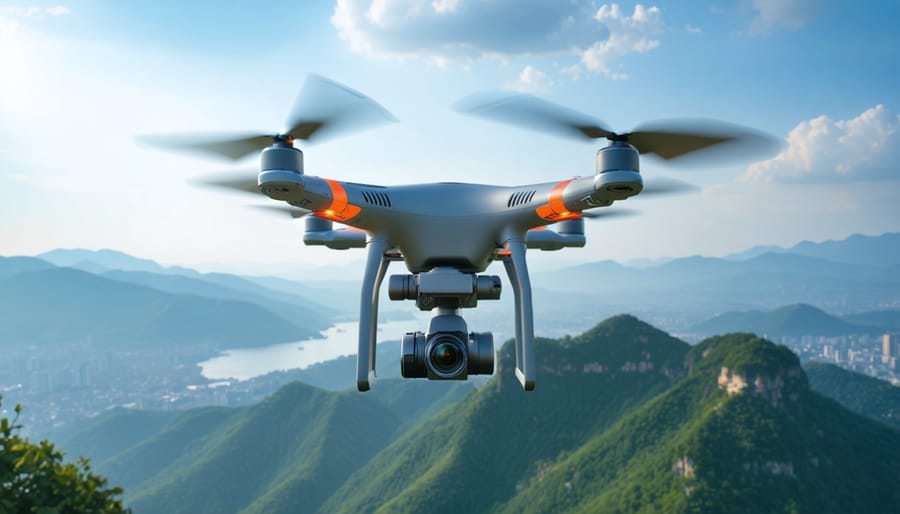
Soar above the ordinary and capture breathtaking perspectives with UAV photography, where cutting-edge drone technology meets creative vision. In recent years, aerial photography has transformed from an exclusive professional tool into an accessible art form, revolutionizing everything from real estate marketing to landscape photography. Modern UAVs combine sophisticated camera systems with intuitive flight controls, enabling photographers to capture images that were once impossible without a helicopter or plane.
The fusion of advanced stabilization technology, high-resolution sensors, and automated flight features has opened up unprecedented creative possibilities. Whether you’re documenting sprawling landscapes, architectural marvels, or dynamic events, drone photography offers a unique vantage point that continues to push the boundaries of visual storytelling. With regulations becoming clearer and technology more reliable, UAV photography has evolved into an essential skill for modern photographers.
This guide will explore the technical requirements, creative techniques, and essential knowledge needed to master aerial photography. From choosing the right equipment to understanding weather conditions and composition principles, we’ll cover everything you need to elevate your photography to new heights – literally and figuratively.
Essential UAV Camera Equipment for Aerial Photography
Built-in vs. Modular Camera Systems
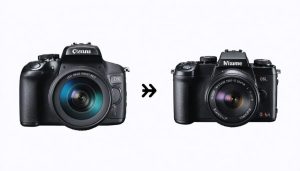
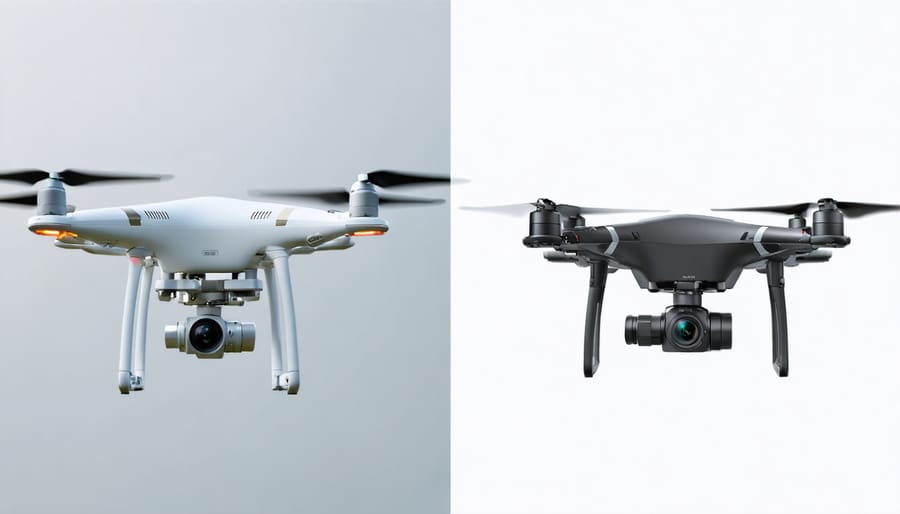
When choosing a drone for aerial photography, one of the first decisions you’ll face is whether to opt for a model with a built-in camera or one that accepts modular camera systems. Among top camera drones, both options have their distinct advantages and trade-offs.
Built-in camera systems offer seamless integration and reliability right out of the box. These cameras are specifically designed for aerial use, with optimized weight distribution and perfectly matched gimbal systems. They’re typically lighter, more aerodynamic, and offer longer flight times. For most enthusiasts and even many professionals, integrated cameras provide excellent image quality and convenience without the complexity of additional mounting systems.
Modular systems, however, provide greater flexibility and customization options. They allow you to attach different cameras depending on your specific needs, from lightweight action cameras to professional cinematography gear. This versatility means you can upgrade your camera without replacing the entire drone, potentially saving money in the long run. Some systems even support specialized equipment like thermal cameras or multispectral sensors for industrial applications.
Consider your specific needs when choosing between the two options. If you’re primarily shooting standard aerial photos and videos, a drone with a built-in camera might be your best bet. These systems are generally more reliable and easier to transport. However, if you require specific camera features, need to switch between different types of cameras, or want to future-proof your investment, a modular system could be worth the additional complexity and setup time.
Sensor Types and Their Impact on Aerial Images
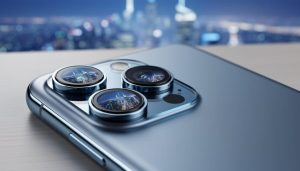
The sensor type in your drone’s camera plays a crucial role in determining image quality, especially in challenging aerial conditions. Most consumer drones come equipped with either a 1-inch, 1/1.3-inch, or 1/2.3-inch sensor, with larger sensors generally delivering better performance in low light and offering superior dynamic range.
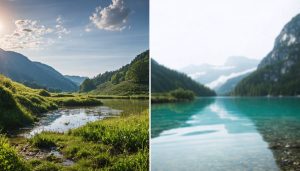
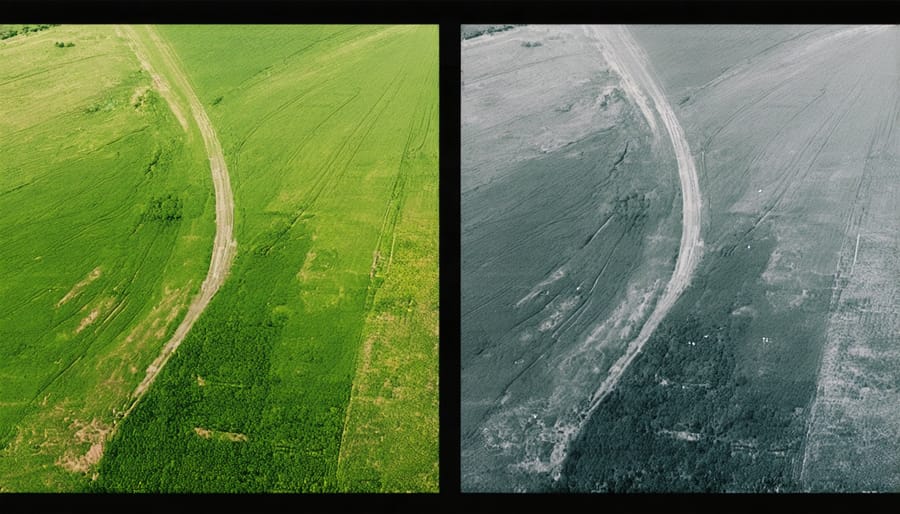
Larger sensors, like the 1-inch variety found in premium drones, excel at capturing detail in both shadows and highlights – a particularly important feature when shooting landscapes from above where lighting conditions can vary dramatically. These sensors also perform better in challenging conditions like dawn or dusk, producing cleaner images with less digital noise.
Smaller sensors, while more common in entry-level drones, have their advantages too. They’re typically lighter, which can translate to longer flight times and better maneuverability. They also often provide a deeper depth of field, making it easier to keep everything in focus when shooting from altitude.
When it comes to resolution, modern drone sensors typically range from 12MP to 48MP. However, it’s important to note that higher megapixel counts don’t always equate to better image quality. Factors like pixel size and sensor efficiency often matter more than raw resolution numbers, especially in aerial photography where vibration and movement can impact image sharpness.
Consider your typical shooting conditions when choosing a sensor size. If you primarily shoot in bright daylight, a smaller sensor might serve you well. However, if you’re planning to capture golden hour landscapes or need maximum image quality for professional work, investing in a drone with a larger sensor could be worth the additional cost.
Advanced Camera Settings for UAV Photography
Mastering Exposure in Variable Light Conditions
One of the biggest challenges in UAV photography is dealing with rapidly changing light conditions while your drone is airborne. Success relies heavily on mastering exposure settings and understanding how different weather conditions affect your shots.
Start by monitoring your histogram constantly during flight. Unlike ground-based photography, you don’t have the luxury of taking your time to adjust settings – conditions can change dramatically as your drone moves through different lighting zones or cloud shadows. Keep your camera in manual mode, but be ready to make quick adjustments to maintain proper exposure.
A useful technique is to bracket your exposures, especially during golden hour or when shooting in challenging conditions. Set your drone to take three consecutive shots at different exposure values (-1, 0, +1 EV). This gives you more flexibility in post-processing and ensures you capture all the detail in both highlights and shadows.
Pay special attention to your drone’s altitude and position relative to the sun. Flying at higher altitudes often means dealing with more intense light and stronger reflections. When possible, try to position your drone so that the sun is at a 45-degree angle to your subject – this creates depth through shadows while maintaining good overall exposure.
Weather conditions like haze and clouds can actually work to your advantage. Thin cloud cover acts as a natural diffuser, creating softer light that’s easier to work with. However, be prepared for sudden changes by keeping your ISO as low as possible while maintaining a fast enough shutter speed to ensure sharp images.
Remember to check your drone’s weather sealing limitations and always monitor local conditions. Even light drizzle can affect image quality, and sudden gusts of wind can create camera shake that no amount of exposure compensation can fix.
Stabilization and Motion Compensation
Achieving smooth, professional-looking footage in aerial photography relies heavily on effective stabilization and motion compensation technologies. At the heart of this stability is the gimbal system, a sophisticated piece of equipment that acts as a mechanical stabilizer for your camera.
Modern drone gimbals typically employ a 3-axis stabilization system, counteracting pitch, roll, and yaw movements in real-time. This technology uses sensors and motors to detect and compensate for any unwanted motion, keeping your camera steady even in challenging conditions like light winds or during complex flight maneuvers.
The primary components of a drone’s stabilization system include:
– Brushless motors for precise movement control
– Gyroscopic sensors for motion detection
– Acceleration sensors for measuring speed changes
– Advanced algorithms for real-time adjustments
Beyond mechanical stabilization, many modern drones incorporate electronic image stabilization (EIS) as a secondary measure. This software-based approach helps smooth out any remaining vibrations or sudden movements that might affect image quality. When combined with mechanical stabilization, EIS can significantly enhance the overall stability of your aerial shots.
For optimal results, it’s essential to properly calibrate your gimbal before each flight. Most drone manufacturers provide calibration tools through their apps, allowing you to ensure your stabilization system is working at peak performance. Regular maintenance, including checking for loose components and ensuring proper balance, will help maintain consistent stabilization quality.
Some advanced drones also feature intelligent flight modes that work in conjunction with stabilization systems to create smooth, cinematic movements. These might include orbit modes, cable cam simulations, or tracking shots that would be difficult to achieve manually.
Remember that while stabilization technology is impressive, it works best when combined with good flying technique. Practice smooth control inputs and maintain steady flight paths to make the most of your drone’s stabilization capabilities. This combination of technology and skill will help you capture those stunning aerial shots that were once only possible with expensive helicopter-mounted camera systems.
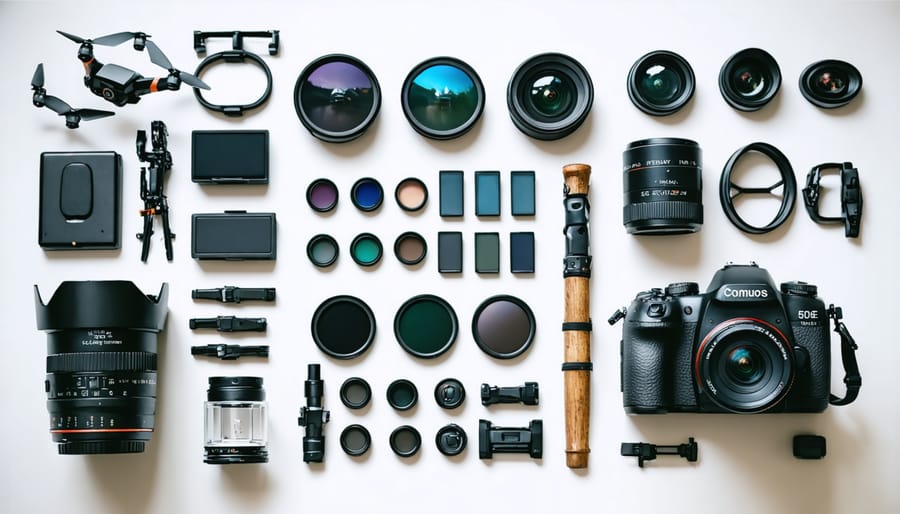
Essential Accessories for UAV Photography
Filters and Lens Accessories
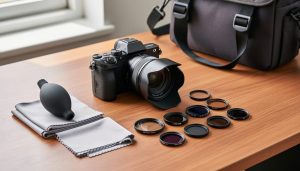
Filters and lens attachments are among the most essential lens accessories for drone photography, helping you capture stunning aerial images in challenging conditions. Neutral Density (ND) filters are particularly crucial for drone photographers, as they help manage exposure in bright daylight conditions and maintain proper shutter speeds for smooth video footage.
When flying during sunny days, an ND8 or ND16 filter can help you achieve that cinematic motion blur while keeping highlights under control. For even brighter conditions or when you want to capture longer exposures of moving water or clouds, consider using an ND32 or ND64 filter.
Polarizing filters are another valuable addition to your drone photography kit. They help reduce glare from reflective surfaces like water and windows, while also enhancing color saturation and contrast in your aerial shots. This is especially useful when photographing landscapes with bodies of water or urban environments with glass buildings.
Many drone manufacturers offer filter kits specifically designed for their models, ensuring proper fit and optical quality. When selecting filters, opt for multi-coated options that minimize ghosting and flare while maintaining image sharpness. Some photographers also find graduated ND filters helpful for balancing exposure between bright skies and darker ground elements, though these require careful positioning given the drone’s movement.
Remember to clean your filters regularly and store them properly to prevent scratches or damage. It’s also worth noting that some filters may slightly impact your drone’s battery life due to the reduced light reaching the sensor, so factor this into your flight planning.
Storage and Transmission Equipment
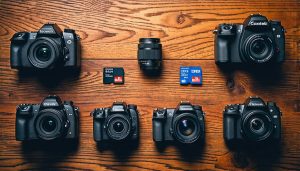
Storage and data transmission equipment are crucial components of successful UAV photography operations. The foundation of any aerial imaging setup starts with reliable memory cards – high-speed SD or microSD cards with substantial storage capacity are essential. Look for cards with at least 64GB storage and UHS-I or UHS-II speed ratings to handle the large files and high data transfer rates required for 4K video and RAW photography.
For real-time monitoring, a quality monitor or display device is indispensable. Most modern drones come with smartphone connectivity, but dedicated monitors offer superior brightness and clarity, especially in bright outdoor conditions. These monitors typically range from 5 to 7 inches and should feature sun hoods and anti-glare technology for optimal visibility.
Live transmission systems are becoming increasingly important for professional aerial photography. These setups usually consist of transmitters and receivers operating on frequencies like 5.8GHz, allowing for real-time video feed transmission to ground stations. Advanced systems can achieve ranges up to several kilometers, though local regulations may limit operational distance.
Many photographers opt for a dual-storage approach: primary storage on the drone’s memory card and backup recording on the ground station or monitor. This redundancy provides security against data loss and enables immediate review of footage without removing the drone’s memory card.
For extended shoots, consider carrying multiple memory cards and spare batteries for all devices, including monitors and transmission equipment. A robust carrying case with proper padding helps protect this sensitive gear during transport and provides organized storage between flights.
Legal and Safety Considerations
Operating a UAV for photography requires careful attention to legal requirements and safety protocols. In many countries, drone pilots must register their aircraft and obtain proper certification before taking to the skies. In the United States, for instance, the Federal Aviation Administration (FAA) requires registration for drones weighing more than 0.55 pounds (250 grams) and certification for commercial operations under Part 107 regulations.
Before your first flight, familiarize yourself with local airspace restrictions, including no-fly zones near airports, military bases, and sensitive infrastructure. Many modern drones come equipped with geofencing capabilities that help prevent accidental incursions into restricted areas, but it’s still your responsibility to verify flight permissions.
Weather conditions play a crucial role in safe UAV operation. Avoid flying in strong winds (typically above 20mph), precipitation, or low visibility conditions. Always maintain visual line of sight with your drone and stay below the maximum allowed altitude, which is typically 400 feet in most jurisdictions.
Privacy considerations are equally important. Avoid photographing private property without permission, and be mindful of people’s reasonable expectations of privacy. Some locations may require special permits or written consent for commercial drone photography.
Insurance is another vital aspect of UAV operations. Beyond standard equipment insurance considerations, consider liability insurance to protect yourself against potential accidents or damage claims. Many commercial clients require proof of insurance before hiring drone photographers.
Essential safety practices include:
– Performing pre-flight checks of all equipment
– Maintaining battery awareness and planning for safe landing
– Keeping a safe distance from people, vehicles, and structures
– Having a spotter when flying in challenging conditions
– Understanding emergency procedures and return-to-home functions
Remember that regulations can vary significantly between regions and countries. Some areas require additional permits for commercial work, while others may have seasonal restrictions during wildlife breeding periods or special events. Stay current with local regulations and join professional organizations that provide updates on legal requirements and best practices.
Professional drone pilots often recommend creating a pre-flight checklist and maintaining a flight log to document operations. This not only helps ensure safety but also provides valuable documentation in case of incidents or insurance claims.
As we’ve explored throughout this guide, UAV photography represents an exciting frontier in creative image-making, combining traditional photography skills with the unique perspectives offered by drone technology. Success in this field requires careful consideration of both equipment and technique.
The ideal drone photography setup typically includes a UAV with a high-quality camera sensor, reliable flight controls, and sufficient battery life for extended shooting sessions. For beginners, models like the DJI Mini series offer an excellent entry point, while professional photographers might want to invest in more advanced systems like the Mavic 3 or Air 2S for their superior image quality and features.
Essential accessories that shouldn’t be overlooked include extra batteries, ND filters for controlling exposure in bright conditions, and a robust carrying case to protect your investment. Remember that the best equipment is only as good as the photographer’s understanding of both aerial operations and photographic principles.
When selecting your gear, prioritize features that align with your specific photography goals. If you’re focusing on real estate photography, look for drones with excellent hover stability and automated flight modes. For landscape photography, prioritize image quality and range capabilities.
Most importantly, stay informed about local regulations, maintain your equipment regularly, and continue developing your skills through practice and experimentation. With the right combination of equipment, knowledge, and creativity, UAV photography can open up entirely new possibilities for your photographic journey.