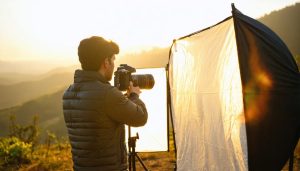
Transform your video production with lighting equipment that delivers professional-quality results, whether you’re a photographer expanding into video or a content creator seeking versatile solutions. Understanding photography lighting basics creates a solid foundation, but video lighting demands unique considerations for continuous illumination, color accuracy, and movement.
Modern LED panels, ring lights, and bi-color fixtures offer unprecedented control over your visual narrative, while maintaining compatibility with existing photography gear. These tools bridge the gap between still and motion work, enabling creators to build a versatile lighting kit that serves both disciplines effectively. From interviews and product showcases to narrative filmmaking, proper lighting equipment transforms amateur footage into compelling visual content that captures and holds viewer attention.
With recent advances in LED technology driving down costs while improving quality, there’s never been a better time to invest in video lighting gear. This guide explores essential equipment choices, practical setup techniques, and strategic investments that deliver professional results without breaking the bank.
Essential Video Lighting Equipment for Photographers
Continuous LED Lights vs. Traditional Strobes
When choosing lighting for video work, the decision between continuous LED lights and traditional strobes often comes down to versatility and workflow preferences. Continuous lights offer the significant advantage of “what you see is what you get” – allowing you to make real-time adjustments to your lighting setup while observing the exact effect on your subject.
LED continuous lights have become increasingly popular among hybrid shooters who work with both stills and video. They provide consistent illumination without the need to sync flash timing, making them ideal for capturing both photographs and footage during the same session. Modern LED panels also offer color temperature adjustment, allowing you to match ambient lighting conditions or create specific moods without using gels.
However, traditional strobes still hold some advantages. They typically deliver more power output per dollar spent and can freeze motion more effectively in still photography. Strobes also excel at overpowering ambient light, which can be challenging with continuous lighting unless you invest in higher-end LED units.
Temperature management is another consideration. While LED lights run cooler than traditional tungsten continuous lights, professional-grade strobes generate less heat over extended shooting sessions. This can be particularly important when working in small spaces or with heat-sensitive subjects.
For those just starting in video work, continuous LED lights often prove to be the more practical choice. They’re easier to work with when learning lighting techniques, and their dual-purpose nature makes them a cost-effective investment. Many photographers find that a combination of both lighting types ultimately provides the most flexibility, using continuous lights for video and certain types of still work while keeping strobes available for specific photographic situations.
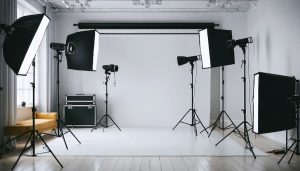
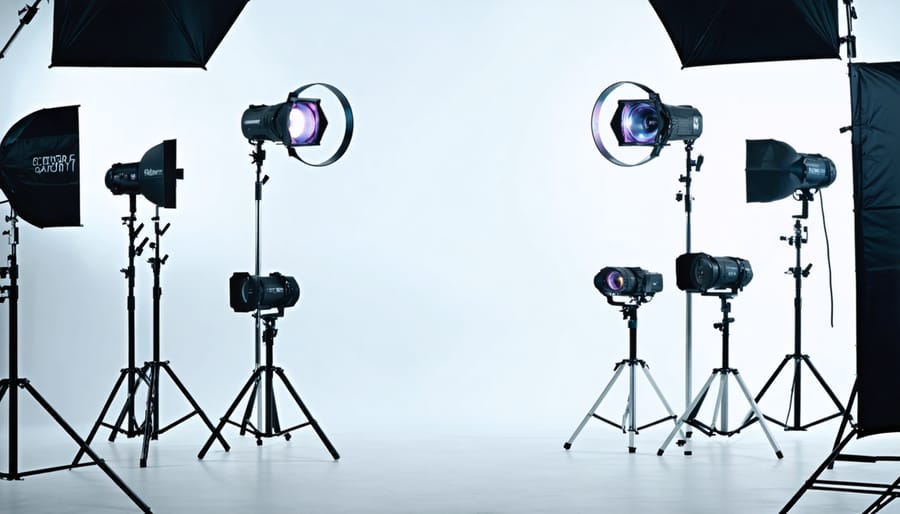
Basic Three-Point Lighting Setup
The foundation of any professional lighting setup starts with understanding the three-point lighting technique. This classic approach uses three distinct light sources to create depth, dimension, and professional-looking results in your video production.
The key light serves as your primary light source, typically positioned at a 45-degree angle from your subject. This light establishes the main illumination and sets the overall exposure for your scene. Think of it as the sun in a natural lighting scenario – it’s the dominant source that creates the primary shadows and highlights.
Your fill light plays a supporting role by softening the shadows created by the key light. Positioned opposite the key light, but at a lower intensity (usually 50% of the key light’s power), it helps prevent harsh contrasts while maintaining natural-looking dimensionality. For beginners, a simple reflector can serve as a fill light, making it a budget-friendly option.
The back light (also called rim light or hair light) completes the trinity by creating separation between your subject and the background. Positioned behind and slightly above your subject, this light creates a subtle highlight around their edges. This separation is what gives your footage that polished, professional look that distinguishes it from amateur productions.
When setting up these lights, remember that balance is key. Start with your key light, then add the fill light to control shadow intensity, and finally position the back light to create that professional edge detail. Experiment with different intensities and positions until you achieve the desired look for your specific project.
Versatile Lighting Solutions for Both Mediums
LED Panels and Their Applications
LED panels have revolutionized video lighting with their versatility, energy efficiency, and precise control capabilities. These flat, lightweight fixtures come in various sizes and configurations, making them essential tools for both photography and video work.
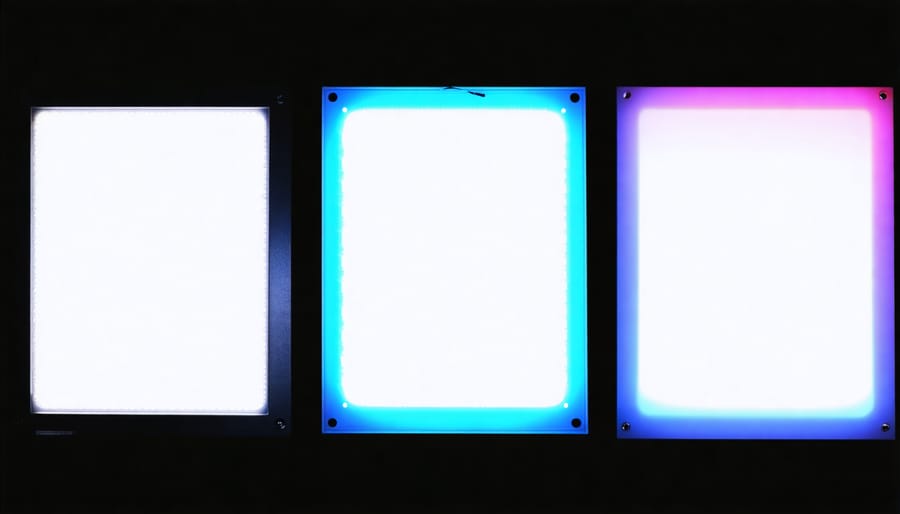
Bi-color LED panels are particularly popular among content creators, offering adjustable color temperature between tungsten (3200K) and daylight (5600K). This flexibility allows you to match existing ambient light or create specific moods without using gels. Some advanced models even offer full RGB color control, enabling creative lighting effects and precise color matching.
For run-and-gun shooters, compact LED panels that mount directly to cameras provide reliable fill light for interviews and documentary work. Larger panels, often 1×1 foot or bigger, serve as primary light sources in studio setups and can effectively illuminate larger areas or groups of people.
One of the most significant advantages of LED panels is their ability to dim without color shift, unlike traditional tungsten lights. Many modern panels offer wireless control through smartphone apps, making adjustments quick and precise, even when the lights are mounted high or in hard-to-reach places.
When choosing LED panels, pay attention to CRI (Color Rendering Index) and TLCI (Television Lighting Consistency Index) ratings. Higher scores indicate better color accuracy, which is crucial for achieving natural skin tones and accurate product colors. Professional-grade panels typically offer CRI ratings above 95.
Common applications include:
– Three-point lighting setups for interviews
– Edge lighting for product photography
– Soft fill light for outdoor shoots
– Creating even illumination for green screen work
– Ambient lighting for real estate videos
For best results, consider using diffusion accessories with your LED panels. While many panels come with built-in diffusion, additional modifiers can help soften shadows and create more flattering light for subjects. Light control accessories like barn doors and grids help shape and direct the light precisely where needed.
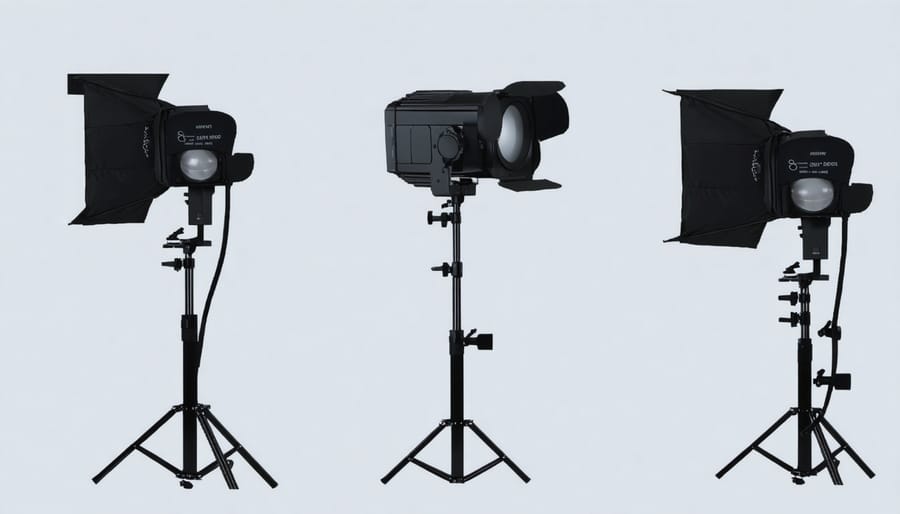
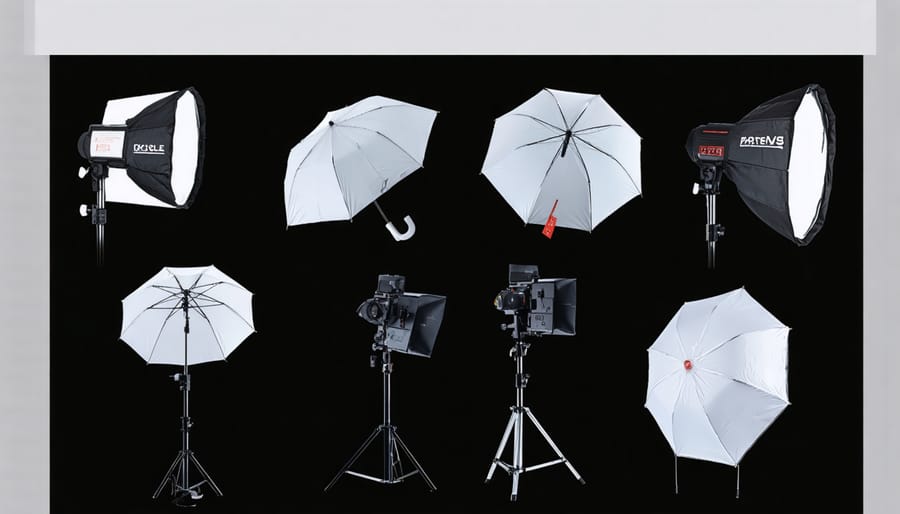
Light Modifiers and Accessories
No matter how powerful your lights are, controlling and shaping that light is crucial for professional-looking video work. Lighting modifiers are your secret weapons for achieving the perfect look, whether you’re shooting interviews, product showcases, or creative content.
Softboxes are perhaps the most versatile modifiers available, creating beautifully diffused light that’s flattering for subjects while minimizing harsh shadows. They come in various sizes, from compact 2×2 feet options perfect for talking heads to larger 4×6 feet versions that can illuminate entire scenes. For run-and-gun situations, collapsible softboxes offer excellent portability without sacrificing light quality.
Umbrellas, both reflective and shoot-through varieties, provide an affordable entry point into light modification. While they’re harder to control than softboxes, they create a broad, soft light that’s particularly useful for filling spaces. Silver umbrellas offer more punch and contrast, while white ones provide gentler illumination.
Barn doors attach directly to your lights, allowing precise control over light spread and spill. They’re essential for creating dramatic effects, preventing lens flare, and ensuring light only falls where you want it. Combined with gel holders, they’re perfect for adding color to your scenes or matching ambient light temperatures.
Grid attachments help focus your light into a concentrated beam, ideal for hair lights or creating subtle background separation. Different grid sizes offer varying degrees of light control, from subtle spots to precise beams.
Don’t overlook the importance of flags, nets, and scrims. These simple tools can block, reduce, or shape light with remarkable precision. A basic flag kit will help you control unwanted spill and create intentional shadows, while nets and scrims offer various degrees of light reduction without changing its quality.
For maximum versatility, consider investing in a 5-in-1 reflector. These affordable tools combine a diffuser, silver and gold reflectors, and black and white surfaces in one package, making them indispensable for both video and photo work.
Advanced Video Lighting Techniques
Color Temperature and Gel Systems
Understanding color temperature and gel systems is crucial for achieving professional-looking video footage. Color temperature, measured in Kelvin (K), determines whether your light appears warm (orange/yellow) or cool (blue). Daylight typically measures around 5600K, while traditional indoor lighting often sits at 3200K.
When shooting video, mixing different light sources can create unwanted color casts. This is where gels come into play. These thin, colored filters allow you to modify the color temperature of your lights to match other light sources in your scene. For example, if you’re filming indoors with tungsten lights but have daylight streaming through windows, you can use CTB (Color Temperature Blue) gels on your artificial lights to match the cooler daylight.
Common gel types include:
– CTO (Color Temperature Orange): Warms up daylight-balanced lights
– CTB (Color Temperature Blue): Cools down tungsten-balanced lights
– Plus/Minus Green: Corrects fluorescent lighting’s green cast
– Creative color gels: Add artistic effects and mood
Most professional lighting kits include a basic gel set, but you can purchase additional gels separately. When working with gels, remember that they reduce light output, so you’ll need to compensate by increasing your light’s intensity. A good rule of thumb is to expect a 1-2 stop loss when using correction gels.
To maintain consistency throughout your shoot, keep a color temperature meter handy or use your camera’s white balance settings in conjunction with your gels. Many modern LED lights offer built-in color temperature adjustment, reducing the need for physical gels, though having a gel kit remains valuable for creative effects and challenging lighting situations.
Remember to store your gels flat and handle them carefully – they can melt if placed too close to hot lights. Consider investing in heat-resistant gels for high-powered tungsten fixtures.
DMX Control and Smart Lighting
In modern video production, lighting control has evolved far beyond simple on/off switches. DMX (Digital Multiplex) technology serves as the backbone of professional lighting control, allowing precise manipulation of multiple lights through a single interface. This industry-standard protocol enables photographers and videographers to create complex lighting setups with unprecedented ease.
Smart lighting systems have revolutionized how we approach video lighting, offering features like color temperature adjustment, intensity control, and even pre-programmed lighting sequences. With DMX controllers, you can adjust multiple parameters simultaneously, perfect for dynamic shooting situations where lighting needs to change mid-scene.
Many contemporary LED panels and studio lights come with built-in DMX compatibility, allowing seamless integration into existing setups. Through a DMX controller or software interface, you can create, save, and recall lighting presets, making it easier to maintain consistency across multiple shooting sessions. This is particularly valuable for content creators who frequently shoot in the same location or need to replicate specific lighting conditions.
For those new to DMX, starting with a basic controller and DMX-enabled lights can open up creative possibilities without overwhelming complexity. As your needs grow, you can expand your setup by adding more lights and advanced control features. Most modern systems also offer wireless DMX options, eliminating the need for complex cable routing while maintaining reliable control over your lighting setup.
The investment in DMX-controlled lighting pays dividends in both time saved during production and the professional quality of the final output. Whether you’re shooting interviews, product demonstrations, or creative content, having precise control over your lighting enhances the production value significantly.
Portable Solutions for Location Shoots
When shooting on location, having portable lighting solutions can make or break your production. Today’s mobile lighting options offer professional-quality illumination without the bulk and power requirements of studio equipment.
LED panels have revolutionized location lighting, offering battery-powered operation and adjustable color temperature. Popular options like the Aputure MC and Godox M1 fit in your pocket while providing surprisingly powerful output. These compact lights are perfect for interview setups or adding a creative accent to your scene.
For more demanding situations, consider collapsible LED panels that fold down for transport but expand to provide soft, even illumination. Models like the Falcon Eyes RX-24TDX offer bi-color capability and impressive brightness while remaining lightweight and portable.
Battery-powered strobes have also become increasingly popular for hybrid shooters. These units serve double duty for both still photography and continuous lighting for video, making them excellent investments for content creators who do both.
Don’t overlook the importance of light modifiers in your portable kit. Collapsible softboxes, diffusion panels, and bounce cards can dramatically improve your lighting quality while adding minimal weight to your gear bag. Many manufacturers now offer specialized carrying cases designed to protect and organize your portable lighting equipment.
Remember to pack spare batteries and consider investing in USB power banks for extended shoots. Having a reliable power solution is just as important as the lights themselves when working away from traditional power sources.
For run-and-gun situations, a single on-camera LED light can work wonders, especially when combined with a small diffuser. This minimal setup allows you to maintain mobility while still ensuring your subjects are properly illuminated.
Budget-Friendly Recommendations
Getting started with video lighting doesn’t have to break the bank. Let’s explore some cost-effective options that deliver professional-looking results. For beginners, LED panels are an excellent entry point, with brands like Neewer and VILTROX offering quality lights under $100. These panels provide adjustable brightness and color temperature, making them versatile for both photo and video work.
Consider starting with a basic three-point lighting kit, which can form the foundation of your home studio setup. Look for kits that include softboxes or diffusers, as these help create soft, flattering light. Many manufacturers offer complete kits in the $200-300 range.
Ring lights have become increasingly popular and affordable, typically ranging from $50-150. They’re perfect for vlogs, product shots, and portrait work, providing even illumination and attractive catchlights in the eyes.
For maximum versatility on a budget, invest in a couple of LED light wands. These portable tools can be handheld, mounted on stands, or even concealed in tight spaces. Brands like Yongnuo offer reliable options under $80.
Don’t overlook DIY solutions. Clamp lights from hardware stores paired with daylight-balanced bulbs can work wonders when properly diffused. Foam core boards make excellent reflectors, and white shower curtains can serve as affordable diffusion material.
Remember to prioritize build quality over fancy features. It’s better to have a few reliable lights than multiple unreliable ones. Start with one or two quality pieces and gradually expand your kit as your needs and budget grow.
Choosing the right lighting equipment for your video projects doesn’t have to be overwhelming. By starting with essential gear like a versatile LED panel, softbox, and reflector, you can create professional-looking content while building your kit gradually. Remember that lighting is both a technical and creative tool – mastering the basics of three-point lighting will serve as your foundation, while experimentation will help you develop your unique style.
For beginners, we recommend investing in a quality main light first, then expanding your collection as your needs and skills grow. Consider versatile options that work for both photo and video work to maximize your investment. LED technology continues to evolve, offering increasingly affordable solutions with excellent color accuracy and control features.
Don’t forget that even the most expensive lighting equipment is only as good as your understanding of how to use it. Take time to practice with your gear, learn about color temperature and light modification, and stay curious about new techniques. Whether you’re shooting interviews, product videos, or creative content, the principles and equipment we’ve discussed will help you achieve the professional results you’re aiming for.