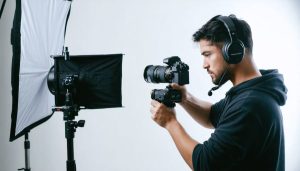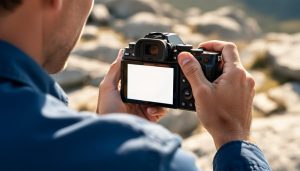
Mastering your video camera’s settings transforms ordinary footage into cinematic masterpieces. Whether you’re shooting a documentary, vlogging, or capturing family memories, understanding these core settings puts you in complete creative control.
The difference between amateur and professional-looking footage often lies in three fundamental settings: aperture, shutter speed, and ISO. These work together like a perfectly choreographed dance, each playing its crucial role in crafting your visual story. Aperture controls depth of field, letting you create that coveted background blur. Shutter speed determines motion clarity, while ISO balances light sensitivity with image quality.
But here’s what many tutorials miss: these settings aren’t just technical specifications – they’re creative tools waiting to be harnessed. Professional videographers don’t just memorize numbers; they understand how each setting affects their storytelling. Whether you’re capturing fast-moving sports action or creating moody, low-light scenes, the right settings become your artistic allies.
This guide breaks down these essential camera settings into practical, real-world applications, helping you move beyond the ‘auto’ mode to create exactly the look you envision. Let’s dive into the specific settings that will elevate your video quality from good to exceptional.
Essential Video Camera Settings Decoded
Frame Rate and Shutter Speed
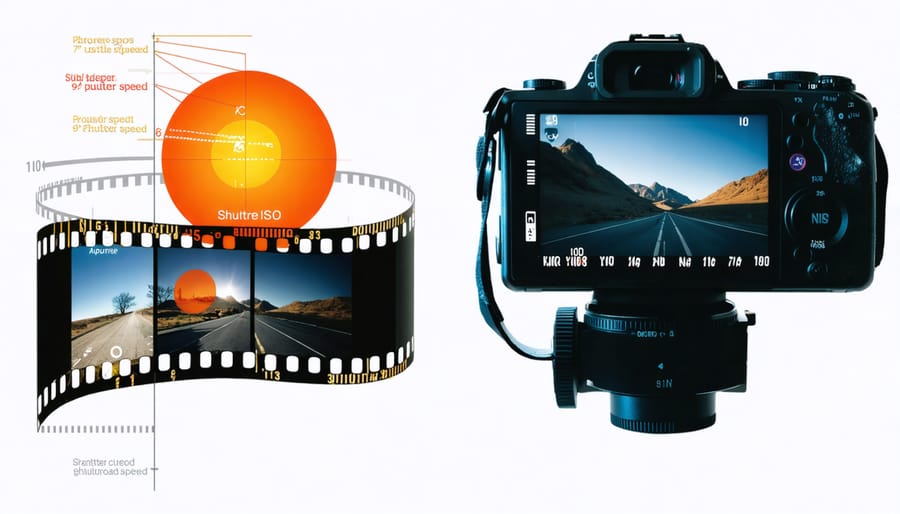
Frame rate and shutter speed work together like dance partners, creating the signature look and feel of your video footage. Frame rate, measured in frames per second (fps), determines how smooth your motion appears, while shutter speed controls how much motion blur each frame captures.
The standard frame rate for most video content is 24fps, which creates that classic cinematic look we’re all familiar with. For smoother motion, particularly in sports or action sequences, you might opt for 60fps. Going even higher to 120fps or beyond allows for dramatic slow-motion effects while maintaining smooth playback.
A good rule of thumb is to set your shutter speed to double your frame rate – this is known as the 180-degree shutter rule. For example, if you’re shooting at 24fps, set your shutter speed to 1/48 second. This creates natural-looking motion blur that our eyes are accustomed to seeing.
When you break this rule, interesting effects emerge. Faster shutter speeds (like 1/1000) create crisp, stuttered motion perfect for action sports or fight scenes. Slower shutter speeds produce more motion blur, which can add dreamlike quality to your footage.
For everyday shooting, stick with the 180-degree rule until you’re comfortable enough to experiment. Remember that lighting conditions will also influence your ability to maintain ideal shutter speeds, so keep your ND filters handy when shooting outdoors.
Resolution and Bit Rate
Resolution and bit rate are two fundamental aspects that determine your video’s overall quality and file size. Resolution refers to the number of pixels in your frame, commonly expressed as width × height (like 1920×1080 for Full HD). Higher resolutions mean more detail, but they also require more storage space and processing power.
Common video resolutions include:
– 1080p (1920×1080): The standard for most content
– 4K (3840×2160): Offers four times the detail of 1080p
– 720p (1280×720): Suitable for web content where file size is crucial
Bit rate, measured in megabits per second (Mbps), determines how much data your camera records per second of video. Think of it as the “quality ceiling” for your footage. A higher bit rate means better image quality and smoother motion, but larger file sizes. For example, shooting 1080p typically requires 15-25 Mbps for good quality, while 4K might need 35-68 Mbps or more.
When choosing these settings, consider your end goal. Are you creating content for YouTube? Shooting a wedding video? Recording for broadcast? Each scenario has different requirements. For social media, you might prioritize smaller file sizes with good-enough quality. For professional work, maximizing quality with higher bit rates becomes essential.
Pro tip: Always shoot at a higher quality than your delivery format. This gives you more flexibility in post-production and helps maintain quality through the editing process.
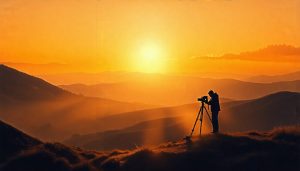
Settings for Cinematic Video
Picture Profiles and Color Grading
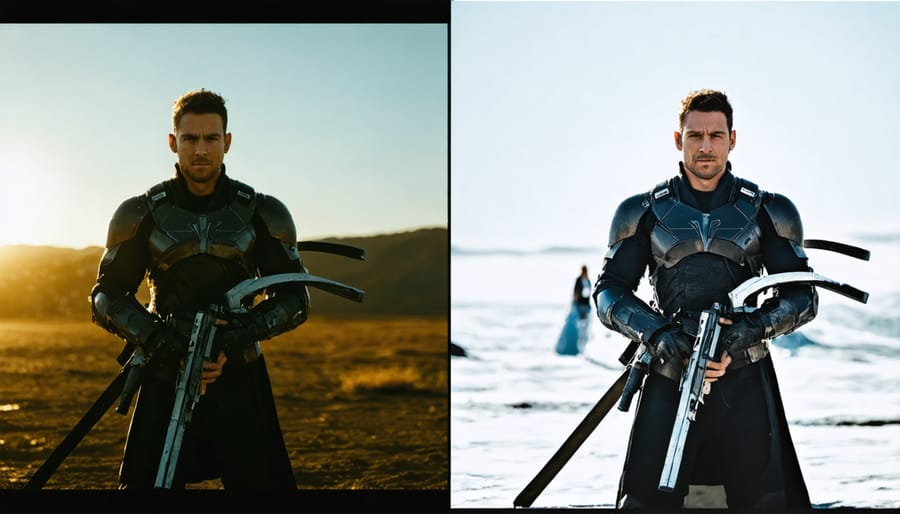
Picture profiles and color grading settings are crucial tools that determine how your footage will look and how much flexibility you’ll have in post-production. Think of picture profiles as preset “recipes” that affect how your camera captures color, contrast, and dynamic range.
Most cameras offer standard picture profiles like “Natural,” “Vivid,” or “Standard,” but for maximum editing flexibility, look for profiles designed specifically for post-production work. Popular options include S-Log (Sony), C-Log (Canon), and V-Log (Panasonic). These profiles capture a flat, low-contrast image that preserves more detail in highlights and shadows.
When setting up your camera for optimal post-production workflow:
1. Choose a profile that matches your editing capabilities. While Log profiles offer the most flexibility, they require more skill and time to grade properly.
2. Set your bit depth and color sampling appropriately. Higher values like 10-bit 4:2:2 provide more color information but require more storage space.
3. Consider your delivery requirements. If you’re shooting for quick turnaround projects, standard profiles might be more practical.
For everyday shooting, start with these recommended settings:
– ISO: Native ISO of your chosen picture profile
– White Balance: Manual setting (avoid auto)
– Sharpness: Reduced (around -2 to -4)
– Saturation: Slightly reduced for more natural colors
– Contrast: Lower settings for better dynamic range
Remember that shooting in Log requires proper exposure – typically overexpose by 1-2 stops to capture clean shadows. Always perform test shoots with your chosen profile and practice your color grading workflow before important projects.
Creating Shallow Depth of Field
Creating that sought-after cinematic blur in your videos requires a careful combination of camera settings and lens selection for depth of field. The key lies in understanding how aperture, focal length, and subject distance work together to create this effect.
Start by setting your aperture as wide as possible (lowest f-number) – typically f/1.8 to f/2.8 works best. This creates a naturally shallow depth of field, where your subject remains sharp while the background becomes beautifully blurred. Remember that the wider your aperture, the more light enters your camera, so you’ll need to adjust your ISO and shutter speed accordingly.
Position your subject at least 6-8 feet away from the background to maximize the blur effect. The greater this distance, the more pronounced the separation becomes between your sharp subject and the soft background. Additionally, moving closer to your subject while maintaining focus will intensify the background blur.
When choosing your focal length, longer focal lengths (50mm and above) naturally compress the scene and enhance the shallow depth of field effect. A 50mm f/1.8 lens, often called the “nifty fifty,” is an excellent starting point for achieving this look without breaking the bank.
To maintain proper exposure while keeping your aperture wide open, use ND filters in bright conditions. This allows you to maintain that coveted shallow depth of field even in challenging lighting situations. Remember to keep your subject movement controlled, as maintaining focus becomes more challenging with a shallow depth of field.
Action and Sports Video Settings
High-Speed Recording
High-speed recording transforms ordinary movements into mesmerizing slow-motion sequences, revealing details our eyes normally miss. Modern cameras typically offer frame rates ranging from 60fps to 240fps, with some professional models reaching an impressive 1000fps or higher.
To capture crisp slow-motion footage, start by selecting your desired frame rate in your camera’s high-speed recording menu. Remember that higher frame rates often come with trade-offs: reduced resolution, shorter recording times, and the need for more light. For smooth action sequences, maintain a steady camera technique and use faster shutter speeds to minimize motion blur.
A good starting point is 120fps for most action sequences, which provides enough temporal resolution to slow down sports movements, falling water, or dancing without sacrificing too much image quality. For ultra-slow-motion effects, like capturing a balloon popping or a hummingbird’s wings, consider using 240fps or higher.
Pro tip: Always factor in your final playback speed when choosing frame rates. If you’re recording at 120fps and playing back at 24fps, your footage will appear 5 times slower than real-time. This helps you plan your shots and achieve the exact dramatic effect you’re aiming for.
Autofocus Configurations
Getting your autofocus settings right is crucial for capturing smooth, professional-looking video, especially when filming moving subjects. Modern video cameras offer several AF modes, each designed for specific shooting scenarios.
For tracking moving subjects, Continuous AF (also called AI Servo or AF-C) is your best friend. This mode constantly adjusts focus as your subject moves, making it perfect for sports, wildlife, or any action sequences. Most cameras allow you to adjust the tracking sensitivity – start with medium sensitivity and adjust based on your subject’s speed and movement patterns.
Face/Eye Detection AF has become increasingly sophisticated and reliable. When filming people, enabling this feature helps maintain sharp focus on your subject’s face or eyes, even as they move around the frame. Some cameras even offer Animal Eye AF, which is fantastic for wildlife videography.
Zone AF is another powerful tool, allowing you to designate a specific area of the frame where the camera should maintain focus. This works well when your subject’s movement is somewhat predictable, like an athlete running along a track or a dancer performing on stage.
For the smoothest results, adjust your AF transition speed. Faster transitions work well for sports and action, while slower, more cinematic focus transitions are better suited for interviews or narrative work. Remember that even the best AF systems sometimes need manual override, so practice switching between auto and manual focus smoothly.
Low-Light Video Settings
ISO and Noise Reduction
ISO settings play a crucial role in video quality, acting as your camera’s sensitivity to light. Think of ISO as an amplifier for your image signal – the higher you go, the brighter your footage becomes, but there’s always a trade-off with noise (those pesky grainy artifacts).
Starting with a low ISO (usually 100 or 200) will give you the cleanest image quality, but you’ll need plenty of light. As you increase ISO to shoot in darker conditions, you’ll notice more noise creeping into your footage, especially in shadow areas. Most modern cameras handle ISO quite well up to 3200, but beyond that, you’ll need to weigh the benefits of a brighter image against the noise introduction.
Noise reduction features in your camera can help combat this issue, but use them wisely. Too aggressive noise reduction can make your footage look artificial or plasticky, with lost detail and smeared textures. A good rule of thumb is to keep noise reduction at moderate levels and test different settings in your shooting environment.
For the best results, try to keep your ISO as low as practically possible while maintaining proper exposure. If you’re shooting in low light, consider adding lighting or opening up your aperture before cranking up the ISO. When you must use higher ISO values, embrace some noise rather than applying heavy noise reduction that might compromise your image quality.
Manual Exposure Techniques
When lighting conditions become challenging, mastering manual exposure control becomes essential for achieving professional-looking footage. Start by evaluating your scene’s lighting and identifying the primary subject. In high-contrast situations, such as shooting against bright windows or during sunset, prioritize exposing for your main subject rather than the entire frame.
A helpful technique is to use zebra patterns, which display diagonal stripes over areas that exceed certain brightness levels. Set your zebras between 70-80% for skin tones and 95-100% for monitoring highlight clipping. This visual aid helps prevent overexposure while maintaining detail in important areas.
When working in low light, remember that increasing ISO isn’t always the best solution. Instead, consider opening up your aperture or adding minimal lighting. If you must shoot at higher ISOs, test your camera’s noise performance beforehand to determine its practical limits.
For scenes with dramatic lighting changes, such as moving from indoors to outdoors, practice smooth manual adjustments. Start by setting your exposure for the dominant lighting condition, then gradually adjust as needed. Using your camera’s waveform monitor alongside the histogram provides a more accurate reading of exposure levels across your entire frame, helping you make precise adjustments in real-time.
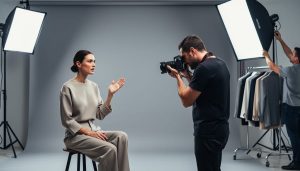
Professional Interview Settings
Audio Configuration
Clear audio is just as crucial as sharp video, and getting your audio settings right can make or break your footage. Let’s dive into the essential audio configurations that will help you capture pristine sound.
First, set your audio input levels correctly. Most cameras have a manual audio level adjustment, typically ranging from 0 to 100. Start by setting it around 70-80% and monitor your audio meters. The ideal recording level should peak between -12dB and -6dB, giving you enough headroom to avoid distortion while maintaining a strong signal.
Enable your camera’s wind filter when shooting outdoors – it’s a lifesaver for reducing unwanted noise. However, be aware that it might slightly affect the overall sound quality, so use it only when necessary.
Many modern cameras offer audio monitoring options. Always use headphones while recording to catch any potential issues like interference or background noise. Look for the headphone volume control in your settings menu and adjust it to a comfortable listening level.
Consider enabling your camera’s automatic gain control (AGC) for run-and-gun situations where manual adjustments aren’t practical. However, for controlled environments, manual audio control typically yields better results as it prevents the camera from automatically adjusting levels during quiet moments.
If your camera has XLR inputs, make sure to select the appropriate input type (mic/line level) and phantom power settings when using professional microphones. This ensures optimal signal strength and prevents potential damage to your audio equipment.
Lighting and White Balance
Achieving natural-looking video starts with understanding how your camera interprets light and color. White balance is your camera’s way of determining what “true white” looks like under different lighting conditions, which affects how all other colors appear in your footage. Think of it as giving your camera a reference point for what colors should look like.
Start by learning your camera’s white balance presets: daylight, cloudy, tungsten, and fluorescent. While these presets work well in standard situations, taking the time to set a custom white balance using a white card or gray card will give you the most accurate results, especially when mastering lighting techniques in mixed lighting environments.
For skin tones, pay special attention to your key light position and intensity. Position your main light at approximately 45 degrees to your subject, using diffusion if needed to soften harsh shadows. When shooting interviews or close-ups, consider using a fill light at about half the intensity of your key light to gently illuminate shadow areas.
Monitor your histogram to ensure proper exposure, and remember that slightly overexposing can be more forgiving than underexposing when it comes to maintaining natural skin tones. If you’re shooting in a controlled environment, aim for a color temperature around 5600K for daylight or 3200K for tungsten lighting to maintain consistency throughout your shoot.
Throughout this guide, we’ve explored the essential video camera settings that can transform your footage from amateur to professional quality. Remember that mastering these settings isn’t about memorizing perfect combinations – it’s about understanding how each parameter affects your final image and knowing when to adjust them for different situations.
Whether you’re adjusting shutter speed to capture smooth motion, fine-tuning your aperture for the perfect depth of field, or selecting the right frame rate for your project, each setting plays a crucial role in achieving your creative vision. The key is to start with the fundamentals and gradually experiment with more advanced features as your confidence grows.
Don’t be afraid to step out of your comfort zone and test different combinations of settings. Some of the most striking footage comes from breaking conventional rules – just make sure you understand them first. Keep a shooting log to track which settings worked best in different scenarios, and review your footage critically to learn from both successes and mistakes.
Practice is essential. Spend time with your camera in various lighting conditions and shooting scenarios. The more you experiment, the more intuitive these settings will become, allowing you to focus less on the technical aspects and more on capturing compelling stories through your lens.
Remember, every videographer’s journey is unique, and finding your personal style means discovering which settings best serve your creative goals. Keep exploring, keep learning, and most importantly, keep shooting!