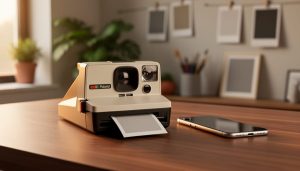
Meter for the shadows, expose for the highlights, and develop for the midtones—this fundamental principle separates successful film shooters from those burning through expensive rolls with inconsistent results. Your light meter doesn’t think like film does, which is why that perfectly exposed digital shot translates to underexposed, muddy negatives when you shoot the same scene on analog. Film has approximately five to seven stops of latitude depending on the stock, but unlike digital sensors that clip highlights first, negative film is remarkably forgiving in the highlights while shadows go to black quickly.
Start by rating your film stock one-half to one full stop slower than its box speed. If you’re shooting ISO 400 film, meter it at ISO 200 or ISO 250. This technique, called “overexposing,” provides insurance against the most common beginner mistake: underexposure. A slightly overexposed negative scans beautifully and prints with rich shadow detail, while an underexposed frame requires aggressive post-processing that amplifies grain and kills shadow information entirely.
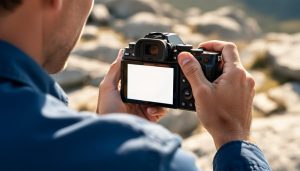
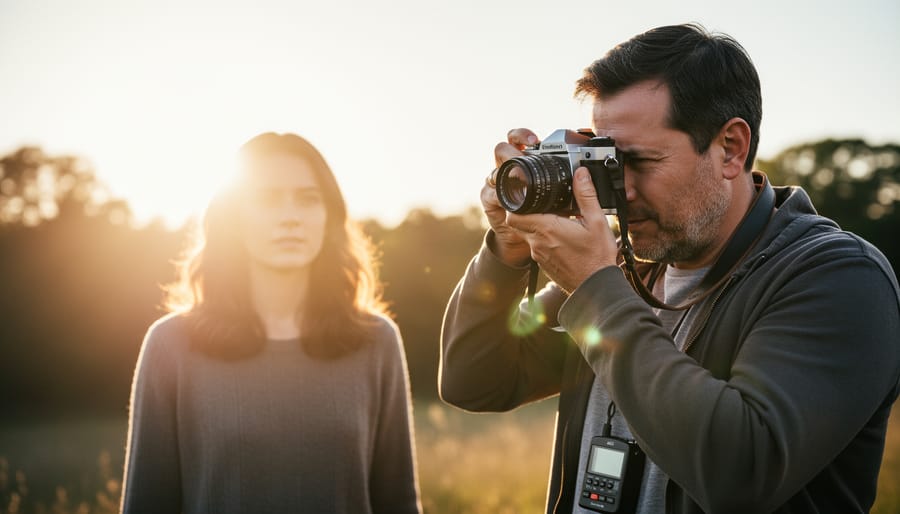
Choose your metering mode strategically based on your scene’s lighting ratio. Spot metering gives you surgical precision for high-contrast situations—meter the shadowed areas of your subject’s face, lock that exposure, and shoot. For even lighting conditions, center-weighted or matrix metering works reliably. The key difference from digital photography is that you’re making a commitment with each frame rather than chimping and adjusting, which demands intentional, thoughtful exposure decisions before pressing the shutter.
Understanding Film Stock: More Than Just ISO Numbers
Color vs. Black and White: Different Beasts Entirely
Here’s a reality check: color and black and white films aren’t just different in appearance—they’re fundamentally different animals when it comes to exposure latitude and metering strategy.
Color negative film, like Kodak Portra or Fuji Pro 400H, is incredibly forgiving. It can handle two to three stops of overexposure without breaking a sweat, making it ideal for beginners. The general rule? Expose for the shadows and let the highlights take care of themselves. This latitude becomes especially valuable when you’re working in mixed lighting conditions at a wedding or event where precise metering for every shot simply isn’t practical. When processed through the RA-4 printing process, properly exposed color negatives reveal their full dynamic range.
Slide film (think Fuji Velvia or Kodak Ektachrome) demands precision. With roughly one stop of latitude in either direction, you need to nail your exposure or accept the consequences. Underexpose by a stop and your shadows go black. Overexpose and your highlights blow out with no recovery. However, that precision yields stunning saturated colors and contrast straight from the film.
Black and white film splits the difference. Most traditional black and white stocks offer generous latitude—often three to four stops of overexposure—but respond best when exposed for the shadows, similar to color negative film. The magic happens during darkroom work, where you can recover highlights through dodging and burning techniques that simply don’t exist with color film.
Latitude: Your Safety Net (or Lack Thereof)
Exposure latitude is essentially your margin for error when metering a scene. It tells you how far you can miss the “perfect” exposure and still salvage a usable image. Think of it as a safety cushion that varies dramatically depending on which film you load into your camera.
Negative film is famously forgiving. Color negative stocks typically offer about 2-3 stops of overexposure latitude and 1 stop of underexposure latitude. Black and white negative film is even more accommodating, sometimes handling 5 stops of overexposure. This means if you’re shooting a portrait outdoors and accidentally meter at f/5.6 instead of f/8, your color negative will likely still produce a perfectly printable image. The emulsion captures enough information in the highlights and shadows that you can correct for mistakes during scanning or printing.
Slide film, however, plays by entirely different rules. With only about half a stop of latitude in either direction, it demands near-perfect exposure. Miss your meter reading by a full stop, and you’ll get muddy shadows or blown-out highlights that cannot be recovered. Period. This unforgiving nature is why experienced film photographers often bracket their exposures when shooting slide film, taking one frame at the metered exposure, one stop over, and one stop under.
For beginners transitioning from digital, this difference can be jarring. Your digital camera’s histogram and instant feedback trained you to expose carefully, but you could always recover details in post-processing. Negative film lets you relax a bit and learn without wasting entire rolls. Slide film, conversely, will ruthlessly expose every metering mistake, which actually makes it an excellent teacher once you’ve built some confidence. Start with negative film, embrace its forgiveness, and graduate to slide film when you’re ready for advanced training.
The Exposure Triangle for Film: It Works Differently Here
Why You Can’t Just ‘Raise Your ISO’ Mid-Roll
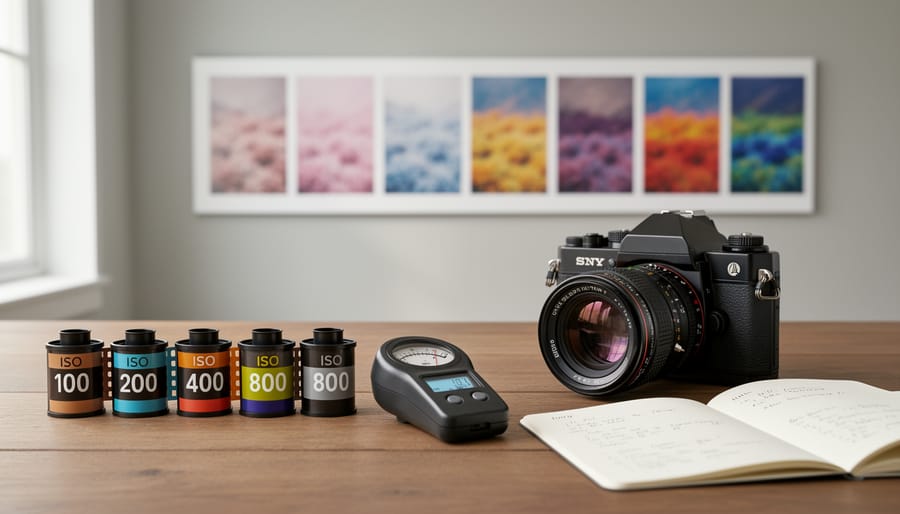
Unlike digital cameras where you can adjust ISO from frame to frame, film photography requires commitment. When you load a roll of film, you’re locked into that ISO rating for all 24 or 36 exposures. This is because film’s light sensitivity is a physical characteristic determined by the size and chemical composition of the silver halide crystals in the emulsion—you can’t change the film’s fundamental nature once it’s manufactured.
Most modern film cameras use DX coding, a pattern of conductive and non-conductive squares on the film canister that automatically tells the camera what ISO you’ve loaded. This system prevents accidental metering errors and ensures your camera’s light meter provides accurate readings for that specific film stock.
However, you can manually override the ISO setting on cameras with that capability. This technique, called “pushing” or “pulling” film, intentionally underexposes or overexposes the entire roll, then compensates during development. For example, if you’re shooting ISO 400 film in low light, you might set your camera to ISO 1600, effectively underexposing by two stops, then request push processing from your lab. This workaround requires planning and comes with tradeoffs like increased grain and altered contrast. The key lesson? Choose your film stock thoughtfully before loading, considering the lighting conditions you’ll encounter throughout that entire roll.
Reciprocity Failure: When Film Stops Playing Fair
Here’s a scenario that catches many film photographers off guard: you set up for a beautiful twilight shot, meter carefully at f/8 for 30 seconds, and when you get your film back, the image is mysteriously underexposed. Welcome to reciprocity failure, one of film’s most peculiar quirks.
In an ideal world, exposure follows a simple rule: if you double the light (whether by opening your aperture or lengthening your shutter speed), you double the exposure. This relationship is called reciprocity. But film emulsion doesn’t behave ideally at very long or very short exposures. At these extremes, the light-sensitive silver halide crystals in your film become less efficient at capturing light. You might expose for 30 seconds, but your film only “sees” the equivalent of 20 seconds worth of light.
This matters most for long exposures, typically anything longer than one second. Night photography, astrophotography, or those dreamy waterfall shots with silky water all fall into this territory. Different film stocks fail at different points. Kodak Portra 400, for instance, starts showing reciprocity failure around one second, while some black and white films like Ilford Delta remain relatively stable up to two minutes.
The practical solution is compensation. If your meter says 30 seconds, you might actually need 60 seconds or more, depending on your film. Most manufacturers publish reciprocity charts showing the correction factors. For a 10-second exposure on Kodak Ektar, you’d actually shoot for about 20 seconds. Some photographers keep a small notebook or smartphone app with these charts for reference.
The good news? Reciprocity failure mostly affects long exposures. Your everyday shooting at 1/60th or even one second typically won’t show noticeable effects. But understanding this phenomenon saves frustration when you venture into low-light territory.
Metering Methods That Actually Work for Film
In-Camera Metering: Trust But Verify
Your film camera’s built-in light meter can be a reliable companion, but it’s important to understand its limitations and quirks. Unlike digital cameras that let you instantly review and adjust, film requires getting exposure right the first time. Let’s explore how different metering modes work and when they might lead you astray.
Most film cameras offer one or more metering modes. Spot metering reads light from a very small area, typically 1-5% of the frame. This mode excels when you need precise control, like metering off someone’s face in mixed lighting or capturing a backlit subject. However, spot metering demands careful placement of that tiny measurement circle. Point it at the wrong spot, and you’ll get technically accurate but practically useless exposure data.
Center-weighted metering reads the entire frame but prioritizes the middle 60-80%. This was the standard for decades of film photography, and for good reason. It works beautifully for portraits and general shooting where your subject occupies the center. The downside? It can be fooled by bright backgrounds or dark surroundings that bleed into that weighted zone.
Matrix or evaluative metering divides the frame into segments and analyzes the overall scene. While sophisticated, this mode tries to guess your intention, sometimes pushing shadows brighter or highlights darker than you’d like. It works well for evenly-lit scenes but struggles with high contrast or unconventional compositions.
Here’s the key insight: in-camera meters assume you’re photographing middle gray. Point at a white wall, and the meter will suggest settings that render it gray. Photograph a black cat, and it’ll recommend overexposing. Before fixing your film camera, make sure you understand exposure compensation for scenes dominated by extreme tones.
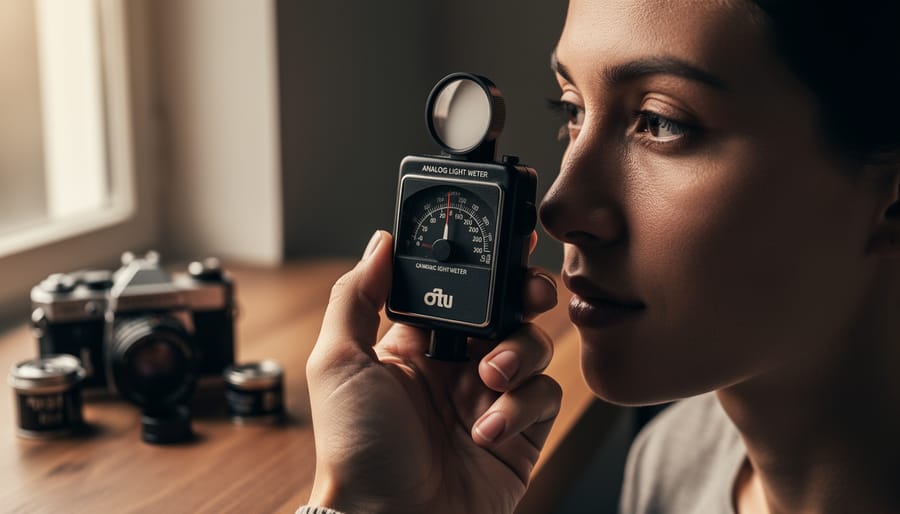
Handheld Meters: Old School for Good Reason
Your camera’s built-in meter does an admirable job in many situations, but there are moments when a dedicated handheld meter becomes indispensable. These tools might seem like relics from another era, but their continued use by professionals speaks volumes about their value.
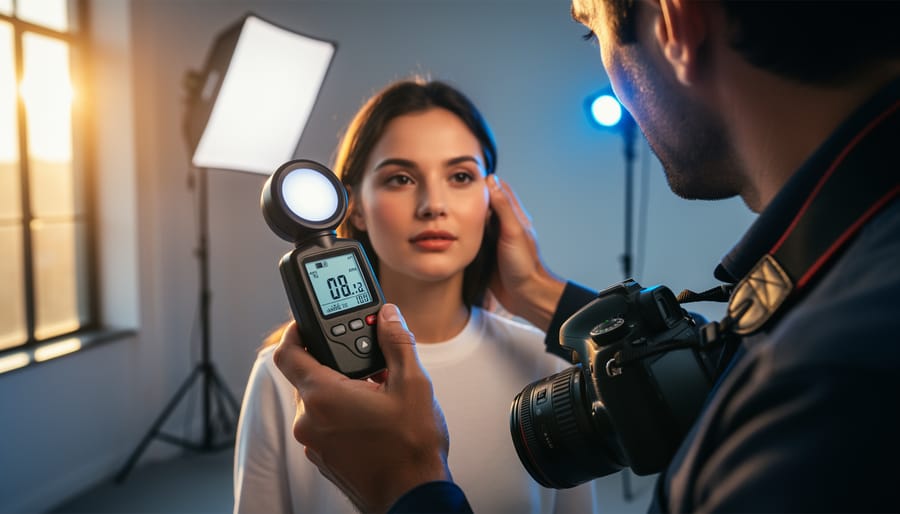
An incident meter measures the light falling on your subject rather than the light reflected from it. This distinction matters tremendously when photographing scenes with extreme tonal ranges. Imagine shooting a portrait of someone wearing a white shirt against a dark background. Your camera’s reflective meter might get confused by the contrast and suggest an exposure that turns that white shirt gray. An incident meter, held at your subject’s position and pointed back toward the camera, measures only the light illuminating them, giving you a reliable reading regardless of what they’re wearing or what’s behind them.
Spot meters excel in different scenarios. These devices measure a very narrow angle of view, typically one to five degrees, allowing you to take precise readings from specific areas of your scene. This proves invaluable when your subject is backlit or when you’re shooting landscapes with dramatic lighting variations. You might meter the shadowed foreground, the midtone hillside, and the bright sky separately, then decide exactly where you want to place these tones within your film’s exposure range.
The investment makes most sense when you’re working with medium or large format cameras that lack built-in meters, shooting in challenging lighting conditions regularly, or when you’re serious about mastering zone system techniques. Many photographers who start with a camera meter eventually add a handheld incident meter to their kit once they encounter its limitations firsthand. The precision and control these tools offer can mean the difference between acceptable results and exceptional ones.
The ‘Expose for the Shadows’ Rule Explained
How Much to Overexpose (And When to Break the Rule)
The traditional wisdom with color negative film is to overexpose by one stop above what your meter suggests. This means if your meter reads f/8 at 1/125, you’d shoot at f/5.6 at 1/125 instead. Why? Color negative film handles overexposure beautifully but struggles with underexposure, where shadow detail disappears into murky grain. That extra stop acts as insurance, ensuring you capture detail in darker areas while the highlights remain recoverable during scanning or printing.
In practice, this looks different depending on your shooting situation. Photographing a friend in open shade on a sunny afternoon? That plus-one stop will bring warmth and richness to skin tones that might otherwise appear flat. Shooting a high-contrast street scene? Exposing for the shadows plus one stop means you’ll retain detail in both the sunlit storefront and the person walking through shadow.
However, this isn’t a universal rule. Slide film operates on a much narrower latitude and demands precise exposure, typically right at what your meter indicates or perhaps half a stop over at most. Overexpose slide film by a full stop and you’ll get washed-out, pastel results that can’t be corrected later.
Black and white film offers more flexibility. Many photographers expose at box speed or even underexpose slightly, then compensate during development through push processing. This technique can increase contrast and grain for a grittier aesthetic.
The key is understanding your specific film stock through testing. Shoot a roll at box speed, another at plus-one, and compare the results. Some films like Portra 400 forgive two or three stops of overexposure, while budget emulsions show less tolerance. Your personal workflow, scanner capabilities, and aesthetic preferences all factor into finding your ideal exposure approach.
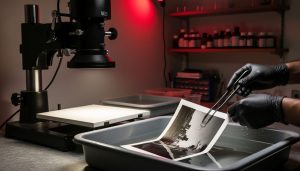
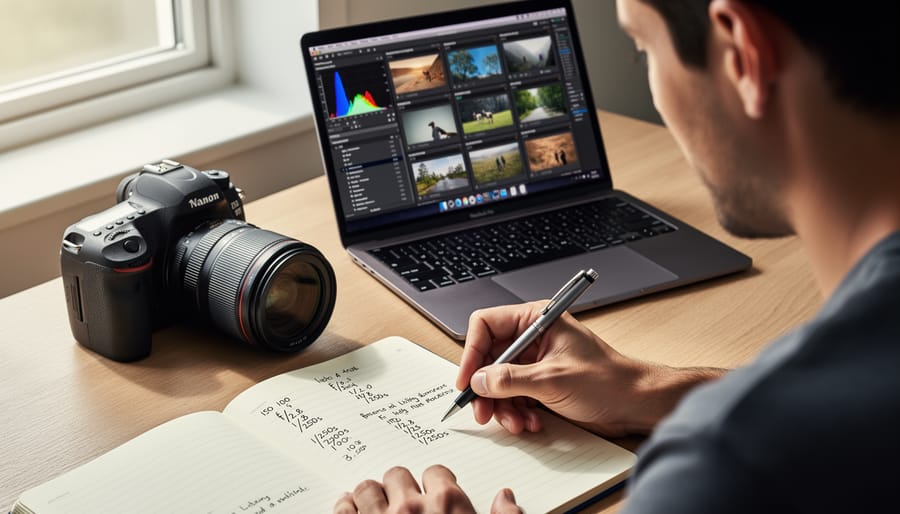
Reading Your Lab Scans: Learning From What You Got
When your scans arrive, resist the urge to simply scroll through and move on. Your processed film is a goldmine of information about your metering decisions and exposure technique. Take time to analyze what worked and what didn’t.
Start by examining properly exposed frames. Notice how much detail you retained in both shadows and highlights. Film has a forgiving latitude, but understanding where your exposure sits within that range helps you make intentional choices next time. Did you expose for the shadows and let highlights glow naturally? Or did you protect highlights and accept moodier shadows?
Next, look at frames that didn’t turn out as expected. Underexposed shots appear muddy with blocked-up shadows and muted colors. Overexposed images show blown highlights and washed-out tones, though slide film reacts more severely than negative film. Compare these results to what your light meter told you. Did you compensate for tricky lighting? Did you remember to adjust your ISO dial when switching film stocks mid-roll?
Pay special attention to high-contrast scenes like backlit subjects or bright windows indoors. These situations reveal how you prioritized different areas of the frame. If you’re consistently losing detail in shadows or highlights, adjust your metering strategy on your next roll.
Keep notes for each roll, including film stock, lighting conditions, and metering approach. Over time, patterns emerge that teach you more than any tutorial could. Consider developing your own film to speed up this learning loop and gain even deeper insight into your exposure choices.
Common Metering Scenarios and How to Handle Them
Backlit Subjects and High Contrast Scenes
Backlit subjects present one of film’s trickiest metering challenges, but they’re also opportunities for stunning portraits with natural rim lighting. When your subject stands between you and a bright light source—think a person silhouetted against a sunset or standing in a doorway—your meter will read the bright background and recommend settings that render your subject as a dark shadow.
The solution depends on your creative intent. For a proper exposure of your subject’s face, move close enough to take a spot reading directly from their skin, excluding the bright background entirely. Note those settings, step back to compose your shot, and use those readings even though your meter might protest. Expect to overexpose by 1.5 to 2 stops compared to what an averaging meter suggests for the overall scene.
Alternatively, embrace the silhouette. Meter for the bright background to capture rich, saturated colors in a sunset or dramatic contrast in architectural shots, letting your subject fall into shadow.
For high-contrast scenes where you want detail in both highlights and shadows—like a bride in white against dark woods—choose negative film, which handles contrast far more forgivingly than slide film. Meter for the highlights and trust the film’s latitude to retain shadow detail. With slide film, you’ll need to decide which is more important: holding highlight detail or preserving shadows. There’s rarely a perfect compromise on transparency film.
Golden Hour and Low Light
Golden hour presents a unique challenge for film photographers—light levels drop dramatically within minutes, and your carefully measured exposure can shift by two stops before you finish the roll. Here’s where understanding your film’s latitude becomes essential. During golden hour, meter frequently, ideally before each shot if you’re working slowly. For portraits, meter from your subject’s face, not the bright sky behind them. If you’re shooting landscapes and want to preserve those warm highlights, consider metering for the brightest areas and letting shadows fall where they may. Negative film handles this beautifully, typically giving you three to four stops of forgiveness in the highlights.
In genuine low-light situations—think dimly lit bars, evening streets, or interiors—push your film’s ISO rating during development rather than underexposing. A roll of ISO 400 film pushed to 1600 will give you cleaner results than severely underexposed ISO 400 processed normally. When metering in mixed lighting, like streetlamps against dark sky, use spot metering on your main subject rather than averaging the entire scene. Remember that color negative film is remarkably forgiving here, while slide film demands precision. If you’re uncertain, bracket your exposures by shooting one frame at your meter reading, one stop over, and one stop under—it’s the best insurance policy when light is scarce.
Bright Sunlight and the Sunny 16 Rule
The Sunny 16 rule is one of those elegant photographic principles that deserves a place in every film shooter’s toolkit. It states that on a bright, sunny day, you can set your aperture to f/16 and your shutter speed to the reciprocal of your film’s ISO for a properly exposed photograph. Shooting ISO 100 film? Use f/16 at 1/125 second. ISO 400? Try f/16 at 1/500 second.
While this might sound like a relic from pre-meter days, it’s genuinely useful as a backup when your meter fails or when you want to work quickly without checking readings constantly. More importantly, it teaches you to see light the way film sees it. Once you internalize Sunny 16, you’ll start recognizing that overcast skies might call for f/8, while open shade suggests f/5.6, all at that same shutter speed reciprocal.
This method builds your confidence and intuition. Try this practical exercise: meter a scene with your camera, then estimate the exposure using Sunny 16 principles. Compare the results. You’ll often find they’re remarkably close, and this practice trains your eye to assess light independently. When you’re traveling or shooting spontaneously, this knowledge becomes invaluable, letting you capture moments without fumbling for equipment.
Building Your Metering Intuition
Developing reliable metering instincts doesn’t happen overnight, but with consistent practice and thoughtful reflection, you’ll find yourself making confident exposure decisions without second-guessing every shot. The key is treating each roll of film as a learning opportunity rather than just hoping for the best.
Start by keeping a simple shooting log. You don’t need anything fancy—a small notebook or your phone’s notes app works perfectly. For each frame that matters to you, jot down the ISO, shutter speed, aperture, lighting conditions, and what your meter told you. This might seem tedious at first, but it’s invaluable when you get your negatives back. Being able to compare your notes with actual results reveals patterns in how you meter and where your instincts might be leading you astray.
When your developed film returns, study both your wins and losses. That perfectly exposed portrait in open shade? Check your notes to understand exactly what settings worked and why. That underexposed street scene? Your notes might reveal you metered off a bright storefront instead of your subject. These real-world lessons stick far better than any theory.
Try the “bracket and compare” exercise. Pick a static scene with interesting light and shoot it three times: once as metered, once a stop over, and once a stop under. When processed, you’ll see firsthand how film responds to different exposures and which approach you prefer aesthetically. Many photographers discover they consistently prefer slightly overexposed negatives, while others love the drama of underexposure.
Challenge yourself with specific scenarios across multiple rolls. Dedicate one roll to backlit subjects, another to indoor window light, another to golden hour. This focused practice accelerates your learning curve dramatically.
Remember that mastering hands-on analog processes takes patience and experimentation. Film’s delayed gratification actually works in your favor—it forces you to slow down, think critically, and truly understand exposure rather than chimping your way through hundreds of digital frames. Within just a few rolls, you’ll notice your metering decisions becoming increasingly intuitive.
The journey from anxious film shooter to confident practitioner isn’t about memorizing complex formulas or investing in expensive equipment. It’s about understanding a few fundamental principles and applying them consistently. When you grasp how your meter sees the world and how different film stocks respond to light, suddenly those mysterious exposure decisions become logical, intentional choices.
Think of your next roll as an experiment rather than a high-stakes performance. Before loading the film, decide on a specific metering approach you want to practice. Maybe it’s spot metering faces in every portrait, or consistently rating your film at box speed to establish a baseline. Shoot with that strategy in mind, take notes if possible, and most importantly, evaluate your results honestly when they return from the lab.
Every roll teaches you something. That slightly underexposed frame in harsh midday sun? It reveals how your meter handles bright scenes. Those surprisingly well-exposed indoor shots? They confirm your instincts about compensating for tungsten lighting. These aren’t failures—they’re data points building your practical knowledge.
The beauty of analog photography lies in this deliberate, methodical approach. You can’t chimp the LCD after every frame, and that limitation becomes your teacher. With each roll, you’re training your eye to see light the way film sees it, developing an intuitive sense of exposure that eventually becomes second nature. So load that camera, trust what you’ve learned about metering and film response, and shoot with intention. The confidence will follow naturally.