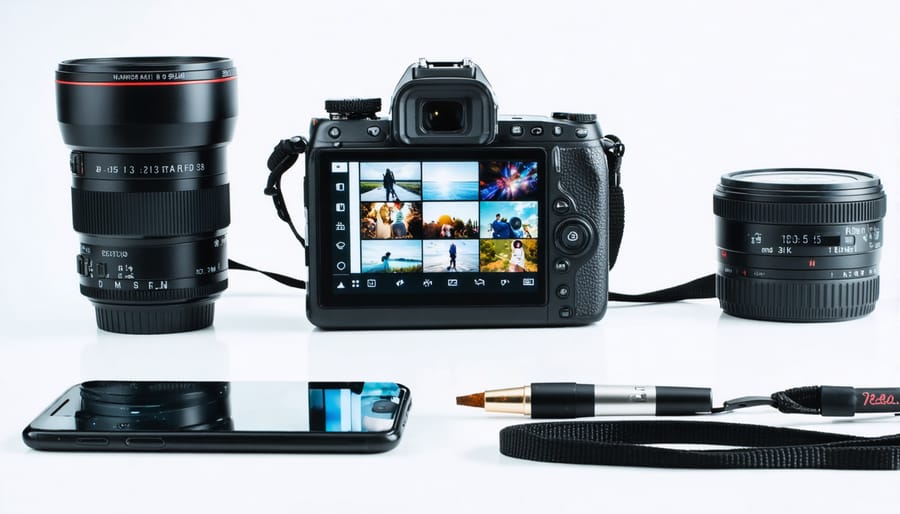
Transform your Instagram feed from amateur to professional by mastering the magic of post processing. Shoot in RAW format to preserve maximum image quality and editing flexibility, even when using your smartphone. Calibrate your screen’s brightness to 75% before editing to ensure your photos appear consistent across different devices. Develop a signature editing style using precise adjustments to highlights, shadows, and color temperature rather than relying on pre-made filters. Create a cohesive feed by maintaining consistent exposure levels and color grading across your posts, establishing a professional aesthetic that attracts followers and engagement. Whether you’re showcasing professional work or sharing personal moments, these technical refinements elevate your visual storytelling beyond the typical smartphone snapshot, helping your content stand out in increasingly crowded feeds.
Essential Photo Editing Apps for Instagram Success
Native Instagram Tools
Instagram’s native editing tools are more powerful than many users realize. When you tap the edit button, you’ll find a comprehensive suite of adjustments that can dramatically improve your image quality. The brightness and contrast controls help you fine-tune exposure, while the structure tool enhances detail without creating an overprocessed look.
For skin tones and portraits, the warmth adjustment is particularly useful, helping you achieve natural-looking results. The shadows and highlights sliders allow you to recover detail in dark areas while preventing bright spots from becoming overexposed. Don’t overlook the sharpening tool, but use it sparingly – a setting between 10-30% usually works best for most photos.
The vignette feature can subtly draw attention to your subject by darkening the edges of your image. For color correction, use the saturation tool cautiously, as Instagram’s algorithm tends to compress highly saturated images more aggressively. Instead, try the tint and color tools to make precise adjustments to your photo’s overall mood.
Remember that Instagram’s built-in filters can be adjusted in intensity by double-tapping the filter and using the slider, giving you more control over the final look.
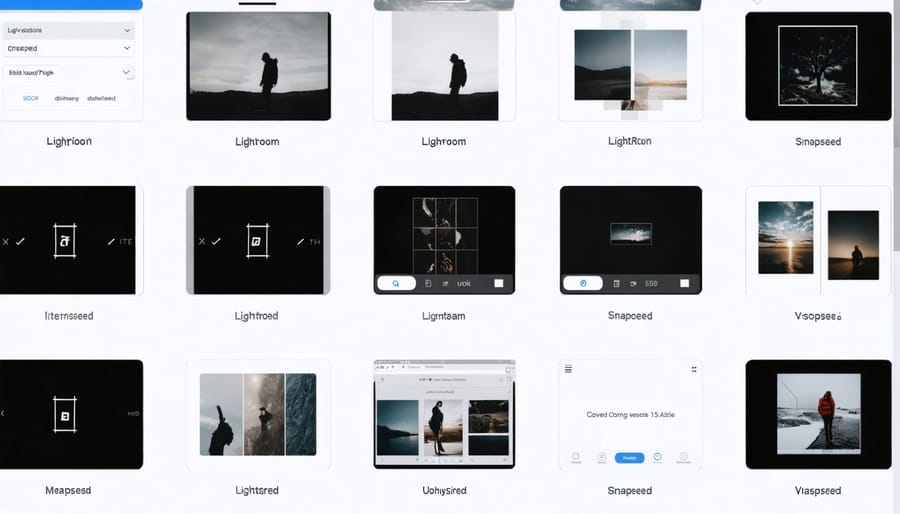
Professional Editing Apps
Professional editing apps can take your Instagram photos from good to exceptional. Lightroom Mobile stands out as a powerhouse editor, offering advanced color grading, precise exposure adjustments, and the ability to save custom presets for consistent editing across your feed. The app’s selective editing tools let you enhance specific areas of your photo without affecting the entire image.
Snapseed, Google’s free editing app, provides professional-grade tools in an intuitive interface. Its Healing tool works wonders for removing unwanted elements, while the Curves tool gives you precise control over contrast and tone. The Structure tool, unique to Snapseed, adds depth to your images without the artificial look of typical HDR effects.
VSCO remains a favorite among Instagram creators for its film-inspired filters and advanced editing capabilities. While the free version offers limited presets, the paid version unlocks a vast collection of authentic film emulations. VSCO’s tools are particularly effective for achieving that coveted muted, atmospheric look that performs well on Instagram.
For the best results, consider using these apps in combination – perhaps starting with basic adjustments in Snapseed, fine-tuning colors in Lightroom, and adding final touches with VSCO’s filters.
Core Editing Techniques That Make Photos Pop
Exposure and Contrast
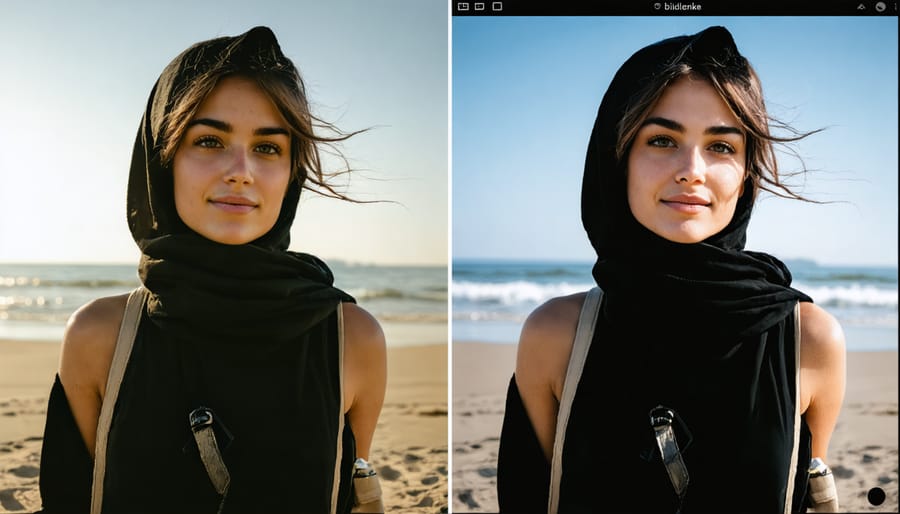
Mastering exposure and contrast is crucial for creating eye-catching Instagram photos that stand out in the feed. Start by checking your image’s histogram to ensure you’re not losing detail in the shadows or highlights. When adjusting exposure, aim to make your subject clearly visible without washing out the bright areas or losing details in dark regions.
For optimal results, make small, incremental adjustments rather than dramatic changes. Increase exposure gradually if your image appears too dark, being careful not to blow out highlights. When dealing with contrast, focus on creating a balanced look that maintains the natural feel of the scene while adding depth and dimension to your image.
A useful technique is to slightly underexpose your original photo, as it’s easier to recover shadow detail than fix blown-out highlights in post-processing. Most editing apps offer precise control over highlights and shadows separately – use these tools to fine-tune your image’s tonal range.
Remember that Instagram’s platform tends to increase contrast slightly during upload, so consider reducing your contrast adjustments by about 10% to compensate for this effect.
Color Balance and Saturation
Getting your colors right is crucial for creating eye-catching Instagram photos that stand out while maintaining a natural look. Start by adjusting your white balance to ensure neutral tones appear true to life – this serves as the foundation for all other color adjustments. In Instagram’s editing tools, use the “Warmth” slider sparingly to correct any unwanted color casts.
When it comes to saturation, less is often more. Instead of boosting overall saturation, try using selective color grading techniques to enhance specific hues. For instance, slightly increasing the vibrancy of blues in a beach photo while maintaining natural skin tones can create a more pleasing result.
Pay attention to how colors work together in your frame. Use the HSL (Hue, Saturation, Luminance) controls in editing apps like Lightroom or VSCO to fine-tune individual color channels. This allows you to create harmony between different elements without making your image look artificial or over-processed.
Remember that Instagram’s compression can affect how colors appear, so it’s better to make subtle adjustments that will hold up well after upload. Test your edits by viewing them on different devices before posting to ensure consistency across platforms.
Sharpening and Clarity
Sharpening can make or break your Instagram photos, and finding the right balance is crucial. When enhancing image detail, start with subtle adjustments and build up gradually – it’s easier to add more sharpening than to fix an over-sharpened image. Most editing apps offer various professional post-processing techniques for sharpening, including structure, clarity, and detail enhancement.
For optimal results, zoom in to 100% while adjusting sharpness to see the actual effect on your image. Pay special attention to edges and textures, but avoid over-sharpening faces or skin, which can create unflattering results. A good rule of thumb is to sharpen until you notice the improvement, then dial it back slightly.
Clarity adjustments can enhance mid-tone contrast and add depth to your images. However, use it sparingly – too much clarity can make photos look artificial or HDR-like. For portraits, consider using negative clarity selectively on skin areas to create a softer, more flattering look while maintaining sharpness in important details like eyes and hair.
Remember that Instagram’s compression will affect your final image, so it’s better to err on the side of subtle enhancement rather than aggressive sharpening.
Crop and Composition
Instagram’s square format isn’t your only option anymore. The platform now supports multiple aspect ratios, including 4:5 vertical and 16:9 horizontal, giving you more creative freedom. For optimal results, compose your shots with Instagram’s display parameters in mind – the square preview in feeds still matters.
When cropping, follow the rule of thirds to create visual interest. Position key elements along the grid lines or at their intersections. Leave enough breathing room around your subject, especially for portrait orientation, as Instagram may crop edges in different views.
For landscape shots, consider how they’ll appear in both grid view and full screen. While the 16:9 ratio offers cinematic appeal, remember that it appears smaller in the grid. Vertical 4:5 photos maximize screen real estate and tend to generate better engagement.
Pro tip: Before posting, preview your image in both grid and full-screen views. This helps ensure your composition works across all display formats. If you’re shooting specifically for Instagram, try composing slightly wider than needed – this gives you flexibility during the cropping stage.
Creating a Consistent Visual Style
Developing Your Signature Look
Creating a signature look for your Instagram feed isn’t just about applying the same filter to every photo. It’s about developing a consistent editing style that becomes instantly recognizable to your followers. To establish an efficient editing workflow, start by analyzing your favorite images and identifying common elements in your editing preferences.
Most editing apps, including Lightroom Mobile and VSCO, allow you to save custom presets. Begin by adjusting basic parameters like exposure, contrast, and color temperature on your best photos. Once you’re happy with the results, save these settings as a preset. Name it something memorable, like “Urban Morning” or “Sunset Glow,” depending on the mood it creates.
For maximum consistency, create 2-3 variations of your signature preset for different lighting conditions. For example, develop one for bright daylight, another for golden hour, and a third for indoor shots. This approach ensures your feed maintains its cohesive look while adapting to various shooting situations.
Remember to fine-tune these presets over time. As your style evolves, make subtle adjustments to your saved settings. Many photographers keep a notes app handy to record specific adjustments for different scenarios, helping maintain consistency across their entire feed while allowing for creative growth.
Feed Planning Strategies
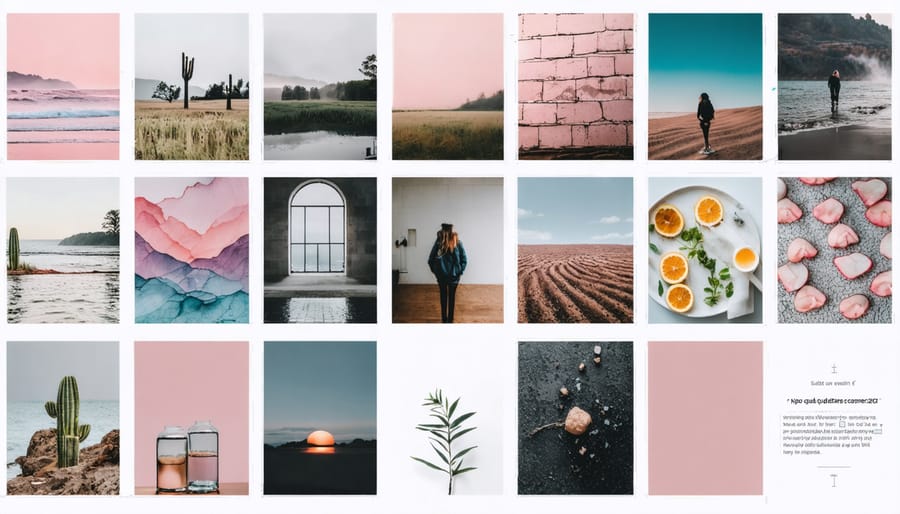
A cohesive Instagram feed doesn’t happen by accident – it requires careful planning and strategic posting. Start by developing a visual theme that reflects your style and brand. Consider using a consistent color palette across your images, whether that’s warm earth tones, cool blues, or vibrant contrasts. This creates a harmonious flow when viewers scroll through your profile.
Grid planning tools like UNUM or Planoly can help you visualize how your photos will look together before posting. These apps let you arrange and rearrange images to create the perfect balance. A good rule of thumb is to avoid posting similar shots back-to-back – mix up close-ups with wide shots, and alternate between busy and minimal compositions.
Consider the rule of thirds when planning your grid – every third post should share a similar element, whether that’s color, subject matter, or composition style. This creates a pleasing pattern across your feed while maintaining variety. Some photographers use a checkerboard approach, alternating between light and dark images, while others prefer a row-by-row strategy where each row tells a mini-story.
Pay attention to negative space and how images interact with each other. A cluttered photo next to a minimal one can create visual tension that draws the eye. Finally, maintain consistent editing across your images using preset filters or saved editing settings to ensure your feed looks polished and professional.
Common Editing Mistakes to Avoid
When editing your Instagram photos, steering clear of common mistakes can make the difference between a professional-looking feed and an amateur one. Let’s explore these pitfalls and how to avoid them.
One of the most frequent errors is over-saturation. While vibrant colors can be eye-catching, pushing the saturation too far can make your images look artificial and unprofessional. Instead, make subtle adjustments and step away for a few minutes before finalizing your edit to ensure it still looks natural.
Heavy-handed HDR effects are another common mistake. While HDR can help balance exposure in challenging lighting conditions, excessive use can create an unrealistic, almost cartoon-like effect. Aim for balanced shadows and highlights that maintain the photo’s natural depth.
Many users fall into the trap of over-sharpening their images. While sharpening can enhance detail, too much creates unsightly halos and noise around edges. Apply sharpening sparingly, and zoom in to check for artifacts before posting.
Inconsistent filtering is particularly problematic for maintaining a cohesive Instagram feed. Using dramatically different filters or editing styles from post to post can make your profile look disorganized. Develop a consistent editing style that becomes your signature look.
Skin smoothing is another area where many go overboard. While it’s tempting to eliminate every imperfection, excessive smoothing can create an unnatural, plastic-like appearance. Keep retouching subtle to maintain authenticity.
Watch out for heavy vignetting – those dark corners that can draw attention away from your subject. If you use vignettes, apply them lightly to guide the viewer’s eye rather than distract from the main subject.
Finally, avoid extreme crops that compromise image quality. Instagram may require square formatting, but drastically cropping high-resolution images can lead to pixelation and loss of detail. Plan your shots with Instagram’s format in mind, or use white borders to maintain original aspect ratios.
Mastering the art of posting high-quality Instagram photos isn’t something that happens overnight, but with dedication and practice, you’ll see significant improvements in your feed’s overall aesthetic and engagement. Remember that lighting is your best friend – whether you’re shooting in natural daylight or creating artificial setups, proper illumination can make or break your image quality.
Don’t be afraid to experiment with different editing techniques and apps, but always maintain consistency in your editing style. Your unique visual signature will help your feed stand out and attract loyal followers. Keep your camera lens clean, learn your device’s capabilities inside and out, and always shoot in the highest resolution available.
Planning your content in advance helps maintain quality standards and ensures each image contributes to your overall Instagram aesthetic. Take time to study successful accounts in your niche, not to copy them, but to understand what makes their images compelling. Pay attention to composition rules, but don’t be afraid to break them intentionally when it serves your creative vision.
Most importantly, stay patient with yourself as you develop your skills. Every professional photographer started as a beginner, and every stunning Instagram feed was built one carefully crafted post at a time. Keep practicing, stay curious, and don’t hesitate to engage with the Instagram photography community for feedback and inspiration. Your dedication to quality will ultimately shine through in your growing collection of impressive images.