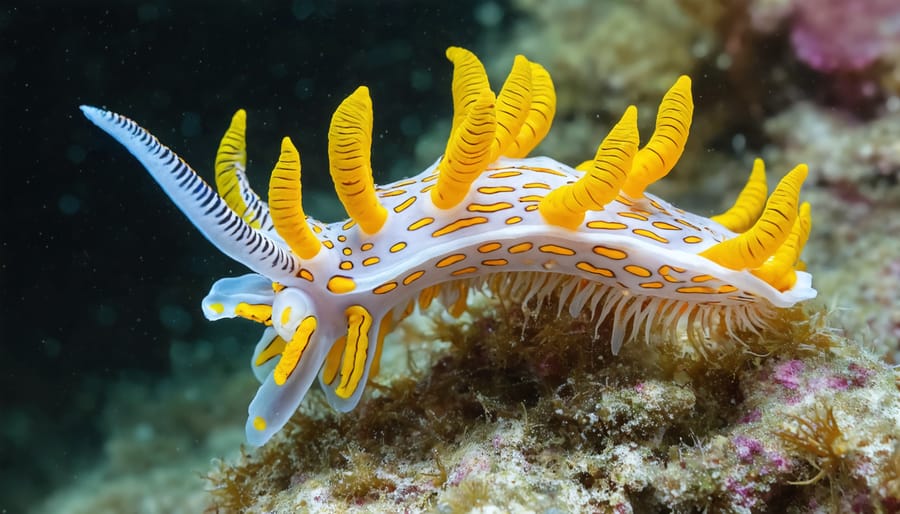
Plunge into the mesmerizing world of underwater macro photography, where tiny coral polyps transform into alien landscapes and microscopic marine life reveals its hidden beauty. Mastering macro photography techniques beneath the waves demands specialized knowledge, precise control, and intimate understanding of both photography fundamentals and marine behavior.
Unlike traditional macro work, underwater photographers must contend with unique challenges: light absorption at depth, constant motion from surge and currents, and the critical balance between getting close enough for detail while maintaining focus through water-filled space. Your camera becomes an extension of your diving skills, requiring seamless integration of buoyancy control and composition techniques.
The rewards, however, are extraordinary: capturing the electric blue rings of a thumbnail-sized octopus, documenting the symbiotic dance between cleaner shrimp and their hosts, or revealing the intricate patterns of a nudibranch’s gills – images that unlock a hidden universe most people never see. This specialized field combines the technical precision of macro work with the adventure of underwater exploration, creating opportunities for truly unique imagery that bridges art and marine science.
Essential Underwater Macro Photography Equipment
Choosing the Right Camera Housing
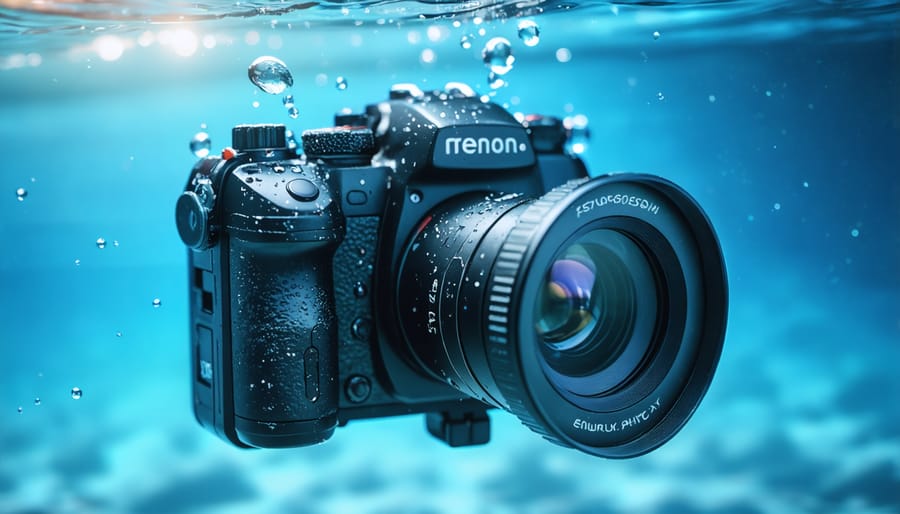
Selecting the right camera housing is crucial for protecting your valuable equipment while capturing stunning macro shots underwater. Whether you’re using a DSLR, mirrorless camera, or exploring underwater mobile photography, your housing choice can make or break your shooting experience.
For macro photography, look for housings with ergonomic button placement, especially those controlling focus and exposure settings. You’ll be making frequent adjustments underwater, and easy access to these controls is essential. Consider housings with a flash bulkhead connector, as artificial lighting is crucial for macro work.
Material choice matters significantly. While aluminum housings offer superior durability and depth ratings, polycarbonate options provide a more budget-friendly alternative without compromising too much on quality. Just ensure your housing is rated for the depths you plan to shoot at.
Pay special attention to the port system compatibility. Macro lenses often require specific ports, and not all housings accommodate every port type. Some manufacturers offer interchangeable ports, providing flexibility as your lens collection grows.
Before making a purchase, verify the exact make and model compatibility with your camera. Even slight variations in camera models can affect fitting. Also, consider future-proofing your investment – will the housing accommodate potential camera upgrades, or are you likely to need a complete replacement?
Macro Lenses and Ports
Selecting the right macro lens and port combination is crucial for successful underwater macro photography. Most photographers opt for lenses in the 60mm to 105mm range, with the 60mm being ideal for smaller, more approachable subjects and the 105mm offering better working distance for skittish creatures.
When choosing a macro lens, consider that underwater magnification is affected by the water’s refractive properties. A lens that offers 1:1 magnification on land will typically provide greater magnification underwater, allowing you to capture stunning details of tiny marine life.
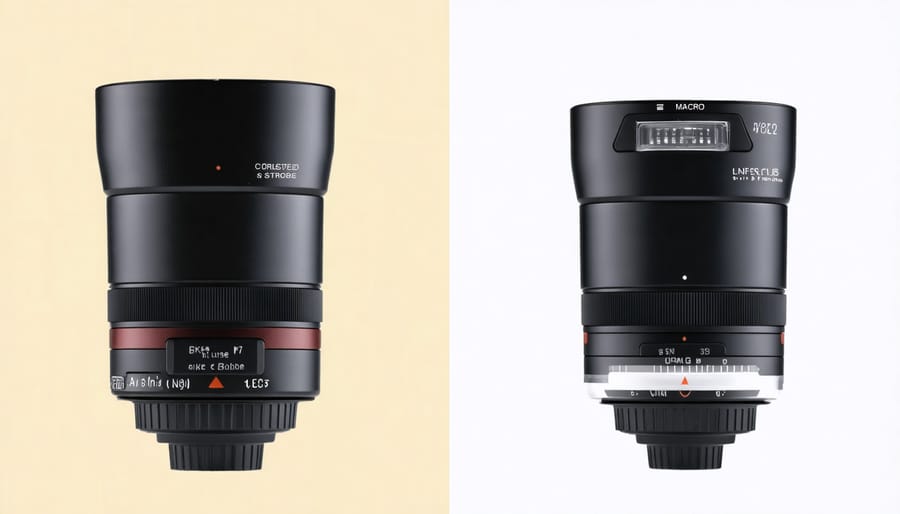
Your port choice is equally important. Flat ports are generally preferred for macro photography as they maintain the lens’s magnification properties and provide better corner sharpness. They’re also more compact and affordable than dome ports. However, ensure your flat port has sufficient length to accommodate your chosen macro lens’s focusing mechanism.
Many photographers find success with dedicated macro ports that feature built-in focus gears, making it easier to achieve precise focus underwater. Some ports also offer additional threading for supplementary wet diopters, which can be attached underwater to increase magnification capabilities.
Remember that different housing manufacturers offer specific port solutions, so verify compatibility with your camera housing before making a purchase. It’s worth investing in high-quality glass ports over acrylic ones, as they typically provide better image quality and scratch resistance.
Lighting Systems for Macro
Proper lighting is crucial for successful macro photography underwater, and having the right equipment can make the difference between a mediocre shot and a stunning image. Strobes are your primary light source, and for macro work, you’ll typically want two compact strobes that can be positioned close to your subject. Look for strobes with quick recycle times and adjustable power settings to handle various subjects and conditions.
Focus lights serve dual purposes: they help your camera achieve accurate focus in dark conditions and allow you to compose your shot before firing the strobes. LED focus lights with adjustable intensity are ideal, and some photographers prefer lights with a red setting, which won’t disturb shy marine life.
For precise lighting control, consider investing in strobe arms and mounting systems. Flexible arms allow you to position your lights exactly where needed, while ball-joint systems offer stability and quick adjustments. Light diffusers can soften harsh strobe light, reducing unwanted shadows and hotspots on reflective subjects.
Snoot attachments are particularly valuable for macro work, allowing you to direct a narrow beam of light precisely where you want it, creating dramatic spotlight effects while keeping the background dark. For extremely small subjects, fiber optic snoot attachments can help achieve even more precise lighting control.
Remember to position your strobes at approximately 45-degree angles to your subject to minimize backscatter and create depth in your images. Start with lower power settings when shooting close-up, as macro subjects require less light than larger scenes.
Mastering Underwater Macro Techniques
Camera Settings for Sharp Macro Images
Capturing sharp macro images underwater requires a careful balance of camera settings to combat the unique challenges of the underwater environment. Start by setting your camera to manual mode, which gives you complete control over your exposure settings.
For optimal sharpness, keep your shutter speed at 1/125 or faster to minimize motion blur, especially important when shooting small subjects that may move with currents. Your aperture choice is crucial – while you might be tempted to shoot wide open for maximum light, stopping down to f/8-f/16 will provide better depth of field, essential for macro subjects where every millimeter counts.
ISO settings underwater often need to be higher than topside photography. Start at ISO 400 and adjust upward as needed, but try to stay below ISO 800 to minimize noise. When using strobes, which is highly recommended for macro work, set your camera to its flash sync speed (typically 1/200 or 1/250) for the best lighting control.
Focus settings are particularly critical for macro work. Switch to single-point autofocus for precise control, or manual focus if you’re comfortable with it. Enable your camera’s image stabilization if available, as it can help counteract the natural movement underwater.
For maximum sharpness, consider using back-button focus, which separates the focus function from your shutter release. This allows you to lock focus on your subject and recompose without the camera trying to refocus. When shooting multiple frames of the same subject, this technique can be invaluable for consistency and accuracy.
Remember to check your histogram frequently and adjust settings as needed, as underwater conditions can change rapidly with depth and water movement.
Lighting Techniques and Positioning
Mastering lighting in underwater macro photography presents unique challenges, but with the right techniques and positioning, you can capture stunning detailed images. Understanding lighting techniques for macro shots is crucial, as water absorbs light differently than air and can affect color and contrast.
The most effective approach typically involves using two strobes positioned at 10 and 2 o’clock relative to your camera. This setup helps eliminate harsh shadows and provides even illumination across your tiny subjects. Position your strobes slightly behind the camera’s port to avoid backscatter – those annoying floating particles that can ruin an otherwise perfect shot.
For particularly small subjects, try positioning one strobe closer to the subject while keeping the other slightly further back. This creates depth and dimension in your image while maintaining adequate lighting coverage. The closer strobe should be set to about 1/4 power to avoid overexposure, while the further strobe can be set slightly higher to fill in shadows.
Working with snoots can dramatically improve your macro lighting game. These accessories concentrate light into a narrow beam, helping isolate your subject from the background and creating a spotlight effect. Start with the snoot about 6-8 inches from your subject, adjusting the distance based on the desired effect and subject size.
Remember that different surfaces reflect light differently underwater. Shiny subjects like fish scales might require reduced strobe power to prevent hotspots, while darker subjects like nudibranchs might need more illumination. Always start with lower power settings and adjust upward as needed – it’s easier to add light than to deal with an overexposed image.
When shooting translucent subjects, try positioning one strobe to create backlighting. This technique helps highlight the subject’s internal structures and creates an ethereal effect that can transform an ordinary image into something extraordinary.
Focus and Composition Strategies
Achieving sharp focus in underwater macro photography requires a combination of technical precision and creative vision. Start by selecting a small aperture (typically f/8 to f/16) to ensure adequate depth of field, as underwater subjects often have intricate details that need to be captured clearly. Position your camera parallel to the subject whenever possible, as this helps maintain consistent focus across your frame.
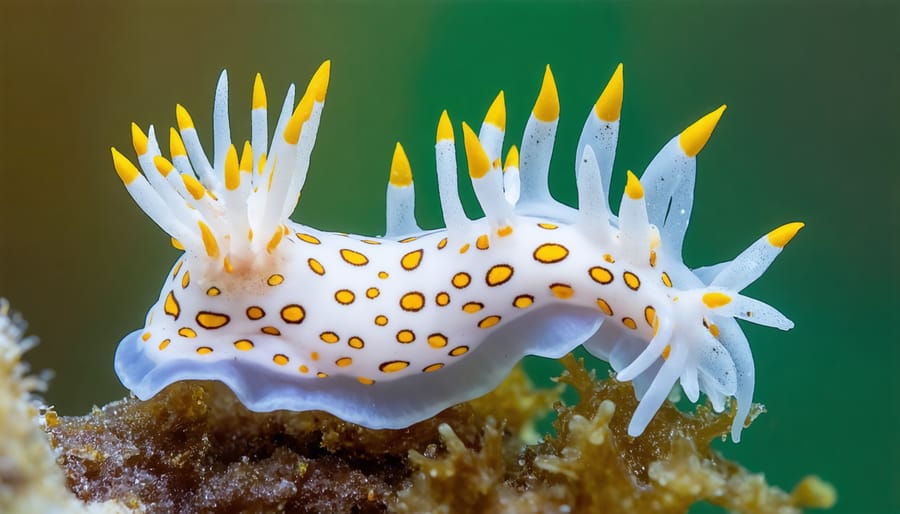
For stationary subjects like nudibranchs or coral polyps, take advantage of manual focus. This gives you precise control and helps prevent the camera from hunting in low-contrast situations. When dealing with moving subjects, pre-focus on a spot where you anticipate your subject will be, then wait for the right moment.
Composition underwater presents unique opportunities and challenges. The rule of thirds remains valuable, but don’t be afraid to break it for impact. Consider the negative space created by the water column – a black background can make colorful subjects pop dramatically. Position your strobe(s) at 45-degree angles to minimize backscatter while highlighting texture and detail.
Look for natural frames within the reef structure, and pay attention to distracting elements in the background. Remember that you can often adjust your position vertically underwater, offering perspectives that aren’t easily achieved on land. Getting low and shooting upward can create striking compositions, especially when incorporating sun balls or surface patterns.
For the best results, approach subjects slowly and deliberately. Take time to study their behavior and movement patterns. This not only helps you capture better images but also minimizes stress on marine life. Always maintain proper buoyancy control to avoid damaging delicate underwater environments while composing your shots.
Common Challenges and Solutions
Dealing with Surge and Current
Dealing with surge and current is one of the biggest challenges in underwater macro photography. Unlike topside shooting, you’re constantly battling water movement that can make focusing on tiny subjects incredibly difficult. The key is to develop strategies that work with the water rather than against it.
In moderate surge conditions, try positioning yourself parallel to the water movement rather than perpendicular to it. This allows you to “ride” the surge while maintaining a relatively stable position relative to your subject. Using your free hand to grip a dead portion of the reef (never live coral) can provide an anchor point, helping you stay steady while shooting.
For stronger currents, timing becomes crucial. Wait for the moments between surge cycles when the water movement briefly calms. These “sweet spots” might only last a second or two, but they’re often enough to get your shot. Some photographers count the surge cycles to predict these calm moments better.
Your camera technique needs adaptation too. Using faster shutter speeds (1/125 or higher) helps freeze any minor movement, while continuous autofocus can help track subjects that sway with the current. In particularly challenging conditions, consider bumping up your ISO to achieve these faster shutter speeds, even if it means slightly more noise in your images.
Remember, sometimes the best approach is simply to be patient and wait for conditions to improve. No photo is worth damaging marine life or putting yourself at risk.
Managing Backscatter
Backscatter – those pesky floating particles that show up as bright spots in your underwater photos – is one of the biggest challenges in underwater macro photography. The good news is that there are several effective techniques to minimize this issue.
The most important factor is strobe positioning. Keep your strobes well behind the camera housing and angle them slightly outward, creating a lighting zone that doesn’t illuminate the water column between your lens and subject. Think of it as creating a triangle of light that meets at your subject, rather than flooding the entire area with light.
Distance management is equally crucial. Get as close as possible to your subject – this reduces the amount of water (and therefore particles) between your camera and the subject. Remember the golden rule: the less water between you and your subject, the clearer your image will be.
Strobe power control also plays a vital role. Using less power than you might think necessary often yields better results. Start with your strobes at quarter power and adjust up only if needed. This reduces the chance of illuminating suspended particles.
For particularly challenging conditions, consider using a snoot – a cone-shaped attachment that focuses your strobe’s light into a narrow beam. While this technique requires practice, it’s extremely effective at eliminating backscatter by precisely controlling where your light falls.
Finally, shoot slightly upward when possible. This positioning helps avoid stirred-up sediment from the seafloor, which is often the primary source of backscatter.
Subject Behavior and Approach
Working with marine life requires patience, respect, and an understanding of underwater creature behavior. Always maintain a safe distance and avoid touching or disturbing marine life, as this can stress the animals and potentially damage delicate ecosystems.
For stationary subjects like nudibranchs or seahorses, approach slowly from the side or front to avoid startling them. These creatures typically allow closer approaches, giving you time to compose your shot carefully. Remember that many small marine creatures have a preferred side they show to photographers – take time to observe and position yourself accordingly.
When photographing more active subjects like shrimp or fish, study their movement patterns first. Many species establish regular territories or cleaning stations, making it easier to predict where they’ll appear. Wait patiently in position rather than chasing your subject, which usually results in stressed animals and poor photos.
Timing is crucial – many marine creatures are more active during dawn and dusk. Understanding these behavioral patterns helps you plan your dives for optimal shooting conditions. Be mindful of your buoyancy control to avoid stirring up sediment, which can disturb your subject and ruin water clarity.
Finally, learn to recognize signs of stress in marine life. If a creature begins to retreat or change its behavior, back away slowly and give it space. The best macro shots come from subjects that feel comfortable in your presence.
Post-Processing for Underwater Macro
Post-processing underwater macro images requires special attention due to the unique challenges of the underwater environment. The first step typically involves adjusting white balance to counter the blue-green color cast that water naturally creates. Using the RAW format gives you more flexibility in recovering true colors and fine-tuning white balance in post.
Backscatter removal is often necessary, even with careful lighting technique. Use the spot healing brush or clone stamp tool to carefully remove unwanted particles without affecting the main subject. For extensive backscatter, consider using multiple layers and masks to maintain control over your adjustments.
Contrast enhancement is crucial for underwater macro shots. The water between your lens and subject naturally reduces contrast, so judicious use of clarity, dehaze, and selective contrast adjustments can help your subject pop. However, be careful not to overdo these adjustments, as they can make images look artificial.
Focus stacking might be necessary for extreme close-ups where depth of field is minimal. Combine multiple images taken at slightly different focus points to achieve maximum sharpness throughout your subject. Modern editing software makes this process relatively straightforward.
Finally, consider selective sharpening to enhance texture and detail in your main subject while keeping the background smooth and non-distracting. This helps create that professional macro look while maintaining the natural underwater ambience of your images.
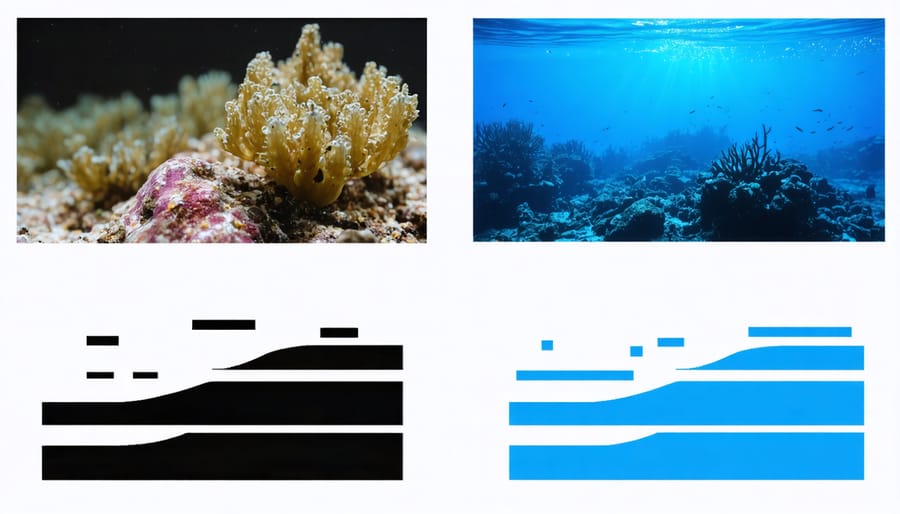
Underwater macro photography opens up a fascinating world of miniature marine life that many never get to experience. By combining the right equipment, techniques, and patience, you can capture stunning images that showcase the incredible detail and beauty of small underwater subjects. Remember to start with proper buoyancy control and work your way up to more challenging subjects gradually. Practice in controlled environments before venturing into open water, and don’t be discouraged by initial results – even experienced photographers face challenges in underwater macro photography. Most importantly, always prioritize marine life and environmental protection while pursuing your shots. With dedication and practice, you’ll soon be creating captivating images that reveal the ocean’s hidden microscopic wonders. So grab your camera, dive in, and start exploring the remarkable world of underwater macro photography – an adventure that combines technical skill, artistic vision, and the thrill of discovery.


