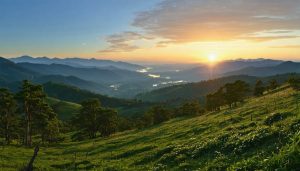
Tilt your camera vertically and rotate it through precise 15-degree increments to capture towering architectural marvels, soaring redwood forests, or dramatic cliff faces in stunning detail. While traditional panoramic photography techniques focus on horizontal scenes, vertical panoramas open up entirely new creative possibilities by challenging our typical perception of space and scale.
Mount your camera on a properly leveled tripod with the nodal point aligned precisely over the rotation axis to eliminate parallax errors that can complicate stitching. Overlap each frame by 30-40% while maintaining consistent exposure settings throughout the sequence to ensure seamless blending in post-processing.
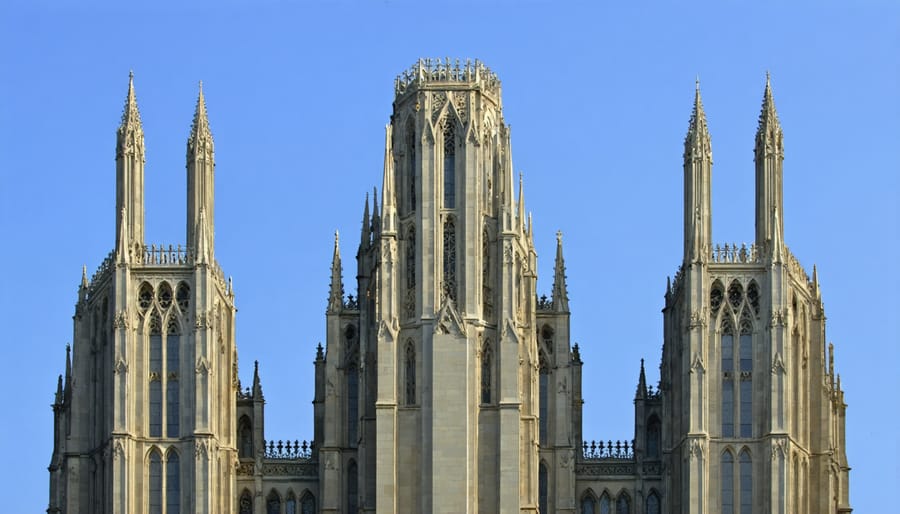
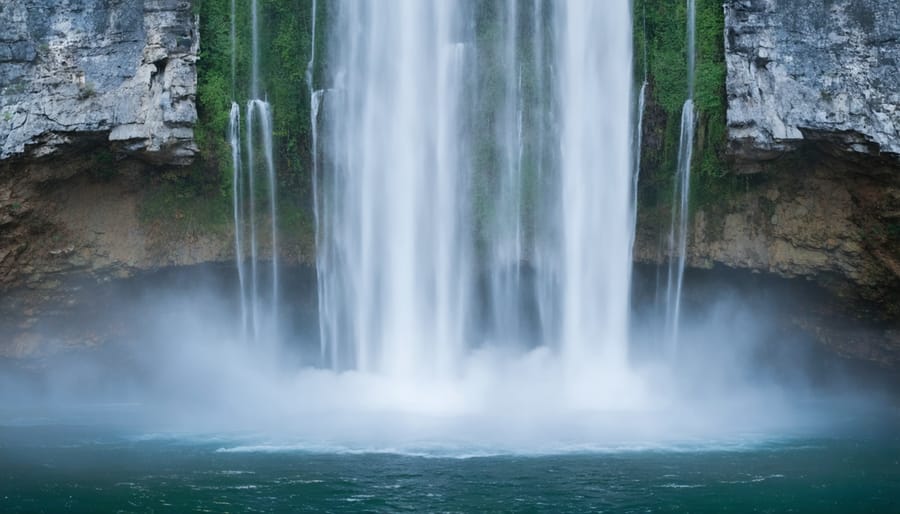
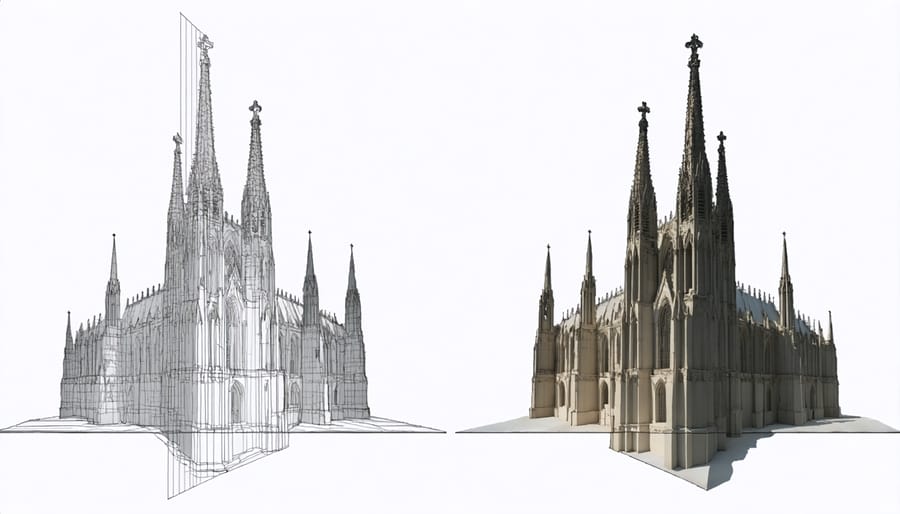
The true power of vertical panoramas lies in their ability to capture subjects that are impossible to frame in a single shot – from the intricate details of a Gothic cathedral’s spire to the complete height of a waterfall cascading down a mountainside. This technique transforms traditionally challenging vertical subjects into immersive compositions that command attention and create a genuine sense of scale.
Why Shoot Vertical Panoramas?
Creative Possibilities
Vertical panoramas open up exciting possibilities for photographers seeking to capture subjects that naturally extend upward. In architectural photography, this technique proves invaluable when photographing towering skyscrapers, Gothic cathedrals, or historic monuments that can’t be captured effectively in a single frame. The vertical format perfectly complements these structures while preserving their grandeur and scale.
Natural subjects also benefit tremendously from this approach. Majestic waterfalls can be captured from base to crest, showing the complete journey of water as it cascades down. Ancient redwoods and sequoias, which often prove challenging to photograph in their entirety, can be documented from root to crown, conveying their true magnificence. Even city scenes take on a new dimension, as vertical panoramas can capture the dynamic interplay between street level activity and soaring urban landscapes above.
Consider experimenting with this technique for subjects like rock formations, indoor cathedral ceilings, or even vertical gardens. The key is to look for subjects where height plays a crucial role in telling the complete visual story.
Technical Benefits
Vertical panoramas offer several distinct advantages over single ultra-wide-angle shots. First, they provide significantly higher resolution since you’re combining multiple high-quality frames rather than stretching a single image. This increased detail is particularly valuable when photographing tall structures or creating large prints.
The technique also gives photographers better control over perspective distortion. Unlike ultra-wide lenses that can create unflattering stretching at the edges, vertical panoramas maintain more natural proportions throughout the frame. This is especially beneficial when photographing architecture or interior spaces where straight lines need to remain straight.
Another key benefit is the ability to maintain consistent depth of field across the entire image. Wide-angle lenses often require compromise between foreground and background sharpness, but with vertical panoramas, you can optimize each frame’s focus individually. This results in tack-sharp images from top to bottom, perfect for scenarios like waterfall photography or cityscape shots where detail matters throughout the frame.
Essential Equipment
Camera and Lens Selection
For vertical panoramas, lens selection plays a crucial role in achieving optimal results. Wide-angle lenses (16-35mm for full-frame cameras) are typically the go-to choice, offering generous coverage while maintaining good edge-to-edge sharpness. However, standard zoom lenses (24-70mm) can also work well, especially in urban environments where you need to manage perspective distortion.
Your camera should be set to manual mode to maintain consistent exposure across all frames. Lock your ISO to its base value (usually 100) for the cleanest images, and choose an aperture between f/8 and f/11 to ensure adequate depth of field. Shutter speed can vary based on lighting conditions, but remember to keep it fast enough to avoid motion blur between shots.
When it comes to camera bodies, full-frame sensors offer better dynamic range and low-light performance, but crop-sensor cameras can still produce excellent results. The key feature to look for is your camera’s ability to shoot in RAW format, which provides greater flexibility during post-processing.
For the sharpest results, always disable image stabilization when shooting on a tripod, and use your camera’s electronic front-curtain shutter if available to minimize vibration.
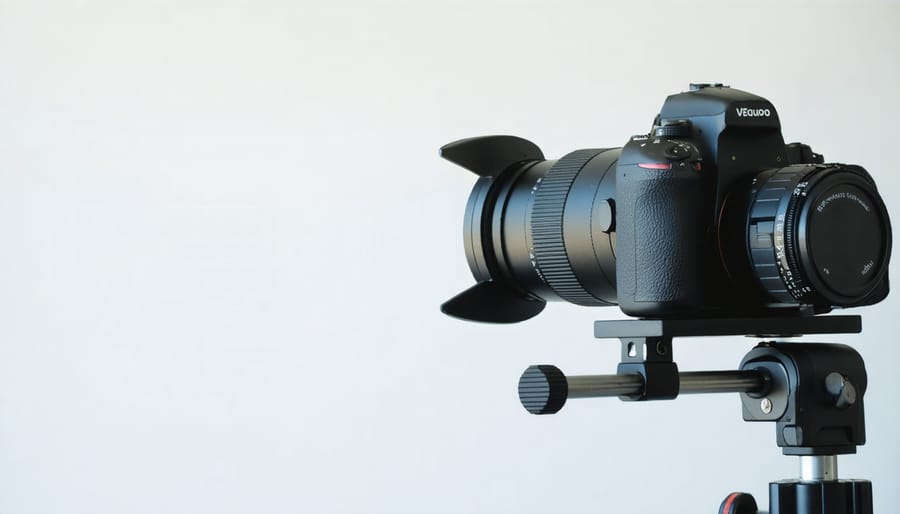
Tripod and Head Requirements
A sturdy tripod is absolutely essential for creating high-quality vertical panoramas. Your tripod must be rock-solid and rated to handle at least twice the weight of your camera setup to prevent any movement during shooting. Look for models with robust leg locks and a center column that can be positioned horizontally if needed.
The real magic happens with your choice of head. A leveling base is crucial – it allows you to ensure your camera remains perfectly vertical as you rotate, preventing the dreaded convergence issues that can ruin your final image. While you can use a standard ball head, a dedicated panoramic head will make your life much easier.
For the best results, invest in a panoramic head with click-stops (also called detents). These provide consistent degree intervals as you rotate, typically offering stops at 15, 30, or 45 degrees. This precision ensures proper image overlap and makes stitching much more straightforward in post-processing.
If you’re shooting in tight spaces or challenging angles, consider a nodal slide. This device helps you find the nodal point (or no-parallax point) of your lens, eliminating parallax errors that can complicate stitching.
Optional Accessories
While a sturdy tripod is essential, several optional accessories can significantly enhance your vertical panorama workflow. A bubble level attachment helps ensure perfect alignment, preventing unwanted tilts that can complicate stitching later. For maximum stability, consider investing in a remote trigger or cable release to eliminate camera shake during exposure.
L-brackets are particularly valuable for vertical panoramas, allowing quick rotation between portrait and landscape orientations while maintaining the camera’s center of rotation. A nodal slide can help eliminate parallax issues, especially when shooting close subjects or architectural elements.
For those shooting in challenging lighting conditions, a lens hood helps prevent unwanted flare, while graduated neutral density filters can help balance exposure between bright skies and darker foregrounds. A sturdy camera bag with dedicated compartments makes transporting your gear safer and more convenient.
Shooting Techniques
Planning Your Shot
Success with vertical panoramas starts with careful planning and composition. While many landscape composition techniques apply here, vertical panoramas require special consideration of your subject’s height and vertical elements.
Begin by identifying strong foreground elements that lead the eye upward. Scout your location beforehand and look for subjects with interesting features from bottom to top, such as towering waterfalls, tall buildings, or majestic trees. Consider the light conditions and how they might change as you shoot up your sequence.
For proper alignment, plan to overlap each frame by at least 30-40%. This gives your stitching software enough information to blend images seamlessly. More overlap is better than too little, so err on the side of caution. Mark your first and last composition points mentally to ensure you capture everything you need.
Remember to check your surroundings for moving elements like clouds or branches that might shift between shots. These can complicate the stitching process later. If possible, choose a time when conditions are stable and consistent throughout your planned shooting sequence.
Camera Settings
Getting your camera settings right is crucial for successful vertical panoramas. Start by switching to manual mode to maintain consistent exposure across all frames. Set your ISO as low as possible (ideally 100-400) to minimize noise, and choose an aperture between f/8 and f/11 for optimal sharpness and depth of field.
When it comes to focus, switch to manual focus after achieving sharp focus on your primary subject. This prevents the camera from hunting for focus between shots and ensures consistency throughout the sequence. If your scene has varying distances, consider focus stacking techniques for maximum sharpness.
For exposure, use the histogram to ensure you’re not clipping highlights or shadows. It’s better to slightly underexpose than overexpose, as you can recover shadow detail more easily in post-processing. Set your white balance manually to maintain consistent color temperature across all frames.
Shutter speed should be fast enough to prevent camera shake – generally 1/125 second or faster when shooting handheld. If using a tripod, you can opt for slower speeds to achieve optimal exposure without increasing ISO. Remember to disable any automatic features like auto ISO or image stabilization when shooting from a tripod.
Shooting Process
To capture stunning vertical panoramas, start by finding your composition and setting up your tripod on stable ground. Ensure your tripod head is perfectly level – this is crucial for clean alignment later. Set your camera to manual mode to maintain consistent exposure throughout the sequence.
Begin at the bottom of your intended panorama and work your way up. For the best results, overlap each frame by about 30-40% with the previous shot. This generous overlap helps your stitching software align the images properly and prevents any gaps in the final panorama.
Set your focus point and exposure settings based on the most important part of your scene. Then, lock these settings to maintain consistency across all frames. If your scene has dramatic lighting variations, you might need to bracket your exposures.
When shooting, move your camera in a straight vertical line, keeping the camera level for each shot. Take your time between frames – rushing can lead to camera shake or misalignment. For tall subjects like buildings or waterfalls, you’ll typically need 3-7 frames depending on your lens focal length and desired coverage.
Remember to capture a test sequence first to ensure your technique and settings are correct. This can save you time and frustration later during post-processing. If possible, shoot during periods of consistent lighting to avoid dramatic changes between frames.
Common Pitfalls
When creating vertical panoramas, watch out for parallax errors caused by not rotating your camera around its nodal point. This common mistake results in misaligned images and stitching problems. Another frequent pitfall is inconsistent exposure settings between shots, leading to visible banding in the final image. Make sure to lock your exposure settings before starting your sequence.
Poor overlap between frames can create gaps or stitching errors. Aim for at least 30% overlap between consecutive shots. Many photographers also forget to level their tripod properly, resulting in a tilted final image that requires extensive cropping. Additionally, moving elements like clouds or people can create ghosting effects if not properly managed during both shooting and post-processing.
Finally, avoid using a wide-angle lens at the edges of your panorama, as this can cause distortion that’s difficult to correct later. Instead, use a normal or slightly telephoto focal length for more natural-looking results.
Post-Processing Workflow
Software Options
Several powerful software options are available for stitching your vertical panoramas into seamless final images. Adobe Photoshop remains an industry standard, offering robust automated stitching through its Photomerge function, along with extensive manual control for fine-tuning your results.
PTGui stands out as a dedicated panorama stitching tool, providing superior control over alignment and blending. Its advanced features, like viewpoint correction and HDR merging, make it particularly valuable for challenging vertical panoramas of tall buildings or interior spaces.
For those seeking a free alternative, Hugin offers impressive capabilities. While its interface may be less polished than commercial options, it handles complex vertical alignments well and provides detailed control over projection types and blending methods.
Microsoft’s Image Composite Editor (ICE) deserves mention for its user-friendly approach and reliable results, especially for straightforward vertical panoramas. Meanwhile, Autopano Giga excels at batch processing and managing large sets of images, though it comes with a steeper learning curve.
Each software option has its strengths, so consider your specific needs and technical comfort level when choosing.
Stitching Process
The stitching process begins in your photo editing software, where you’ll combine your vertical series of images into a seamless panorama. Start by importing your photos into your preferred software – popular choices include Adobe Photoshop, PTGui, or Hugin. These programs offer automated stitching features that analyze overlapping areas and align images based on matching points.
Select all your images and initiate the panorama merge function. The software will automatically align the photos, but pay attention to any alignment errors or ghosting effects. These commonly occur with moving subjects or changing light conditions. Most software allows manual adjustments to fine-tune the alignment and blend points.
Once aligned, check for perspective distortion – a common issue where buildings or straight lines appear to bow or curve. Many editors offer perspective correction tools to straighten these elements. The final panoramic photo dimensions may need adjustment to achieve your desired aspect ratio.
Pay special attention to exposure blending between frames. If you notice visible seams or exposure differences, use gradient masks or selective adjustments to smooth these transitions. Color matching between frames is equally important – use white balance and color adjustment tools to ensure consistency throughout the image.
Finally, crop your panorama to remove any irregular edges created during the stitching process. Consider leaving some extra space for future adjustments, as creative cropping can dramatically impact the final composition.
Vertical panorama photography opens up a whole new dimension of creative possibilities, allowing you to capture scenes in ways that traditional horizontal panoramas simply cannot. Throughout this guide, we’ve explored the essential techniques, equipment requirements, and post-processing steps needed to create compelling vertical panoramas that stand out from the crowd.
Remember that successful vertical panoramas require careful attention to detail, from selecting the right location and composition to maintaining proper overlap between shots and managing exposure consistency. While the technical aspects might seem challenging at first, the rewards of mastering this technique are well worth the effort.
Whether you’re capturing soaring skyscrapers, majestic waterfalls, or towering trees, vertical panoramas offer a unique perspective that can transform ordinary scenes into extraordinary images. The ability to showcase the full height and grandeur of your subject while maintaining exceptional detail throughout the frame is truly remarkable.
Don’t be discouraged if your first attempts aren’t perfect. Like any photographic technique, vertical panoramas require practice and patience. Start with simple subjects and gradually work your way up to more complex scenes. Experiment with different focal lengths, compositions, and subjects to develop your own style and creative vision.
We encourage you to grab your camera, tripod, and head out to explore the vertical dimension of photography. The skills you’ve learned here will help you create stunning images that capture the true scale and beauty of tall subjects in ways that single frames never could.