Test for LED flicker by shooting a series of images at progressively faster shutter speeds, starting at 1/60th of a second and increasing to 1/500th or beyond. Dark bands appearing across your frame indicate artificial lighting that cycles faster than your camera can capture uniformly. This phenomenon, called banding or the rolling shutter effect, occurs because LED and fluorescent lights pulse at frequencies tied to electrical currents, typically 100 or 120 times per second depending on your region’s power grid.
Switch your camera to shutter priority mode and photograph a white wall or neutral surface under the suspect lighting. Review your test shots at 100% magnification on your LCD screen or computer. If you notice horizontal stripes of varying brightness, you’ve confirmed the presence of flicker that will disrupt your work.
Match your shutter speed to multiples of the light’s flicker frequency to eliminate banding. For 60Hz electrical systems common in North America, use shutter speeds like 1/60th, 1/120th, or 1/30th of a second. European photographers working with 50Hz power should select 1/50th, 1/100th, or 1/25th as safe starting points.
Enable your camera’s anti-flicker shooting mode if available, found in newer DSLR and mirrorless models. This feature detects lighting pulses and triggers the shutter during peak brightness, though it may slightly reduce your maximum burst rate during continuous shooting. Understanding this technical challenge transforms frustrating banding issues into a manageable aspect of working with modern artificial lighting.
What Is LED Flicker and Why Should Photographers Care?
If you’ve ever captured what should have been a perfect shot under LED lighting only to discover horizontal bands or stripes running across your image during review, you’ve experienced LED flicker firsthand. It’s one of those frustrating technical challenges that can catch even experienced photographers off guard.
Unlike traditional incandescent bulbs that produce a continuous stream of light, LEDs work differently. They actually pulse on and off extremely rapidly—so fast that our eyes can’t detect the flickering. This happens because LEDs are powered by alternating current (AC) electricity, which cycles at either 50 Hz or 60 Hz depending on your country’s electrical grid. The LED responds to these cycles by turning on and off, typically at twice the frequency of the AC power (100 or 120 times per second).
Under normal circumstances, this rapid pulsing is completely invisible to us. Our brains perceive the light as constant and steady. But cameras don’t process light the way our eyes do, especially when you’re using fast shutter speeds.
Here’s where the problem emerges: when your shutter speed becomes faster than the LED’s flicker cycle, your camera’s sensor might capture the light during an “off” or dimmer phase of the pulse. This creates those telltale dark bands across your image. Think of it like a strobe light frozen in time—you’re essentially photographing the LED between its pulses.
This issue becomes particularly noticeable in several real-world scenarios. Sports photographers shooting indoor events under LED arena lighting often encounter banding when using the fast shutter speeds needed to freeze action. Wedding photographers working in venues with modern LED fixtures may discover stripes across their reception photos. Videographers face similar challenges, as their frame rates can sync up poorly with flicker frequencies, creating visible rolling bands in footage.
The relationship between your shutter speed and the electrical frequency determines whether you’ll see flicker. A shutter speed of 1/250th of a second might work perfectly under one LED system but produce severe banding under another. This unpredictability makes understanding and testing for LED flicker essential for anyone shooting professionally or in controlled lighting environments where image quality cannot be compromised.
The Flicker Test Explained: What It Actually Measures
A flicker test measures how LED lights oscillate in brightness over time—something your eyes might not catch but your camera definitely will. When you encounter those frustrating horizontal bands across your images, it’s because your camera’s shutter is capturing different phases of the light’s brightness cycle. Understanding what these tests actually measure helps you predict and prevent those issues before they ruin your shots.
The test analyzes three key metrics. First, flicker frequency tells you how many times per second the light cycles through its brightness variations, measured in Hertz. Most LED lights flicker at either 100Hz or 120Hz, corresponding to the electrical frequency in different regions (50Hz versus 60Hz power). This matters because certain shutter speeds will sync poorly with these frequencies, creating visible banding.
Next comes flicker percentage, which reveals the depth of these brightness swings. A light with 100 percent flicker drops completely to zero between peaks—think of old fluorescent tubes. Modern quality LEDs might have flicker percentages below 5 percent, meaning brightness variation is minimal. The lower this number, the less likely you’ll encounter problems regardless of your shutter speed.
The flicker index provides a weighted measurement that considers both the depth and shape of the flicker waveform. Values range from 0 to 1, where lower numbers indicate better performance. This metric is particularly useful because it accounts for how light modulates over time, not just peak-to-valley differences.
Here’s the distinction photographers need to grasp: visible flicker is what you perceive with your naked eye, typically only occurring with poorly designed lights or very low frequencies. Invisible flicker, however, occurs at frequencies your eyes can’t detect but your camera’s electronic shutter absolutely can. This is why a room might look perfectly lit while your video footage shows obvious banding. Professional flicker meters measure all these parameters simultaneously, giving you a complete picture of how a light source will behave during critical shoots.
How to Test for LED Flicker (Without Expensive Equipment)
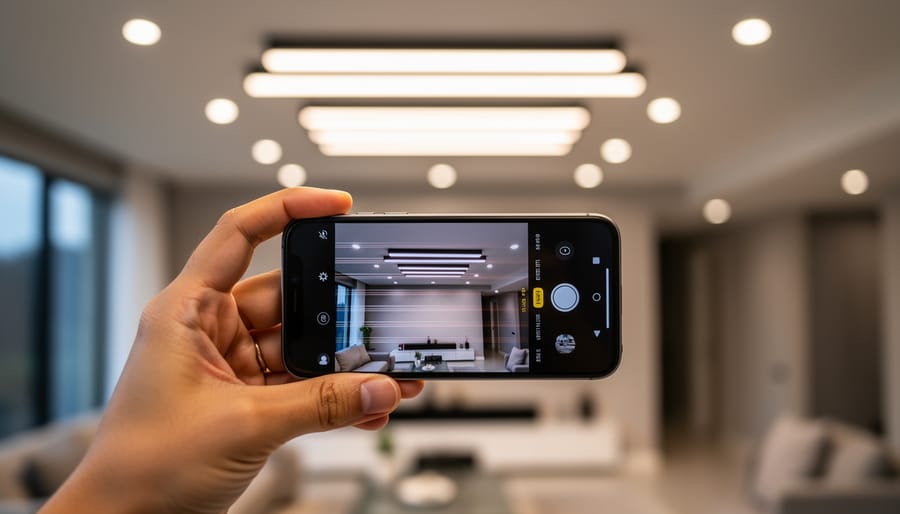
The Smartphone Camera Method
The quickest way to check for LED flicker is literally right in your pocket. Your smartphone camera can reveal invisible flickering in seconds, making it an invaluable tool for location scouting or quick lighting checks.
Here’s how to do it: Open your phone’s camera app and switch to video mode. Point it at the light source in question while watching your screen. If you see horizontal bands or lines rolling across the preview, you’ve got flicker. The bands appear because your phone’s sensor is capturing the light cycling on and off faster than your eyes can detect.
For a more thorough test, switch to manual or pro mode if your camera app offers it. Try different shutter speeds, starting around 1/60th of a second and working your way up. The banding pattern will change or disappear at certain speeds, giving you a preview of what shutter speeds might be problematic with your main camera.
Keep in mind this method has limitations. Your phone’s sensor and refresh rate differ from your DSLR or mirrorless camera, so the exact shutter speeds that cause problems may vary. Think of this as a screening tool rather than a definitive test. It’s perfect for quickly identifying problem lights before you even pull out your professional gear.
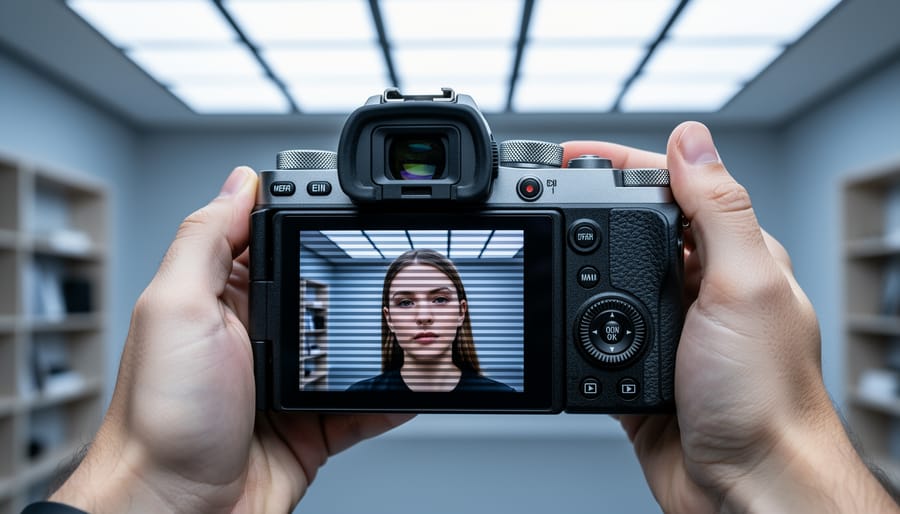
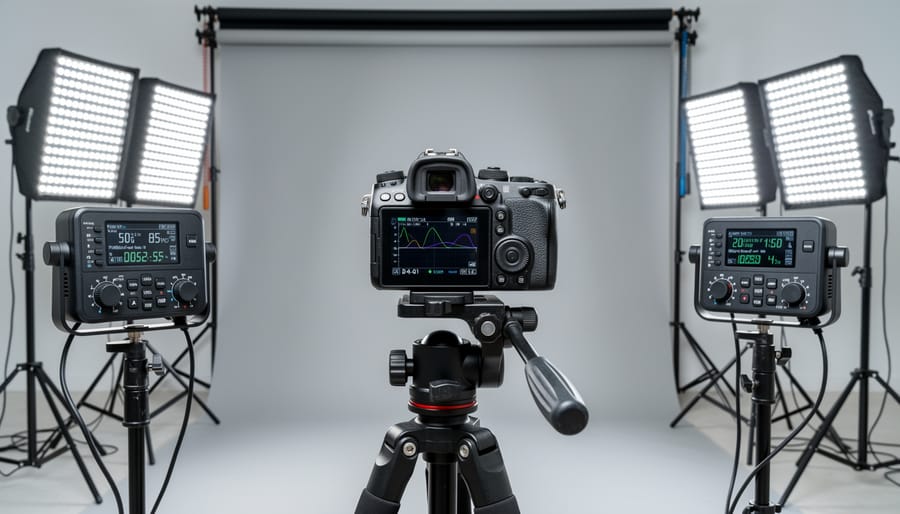
The DSLR/Mirrorless Test Shot Method
Your main camera is actually one of the best tools for detecting LED flicker. This method works because you’re testing with the exact equipment you’ll use for actual shoots, giving you the most accurate results for your specific setup.
Start by setting your camera to manual mode with a fixed ISO (around 400-800 works well) and a mid-range aperture like f/5.6. Point your camera at the LED light source you want to test, making sure it fills a good portion of your frame. The key here is to shoot a series of test images at varying shutter speeds while keeping everything else constant.
Begin with a shutter speed of 1/50 second and work your way up through common speeds: 1/100, 1/200, 1/400, 1/800, and so on. Take at least one shot at each speed. If you’re in a region with 50Hz power (most of Europe, Asia, Africa), also test speeds like 1/100 and 1/125. For 60Hz regions (North America, parts of South America), pay special attention to 1/120 and 1/240.
When reviewing your images, look for horizontal bands or stripes running across the frame. These appear as alternating lighter and darker areas and indicate flicker at that particular shutter speed. Some cameras let you zoom in during playback, which makes banding easier to spot. The shutter speeds where you don’t see any banding are your safe zones for shooting under that specific lighting. Keep these notes handy for future reference when working in similar environments.
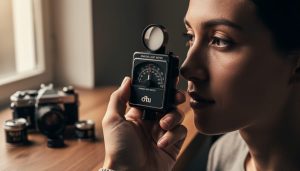
Using Dedicated Flicker Test Apps and Calculators
If you’re regularly shooting under LED or other artificial lighting, investing in a dedicated flicker test app or calculator can save you considerable time and frustration. These digital tools are specifically designed to detect problematic frequencies and recommend the optimal shutter speeds for your specific shooting conditions.
Apps like Flicker Finder and Cine Meter are popular among professional videographers and photographers. They use your smartphone’s camera sensor to analyze light sources and provide real-time feedback about flicker frequency. Within seconds, you’ll know whether your current shutter speed will produce banding or if you need to adjust.
What makes these tools particularly valuable is their precision. Rather than using trial-and-error methods, you get scientifically accurate measurements of the light source’s frequency, typically displayed in hertz. Many calculators then cross-reference this data with your camera’s frame rate or shutter speed to suggest safe settings.
For professionals working on tight schedules or in challenging environments like sports arenas or concert venues, these apps eliminate guesswork. You can confidently set your camera knowing your images will be clean, which is especially crucial when you can’t afford to miss critical moments.
Understanding the Shutter Speed-Flicker Connection
The relationship between your shutter speed and those annoying bands in your video or photos comes down to a simple mismatch: your camera’s shutter is trying to capture light that’s actually flickering on and off faster than you can see.
Here’s what’s happening behind the scenes. Most artificial lighting, particularly LED lights and fluorescent tubes, doesn’t produce continuous light. Instead, they pulse on and off in sync with the alternating current (AC) power feeding them. In regions with 50Hz power (most of Europe, Asia, Africa, and Australia), lights cycle 100 times per second. In 60Hz regions (North America, parts of South America, and Japan), they cycle 120 times per second. Your eyes can’t detect this rapid flickering, but your camera absolutely can.
When you select a shutter speed that doesn’t align with these cycling patterns, your camera captures only part of the light cycle. Imagine trying to photograph a spinning wheel through a narrow slit—depending on where the wheel is in its rotation when your shutter opens, you’ll capture different amounts of light across your frame. This creates those horizontal bands of lighter and darker areas we call flicker or banding.
The safe zones are shutter speeds that divide evenly into your local power frequency. In 60Hz regions, speeds like 1/60, 1/120, 1/240, and so on work beautifully because they capture complete light cycles. In 50Hz areas, you’ll want 1/50, 1/100, or 1/200. The problematic speeds fall between these markers—try shooting at 1/80 or 1/100 in a 60Hz region, and you’re almost guaranteed to see banding.
Let me give you a real-world comparison. Shooting a corporate interview under LED office lighting at 1/125 in a 60Hz region will likely produce visible bands across your subject’s face. Switch to 1/120, and those bands disappear entirely. The difference is subtle in your camera settings but dramatic in your results.
The challenge becomes trickier with modern LED fixtures, which sometimes pulse at higher frequencies than the AC power supply. A high-quality LED might refresh at 200Hz or more, while budget LEDs might introduce irregular flicker patterns. This unpredictability is exactly why testing your specific shooting environment becomes essential rather than just following the standard safe shutter speeds.
Using a Shutter Speed Calculator to Avoid LED Flicker
How the Calculator Works
The mathematics behind flicker-free photography is surprisingly straightforward once you understand the relationship between electrical frequency and shutter speed. Electric lighting typically flickers at twice the frequency of your local power grid—100Hz in 50Hz regions or 120Hz in 60Hz areas. To avoid capturing partial flicker cycles that create banding, your shutter speed needs to be a whole multiple of the flicker cycle duration.
Here’s where it gets practical: in a 60Hz region, the flicker cycle is 1/120th of a second. This means safe shutter speeds are 1/120, 1/60, 1/30, and so on—each being an even divisor of 120. A flicker calculator automates this calculation instantly, accounting for your region’s power frequency and generating a list of safe shutter speeds.
The real value these calculators provide is eliminating guesswork during shoots. Rather than testing various speeds and reviewing footage for banding, you can reference the safe shutter speeds before you even start filming. Many calculators also factor in your camera’s frame rate, since video shooters need to maintain specific shutter speed ratios for natural motion blur. This combination of simple math and practical application saves hours of troubleshooting and ensures consistent, professional results.
When to Adjust Your Settings
Understanding when flicker-free shooting matters can save you from costly mistakes and help you make informed decisions about your camera settings. Not every situation demands strict adherence to anti-flicker shutter speeds, so knowing when to prioritize them is key.
Event photography requires the most vigilance. Wedding receptions, corporate events, and concerts typically feature LED stage lighting and mixed artificial sources. During these shoots, prioritize flicker-free shutter speeds to avoid ruining once-in-a-lifetime moments. Test your environment early and adjust accordingly before critical moments arrive.
Video work demands even stricter attention to flicker issues. Since video captures continuous frames, even slight banding becomes glaringly obvious in footage. Always perform a flicker test before beginning any video shoot in artificial lighting environments. The extra few minutes of testing can prevent hours of correction in post-production.
Product photography offers more flexibility. Studio strobes eliminate flicker concerns entirely, and when shooting tethered with controlled lighting, you can review images immediately. However, if you’re shooting in a client’s space with existing LED fixtures, run a quick test before the session begins.
Action and sports photography presents a tradeoff. Sometimes you need that 1/1000th second shutter speed to freeze motion, even if it introduces minor banding. In these scenarios, prioritize the shot over perfect lighting consistency.
Real-World Solutions When You Can’t Avoid LED Flicker
Let’s face it: sometimes you’re shooting in a location where LED flicker is unavoidable, and you have zero control over the lighting. Maybe you’re covering an event in a conference hall, shooting in a modern office building, or documenting a performance under stage LEDs. When you can’t change the lights, you need to adapt your technique.
Your first line of defense is your camera’s built-in anti-flicker mode, if it has one. This feature detects the flicker frequency and times your shutter release to capture during a consistent brightness phase. It works remarkably well for static subjects under artificial lighting, though it does introduce a slight delay in shutter response. The trade-off? You avoid those unsightly banding patterns that can ruin an otherwise perfect shot. Just remember that anti-flicker mode is most effective when you’re shooting single frames rather than continuous bursts.
When anti-flicker isn’t available or isn’t cutting it, adjusting your shutter speed can save the day. The magic number varies by region: in areas with 60Hz power (like North America), try shutter speeds of 1/60, 1/120, or 1/30 second. For 50Hz regions (most of Europe and Asia), stick to 1/50, 1/100, or 1/25 second. These speeds sync with the light’s flicker cycle, capturing complete brightness phases rather than catching the light mid-pulse.
If you’re shooting video or need consistent results across multiple frames, consider supplementing with continuous LED panels that you can control. Even a small, battery-powered continuous light can fill shadows and reduce your reliance on the problematic overhead lighting. Position it as your key or fill light, and suddenly those flickering LEDs become less dominant in your exposure.
When all else fails, post-processing can minimize visible flicker in video footage. Software like Adobe Premiere Pro or DaVinci Resolve includes deflicker filters that analyze brightness fluctuations frame-by-frame and smooth them out. These work best with mild to moderate flicker rather than severe banding. For still images with banding, selective adjustment brushes can help even out brightness variations, though prevention is always preferable to correction.
The key is recognizing the situation early and choosing the right solution for your specific scenario.
Understanding LED flicker might seem like just another technical hurdle in an already complex craft, but here’s the good news: once you know what you’re looking at, this challenge becomes entirely manageable. Think of it like learning about white balance or exposure compensation. Initially, these concepts might have seemed daunting, but now they’re second nature.
The reality is that LED lighting isn’t going anywhere. From sports arenas to corporate offices, from retail spaces to home studios, these energy-efficient lights are now the standard. Rather than viewing this as a limitation, consider it an opportunity to deepen your technical knowledge and expand your professional capabilities.
Take some time this week to run flicker tests in your regular shooting locations. Bring your camera to that conference room where you often photograph corporate headshots, or test the gymnasium where you cover local sports. Document which shutter speeds work cleanly in each space, and keep these notes handy in your camera bag or phone. You’ll be surprised how quickly this knowledge becomes invaluable.
Remember, every professional photographer you admire has learned to navigate these technical challenges. The difference between a good photographer and a great one often comes down to preparation and understanding. Armed with the right knowledge about flicker frequencies, testing methods, and practical solutions, you’re now equipped to handle LED environments with confidence. What once seemed like an unpredictable problem is now just another variable you can control.