 By
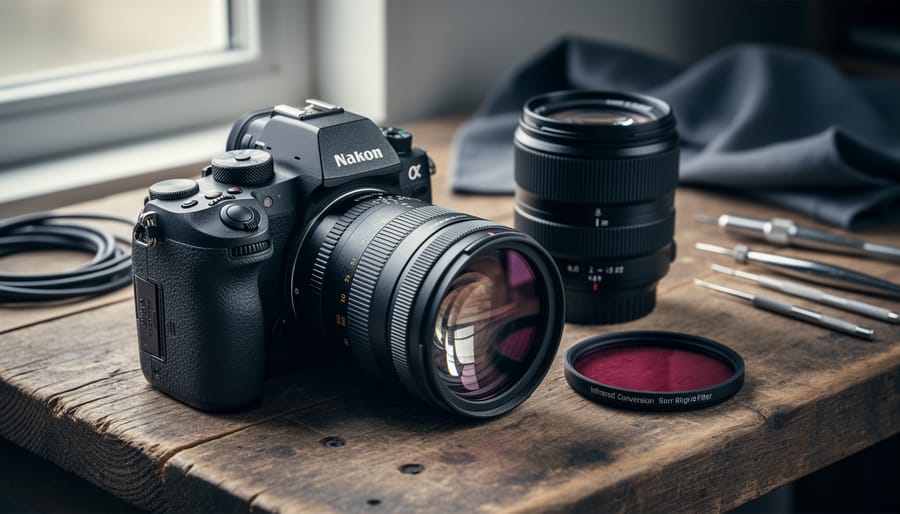
Infrared photography transforms your camera into a tool that sees beyond human vision, capturing light in the 700-900 nanometer range to reveal landscapes draped in snow-white foliage and jet-black skies. The process requires either converting a digital camera by removing its infrared-blocking filter or attaching an external infrared filter to an unconverted camera, with conversion offering faster shutter speeds and live-view composition. You’ll spend anywhere from two hours to a full afternoon on your first converted camera shoot, depending on whether you handle the conversion yourself or send your camera body to a professional service.
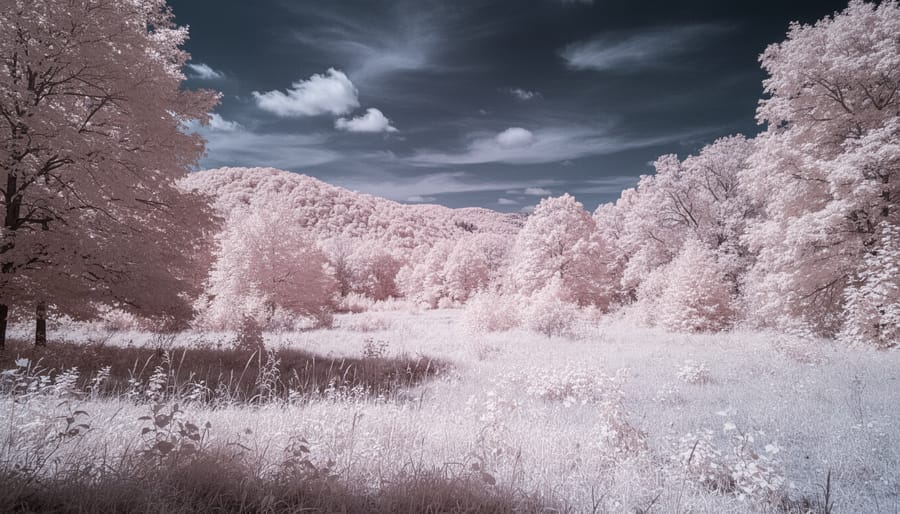
The appeal is immediate once you see your first infrared image. Trees glow with an ethereal luminescence, clouds pop against darkened skies, and skin takes on a smooth, almost porcelain quality. Wedding photographers have used infrared to create dreamlike portraits, while landscape shooters rely on it to add drama to otherwise ordinary scenes. The technique dates back to film photography, but digital sensors have made it more accessible and predictable.
Getting started means understanding the fundamental trade-off: permanent camera conversion gives you the freedom to shoot handheld with normal exposure times, but dedicates that camera body exclusively to infrared work. The filter-only approach preserves your camera’s versatility but demands a tripod and exposures that stretch into several seconds. Most photographers who commit to infrared eventually convert an older DSLR or mirrorless body, turning what might otherwise sit unused into a specialized creative tool.
Understanding the 5 Infrared Spectrum and What You’ll Need
Camera Requirements and Conversion Options
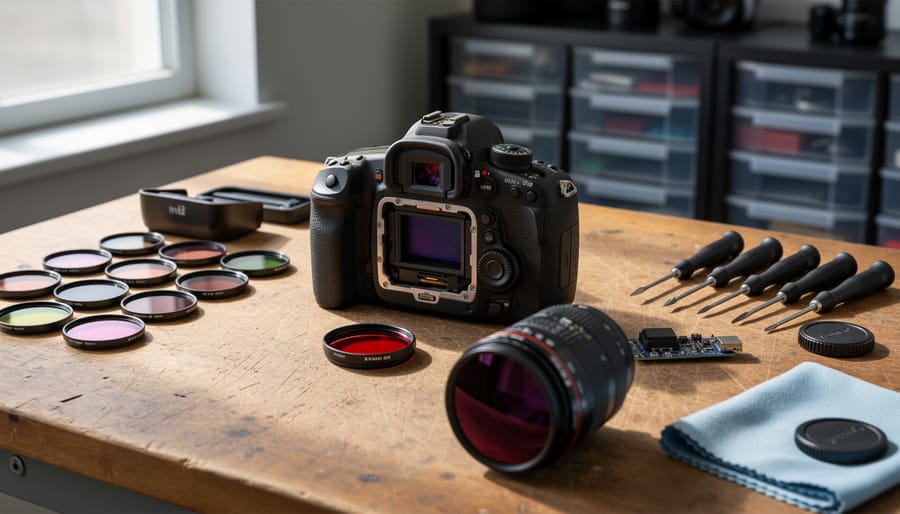
Most digital cameras can be converted for infrared photography, but some bodies handle it better than others. Older DSLRs (roughly 2008-2015 models) tend to produce cleaner infrared results because their sensors were less aggressively filtered for infrared light. Canon’s 5D Mark II, Nikon’s D90, and Sony’s A7 series all convert well. Mirrorless cameras work too, though their electronic viewfinders may display oddly colored previews, you’ll need to rely on the final RAW file rather than what you see through the finder.
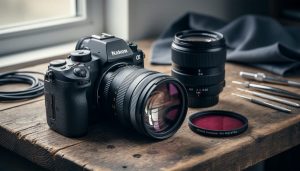
The core choice is between full-spectrum conversion and infrared-specific conversion. Full-spectrum removes your camera’s hot mirror filter (the internal component that blocks infrared and ultraviolet light) entirely, letting you control the wavelength with screw-on filters. This flexibility costs you versatility, your camera can no longer shoot normal photos without a filter stack. Infrared-specific conversion replaces the hot mirror with a fixed infrared-pass filter (typically 590nm, 665nm, or 720nm), permanently dedicating the camera to one infrared range. You gain immediate usability but lose the option to switch wavelengths or revert to standard photography.
Professional conversion services charge $250-$400 and guarantee clean reassembly with minimal sensor dust. They handle the delicate hot mirror removal, sensor cleaning, and precise filter alignment. DIY kits run $50-$150 but require steady hands, patience, and acceptance that you might damage a $1,000+ camera body. Unless you’re experienced with camera disassembly and comfortable voiding warranties, professional conversion is worth the premium. Most services also offer focus calibration for infrared’s different focal plane, a critical adjustment DIY converters often miss.
Essential Filters and Accessories
Your choice of infrared filter fundamentally shapes the character of your images, with each wavelength revealing different aspects of the invisible spectrum. The three most popular options offer distinct creative possibilities worth understanding before you invest.
A 590nm filter sits at the visible-infrared border, preserving some natural color while introducing that signature infrared glow. Skies turn slightly pink or golden, while foliage takes on a soft luminescence. This filter works well for infrared beginners because it maintains enough familiar tones to ease the transition from standard photography. You’ll get shorter exposures compared to deeper infrared filters, often just one or two stops longer than normal daylight settings.
The 665nm filter delivers the classic “false color” infrared look that most photographers associate with the technique. Vegetation glows intensely white or golden, skies deepen to navy or crimson, and the overall contrast becomes dramatically heightened. This wavelength blocks more visible light, requiring exposures typically two to four stops longer than standard photography, making a tripod essential rather than optional.
At 720nm, you enter pure infrared territory where the surreal qualities peak. Foliage becomes brilliant white, skies turn nearly black, and the scenes take on an otherworldly quality that’s unmistakably infrared. Exposures lengthen considerably, often requiring five to seven stops more light than conventional shooting, which means tripods become mandatory equipment.
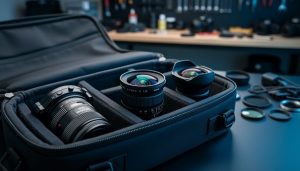
Beyond filters, you’ll need supporting gear for consistent results:
- A sturdy tripod rated for at least twice your camera and lens weight, essential for longer infrared exposures
- Remote shutter release or cable trigger to eliminate vibration during multi-second exposures
- Microfiber lens cleaning cloths, as infrared filters show dust more prominently than standard glass
- Gray or white balance card specifically for setting custom infrared white balance
- Spare batteries, since infrared shooting drains power faster than normal photography
The white balance card deserves special attention. Fresh green grass or healthy foliage works perfectly as your infrared reference point, allowing your camera to interpret the shifted color spectrum correctly. Without proper white balance, your RAW files will display extreme red or magenta casts that complicate post-processing, even though they’re technically correctable.
Safety Warnings and Limitations
Before you commit to converting your camera for infrared photography, understand that this modification comes with significant trade-offs and risks. Making an informed decision now can save you hundreds of dollars and considerable frustration later.
Warranty and Reversibility Concerns
The moment you open your camera body to remove or modify the hot mirror filter, you void the manufacturer’s warranty. Period. Whether you’re three months or three years into ownership, professional conversion services and DIY modifications both end your warranty coverage immediately. Most conversions are permanent, while you can technically reinstall a clear filter or new hot mirror, the reassembly rarely restores the camera to factory specifications, and autofocus calibration often suffers.
When Not to Convert
Don’t convert your primary camera body. The process transforms it into a specialized tool that can’t shoot normal color images without external filters, making it useless for spontaneous everyday photography. Expensive flagship cameras are poor conversion candidates, you’re better off converting an older backup body or budget camera. Never attempt conversion on rented equipment, cameras you’re still paying off, or bodies covered by insurance or protection plans. If you can’t afford to lose the camera entirely, don’t crack it open.
DIY Conversion Risks
Improper sensor handling during DIY conversions can introduce dust that’s nearly impossible to remove, scratch the sensor’s protective filter, or misalign the sensor stack, causing soft corners and focus issues. The ribbon cables and delicate internal components aren’t designed for amateur disassembly. One slip with a screwdriver can turn a $500 camera into a $500 paperweight.
Step-by-Step: Converting and Configuring Your Camera for 5 Infrared
Step 1: Choose Your Conversion Path
You face three realistic paths into infrared photography, each with different commitment levels and costs.
Professional conversion services remain the gold standard for serious work. Expect to pay $275-$400 in 2026 to have a reputable service remove your camera’s hot mirror filter and replace it with an infrared-passing filter (typically 590nm, 665nm, or 720nm). Turnaround runs 2-3 weeks. This route gives you a dedicated infrared camera that shoots like normal, proper exposure metering, live view that shows what you’ll capture, and no exposure penalties. The catch: it’s permanent. Choose a backup camera body you’re comfortable dedicating solely to infrared.
Pre-converted cameras sold by specialty retailers cost $500-$900 for older DSLR models. You skip the conversion wait, but you’re locked into whatever filter wavelength the seller installed.
Screw-on infrared filters ($50-$150) let you test infrared without modifying anything. Thread one onto your existing camera and shoot. The major downside: your sensor’s hot mirror blocks most infrared light, forcing 20-30 second exposures even in bright sun. Your viewfinder shows nothing useful, and autofocus fails. This works for tripod landscapes but frustrates most other shooting.
Step 2: Prepare Your Camera (Professional Conversion Route)
Before you ship your camera off, spend time researching conversion services with proven infrared expertise. Look for companies that specialize in sensor modifications rather than general repair shops dabbling in conversions. Check recent customer reviews focusing on turnaround reliability and post-conversion support, not just pricing.
Once you’ve chosen a service, photograph your camera’s current menu settings or write them down. You’ll want to restore your preferred configurations after conversion. Remove any accessories like battery grips or lens adapters, but keep the body cap on to protect the sensor during shipping.
Ask your chosen service these critical questions: What specific filter wavelength do they recommend for your camera model? (Some sensors show hot spots with certain filters.) How long is the typical turnaround? Do they test autofocus calibration post-conversion? What’s their warranty policy if issues emerge?
Most reputable services quote 2-4 week turnarounds in 2026, though seasonal demand affects timing. Budget $300-500 for professional full-spectrum or dedicated infrared conversion. Expect them to provide before-and-after test shots proving the conversion works correctly.
Step 3: Set Up Your Custom White Balance
Infrared images straight from a converted camera display a distinct red or magenta cast because the sensor interprets infrared wavelengths differently than visible light. Setting a custom white balance corrects this cast and reveals the signature look of infrared photography: luminous white foliage against dark, dramatic skies. Without this step, your images remain unusable red blobs rather than the ethereal scenes you’re after.
The solution is shooting a custom white balance reference using healthy green vegetation. Green foliage reflects infrared light intensely, making it the ideal neutral reference. Choose a bright, sunny day and find a patch of lush grass or dense leaves in direct sunlight.
- Position yourself so green foliage fills your viewfinder completely, with no sky or other elements visible.
- Focus on the grass or leaves and take a reference photograph in whatever shooting mode you prefer.
- Enter your camera’s menu system and navigate to the white balance settings.
- Select the custom white balance option (often labeled “PRE” on Nikon, “Custom WB” on Canon, or “Custom” on Sony).
- Choose the foliage image you just captured as your white balance reference.
- Confirm the selection when the camera prompts you, then set your shooting mode to use this custom white balance.
- Take a test shot of the same scene to verify the correction worked.
Canon users should look under the WB button, then navigate to custom settings. Nikon shooters hold the WB button while rotating the command dial to PRE, then press and hold again to measure. Sony cameras typically place custom white balance deep in the menu under Camera Settings 1.
Step 4: Configure Camera Settings for First Shoot
With your camera converted and white balance configured, getting the right camera settings becomes crucial for infrared success. Always shoot in RAW format, this is non-negotiable, as infrared files require significant post-processing that JPEG compression destroys. Start with ISO 100-400 to maintain clean files, though infrared sensors often handle noise better than standard photography.
Your aperture choice matters differently in infrared. Because infrared wavelengths focus slightly behind visible light, many photographers find optimal sharpness between f/5.6 and f/8 rather than the typical f/8-f/11 sweet spot. Test your specific lens to find where it performs best. These f-stop settings affect not just depth of field but actual focus accuracy.
Switch to manual focus or use live view autofocus if available, phase-detection autofocus often misses in infrared because the focus points are calibrated for visible light. Some cameras let you dial in focus micro-adjustments; expect to shift +3 to +10 units toward infinity. Your camera’s meter will overexpose by 1-2 stops typically, so start with -0.7 EV compensation and bracket your first shots.
Step 5: Capture Your First Infrared Images
Head out on a bright, sunny day for your first infrared session, the intense sunlight that photographers typically avoid becomes your greatest asset. Look for scenes with healthy foliage, which reflects infrared light brilliantly and will appear luminous white against darkened skies. Clouds add dramatic contrast, especially cumulus formations that stand out against the deep blue-to-black sky infrared rendering creates.
Architecture with interesting textures works well, particularly older brick or stone buildings that reveal surface details invisible to the naked eye. Unlike traditional night photography tips where you chase golden hour, midday sun produces the strongest infrared effect.
Compose with the high-contrast aesthetic in mind: position bright foliage against sky, or frame dark tree trunks against glowing leaves. Bracket your exposures by ±1 stop initially, infrared metering can fool your camera’s meter. Review your LCD histogram rather than the preview image, as the false-color display won’t accurately represent your final processed result. Shoot RAW exclusively to preserve maximum editing flexibility.
Post-Processing Techniques for 5 Infrared Images
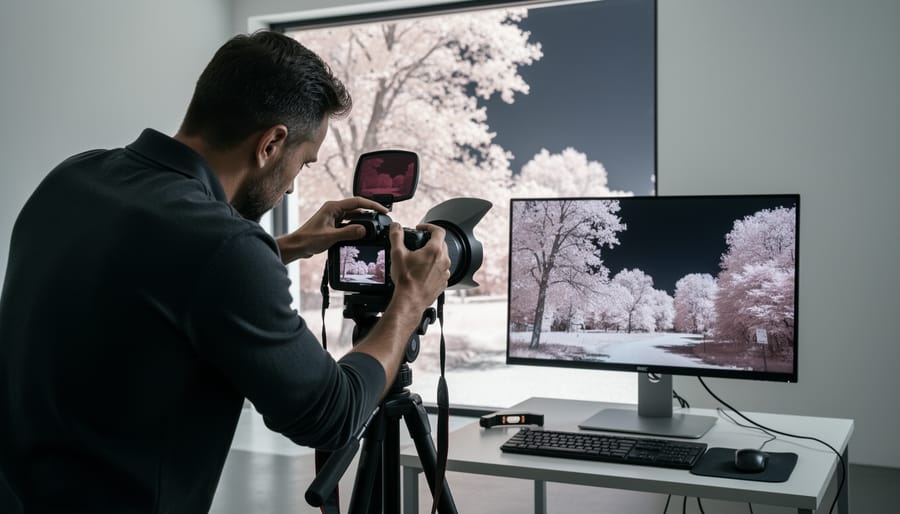
Infrared RAW files look dramatically different from standard photos when you first open them, expect deep red or magenta casts that bear little resemblance to the ethereal landscapes you envisioned. That’s normal. The transformation happens in post-processing, where a methodical workflow converts these unusual captures into striking images with glowing white foliage and inky skies.
Start by importing your RAW files into Lightroom or Adobe Camera Raw. If you set a custom white balance in-camera (using green foliage as your reference), the files should already show a more neutral starting point. If not, select the white balance tool and click on grass or leaves in your preview image. This initial correction pushes the file toward the infrared aesthetic, though further refinement is always needed.
The channel swap is where infrared photography reveals its signature look. In Photoshop, open your file and navigate to the Channel Mixer (Image > Adjustments > Channel Mixer). Select the Red output channel and set Red to 0%, Blue to 100%. Then switch to the Blue output channel and set Blue to 0%, Red to 100%. This swap inverts the color relationships, turning what was crimson foliage into brilliant white and transforming skies from pale pink to deep blue. Some photographers skip this step if they prefer a warmer, more surreal color palette, but the swapped version delivers the classic “wood effect” most associate with infrared.
- Import RAW files and apply your custom white balance (or use the eyedropper on foliage)
- Perform channel swap in Photoshop (Red to Blue, Blue to Red) for the classic look
- Adjust black and white points to establish proper tonal range and prevent clipping
- Increase contrast substantially, infrared benefits from bold separation between highlights and shadows
- Refine with tone curves, typically lifting midtones while anchoring shadows
- Apply optional color toning or convert to black and white for a timeless monochrome interpretation
After establishing the foundation, fine-tune contrast and tone curves. Infrared images thrive on dramatic tonal separation. Push the contrast slider higher than you would with standard photos, then use the tone curve to sculpt specific ranges. A slight S-curve works well: lift the upper-midtones to brighten foliage glow while deepening shadows to maintain visual weight. Watch for blown highlights in clouds or vegetation, the halation effect in infrared can clip highlights faster than expected.
For creative color grading, the HSL sliders become your playground. Shift blues toward cyan for more atmospheric skies, or warm the yellows and oranges to introduce golden tones into architecture and earth. Some photographers apply split toning, adding cool blues to shadows and warm yellows to highlights, creating a duotone effect that emphasizes infrared’s otherworldly quality. Experiment freely, there are no strict rules once you’ve achieved the base infrared look.
Verifying Your Results and Troubleshooting Common Issues
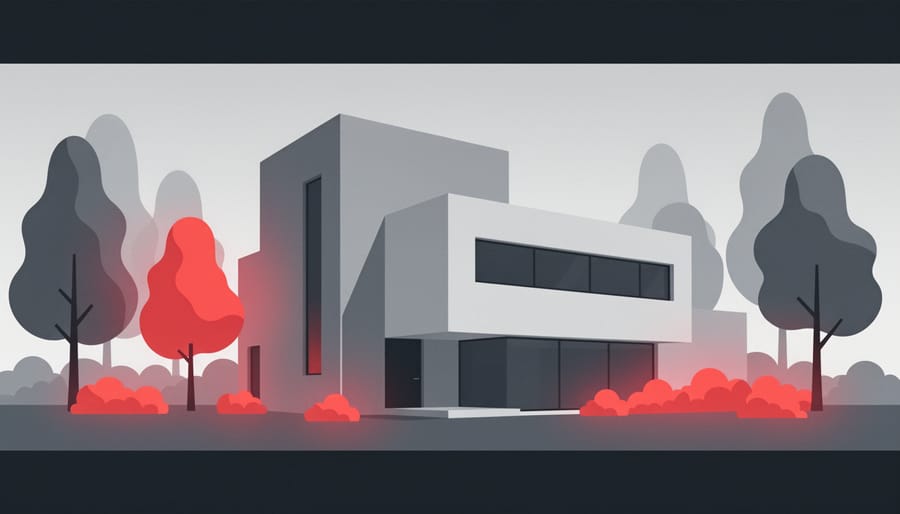
Your first infrared images should display distinct visual signatures that confirm your conversion is functioning properly. Successfully captured infrared photos show bright, almost glowing foliage (trees and grass appear white or pale yellow), deep black or dark blue skies with enhanced cloud texture, and a surreal luminosity that differs dramatically from standard visible-light photography. The entire scene should have a consistent color cast, typically reddish or magenta before post-processing, that shifts predictably when you apply custom white balance adjustments.
Check for these indicators that your setup is working correctly:
- Foliage (grass, leaves, trees) appears bright white or pale, not its natural green color
- Clear blue skies render as dark gray or black, creating dramatic contrast
- Cloud detail is enhanced with visible texture and structure
- Vegetation has a surreal glow or luminous quality absent in visible-light photos
- The overall color cast responds predictably to custom white balance changes
Hot spots, circular bright areas in the center of your frame, indicate a problem with the conversion or filter stack. This typically happens when the replacement filter doesn’t perfectly match your sensor’s depth requirements, causing internal reflections. If hot spots appear consistently, contact your conversion service; this usually requires rework. Excessive red or blue casts that don’t respond to white balance adjustments might mean your custom white balance reference was incorrect, reshoot it using healthy green grass in direct sunlight, filling the frame completely.
Focus issues plague many infrared shooters because infrared wavelengths focus at a slightly different point than visible light. If your images are consistently soft, use live view for critical focus (it shows the actual infrared image), stop down to f/8 or smaller for more depth of field, or investigate infrared focus calibration marks on your lens barrel. Some lenses perform poorly in infrared regardless of technique, vintage manual lenses often excel where modern glass struggles. For specialized applications like night infrared work, expect longer exposures and different troubleshooting challenges related to extended shutter times.
If problems persist across multiple shooting sessions with different subjects and lighting conditions, suspect the conversion itself rather than your technique.
Next Steps: Advancing Your Infrared Photography
Once you’re comfortable with basic 5 infrared captures, the real creative exploration begins. Most photographers find that experimenting with different filter wavelengths opens up entirely new aesthetic territories. A 590nm filter (often called “super color”) preserves more visible light and delivers saturated golden tones, while a 720nm creates the classic high-contrast black-and-white look with snowy foliage. Moving to an 850nm pushes into deeper infrared with almost no color information, producing stark, dramatic monochrome images. Many infrared enthusiasts eventually acquire multiple filter options to match different creative visions.
Infrared portraiture presents a fascinating challenge worth exploring once you’ve mastered landscapes. Skin takes on an ethereal, porcelain-like quality in infrared, and eyes can appear dramatically pale or dark depending on iris pigmentation. However, veins become more visible, so careful posing and post-processing matter. Start with outdoor portraits in dappled light rather than harsh sun.
Building a lens collection specifically tested for infrared sharpness pays dividends. Not all lenses focus infrared light at the same plane as visible light, creating “hot spots” (bright center areas) or soft edges. Research which lenses in your system are infrared-friendly before investing, and consider acquiring a fast prime (like a 35mm f/1.8) that excels in IR.
Can I use my converted camera for regular photography?
Once converted for infrared, your camera captures only infrared light and cannot shoot normal photos. Most photographers keep a separate unconverted body for standard work.
What’s the difference between 590nm, 665nm, and 720nm filters?
Lower wavelengths (590nm) allow more visible color and produce warm, surreal tones, while higher wavelengths (720nm) block more color and create classic high-contrast infrared with white foliage and dark skies. The 665nm sits in the middle as a versatile compromise.
Is infrared photography expensive to maintain?
After the initial conversion cost (typically $300-500 in 2026), there are no ongoing expenses beyond normal photography costs. You’ll use the same memory cards, batteries, and editing software you already own.
Which lenses work best for infrared?
Prime lenses generally perform better than zooms for infrared. Research your specific lens model for hot spot issues, as some lenses create bright center circles due to infrared light reflection.
Joining infrared photography communities accelerates your learning curve significantly. Online forums and social media groups dedicated to IR work provide invaluable feedback on technique, lens recommendations specific to your camera system, and inspiration from photographers pushing creative boundaries. Look for critiques of your work rather than just praise to identify areas for improvement.
 By