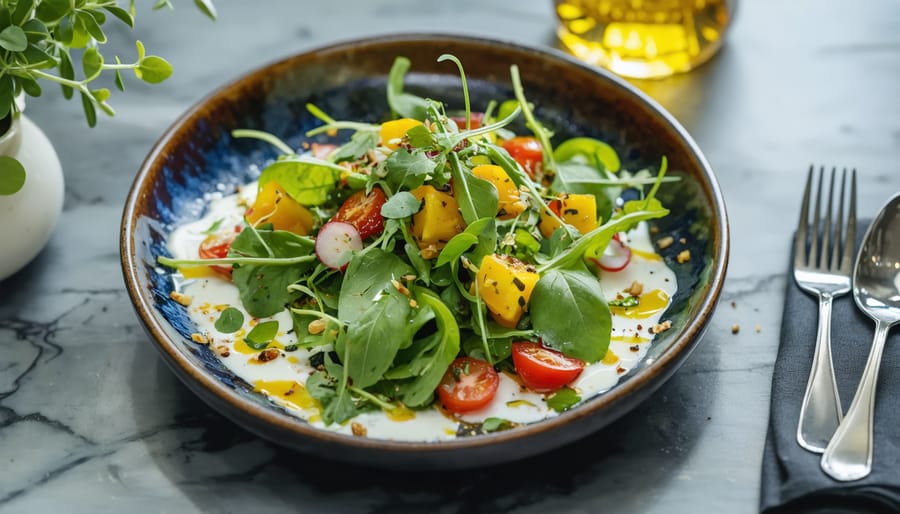
Transform ordinary dishes into visual masterpieces by mastering the fundamental techniques that make food photos pop. Position your main light source at a 45-degree angle to create depth and texture, while using a diffuser to soften harsh shadows that can detract from your food’s natural appeal. Style your dishes with deliberate imperfection—scattered herbs, a partially lifted noodle, or a drizzle of sauce—to capture that authentic, just-served moment that draws viewers in. Shoot from multiple angles, particularly the classic 45-degree perspective or straight overhead, to highlight your dish’s most appetizing features and create visual interest that makes viewers stop scrolling.
Master these core techniques, and you’ll elevate your food photography from simple snapshots to professional-grade imagery that tells a compelling story about each dish. Whether you’re shooting with a DSLR or smartphone, these fundamental principles remain consistent across all platforms and skill levels, forming the foundation for creating images that engage, inspire, and most importantly, make viewers hungry.
Essential Equipment for Stunning Food Photos
Camera and Lens Selection
When it comes to capturing mouthwatering food images, your choice of camera and lens can make a significant difference. While lens selection fundamentals remain consistent across genres, food photography has its own unique requirements.
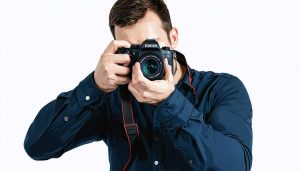
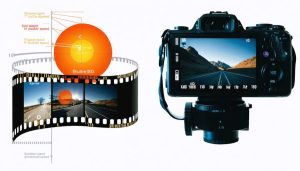
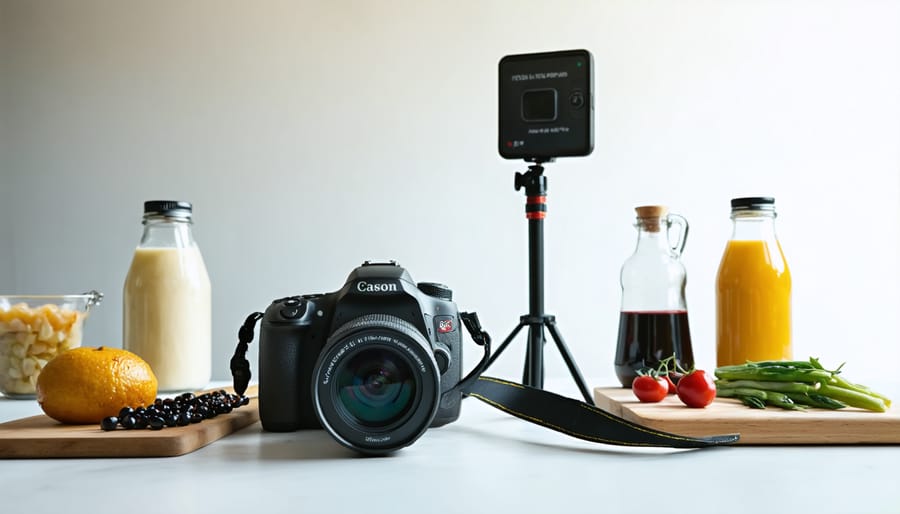
For camera bodies, full-frame sensors offer excellent low-light performance and depth-of-field control, but crop-sensor cameras can also produce stunning results. The key is choosing a camera with good resolution and reliable autofocus capabilities. The Canon 5D series and Sony A7 series are popular choices among food photographers, though any modern mirrorless or DSLR camera will serve you well.
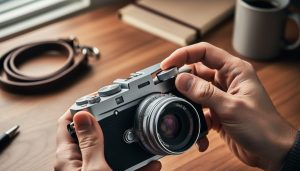
When it comes to lenses, a macro lens is practically essential. The 100mm macro is considered the gold standard, offering the perfect working distance and magnificent detail reproduction. For broader scenes and overhead shots, a 50mm prime lens provides natural perspective and excellent sharpness. A 24-70mm zoom can add versatility to your kit, especially when shooting in restaurants or cramped spaces.
Look for lenses with wide maximum apertures (f/2.8 or wider) to create that coveted shallow depth of field that makes food pop off the plate. Image stabilization is also valuable when shooting handheld in low-light conditions, common in restaurant settings.
Remember, while high-end gear is nice to have, technique and lighting ultimately matter more than equipment. Even a basic camera setup can produce professional-quality food photos when used skillfully.
Lighting Equipment and Tools
Proper lighting can make or break your food photography, and having the right equipment is crucial. Natural light is often the preferred choice, streaming through a window to create soft, appealing shadows that enhance the food’s texture. However, when natural light isn’t available, artificial lighting solutions become essential.
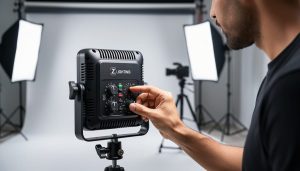
A basic lighting kit should include at least one continuous LED light with adjustable brightness and color temperature. Look for lights with a high CRI (Color Rendering Index) of 95 or above to ensure accurate food color reproduction. Softboxes or diffusers are invaluable for creating that sought-after soft, wrapping light that makes food look appetizing.
Reflectors are another must-have tool, helping to bounce light back into shadow areas. A 5-in-1 reflector kit offers versatility with white, silver, gold, black, and translucent options. White foam boards from craft stores can serve as budget-friendly alternatives for reflecting light.
For more controlled lighting, consider investing in light modifiers such as grids, barn doors, or flags to direct and shape your light. A collection of different-sized diffusion materials, from thin silk to heavier diffusion fabric, will help you achieve various lighting effects.
Don’t forget the practical tools: light stands with sandbags for stability, clamps for holding diffusers and reflectors, and a light meter for precise exposure measurements. These supporting items are just as important as the lights themselves in creating professional-quality food photographs.
Mastering Light in Food Photography
Natural Light Techniques
Natural light is often considered the holy grail of food photography, and learning to master natural lighting can transform your images from ordinary to extraordinary. Window light, in particular, offers a soft, diffused quality that beautifully highlights food textures and creates appealing shadows.
When working with window light, position your setup so the light comes from either the side or slightly behind your subject. Side lighting reveals texture and depth, while backlighting can create beautiful rim lighting effects that make your food glow. For best results, shoot on overcast days or when indirect sunlight filters through sheer curtains – this creates soft, even illumination that’s perfect for food photography.
If the light is too harsh, diffuse it using a white sheet or translucent curtain. Conversely, if you need more contrast, try using a black card on the opposite side of your setup to deepen shadows and create mood. Remember to turn off all artificial lights in the room to avoid mixed lighting temperatures that can affect your white balance.
When shooting outdoors, timing is crucial. The golden hours – just after sunrise or before sunset – provide warm, directional light that’s ideal for food photography. Look for spots in open shade during midday to avoid harsh shadows and blown-out highlights. Keep in mind that food can deteriorate quickly outdoors, so have your composition planned before bringing out your dishes.
For consistent results, invest in a handheld light meter or use your camera’s spot metering mode to measure the light falling on different parts of your subject. This helps ensure proper exposure across your entire composition. Don’t forget to consider the color temperature of natural light throughout the day – morning light tends to be cooler, while evening light has warmer tones that can enhance certain dishes.

Artificial Light Setup
While natural light is wonderful for food photography, artificial lighting gives you complete control over your shots regardless of time or weather. Let’s explore how to create a professional lighting setup that brings out the best in your culinary subjects.
The foundation of most food photography lighting setups begins with a main light, typically positioned at a 45-degree angle to your subject. A softbox attachment helps diffuse the light, creating gentle shadows that enhance texture without harsh contrasts. For best results, use continuous LED lights or strobes with color temperatures around 5500K to maintain consistent white balance.
One of the most effective arrangements is the two-light setup. Position your main light to one side and slightly behind the food, then add a fill light at about half the power on the opposite side to soften shadows. This creates depth while ensuring details remain visible in darker areas. For extra control, use black and white foam boards as flags to shape the light or bounce it where needed.
When working with reflective surfaces like glazes or silverware, consider using a strip light with a grid attachment to prevent unwanted highlights. Place it above and slightly behind your subject to create appealing specular highlights that make the food look fresh and appetizing.
For moody shots, try using a single light source with black foam boards to create dramatic shadows. This technique works particularly well with textured foods like artisanal bread or rustic pasta dishes. Remember to adjust your camera settings accordingly – start with an aperture around f/5.6 for a good balance between depth of field and overall sharpness.
Advanced photographers might want to experiment with gels to add subtle color casts that complement the food’s natural tones. A slight warming gel can enhance the appeal of golden-brown baked goods, while cooler tones might better suit fresh seafood presentations.
Composition and Styling Fundamentals
Angle and Perspective
The angle from which you shoot your food can dramatically impact its appeal and storytelling potential. While there’s no one-size-fits-all approach, understanding when to use specific angles will elevate your food photography to new heights.
The overhead (90-degree) angle, also known as flat lay, works beautifully for dishes with intricate patterns or multiple components, like charcuterie boards or smoothie bowls. This perspective allows viewers to see all elements clearly while incorporating essential composition techniques like symmetry and leading lines.
The 45-degree angle is often considered the sweet spot in food photography. It’s particularly effective for taller dishes, layered foods, or anything with height, such as stacked pancakes or burger builds. This angle captures both the height of the dish and its surface details, creating depth and dimension in your images.
Side-angle shots (0 degrees) excel at showcasing layers, textures, and height. Think melting cheese pulls, dripping sauces, or the perfect cross-section of a layered cake. This perspective creates drama and helps viewers connect emotionally with the food by putting them at eye level with the dish.
Three-quarter views (somewhere between 25 and 75 degrees) offer versatility and natural perspective, similar to how we typically view food when seated at a table. This angle works particularly well for beverages, soups, and plated meals where you want to show both the height and surface details while maintaining a natural, inviting feel.
Remember to experiment with different angles for each dish – what works for one food might not work for another. The key is understanding these perspectives and choosing the one that best highlights your subject’s most appetizing features.
Color Theory and Plating
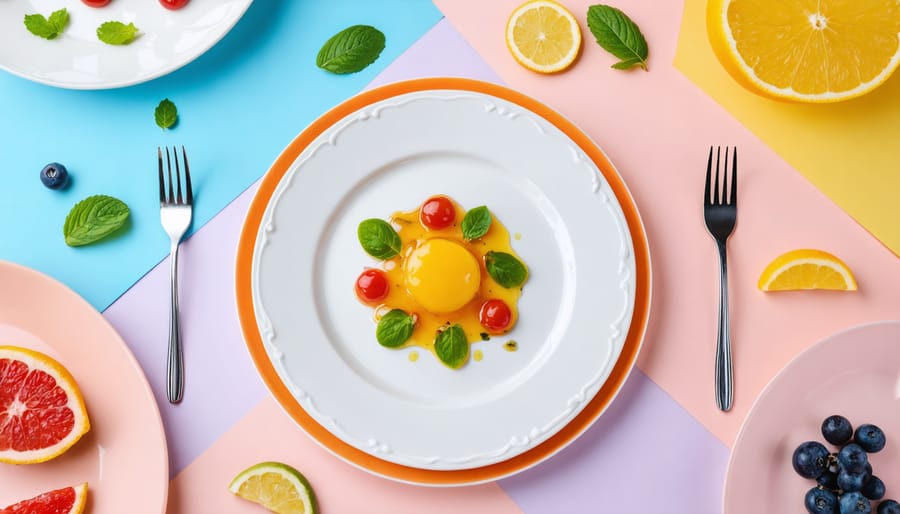
Color theory plays a pivotal role in creating visually striking food photographs, and when combined with thoughtful plating techniques, it can elevate your images from good to exceptional. The key is understanding how different colors interact and using this knowledge to create compelling compositions.
Start by familiarizing yourself with the color wheel and complementary colors. For instance, the vibrant orange of roasted carrots pairs beautifully with the deep blues or purples of a ceramic plate, creating a natural visual tension that draws the viewer’s eye. Similarly, the fresh greens of herbs can make the rich reds of tomatoes or meat appear more appetizing.
When plating, consider the rule of odds – odd numbers of elements tend to look more natural and appealing than even numbers. Create height and dimension by stacking or layering ingredients, but keep it natural and avoid overly architectural constructions that might appear contrived. Negative space is your friend; don’t feel compelled to fill the entire plate.
Texture variety is equally important as color contrast. Combine smooth surfaces with rough elements, like a creamy soup garnished with crispy croutons or fresh microgreens. This creates visual interest and depth in your photographs.
For plating tools, invest in a few essential items: tweezers for precise placement, squeeze bottles for sauces, and offset spatulas for smooth spreads. Keep a collection of different-sized plates in neutral colors – white, black, and gray provide excellent backgrounds that won’t compete with your food.
Remember that less is often more. Rather than overwhelming the viewer with too many elements, focus on creating a clear focal point through thoughtful color combinations and clean plating techniques.
Props and Background Selection
The props and backgrounds you choose can make or break your food photography, serving as the stage that lets your culinary subject shine. Start with a collection of neutral plates and bowls in various sizes, preferring matte finishes over glossy ones to minimize unwanted reflections. White dishes are versatile, but don’t shy away from subtle textures and earthy tones that can complement your food’s natural colors.
For backgrounds, consider investing in a few key surfaces. Weathered wooden boards, marble slabs, and textured slate pieces can create different moods and storytelling opportunities. You can even create your own backgrounds using painted boards or vinyl backdrops. Keep your collection focused on neutral colors and natural textures that won’t compete with your food.
Thoughtfully chosen props can add context and depth to your images. Vintage utensils, linen napkins, and fresh ingredients can help tell the story of your dish. However, remember the golden rule: less is more. Each prop should serve a purpose, whether it’s adding scale, suggesting movement, or providing context.
When selecting props and backgrounds, consider the food’s character. Light, fresh dishes often work well with bright, clean backgrounds, while rustic comfort foods might benefit from darker, more textured surfaces. Always ensure your choices enhance rather than overshadow your main subject.
Post-Processing for Food Photos
Color Grading
Color grading is a crucial step in food photography that can transform an ordinary shot into a mouthwatering masterpiece. Just as chefs need to master detailed close-up photography, photographers must develop a keen eye for color adjustment that enhances appeal while maintaining authenticity.
Start by adjusting your white balance to establish a natural foundation. Food typically looks most appetizing when colors are warm and vibrant, but avoid oversaturation that might make the dish appear artificial. Focus on enhancing the natural colors present in your subject – reds in tomatoes, deep browns in chocolate, or vibrant greens in fresh herbs.
Work with HSL (Hue, Saturation, Luminance) sliders in your editing software to target specific color ranges. For instance, boost the oranges and yellows slightly to make golden crusts more appealing, or adjust the greens to make vegetables look fresher. Pay special attention to complementary colors in your composition, as they can create striking visual contrast.
Remember that different cuisines may require different approaches. Asian dishes often benefit from slightly cooler tones to emphasize freshness, while baked goods usually look more inviting with warmer temperatures. Always maintain skin tones in hands or people in your shots at natural levels to preserve credibility.
The key is subtlety – your adjustments should enhance the food’s natural appeal without making it look processed or artificial. When viewers can’t tell the image has been color graded, you’ve achieved the perfect balance.
Selective Adjustments
In post-processing, selective adjustments can transform a good food photograph into a stunning one by drawing attention to the most appetizing aspects of your subject. Start by using adjustment brushes to enhance the texture and color of key ingredients. For instance, slightly increasing clarity and sharpness on the crust of a bread loaf or the sear marks on a steak can make these textures more pronounced and appealing.
Local exposure adjustments are particularly valuable for creating depth and dimension. Subtly brighten the hero elements of your dish while slightly darkening the background or less important elements. This creates a natural visual hierarchy that guides the viewer’s eye to the most important parts of your composition.
Color adjustments should be precise and purposeful. Use targeted saturation adjustments to make specific ingredients pop – like enhancing the vibrance of fresh herbs or the rich reds of tomatoes – while being careful not to oversaturate the entire image. When working with challenging ingredients like soups or sauces, selective contrast adjustments can help define their surface texture and add appealing highlights.
Remember to work with a light touch. The goal is to enhance the natural appeal of the food without making adjustments obvious. Focus on bringing out the inherent qualities that make the dish appetizing, such as the glossiness of glazes, the moisture content of fresh ingredients, or the golden browns of baked goods.
Food photography is a captivating blend of technical skill and artistic vision, and mastering it requires dedication and practice. As we’ve explored throughout this guide, successful food photography relies on understanding lighting techniques, composition principles, and the proper use of equipment. Remember that natural light is often your best ally, but knowing how to work with artificial lighting can expand your creative possibilities.
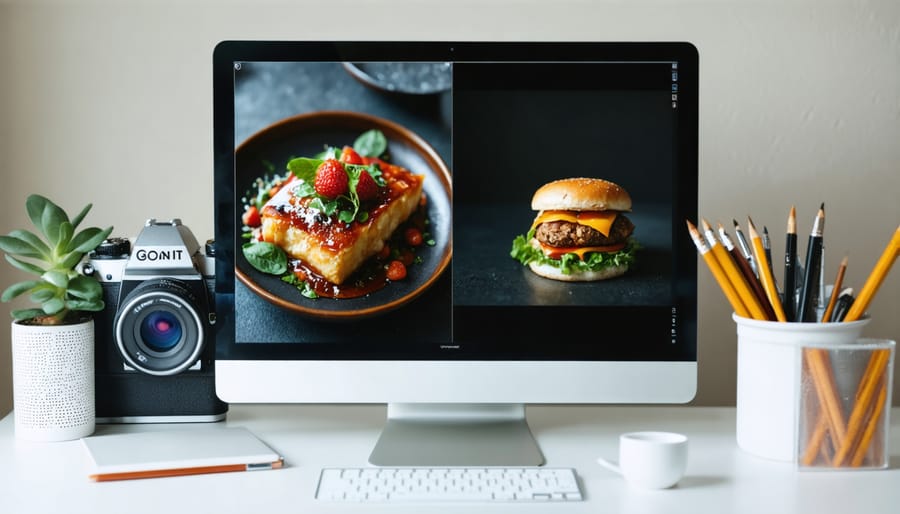
Don’t be discouraged if your first attempts don’t match your vision – every experienced food photographer started somewhere. Keep experimenting with different angles, practicing your styling techniques, and refining your understanding of color theory and composition. Pay attention to the small details that make a big difference, from choosing the right props to ensuring your food looks fresh and appetizing throughout the shoot.
The key to improvement lies in consistent practice and careful analysis of your results. Start building a collection of your work and review it regularly to identify areas for improvement. Join food photography communities, share your work, and be open to constructive feedback. Consider creating a project where you photograph the same dish multiple times, trying different techniques each time to understand what works best.
Remember that trends in food photography evolve, but the fundamental principles we’ve discussed remain constant. Stay curious, keep learning, and most importantly, enjoy the creative process. With time and practice, you’ll develop your unique style and create images that not only showcase food beautifully but tell compelling stories through your lens.