By
By 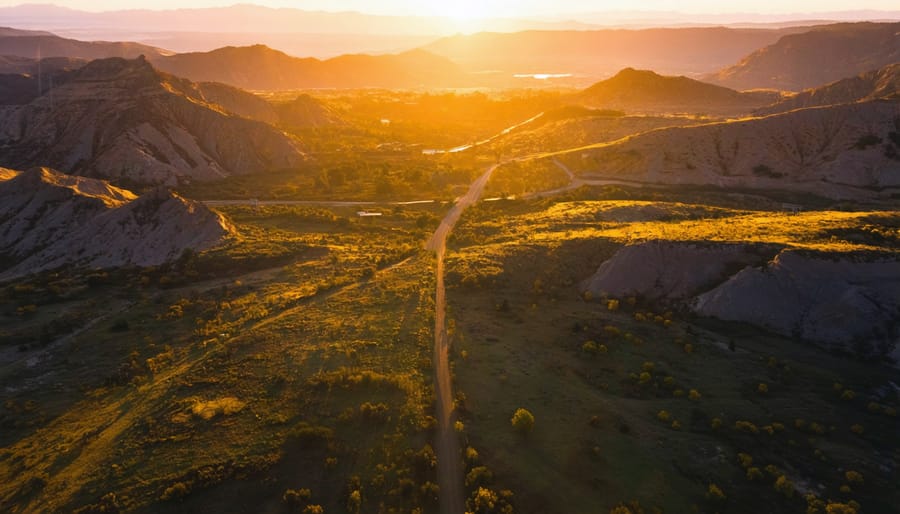
Choose the right settings to maximize image quality. Select a low ISO for less noise, use aperture priority mode to control depth of field, and dial in an appropriate shutter speed to freeze motion or top camera drones allow creative blur. Compose shots thoughtfully, using the rule of thirds, leading lines, symmetry, patterns, and framing to create compelling, well-balanced images that guide the viewer’s eye. Plan flights for the best natural light, shooting during the golden hours near sunrise and sunset for warm, directional illumination that sculpts the scene. Exploit the unique perspectives only drones offer – look for abstract shapes, graphic elements and striking vantage points unattainable from the ground.
Understand Your Drone’s Camera Capabilities
Understanding your drone’s camera capabilities is crucial for capturing stunning aerial photos. Key specs to consider include resolution, sensor size, and aperture. Higher resolution means more detail in your images, while a larger sensor allows for better low-light performance and dynamic range. Aperture affects depth of field and the amount of light entering the lens.
| Drone Type | Resolution | Sensor Size | Aperture Range |
|---|---|---|---|
| Consumer (e.g., DJI Mini) | 12-20 MP | 1/2.3″ to 1/1.3″ | f/1.7 to f/2.8 (fixed) |
| Prosumer (e.g., DJI Mavic 3) | 20-48 MP | 4/3″ to 1″ | f/2.8 to f/11 (variable) |
| Professional (e.g., DJI Inspire) | 45+ MP | Full-frame or larger | f/2.0 to f/16 (variable) |
Most modern drones offer automatic drone camera settings that adjust based on the scene, making it easy for beginners to get started. However, learning to use manual settings gives you more creative control. Experiment with ISO, shutter speed, and aperture to achieve the desired exposure and effect.
Variable aperture systems, like those found in many prosumer drones, provide significant advantages for aerial photography. A wider aperture (f/2.8) excels in low-light conditions and creates shallow depth of field, while a narrower setting (f/11) keeps landscapes sharp throughout. Consumer drones with fixed apertures limit this control but often compensate with excellent computational photography features.
Shutter speed is important for freezing motion or creating motion blur. Faster shutter speeds, like 1/1000s, are great for sharp photos of moving subjects. Slower speeds, like 1/60s, can introduce artistic blur.
ISO determines the camera’s sensitivity to light. Higher ISO values (e.g., 800) are useful in low-light situations but can introduce noise. Lower ISOs (e.g., 100) produce cleaner images but require more light.
Camera resolution has advanced significantly, with many 2026 models offering 20MP or higher sensors. According to industry testing, higher megapixel counts provide greater cropping flexibility and detail for large prints, though sensor size remains equally critical for overall image quality.
Consider your drone’s unique features, such as the ability to shoot in RAW format or capture high-quality video. RAW files contain more data than JPEGs, preserving highlight and shadow detail that proves invaluable during post-processing. Professional photographers consistently recommend RAW format for serious aerial work, as it allows recovery of up to 2-3 stops of exposure latitude compared to compressed formats. For more information on optimal camera settings, you can explore the article on essential camera settings to enhance your photography skills.
By understanding your drone’s camera capabilities and experimenting with different settings, you’ll be well on your way to capturing amazing aerial photos that showcase your creative vision.
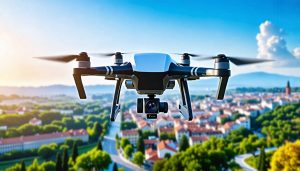
Drone hovering in the sky with camera pointed downward, capturing a scenic aerial landscape
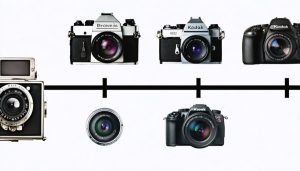
Examples of compelling drone photos showcasing composition techniques like leading lines, symmetry, and patterns
Master the Art of Composition
Aerial photography composition requires a different mindset than ground-level shooting. From above, familiar scenes transform into abstract patterns, geometric shapes, and unexpected symmetries that simply don’t exist at eye level.
The rule of thirds still applies up in the air. Position your horizon along the top or bottom third of the frame rather than dead center. Place key subjects like buildings, roads, or natural features at the intersection points where the gridlines meet. Most drones display this grid overlay in their companion apps, making it easy to nail your composition before you tap the shutter.
Leading lines become especially powerful from a drone’s perspective. Rivers, roads, coastlines, and field boundaries create natural pathways that guide the viewer’s eye through your image. Capture these lines diagonally across the frame for maximum impact, or use them to draw attention toward your main subject. A winding country road cutting through autumn trees or a jetty stretching into the ocean can turn a simple scene into something captivating.
Symmetry appears everywhere when you fly straight overhead. Reflections in still water double your composition, creating mirror images that work beautifully in aerial shots. Agricultural fields, urban grids, and architectural features reveal perfect geometric patterns invisible from the ground. Try shooting straight down at 90 degrees to emphasize these patterns and create bold, graphic images.
Shadows add depth and dimension to aerial photography composition. Early morning and late afternoon light cast long shadows that outline buildings, trees, and landscape features. These shadows become compositional elements themselves, adding layers of interest to otherwise flat-looking overhead shots.
Don’t forget negative space. The sky, water, or uniform fields of crops can balance busy subjects and prevent your images from feeling cluttered. A single boat on a vast expanse of blue water or a lone tree in a snow-covered field tells a stronger story than a frame packed with competing elements.
For more advanced drone photography tips on composition, check out our guide on powerful composition techniques to elevate your drone photography. And if you’re still choosing your equipment, our top camera drones roundup can help you find the right tool for the job.
Shoot in RAW Format
When shooting with your drone, consider capturing images in RAW format for greater flexibility in post-processing. RAW files contain more data than JPEGs, allowing you to recover details in highlights and shadows, adjust white balance, and fine-tune colors without significant quality loss. This is especially useful when dealing with challenging lighting conditions or when you want to create a specific mood in your images.
To enable RAW on most drones, navigate to the camera settings in the companion app and select the RAW or RAW+JPEG option. Keep in mind that RAW files are larger than JPEGs, so ensure you have sufficient storage space on your drone or memory card. While shooting in RAW requires an extra step in processing the files, the creative control and image quality improvements make it a worthwhile choice for many drone photographers.
Experiment with Unique Angles
One of the most exciting aspects of drone photography is the ability to capture unique angles that would be impossible with traditional cameras. Take advantage of your drone’s maneuverability to experiment with creative perspectives. Fly directly above your subject for a birds-eye view that reveals patterns and symmetry invisible from the ground. Get low to the ground to emphasize the scale of your subject against the surrounding landscape. Fly your drone through obstacles like archways, tunnels, or branches for a fresh take on familiar scenes. Play with the parallax effect by including foreground elements to create a sense of depth and motion. Remember, the key to capturing compelling drone photos is to think outside the box and experiment with composition techniques that showcase your drone’s unique capabilities. Don’t be afraid to try unconventional angles and perspectives – that’s where the magic happens!
Nail the Exposure
When it comes to capturing stunning aerial images with your drone, nailing the exposure is crucial. The three key settings that influence exposure are ISO, shutter speed, and exposure compensation. ISO determines your camera’s sensitivity to light; lower ISO values (e.g., 100-400) are ideal for bright daylight, while higher values (800+) suit low-light conditions. However, be cautious of noise at high ISOs.
Shutter speed controls the duration of the sensor’s exposure to light. Faster shutter speeds (1/1000s or higher) freeze motion and are perfect for action shots or windy conditions. Slower speeds (1/60s or lower) allow more light and can create artistic motion blur effects, but may introduce camera shake. As a starting point, set your drone’s shutter speed to double your frame rate (e.g., 1/60s for 30fps).
Exposure compensation lets you fine-tune brightness by telling the camera to overexpose (+ values) or underexpose (- values) the image. This is handy when shooting scenes with high contrast or when the camera struggles to meter correctly.
In general, start with your drone’s auto exposure mode and tweak as needed. For landscapes, prioritize low ISO and apertures around f/5.6-f/8 for sharpness. Use exposure compensation to prevent overexposed skies. For low-light scenes, open up the aperture (f/2.8-f/4), slow the shutter (1/60s or slower), and raise the ISO as needed. Bracket exposures for high-contrast scenes to blend later.
Ultimately, experimentation is key. Take test shots, review histograms, and adjust settings until you achieve your desired look. With practice, you’ll develop an intuition for the optimal exposure settings in any scenario, enabling you to capture breathtaking aerial images that showcase your unique creative vision.
Plan for the Right Light
Lighting plays a crucial role in capturing stunning aerial photos with your drone. The time of day and weather conditions significantly impact the quality and mood of your images. For the best results, plan your drone flights around the available light.
Midday sun can create harsh shadows and high contrast, making it challenging to achieve balanced exposures. If you must shoot during this time, look for subjects with interesting textures or patterns that can benefit from the strong light. Alternatively, try capturing unique perspectives by flying your drone directly above your subject to minimize shadows.
Golden hour, the time just after sunrise or before sunset, offers a warm, soft light that enhances colors and creates long, dramatic shadows. This is an ideal time for drone photography, especially for landscapes or cityscapes. The low-angle light adds depth and dimension to your images, making them more visually appealing.
Overcast days provide even, diffused lighting that can be perfect for certain subjects. The soft light eliminates harsh shadows and helps maintain detail in both highlights and shadows. This is an excellent time to photograph waterfalls, forests, or other scenes with a high dynamic range.
When planning your drone shots, consider the direction of the light and how it interacts with your subject. Backlighting, where the sun is behind your subject, can create a beautiful halo effect or silhouettes. Side lighting can emphasize textures and add depth to your images. Experiment with different angles and positions relative to the light source to achieve various moods and effects.
Remember to adjust your camera settings to make the most of the available light. Use a low ISO to minimize noise, and set your aperture and shutter speed accordingly. In low light conditions, you may need to use a slower shutter speed, so ensure your drone is stable to avoid blurry images. By planning for the right light and adapting your technique to the conditions, you’ll be able to capture stunning aerial photos with your drone.
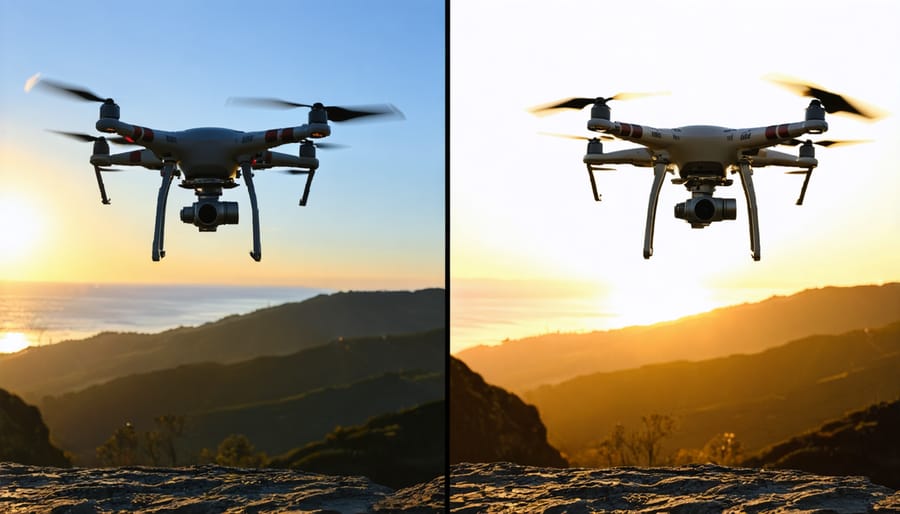
Keep Your Drone Stable
Keeping your drone stable is crucial for capturing sharp, professional-looking photos from the air. Even slight movements can cause motion blur, resulting in disappointing shots. To ensure stability, start by hovering your drone in place before taking a picture. Most drones have a built-in GPS that helps maintain position, but it’s still important to give the aircraft a few seconds to stabilize before pressing the shutter button.
Another helpful feature is tripod mode, which locks the drone’s position and minimizes stick sensitivity, reducing the risk of accidentally bumping the controls. This mode is particularly useful in windy conditions or when shooting long exposures. Additionally, take advantage of your drone’s gimbal settings. The gimbal is the device that holds the camera and compensates for the drone’s movements, keeping the lens steady. Adjust the gimbal’s parameters to optimize stability for your specific shooting situation.
When composing your shots, avoid making sudden or jerky movements with the control sticks. Instead, use smooth, gentle motions to reposition the drone. If your drone supports it, consider using waypoints or pre-programmed flight paths to capture smooth, cinematic footage. Finally, always keep an eye on the drone’s battery life and wind speed, as both factors can affect stability and control. By prioritizing stability and leveraging your drone’s features, you’ll be well on your way to capturing stunning aerial photos with tack-sharp focus.
Conclusion
In conclusion, capturing stunning aerial photos with your drone is all about mastering the fundamentals and continuously practicing your craft. Remember to prioritize composition, leverage the right camera settings, and harness natural lighting to create visually compelling images. Don’t be afraid to experiment with unique angles, perspectives, and creative techniques to develop your own signature style.
To elevate your drone photography game, consider investing in useful accessories like ND filters, spare batteries, and a reliable carrying case. These tools will expand your creative options and ensure you’re always ready to shoot when inspiration strikes.
As you embark on your drone photography journey, always make sure to familiarize yourself with and adhere to local drone regulations. By being a responsible drone operator, you’ll not only stay legal but also help preserve the reputation of the drone photography community.
With dedication, practice, and a passion for capturing the world from new heights, you’ll soon be creating aerial masterpieces that captivate and inspire. So grab your drone, take to the skies, and let your creativity soar!
 By
By