The planet’s most biodiverse regions are disappearing at an unprecedented rate, and photographers hold a unique power to document these vanishing ecosystems before they’re lost forever. Your images can become powerful conservation tools, influencing policy decisions, raising public awareness, and generating funding for protection efforts. But capturing these fragile environments requires more than technical skill—it demands an understanding of where to go, what makes each location ecologically significant, and how to photograph responsibly without causing harm.
Biodiversity hotspots represent just 2.4% of Earth’s land surface yet support more than half of all plant species and nearly 43% of bird, mammal, reptile, and amphibian species as endemics. These regions face extreme threats, having already lost at least 70% of their original habitat. For photographers, they offer unparalleled opportunities to document rare species, unique ecosystems, and the urgent conservation challenges facing our planet.
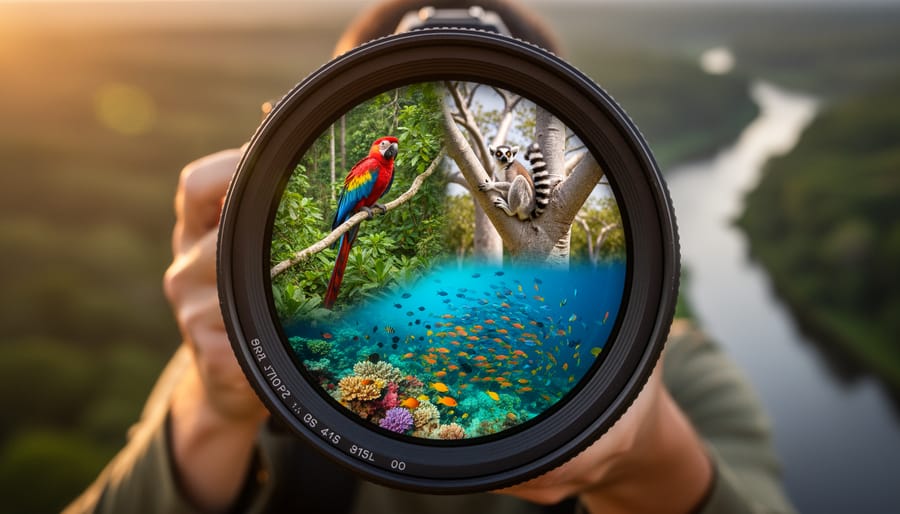
This guide focuses on three distinct hotspot types that showcase the breadth of biodiversity photography opportunities available: the Amazon Rainforest’s terrestrial abundance, Madagascar’s island endemism, and the Coral Triangle’s marine diversity. Each location presents different technical challenges, from managing extreme humidity and low light in dense jungle canopies to capturing the fleeting beauty of reef systems under threat from warming oceans.
Whether you’re a professional wildlife photographer seeking to build a conservation portfolio or an enthusiastic hobbyist wanting to make a meaningful impact, understanding these hotspots will transform how you approach nature photography. Your lens can help tell the stories that scientists and conservationists struggle to communicate, translating data and urgency into emotional, compelling visual narratives that inspire action.
Why Biodiversity Hotspots Need Your Lens
Your camera is more than just a tool for capturing beautiful images—it’s a powerful instrument for change in the world’s most threatened ecosystems. Biodiversity hotspots face unprecedented challenges, from habitat loss to climate change, and conservation photography has emerged as a critical weapon in the fight to protect these irreplaceable places.
Images possess a unique ability to translate complex ecological data into emotional narratives that resonate with the public. When photographer Cristina Mittermeier captured the haunting image of a starving polar bear in 2017, it sparked global conversations about climate change that scientific reports alone couldn’t achieve. Similarly, images from biodiversity hotspots have directly influenced funding decisions. The Atlantic Forest hotspot in Brazil saw a 40% increase in conservation grants after a comprehensive photo documentation project revealed the extent of remaining forest fragments and the species depending on them.
Your photographs can also shape policy. Conservation organizations regularly use compelling imagery in presentations to lawmakers and stakeholders. When National Geographic photographers documented the Madagascar hotspot’s unique lemur species in their rapidly disappearing habitats, the images became central to successful campaigns that established new protected areas covering over 500,000 hectares.
But with this power comes responsibility. Ethical photography in biodiversity hotspots means prioritizing the welfare of your subjects over the perfect shot. Never disturb nesting sites, use playback calls sparingly if at all, and maintain safe distances from wildlife. Research local regulations before your trip—some hotspots require permits for photography, especially of endangered species.
Consider the broader impact of your images too. Sharing specific location details of rare species on social media can inadvertently lead to habitat disturbance or poaching. Instead, use general location tags and work with conservation organizations to ensure your images support protection efforts rather than exploitation.
The real-world impact is measurable. The International League of Conservation Photographers reports that campaigns featuring professional-quality images from hotspots have helped secure over 200 million dollars in conservation funding over the past decade. Your lens can contribute to this legacy, transforming visual moments into lasting protection for Earth’s most precious ecosystems.
The Amazon Rainforest: Shooting in the World’s Most Biodiverse Ecosystem
What Makes the Amazon Critical
The Amazon rainforest stands as the planet’s most biodiverse terrestrial ecosystem, hosting approximately 10% of all species on Earth within its 2.1 million square miles. This staggering concentration includes over 40,000 plant species, 1,300 bird species, and countless insects yet to be documented by science. What qualifies the Amazon as a critical biodiversity hotspot isn’t just this abundance, but the alarming rate at which it’s disappearing—roughly 17% has been lost in the past 50 years to deforestation, agriculture, and development.
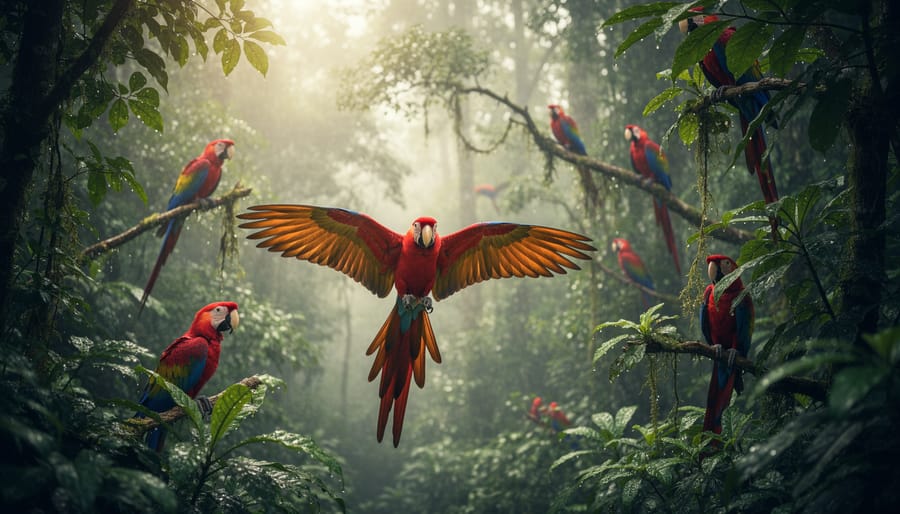
For photographers, the Amazon presents an unparalleled opportunity to document species found nowhere else on the planet. Many of these organisms exist in such specific microclimates that they’re threatened by even modest habitat changes. When you photograph a poison dart frog on a bromeliad or capture a harpy eagle in the canopy, you’re creating visual records of creatures that may vanish within our lifetime. This region’s biodiversity extends vertically too, from the forest floor to the canopy 200 feet above, offering photographers diverse perspectives and lighting conditions that demand both technical skill and creative vision.
Photography Gear That Survives the Humidity
Humidity is the silent enemy of camera gear in biodiversity hotspots. I learned this the hard way during my first trip to Madagascar when condensation fogged my lens at a critical moment with a chameleon subject. Veteran wildlife photographer James Chen, who’s spent fifteen years documenting rainforest ecosystems, puts it bluntly: “Your gear will get wet. Plan accordingly.”
Weather-sealed camera bodies are non-negotiable. The Canon EOS R5 and Nikon Z8 both feature robust weather sealing that holds up remarkably well in tropical conditions. Sony’s A7R V also performs admirably, though some photographers report the battery door seal requires extra attention. These bodies can handle sudden downpours and the persistent moisture that permeates everything in high-humidity environments.
For lenses, look for options with fluorine coating on the front element, which repels water and makes cleaning easier. The reality is that moisture will find its way onto your glass constantly. Tamron’s recent telephoto zooms have impressed field photographers with their weather resistance at a more accessible price point than flagship glass.
Protection goes beyond the gear itself. Silica gel packets become your best friends—scatter them liberally in your camera bag and replace them daily. Many photographers working in hotspots swear by dry bags as a second layer of protection, even inside their regular camera bags. When transitioning between air-conditioned vehicles and humid exteriors, give your gear twenty minutes to acclimate before removing it from bags to prevent condensation forming inside lens elements.
Capturing Both Canopy and Understory Life
The Amazon rainforest presents one of photography’s most rewarding challenges: capturing life that exists in distinct vertical layers, from the forest floor to the emergent canopy 150 feet above. Understanding how to photograph this layered ecosystem requires adapting your approach to dramatically different lighting conditions and wildlife behaviors at each level.
Start with the understory, where ambient light drops to just 2-5% of what’s available above the canopy. Here, you’ll need to embrace higher ISO settings (3200-6400) and wider apertures (f/2.8-f/4) to maintain reasonable shutter speeds for handheld shooting. A fast prime lens like a 50mm f/1.8 becomes invaluable when photographing creatures like poison dart frogs or insects navigating the shadowy forest floor. Consider using a small LED panel or off-camera flash with a diffuser to add fill light without creating harsh shadows that look unnatural in this environment.
Many wildlife photography techniques need adjustment for rainforest conditions. The dense vegetation creates natural framing opportunities but also blocks sight lines, so patience becomes essential. Position yourself near fruiting trees or water sources where animals congregate, and use these natural gathering points to your advantage.
For canopy photography, join guided platform tours or canopy walkways that provide access to the upper layers. Here, light is abundant but harsh during midday. Shoot during golden hour when possible, or use the bright conditions to freeze fast-moving subjects like toucans and howler monkeys with shutter speeds of 1/1000 second or faster.
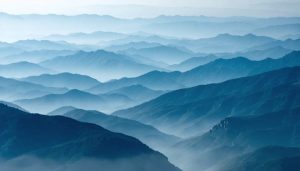
Composition-wise, embrace negative space created by mist and fog, which frequently rolls through the forest. These atmospheric conditions add depth and mystery to your images while naturally separating foreground subjects from busy backgrounds.
Madagascar: Where Evolution Created a Photographer’s Paradise
Why 90% of Madagascar’s Wildlife Exists Nowhere Else
Madagascar split from mainland Africa approximately 165 million years ago, creating what scientists call a “living laboratory” of evolution. This geographical isolation allowed species to evolve in complete separation from the rest of the world, resulting in an extraordinary fact: roughly 90% of Madagascar’s plants and animals are endemic, meaning they exist nowhere else on Earth.
The island’s unique treasures include all 100-plus lemur species, bizarre chameleons like the thumbnail-sized Brookesia micra, and the otherworldly baobab trees. This concentration of endemic species makes Madagascar the world’s highest conservation priority, yet it’s also one of the most threatened hotspots. Over 90% of the island’s original forests have disappeared, placing these irreplaceable species at extreme risk.
For photographers, this creates both opportunity and responsibility. Every image of Madagascar’s wildlife documents species that literally cannot be photographed anywhere else. Your photographs become crucial conservation tools, showing the world what stands to be lost forever. When a ring-tailed lemur or fossa appears in your viewfinder, you’re potentially capturing one of the last visual records of that population. This exclusivity makes Madagascar photography particularly powerful for raising awareness and supporting protection efforts for ecosystems that exist in this single, precious location.
The Best Camera Settings for Fast-Moving Lemurs and Chameleons
Madagascar’s unique wildlife presents two dramatically different photographic challenges that’ll test your technical skills and patience in equal measure.
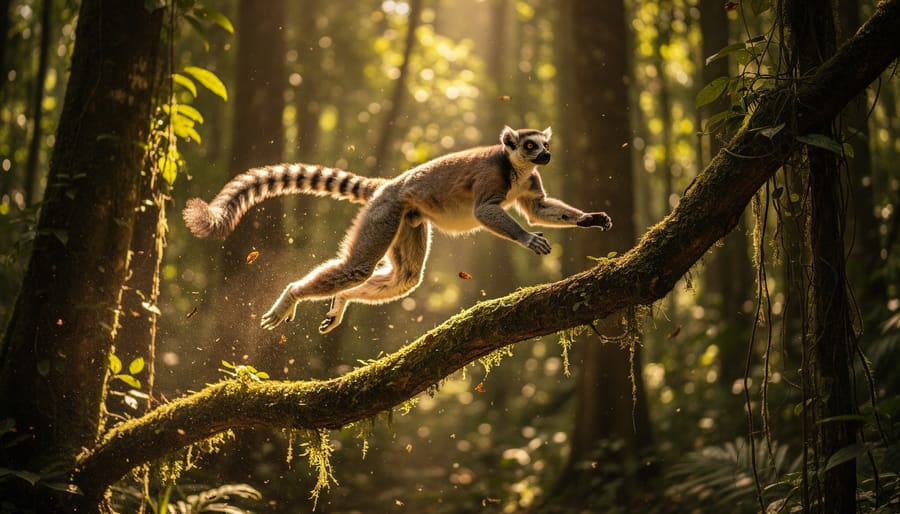
For lemurs, especially the acrobatic sifakas and indris, you’ll need fast shutter speeds to freeze their impressive leaps between trees. Start at 1/1000th of a second minimum, bumping up to 1/1600th or faster for those spectacular mid-air jumps. Use continuous autofocus mode with your camera’s animal eye detection if available, as lemurs rarely sit still for long. A 70-200mm f/2.8 lens gives you the reach and wide aperture needed for shooting in the dappled forest light, though a 100-400mm proves invaluable for distant canopy-dwelling species. Set your ISO to auto with an upper limit of 3200 to maintain those crucial fast shutter speeds without excessive noise.
Chameleons demand an entirely different approach. These masters of stillness benefit from the precision of macro photography techniques, particularly when capturing their remarkable skin textures and independently moving eyes. A true macro lens in the 90-105mm range provides working distance without spooking your subject. Use single-point autofocus on the eye closest to you, as shallow depth of field at close range means precise focus placement is critical. Shutter speeds can drop to 1/250th since chameleons move deliberately, but watch for wind rustling branches. A small reflector helps fill shadows on these textured subjects, revealing the intricate details that make chameleon portraits so compelling. Consider focus stacking multiple shots to maximize depth of field while maintaining image sharpness throughout.
Working With Local Conservation Organizations
Building meaningful relationships with conservation organizations in biodiversity hotspots starts well before you board your flight. Organizations like Madagascar’s Durrell Wildlife Conservation Trust and the Peregrine Fund welcome photographer collaborations, but they need to know you’re serious about supporting their mission, not just capturing trophy shots.
Begin by reaching out at least three months in advance. Introduce yourself, share your portfolio, and explain how you plan to use the images. Most organizations maintain specific access protocols for protected areas. For example, Madagascar’s Masoala National Park requires permits through Madagascar National Parks, and some lemur research sites limit photographer visits to specific times to avoid disrupting behavioral studies.
The best partnerships emerge when photographers offer tangible value. Wildlife photographer Nick Garbutt has worked with Madagascar’s conservation community for over two decades, providing images for educational materials, fundraising campaigns, and scientific publications. His approach demonstrates the power of long-term commitment: he regularly licenses images at reduced rates or donates them outright for conservation use.
Consider practical contributions beyond photography. Bring requested supplies for remote research stations, share your images promptly for grant applications, or offer to train local guides in basic photography so they can document their own conservation stories.
When working with organizations like the Wildlife Conservation Society or local NGOs, clarify usage rights upfront. Many photographers maintain a separate conservation portfolio specifically for nonprofit use. This approach protects your commercial interests while supporting critical conservation messaging.
Document your work properly by recording GPS coordinates, species identification verified by local experts, and contextual information about conservation challenges. These details transform casual wildlife shots into valuable tools for protection efforts, turning your Madagascar adventure into lasting conservation impact.
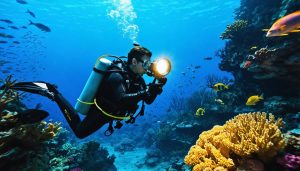
The Coral Triangle: Underwater Photography Where It Matters Most
The Ocean’s Biodiversity Epicenter
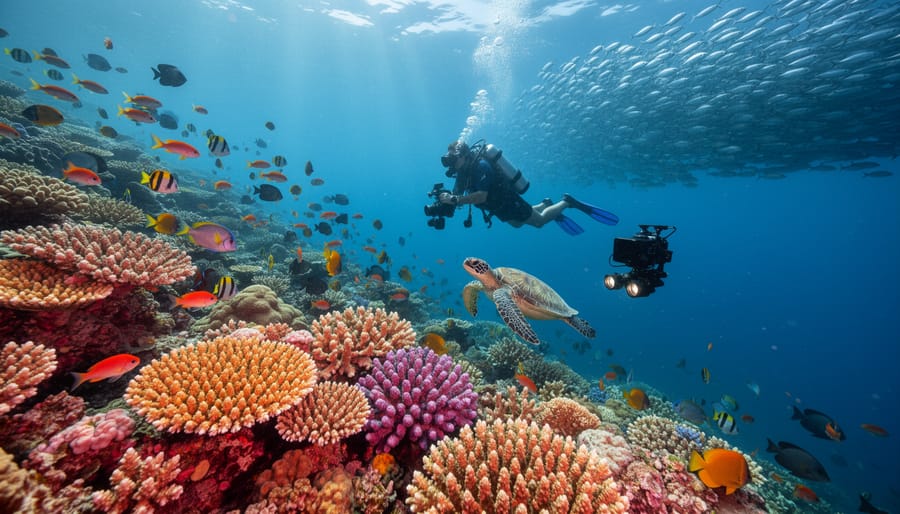
Stretching across six countries in Southeast Asia and the Pacific, the Coral Triangle represents the single most biodiverse marine ecosystem on our planet. This 5.4-million-square-kilometer region is home to 76% of all known coral species, over 3,000 fish species, and six of the world’s seven marine turtle species. Think of it as the underwater equivalent of the Amazon rainforest, except it’s under immediate threat and far less documented photographically.
Climate change is rapidly bleaching these coral systems, while overfishing and destructive fishing practices continue to deplete populations at alarming rates. Scientists estimate that without intervention, we could lose up to 90% of living coral by 2050. This makes your camera an essential conservation tool. Every image you capture of healthy reefs, rare species like pygmy seahorses, or the relationship between coral and marine life becomes part of a visual record that future generations may only experience through photography.
The urgency here cannot be overstated. Unlike terrestrial ecosystems where change happens gradually, coral reefs can transform from vibrant ecosystems to lifeless rubble within months during severe bleaching events. For photographers, this means the time to document the Coral Triangle is now, while these underwater gardens still flourish with life.
Essential Underwater Camera Systems for Conservation Work
Documenting underwater biodiversity requires specialized underwater photography gear that can withstand the unique challenges of tropical marine environments. The good news is that you don’t need to mortgage your house to get started, though understanding the options helps you make smart investments.
For housing systems, I’ve seen excellent results from both high-end options like Nauticam and Ikelite, and more budget-friendly choices like Fantasea. The key is ensuring your housing supports the camera controls you’ll actually use—depth of field preview and quick ISO adjustments become critical when working with marine life. Most quality housings are rated to at least 60 meters, far deeper than recreational conservation work requires.
Strobes make or break underwater images in these biodiverse environments. Dual strobes give you flexibility to illuminate colorful coral formations or fast-moving fish. Sea & Sea YS-D3 units offer reliable performance at a reasonable price point, while Inon Z-330s provide professional power with excellent color temperature. Position them slightly outward to minimize backscatter from particles in tropical waters.
Maintenance becomes non-negotiable in saltwater environments. Rinse everything thoroughly in fresh water after each dive, paying special attention to O-rings. I carry spare O-rings, silicone grease, and basic tools on every trip. Store housings with ports removed to prevent moisture buildup. Many photographers have lost irreplaceable conservation documentation to a single flooded housing—prevention is everything.
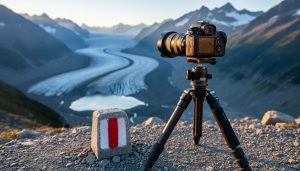
Documenting Coral Bleaching and Marine Life
Coral reefs present some of the most urgent yet technically challenging photography opportunities in conservation work. These underwater ecosystems are experiencing rapid bleaching events, making the documentation of both healthy and damaged systems critical for documenting climate change impact on marine environments.
When photographing bleached coral, approach the subject with both technical precision and ethical sensitivity. White or pale corals require careful exposure management since your camera’s meter will often underexpose these bright subjects. Use your histogram to ensure detail retention in the highlights while maintaining context in surrounding water. Consider shooting at wider apertures (f/5.6 to f/8) to create separation between damaged coral and the background, drawing attention to individual specimens.
Creating compelling before-and-after narratives requires revisiting sites across multiple seasons or years. Use GPS coordinates and visual markers like distinctive rock formations to ensure consistent framing. Photograph healthy reference sections nearby when documenting bleached areas, allowing viewers to understand what’s been lost within a single image or series.
For reef inhabitant behavior, patience yields the strongest results. Fish and invertebrates often resume natural activity within 10-15 minutes of a diver’s arrival. Position yourself downcurrent and slightly below your subjects, allowing them to swim naturally into your frame. A macro lens (100-105mm) captures cleaning station interactions and symbiotic relationships that illustrate reef health.
Underwater lighting demands creative problem-solving. The blue color cast intensifies beyond 15 feet, so strobes or video lights become essential for accurate color rendition. Position strobes at 45-degree angles to minimize backscatter from particles in the water column. For wide-angle reef scenes, consider shooting during midday when sunlight penetrates deepest, using ambient light to illuminate backgrounds while strobes light foreground subjects. Always maintain proper buoyancy control to avoid damaging fragile coral structures during your documentation work.
Making Your Hotspot Images Count for Conservation
You’ve captured stunning images of rare species and vanishing ecosystems, but now what? The real conservation impact begins when you put those photographs to work strategically.
Start by licensing your work to conservation organizations. Many NGOs operate on tight budgets and desperately need compelling imagery for campaigns, reports, and fundraising materials. Organizations like the World Wildlife Fund, Conservation International, and regional groups often maintain databases of vetted photographers willing to license images at reduced rates or donate them entirely. Reach out directly to their communications teams with a curated portfolio relevant to their current campaigns. When photographer Cristina Mittermeier donated images of Arctic wildlife to Ocean Conservancy, those photographs became central to a campaign that helped secure protection for 1.5 million square miles of Arctic waters.
Consider platforms specifically designed for conservation photography. The International League of Conservation Photographers maintains a prestigious network where your work reaches decision-makers directly. Their annual showcases have influenced policy discussions at the United Nations and within government agencies. Similarly, platforms like Wild Wonders of Europe and SeaLegacy connect conservation photographers with media outlets and NGOs actively seeking powerful imagery.
Social media strategy matters enormously, but requires more than simply posting pretty pictures. Tag relevant conservation organizations, use specific hashtags like #ConservationPhotography and location-specific tags, and most importantly, tell the story behind each image. Photographer Paul Nicklen’s viral Instagram post of a starving polar bear didn’t just gather 2.5 billion views; it sparked global conversations about climate change and generated substantial donations to conservation efforts. The key was his detailed caption explaining the context and what viewers could do to help.
Don’t overlook traditional media. Submit work to publications like National Geographic, bioGraphic, and Mongabay, which specifically cover conservation issues. A single placement in a major publication can reach millions and influence public opinion. Photographer Joel Sartore’s Photo Ark project, documenting species before they disappear, has been featured across National Geographic’s platforms and directly contributed to fundraising campaigns that have generated millions for captive breeding programs.
Finally, consider creating targeted photo stories or exhibitions around specific conservation issues. When photographer Ami Vitale documented the last northern white rhinos, her images were instrumental in fundraising efforts that raised over $9 million for rhino conservation programs. Your hotspot images could become similarly powerful tools when paired with compelling narratives and distributed through the right channels.
As photographers, we hold something more powerful than most of us realize: the ability to make people care. A single well-crafted image from the Amazon, Madagascar, or the Coral Triangle can spark conversations, shift perspectives, and even influence policy decisions. While scientists gather data and conservationists develop strategies, our photographs provide the emotional connection that turns statistics into stories people remember.
The biodiversity hotspots we’ve explored aren’t just exotic destinations for your portfolio. They’re irreplaceable ecosystems hanging in the balance, and your images can tip the scales toward preservation. Whether you’re documenting a blue-eyed black lemur, the intricate patterns of healthy coral, or the cathedral-like canopy of a rainforest, you’re creating visual evidence of what we stand to lose.
If you’re planning to visit these locations, approach them with the respect they deserve. Work with local guides who understand the ecosystems, follow established trails, and never prioritize a shot over the wellbeing of your subjects. Research organizations working in these regions and consider donating images to support their efforts, or partnering with conservation groups that can amplify your work’s impact.
Start small if these destinations feel out of reach right now. Document your local biodiversity, practice ethical wildlife photography techniques in your own backyard, and build the skills you’ll eventually bring to these critical hotspots. Every photograph that celebrates the natural world contributes to a larger movement. Your camera is already a conservation tool. Now it’s time to use it intentionally.