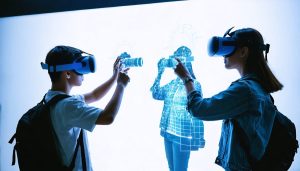
Your smartphone camera captures a crisp sunset in milliseconds, but when you launch an AR filter, suddenly everything looks soft and jittery. This disconnect frustrates photographers who assume their camera skills should translate directly to augmented reality—but AR optics operate on fundamentally different principles than traditional photography.
Augmented reality doesn’t just capture light like your camera does. Instead, it combines real-world optical input with computer-generated imagery in real-time, creating a hybrid visual experience that demands entirely new technical considerations. The optical systems powering AR must simultaneously track your environment, understand depth and spatial relationships, and overlay digital content so convincingly that your brain accepts the illusion. This triple challenge explains why AR images often appear degraded compared to standard photos, even on the same device.
Understanding AR optics matters now more than ever. Social media platforms increasingly prioritize AR content, with Instagram and TikTok filters generating billions of views daily. Professional photographers are being hired to create AR experiences for brands, while hobbyists discover that mastering AR techniques opens creative possibilities impossible with traditional photography alone. The camera in your pocket already contains sophisticated optical sensors designed for AR—from time-of-flight depth sensors to LiDAR scanners—but leveraging these tools requires knowledge that photography education rarely covers.
The gap between capturing great photos and creating compelling AR content isn’t about expensive equipment. It’s about understanding how computational optics, environmental lighting, and spatial tracking work together to build believable augmented experiences.
How Augmented Reality Optics Differ From Your Camera Lens
The Dual Challenge: Capturing and Displaying at Once
Here’s the thing about AR headsets that makes them fundamentally different from your camera: they have to do two jobs simultaneously, and both need to work flawlessly. While your DSLR or mirrorphone camera focuses on capturing what’s in front of you, AR camera technology must capture the real world and display digital overlays in perfect harmony, all while you’re wearing the device.
Think of it as trying to watch a movie projected onto a window while still seeing the street outside clearly. That’s essentially what AR optics accomplish, but with far more sophistication.
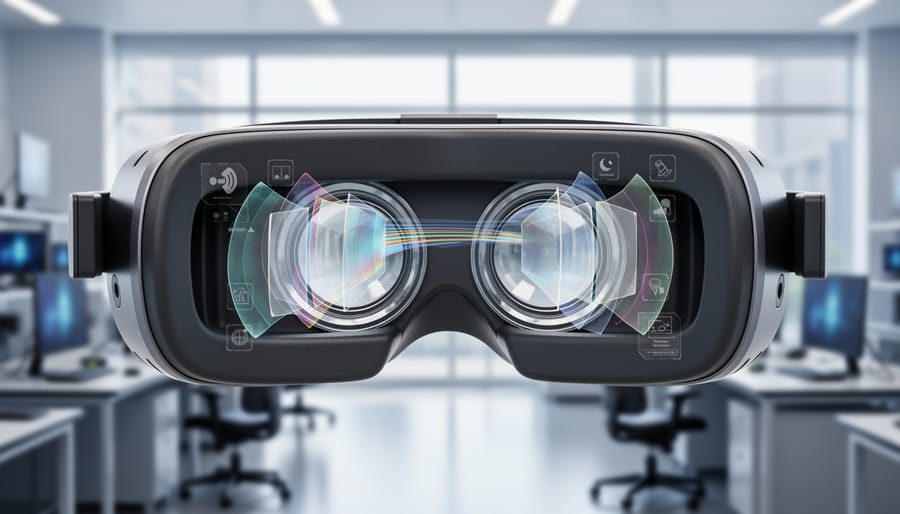
Most AR headsets use one of three core approaches. Pass-through systems, like those in the Meta Quest 3, mount outward-facing cameras that capture your surroundings, then display that feed on internal screens along with digital content. It’s indirect viewing, similar to looking at a live camera preview, which explains why some users notice slight latency or graininess.
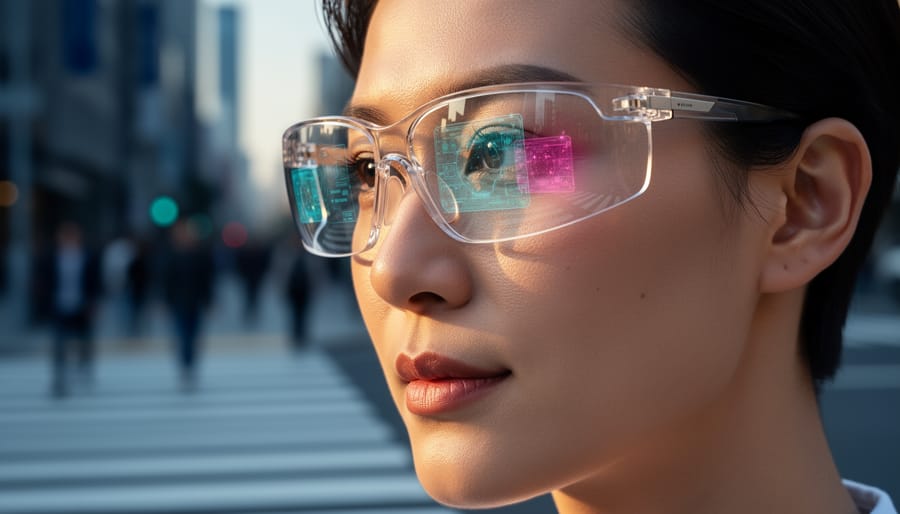
Waveguide optics, found in devices like Microsoft HoloLens, take a different approach. These thin, transparent lenses contain microscopic structures that bend light from tiny projectors into your eyes while letting real-world light pass through naturally. Imagine looking through prescription glasses that somehow project images directly into your field of vision without blocking your view.
Beam splitters offer a third solution, using angled transparent mirrors to combine projected digital images with real-world views. Think of a teleprompter setup where talent reads text while looking directly at the camera.
Each method involves optical trade-offs. Pass-through offers richer digital content but sacrifices direct vision. Waveguides preserve natural sight but limit digital brightness and field of view. Understanding these compromises helps photographers anticipate how their content will appear across different AR platforms.
Field of View vs. Image Quality Trade-offs
Here’s a frustrating reality: AR headsets can’t deliver both an expansive field of view and razor-sharp imagery simultaneously. Think of it like the aperture settings on your camera—when you optimize for one quality, something else gives way.
Most consumer AR devices offer fields of view between 40-52 degrees, roughly equivalent to a 50mm lens on full-frame. Go wider, and you’ll notice image degradation at the periphery—blurriness, chromatic aberration, and distortion increase dramatically. This happens because AR optics use waveguides or combiners that struggle to maintain focal consistency across large angles.
For content creators, this trade-off demands strategic choices. If you’re designing AR experiences for product visualization or portrait overlays, prioritize image sharpness over field of view. Your audience needs to see crisp details. However, for environmental AR applications like navigation overlays or architectural visualizations, a wider field of view becomes essential, even if edge sharpness suffers slightly.
Here’s practical advice: when shooting source material for AR applications, capture at higher resolutions than you think necessary. This gives the AR system computational headroom to maintain perceived sharpness despite optical limitations. Also, design your most important visual elements for the center 30 degrees of the frame, where optical quality remains strongest across all devices.
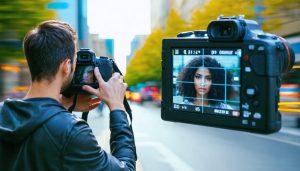
Shooting Photography for AR Consumption
Resolution and Detail Requirements for AR Displays
Here’s the thing about AR displays that catches many photographers off guard: they demand significantly higher resolution standards than the screens you’re used to. When you view a smartphone from 12 inches away, your eyes can’t distinguish individual pixels at around 300-400 PPI (pixels per inch). But AR headsets sit mere inches from your eyes, often with magnifying optics that bring virtual objects into comfortable focus at what appears to be arm’s length or beyond.
This optical trickery means AR displays need pixel densities exceeding 1,000 PPI to avoid the dreaded “screen door effect,” where you can literally see the gaps between pixels, like looking through a mesh screen. Current consumer AR headsets typically range from 40-50 pixels per degree of visual angle, while human vision can resolve details at roughly 60 pixels per degree under ideal conditions.
For photographers creating AR content, this translates into practical shooting requirements. Your source images should be considerably higher resolution than you’d normally use for web display. Think 4K minimum for textures and overlays, even if they’ll appear as relatively small virtual objects in the user’s field of view. When shooting reference imagery or photogrammetry captures for AR applications, use your camera’s native resolution without downsampling. Those extra megapixels matter because AR systems often need to crop, zoom, or reproject your images while maintaining clarity.
The closer a virtual element appears to the viewer in AR space, the higher its source resolution needs to be. A virtual photo frame floating six feet away requires less detail than text annotations meant to appear just beyond arm’s reach.
Color and Brightness Considerations
Here’s something that catches many AR content creators off guard: your beautifully exposed photograph might look completely washed out when displayed through AR glasses or on a smartphone screen overlaying the real world. The reason? AR optical systems are fundamentally different from traditional displays because they’re competing with ambient light rather than controlling it.
Unlike your camera’s LCD or a computer monitor that emits light in a darkened environment, AR devices must project images that remain visible against whatever real-world backdrop exists. Think of it like trying to watch a projector presentation with the lights on—the brighter the room, the harder it becomes to see the projected content. This creates unique challenges for color accuracy and overall brightness.
When shooting content destined for AR platforms, you’ll want to boost your contrast more than usual. Images with punchy, saturated colors and strong differentiation between light and dark areas perform better because they maintain visibility across varying ambient conditions. Pastel tones and subtle gradients often disappear entirely when overlaid on bright environments.
Pay special attention to your white balance settings. Many AR optical systems, particularly those using waveguide technology, can introduce slight color casts—often a greenish or bluish tint. Shooting slightly warmer than neutral can compensate for this shift. It’s worth testing your content on the actual AR device whenever possible, as what looks perfect on your camera screen may appear dramatically different in the mixed reality environment.
Brightness is equally critical. Aim for exposure levels that would normally seem slightly overexposed on traditional displays. Your mid-tones should lean toward the brighter side, ensuring visibility even when competing with sunlight or indoor lighting. Remember, ambient light is your constant competitor in AR photography.
Creating Depth-Aware Content with Stereo Photography
Stereo Camera Setup and Interpupillary Distance
Setting up a stereo camera rig for AR content is easier than you might think, though understanding the fundamentals will save you countless hours of troubleshooting. The key measurement you need to know is IPD, or interpupillary distance—the space between your eyes, which averages about 63mm for adults but varies between individuals. This measurement matters because your dual-camera setup needs to mimic human vision to create convincing AR experiences.
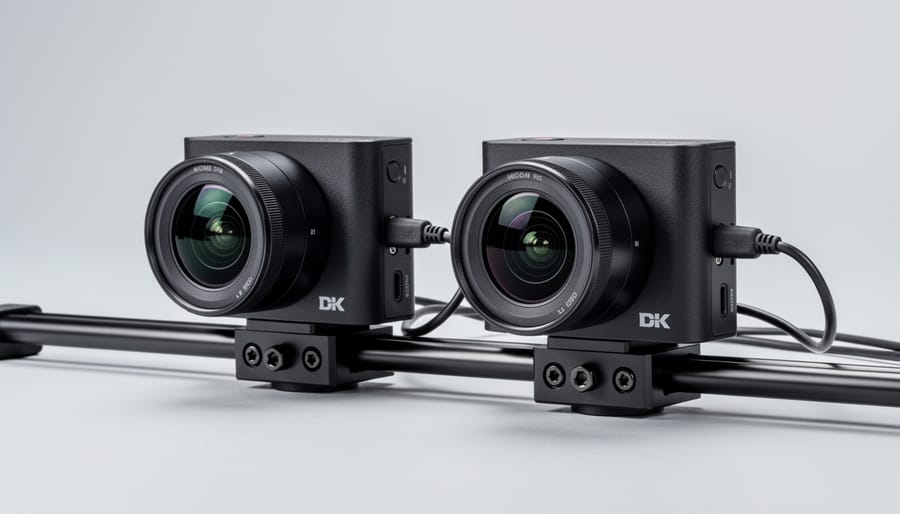
When shooting stereoscopic photography for AR applications, position your cameras with a baseline distance that matches the average IPD. Mount two identical cameras side-by-side on a sturdy rig, ensuring the lenses are precisely 63mm apart and perfectly parallel. Even a slight angle difference will cause viewer discomfort and eye strain.
For DIY enthusiasts, you can build a basic rig using aluminum extrusion rails and adjustable camera plates for under a hundred dollars. Just make sure both cameras use identical settings—same focal length, aperture, shutter speed, and ISO. Syncing the shutters is crucial for moving subjects, which you can achieve with simple wireless triggers.
Professional setups like beam-splitter rigs offer superior precision and often include built-in synchronization, but they’ll cost significantly more. The Stereo3D rig systems, for instance, provide micron-level adjustments and are worth considering if you’re shooting commercially.
Here’s a practical tip: start with stationary subjects while learning. Photograph architecture, products, or landscapes where perfect synchronization isn’t critical. Once you’ve mastered alignment and exposure matching, move on to more dynamic scenes. Remember, the goal is creating natural depth perception that your viewer’s brain accepts without effort.
Computational Depth Mapping Alternatives
Not everyone has access to dual-camera setups or expensive stereo rigs, but that doesn’t mean you’re locked out of creating compelling AR content. Modern computational approaches offer surprisingly effective alternatives that work with the camera you already have.
Single-camera depth estimation has come a long way thanks to machine learning. Software can now analyze visual cues in a single image—things like atmospheric perspective, relative size, and texture gradients—to build reasonably accurate depth maps. Think about how your brain naturally perceives depth in a photograph. These algorithms mimic that process. While not as precise as true stereo vision, they’re perfect for social AR filters and general content creation. Facebook and Instagram’s AR platforms rely heavily on these methods, which is why your smartphone can add convincing virtual sunglasses without any special hardware.
LiDAR scanning represents the premium end of single-device solutions. Apple’s iPad Pro and iPhone Pro models include LiDAR sensors that actively measure depth by bouncing infrared light off surfaces. The results are impressively accurate—usually within millimeters—and work even in low light conditions where camera-based methods struggle. This makes LiDAR ideal for architectural visualization, furniture placement apps, and professional AR projects where precision matters. The tradeoff? You’re limited to specific devices and slightly shorter range compared to photogrammetry techniques.
Apple’s ARKit Depth API deserves special mention as a practical middle ground. It combines camera data with motion tracking and machine learning to generate depth information in real-time. For iOS developers and content creators, this API handles the heavy lifting automatically. Use it when you need reliable depth mapping without worrying about the underlying technology—perfect for interactive AR experiences or quick prototyping.
Choose computational methods for accessibility, LiDAR for precision, and depth APIs when you need proven reliability with minimal setup complexity.
Working with AR Camera Systems
Understanding Pass-Through Camera Limitations
Let’s address the elephant in the room: pass-through camera technology in current AR headsets isn’t going to replace your dedicated camera anytime soon. While these systems work impressively well for spatial awareness and basic mixed reality experiences, they face significant photographic limitations that anyone coming from a photography background will immediately notice.
The primary culprit is sensor size. Most AR headsets use compact sensors similar to those found in budget smartphones from several years ago. These tiny sensors, often measuring just 1/3 inch or smaller, simply can’t capture the light information that larger sensors provide. Think of it this way: if your full-frame camera sensor is like a swimming pool collecting photons, these AR sensors are more like coffee cups. This fundamental physical constraint affects everything from dynamic range to color depth.
Fixed apertures present another challenge. Unlike your camera lenses with adjustable apertures, AR headset cameras typically operate at a single, relatively narrow aperture—often around f/2.4 to f/2.8. This means you can’t adapt to changing lighting conditions by opening up the lens, and you certainly can’t achieve the shallow depth of field effects that photographers love. The system relies entirely on computational adjustments rather than optical control.
Low-light performance reveals these limitations most dramatically. Without large sensors to gather light or the ability to widen the aperture, AR pass-through cameras struggle in dim environments, producing noisy, washed-out images that lack the detail and tonal gradation you’d expect. Many current systems also rely on infrared illumination for tracking, which can interfere with color accuracy in mixed lighting situations.
Understanding these constraints helps set realistic expectations for AR content creation.
Practical Applications and Creative Opportunities
While AR optics have their quirks, they unlock creative possibilities that traditional cameras simply can’t match. Think of these tools not as replacements for your DSLR, but as a completely different creative medium with its own unique advantages.
Real-time overlay photography is perhaps the most exciting application. You can composite virtual elements directly into your scene as you shoot, seeing the final result before you press the shutter. Want to add a neon sign to an empty wall or place a virtual sculpture in your living room? AR cameras let you visualize and capture these mixed reality images instantly, eliminating the need for post-processing compositing work.
Spatial anchoring offers photographers a consistency tool that traditional methods can’t replicate. By anchoring virtual markers in physical space, you can return to the exact same framing days or even weeks later. This is invaluable for long-term projects like documenting construction progress, seasonal changes, or creating before-and-after comparisons with pixel-perfect alignment. One landscape photographer I know uses spatial anchors to capture the same vista across different weather conditions, ensuring every shot has identical composition.
Mixed reality compositing takes product photography to new dimensions. Instead of building expensive sets, you can photograph real products against virtual backgrounds that respond to lighting changes in real time. Fashion photographers are experimenting with virtual garments overlaid on real models, while architectural photographers use AR to show proposed renovations within existing spaces. These applications transform AR from a limitation-riddled novelty into a genuinely useful creative tool.
Optical Challenges and Solutions for AR Photography
Dealing with Lens Distortion and Aberrations
AR headsets and smart glasses use advanced optics like waveguides and prisms that introduce unique distortion patterns quite different from traditional camera lenses. You might notice edge warping, color fringing, or uneven sharpness across your frame—these are hallmarks of AR optical systems rather than signs your equipment is failing.
The most common aberration is chromatic distortion, where you’ll see color separations appearing as rainbow-like edges around high-contrast objects. This happens because AR displays must bend and redirect light through multiple surfaces before reaching your eyes or camera sensor. Field curvature is another challenge, causing the center of your image to appear sharp while edges soften noticeably.
Software solutions are your first line of defense. Many AR platforms now include built-in correction profiles that automatically compensate for known distortion patterns. Adobe Lightroom and Photoshop also offer lens correction tools where you can create custom profiles for specific AR devices. When shooting, position your primary subject in the center third of the frame where optical quality is strongest. Keep your camera sensor parallel to the AR display surface to minimize keystoning effects.
For video capture, use higher frame rates when possible—60fps or above helps reduce motion artifacts that AR optics can exaggerate. Finally, slightly overexpose your shots by one-third to half a stop, as AR displays often introduce subtle vignetting that darkens frame edges.
Managing Focus and Depth Perception
AR headsets face a unique challenge called the vergence-accommodation conflict. In the real world, when you focus on something close, your eyes naturally converge and your lenses adjust together. AR displays, however, sit at a fixed distance from your eyes while projecting objects that appear to be at various depths. Your brain receives mixed signals, which can cause eye strain and make your carefully composed images look uncomfortable to viewers.
The good news? You can work around this by understanding where AR comfort zones exist. Most AR platforms perform best when virtual objects appear between 1.5 and 5 meters from the viewer. Placing your main subject within this range reduces strain and keeps images sharp. Think of it as your AR sweet spot.
When composing shots, avoid dramatic foreground-to-background depth transitions. Instead of placing a virtual object right in someone’s face with a distant background, stage your composition with gentler depth changes. Use environmental context clues like shadows and relative sizing to suggest depth rather than relying solely on optical focus shifts. This approach lets viewers comfortably process your image without their visual system fighting against the display’s limitations, resulting in more engaging AR experiences.
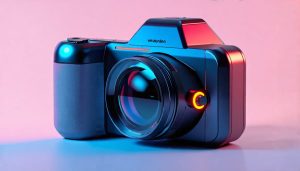
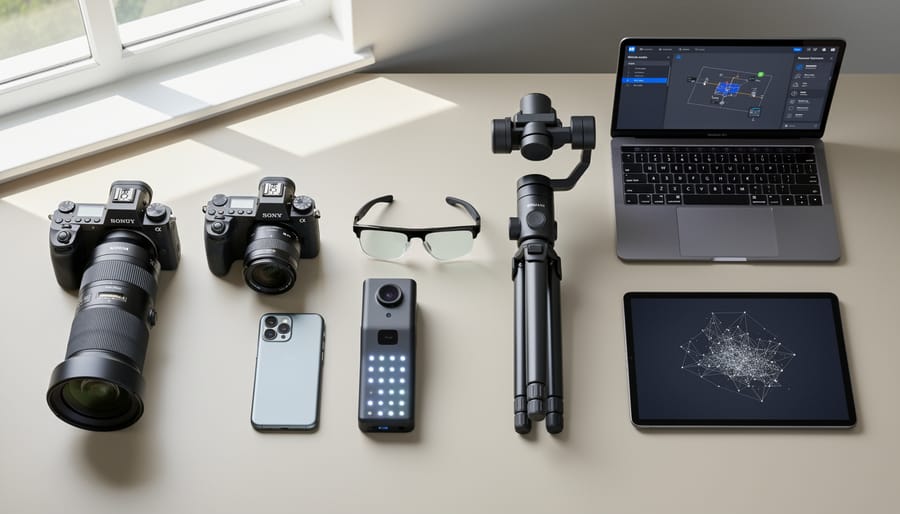
Essential Gear for AR Photography
Creating compelling AR content requires gear that prioritizes specific qualities over traditional photography considerations. Let’s break down what actually matters when you’re building your AR photography toolkit.
Your camera body needs robust autofocus and high frame rates more than extreme resolution. For AR applications, a 20-24 megapixel sensor hits the sweet spot—enough detail for depth mapping without creating unwieldy file sizes that slow down AR processing. The Sony A7 III (around $1,800 used) offers excellent eye-tracking autofocus crucial for AR portraits, while budget-conscious creators will find the Canon EOS R10 (approximately $980) delivers solid performance with its Dual Pixel autofocus system. For those investing seriously in AR production, the Nikon Z9 (roughly $5,500) provides unmatched subject detection and computational photography features that translate beautifully to AR environments.
Lens selection matters differently in AR photography. You’ll want focal lengths between 24mm and 50mm—wider perspectives help AR algorithms understand spatial relationships, while moderate telephoto ranges work well for object isolation. The 35mm focal length deserves special mention as it closely mimics smartphone camera perspectives, making your AR content feel natural when viewed on mobile devices. A bright f/1.8 or f/2.8 maximum aperture ensures clean captures in varied lighting, reducing the noise that confuses depth-sensing algorithms. Consider the Sony FE 35mm f/1.8 ($650) or the more affordable Canon RF 35mm f/1.8 Macro ($430) as excellent starting points.
Beyond the camera and lens, essential camera accessories take on new importance for AR work. A sturdy tripod isn’t just helpful—it’s critical for capturing the multiple exposures and bracketed shots that AR platforms use for depth mapping. The Peak Design Travel Tripod ($380) balances portability with stability. Additionally, invest in a calibrated monitor for reviewing captures; color accuracy directly affects how AR overlays blend with your imagery. Finally, consider a circular polarizer to reduce reflections and enhance sky definition, both elements that help AR software distinguish foreground from background more accurately.
The differences between traditional optics and augmented reality optics might seem daunting at first, but understanding these distinctions opens up exciting creative possibilities. Remember, traditional photography prioritizes depth and dimensional realism, while AR optics favor sharpness across multiple focal planes and consistent lighting that translates well to small screens. These aren’t opposing forces—they’re simply different tools for different storytelling mediums.
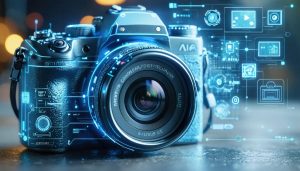
If you’re feeling hesitant about diving into AR content creation, don’t be. The technology is evolving at breakneck speed, and what seems limiting today will likely become seamless tomorrow. Major camera manufacturers and software developers are investing heavily in AR-optimized sensors and computational photography solutions. We’re already seeing impressive advances in eye-tracking autofocus, real-time depth mapping, and AI-enhanced image processing that bridge the gap between what you capture and how it displays in AR environments.
Start small and experiment often. Shoot the same scene using both traditional techniques and AR-friendly approaches. Pay attention to how your images render on different AR platforms and devices. Join online communities where creators share their experiences and troubleshooting tips. Most importantly, don’t let current technical limitations stifle your creativity.
The good news? Your existing photography skills translate beautifully to AR work. You already understand composition, lighting, and visual storytelling. Now you’re simply adapting those fundamentals to a new canvas. The learning curve is manageable, and the potential for innovative, immersive experiences makes it absolutely worth exploring.