By
By 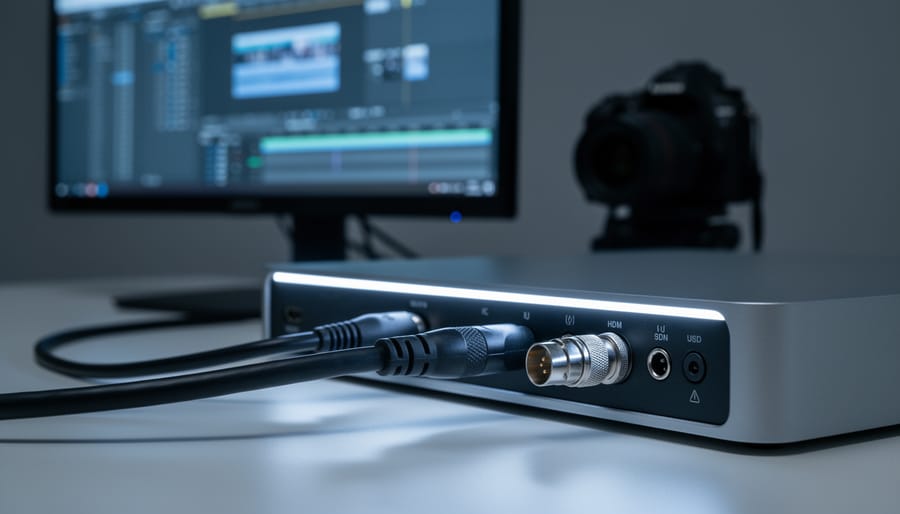
SDI and HDMI I/O cards connect your camera or editing workstation to professional monitors, letting you see accurate color, exposure, and detail that your computer screen simply can’t deliver. If you’re moving from photography into video work or finally ready to invest in a proper monitoring chain, you need to understand which interface matters for your setup, because getting this wrong means either wasting money on overkill features or discovering your gear won’t talk to each other when you’re racing toward a deadline.
The choice between SDI and HDMI isn’t about which one is “better.” It’s about matching the connection to your workflow, cable lengths, and the professional level of your projects. HDMI dominates consumer and prosumer gear, appearing on mirrorless cameras, entry-level monitors, and most capture devices under $500. SDI rules broadcast and high-end production environments, where locking connectors, longer cable runs without signal degradation, and redundant workflow paths justify the premium. Many I/O cards now offer both, but understanding what each brings to your setup prevents expensive mistakes.
Here’s the reality most manufacturers gloss over: a $200 HDMI capture card can deliver pristine 4K monitoring for solo editors working in a home studio, while a $1,500 SDI card might sit largely unused if you’re not running cables across a soundstage or feeding multiple monitors simultaneously. The specifications matter, things like bit depth, color space support, and latency, but only when they align with how you actually work.
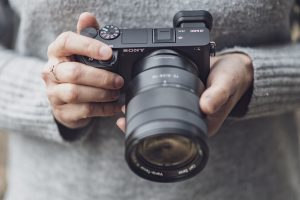
This guide walks you through the technical differences that affect your image quality, compares card types by price and capability, shows you exactly what to look for based on your workflow, and highlights the purchasing mistakes that drain budgets without improving results. Whether you’re capturing footage from a Sony mirrorless or building a color grading suite, you’ll know which card deserves your investment.
Why You Need an SDI/HDMI I/O Card
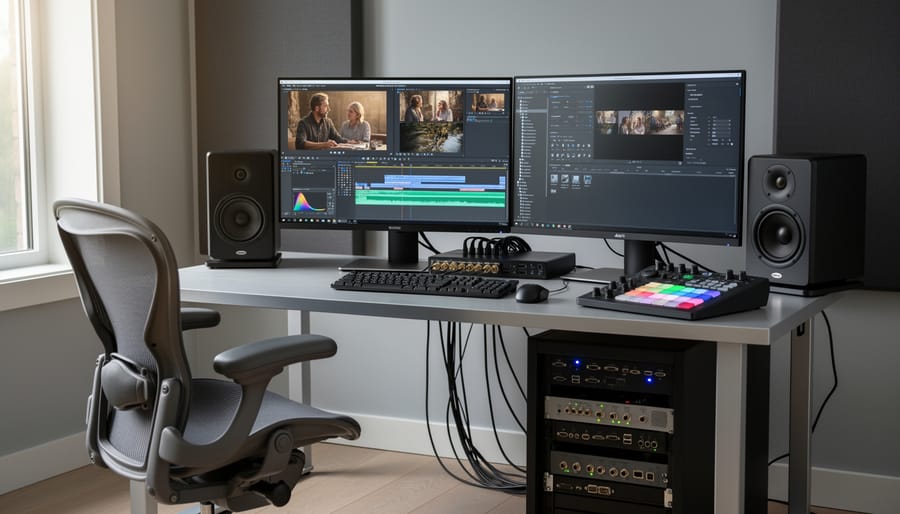
If you’ve ever color-graded a wedding video on your MacBook display only to watch it play back flat and oversaturated on a client’s TV, you’ve hit the wall that SDI/HDMI I/O cards solve. These devices send your video signal from your editing workstation to a calibrated reference monitor, bypassing the compressed, color-managed preview your computer screen shows, so you can see exactly what your footage will look like in the real world. For photographers transitioning to video and videographers serious about professional output, an I/O card isn’t optional; it’s the difference between guessing and knowing.
In real-world workflows, I/O cards unlock several essential capabilities. For color grading, they let you perform a color accuracy check on a properly calibrated display while you work, catching skin tone errors and clipping issues your laptop screen glosses over. Commercial photographers shooting behind-the-scenes video can use I/O cards to feed live camera output to a large client monitor during shoots, letting art directors approve framing and lighting in real time. Editors working with network storage for video see instant playback without waiting for proxy previews to render, cutting review time dramatically.
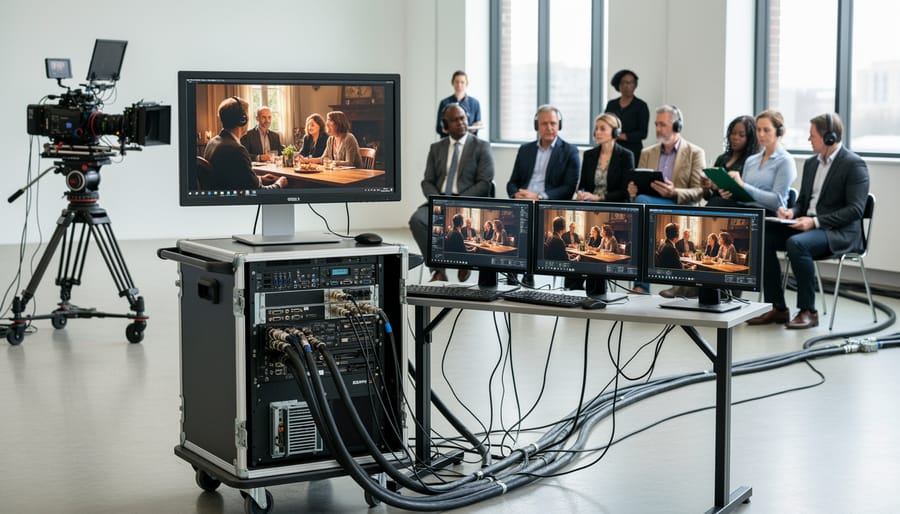
Beyond accuracy, I/O cards enable professional broadcast workflows that require genlock synchronization across multiple cameras and recorders, timecode stamping for multi-cam edits, and low-latency monitoring that doesn’t introduce the 50-100ms lag typical of HDMI consumer displays. If you’re submitting work to broadcasters, festivals, or streaming platforms with strict color standards, an I/O card ensures you’re delivering files that match their specifications. Without one, you’re editing blind.
Understanding SDI vs. HDMI: What’s the Difference?
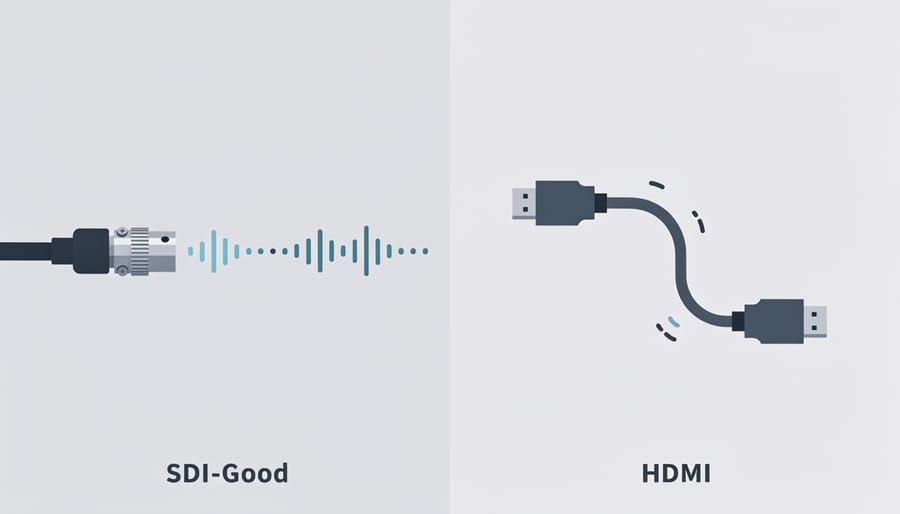
When you’re shopping for an I/O card, the first choice you’ll face is whether you need SDI, HDMI, or both. These aren’t just different plugs, they’re built for entirely different environments, and understanding the distinction will save you from buying the wrong gear.
HDMI is what you already know from consumer electronics. It’s on your TV, your camera’s output, and probably your computer monitor. The cables are cheap, widely available, and work fine for basic video monitoring. But HDMI has limits that matter once you’re doing serious work. The cables max out around 15 feet before signal degradation becomes an issue, and the friction-fit connectors pull out easily if someone trips over a cable. You can’t reliably run HDMI across a studio or through a rack without active extenders or converters.
SDI (Serial Digital Interface) is the professional broadcast standard. It uses BNC connectors that twist-lock into place, they won’t come loose during a shoot. You can run SDI cables up to 300 feet for HD signals without any amplification, and the thicker coaxial construction handles the wear and tear of production environments. Walk onto any professional set or broadcast facility and you’ll see SDI everywhere, because it’s built for reliability when a dropped signal costs time and money.
The trade-off? SDI cables and equipment cost more. A quality SDI cable runs $30-50 versus $10 for HDMI, and SDI monitors command a premium. But that extra cost buys you peace of mind. If you’re color grading a commercial project or monitoring a live event, you need the connection to stay put and the signal to arrive perfectly.
| Feature | SDI | HDMI |
|---|---|---|
| Max Cable Length | ~300 feet (HD), ~150 feet (4K) | ~15 feet without active extension |
| Connector Type | Locking BNC connector | Friction-fit connector |
| Typical Use | Broadcast, professional production | Consumer devices, prosumer cameras |
| Signal Robustness | High interference resistance | Moderate, sensitive to cable quality |
| Equipment Cost | Higher (cables, monitors, cards) | Lower, widely available |
Here’s the practical reality for photographers moving into video: if you’re grading stills-turned-video on a single monitor within arm’s reach of your desk, HDMI works. If you’re setting up a dedicated color suite, running cables across a room, or building a multi-monitor workflow, SDI makes sense. Many hybrid cards offer both, which gives you flexibility as your needs evolve. Match the connection type to your monitoring setup and the physical demands of your space, not just the spec sheet.
What to Look for When Buying an I/O Card
Resolution and Frame Rate Support
When choosing an I/O card, start by matching its capabilities to your actual footage specs, not your aspirations. If you’re shooting 1080p interviews and event coverage, a card supporting HD at 60fps will serve you well and save hundreds of dollars. Most photographers moving into video work comfortably in this space initially.
4K has become the standard for professional delivery in 2026, so look for cards that handle 4K at least up to 30fps, with 60fps support if you shoot action, sports, or want smooth slow-motion playback. This aligns with the 8GB GPU sweet spot many editors target for 4K workflows without breaking the bank.
Higher frame rates matter if you’re grading high-speed photography turned into video or working with 120fps cinematic material. Cards claiming 8K support sound future-proof, but verify whether that’s 8K30 or 8K60, and whether your monitors, cables, and editing machine can actually handle it. Most working professionals find that robust 4K60 support with reliable 10-bit color depth outweighs theoretical 8K specs they’ll rarely use. Match the card to what you shoot today and expect to shoot in the next two years, not a distant possibility.
Connection Type: Thunderbolt vs. PCIe
Choosing between Thunderbolt and PCIe comes down to how and where you edit.
Thunderbolt devices connect externally via a single cable, making them ideal for laptop editors and location work. You can move them between computers without opening a case, which photographers working on shoots particularly appreciate. Modern Thunderbolt 3 and 4 provide ample bandwidth for 4K monitoring, and setup is genuinely plug-and-play on most systems. The trade-off? Thunderbolt boxes typically offer fewer inputs and outputs, usually one or two channels, and cost more per port than PCIe equivalents. They also occupy desk space and require their own power supply.
PCIe cards install directly into your desktop workstation’s motherboard, delivering maximum I/O density and raw performance. A single professional PCIe card can handle four or more simultaneous SDI/HDMI feeds, making them essential for multi-camera switching or complex monitoring setups. They draw power from your computer, eliminating external adapters, and generally cost less for comparable channel counts. The downside is obvious: you need a desktop with available PCIe slots, and installation requires basic computer assembly skills.
If you edit primarily on a laptop or need portability, Thunderbolt is your only practical option. Desktop editors handling multiple monitors or cameras get better value and expandability from PCIe.
Number of Inputs and Outputs
The number of I/O ports you need depends entirely on how you’ll use the card in practice. A solo colorist working on a single reference monitor needs just one output, simple and cost-effective. But if you’re running a dual-monitor setup with a client display in the same room, you’ll want at least two outputs so everyone sees calibrated images simultaneously without mirroring your computer screen.
Multi-camera editors switching between angles during live events or post-production need multiple inputs, typically two to four channels depending on how many simultaneous feeds you’re managing. Commercial studios often run three or more outputs: one for the colorist’s reference monitor, one for the director’s screen, and another feeding a client lounge or streaming setup.
Count your actual displays and sources, then add one extra port for future flexibility. Cards with fewer I/O cost less but box you in quickly; buying the port count you’ll need in twelve months saves you from upgrading twice.
Software Compatibility
Even the best I/O card becomes a paperweight if your editing software won’t recognize it. Most professional NLEs like DaVinci Resolve, Premiere Pro, and Final Cut Pro support SDI/HDMI output natively, but the setup experience varies wildly. DaVinci Resolve offers the smoothest integration with Blackmagic cards, typically plug-and-play with automatic detection. Premiere Pro and Final Cut require more configuration through system preferences and may need third-party drivers for non-native cards.
Check your operating system compatibility carefully. macOS users face tighter driver restrictions, especially with newer M-series chips running ARM architecture. Windows systems offer broader hardware support but require manual driver installation and occasional troubleshooting. Budget at least an hour for initial setup and testing, and always download the latest drivers from the manufacturer before installation. Some cards work across multiple NLEs, while others lock you into specific ecosystems, verify compatibility with your primary editing software before purchasing.
Types of SDI/HDMI I/O Cards Compared
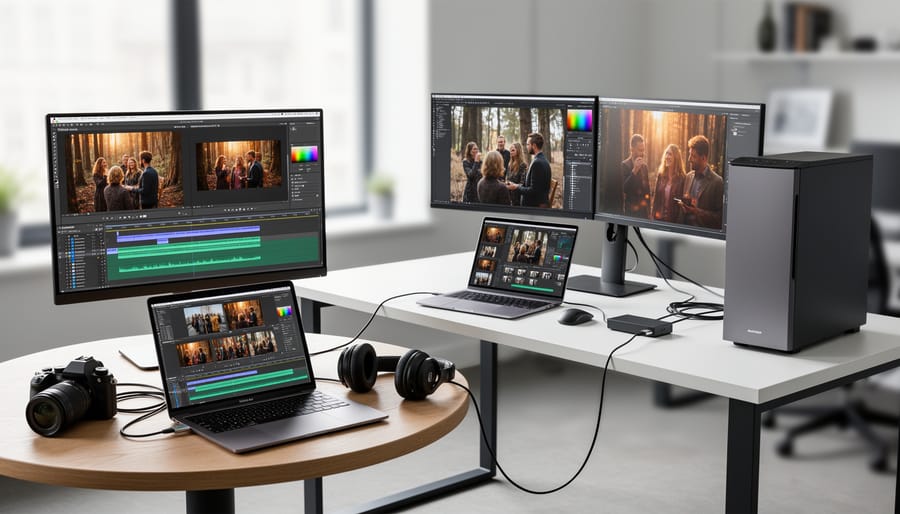
Entry-Level HDMI Cards
Entry-level HDMI cards serve photographers making their first steps into video editing with professional monitoring. These budget-friendly options, typically priced under $200, focus on HDMI connectivity exclusively and handle 1080p workflows reliably, with many now supporting 4K at 30fps or 60fps.
These cards work well if you’re grading wedding films, YouTube content, or commercial photography with video components on a single HDMI reference monitor. Most connect via Thunderbolt or USB-C, making them laptop-compatible for portable editing stations. You’ll sacrifice advanced features like genlock, timecode sync, and multiple simultaneous outputs, but that rarely matters when you’re establishing color-accurate monitoring habits.
The main limitation hits when you need long cable runs or want to expand to dual-monitor setups. HDMI cables become unreliable beyond 15 feet without active amplification, and most entry cards offer just one output. Still, for photographers shooting hybrid content who need accurate color representation without studio-grade infrastructure, these cards deliver excellent value.
Mid-Range SDI/HDMI Hybrid Cards
Mid-range hybrid cards give you flexibility by supporting both SDI and HDMI outputs, which is invaluable when you’re juggling different projects and monitor setups. These typically sit in the $500, $1,200 range and offer 4K support across both connection types, making them ideal for freelancers who shoot corporate work one day and weddings the next.
The dual-connection capability means you can feed an HDMI signal to a client monitor while routing SDI to your calibrated reference display, or switch between different monitoring setups without changing hardware. Most hybrid cards in this category include at least two inputs and two outputs, giving you room to grow as your workflows become more complex.
Look for models with solid driver support across major editing platforms, some manufacturers update drivers religiously while others leave you troubleshooting compatibility issues six months later. Wedding videographers particularly appreciate these cards because they handle the variety of formats and monitoring scenarios that come with event coverage. They’re the sweet spot for professionals who need reliability and options without committing to a full broadcast-grade rig.
Professional Multi-Channel Cards
Professional multi-channel cards represent the high end of I/O hardware, designed for studios handling complex, multi-camera productions and broadcast workflows. These PCIe cards typically offer four to eight SDI outputs plus several HDMI ports, allowing you to feed multiple reference monitors, client displays, and broadcast feeds simultaneously from a single card.
Genlock and timecode sync capabilities are standard at this level, essential for multi-camera shoots and maintaining frame-accurate sync across equipment. Most support 12G-SDI for true 4K 60p workflows without compromise, and many include dedicated hardware processing that offloads monitoring tasks from your CPU.
Expect features like LUT support in hardware, waveform monitoring, and SDI loop-through for daisy-chaining displays. These cards suit established production houses, post facilities, and commercial studios where reliability matters more than budget. Installation requires a compatible PCIe slot, double-check your workstation has the space and power headroom, and proper cable infrastructure to take advantage of all those ports. For solo operators or small teams, this level is typically overkill.
Portable Thunderbolt Solutions
Portable Thunderbolt I/O boxes solve the classic location dilemma: professional monitoring without lugging a desktop workstation. These compact units connect to MacBooks and Windows laptops via Thunderbolt 3 or 4, delivering broadcast-quality SDI and HDMI outputs that match what PCIe cards offer internally.
The trade-off is straightforward. You gain mobility and laptop compatibility but typically get fewer simultaneous outputs, often one or two channels instead of four to eight. Bus-powered models draw electricity through the Thunderbolt cable itself, eliminating AC adapters for truly portable setups, though some higher-powered units still need wall power for multiple 4K outputs.
Wedding and event shooters particularly value these boxes for on-site client monitoring. You can feed a reference display for color grading in your hotel room, then pack everything in a backpack the next morning. The same device that handles critical color work also supports live monitoring during multi-camera shoots when paired with a switcher.
Look for units supporting at least 4K60, especially if you shoot high-frame-rate content. Cheaper Thunderbolt adapters often max out at 4K30 or lack proper 10-bit color, defeating the purpose of professional monitoring.
Top Recommendations for Different Workflows
Choosing the right I/O card starts with understanding how you actually work. A solo photographer grading wedding films in their home office has different needs than a production house running three cameras simultaneously, and your card should reflect that reality rather than chase specs you’ll never use.
For Solo Photographers and Colorists
If you’re primarily doing color correction and grading on a single reference monitor, focus on cards that deliver clean 4K output to one or two displays. Look for reliable HDMI 2.0 or 6G-SDI output, HDR support if you’re working with Log or HLG footage, and solid driver support for your NLE. A Thunderbolt-based solution makes sense here, you get professional monitoring without dedicating a PCIe slot, and you can move the setup between your desktop and laptop when needed. Prioritize color accuracy and low latency over input count. You don’t need four SDI channels; you need one rock-solid output that perfectly matches what your timeline shows.
For Wedding and Event Videographers
Client monitoring changes everything. You need at least two outputs, one for your grading display and one for clients or directors to watch during the edit. HDMI outputs work well for this since most client monitors use HDMI anyway, but consider a hybrid card that offers one SDI and one or two HDMI ports for flexibility. Portability matters too. If you’re editing on location or meeting clients at their venue, a compact Thunderbolt device beats a desktop tower. Frame rate support is crucial, make sure the card handles 60fps cleanly if you shoot high-frame-rate footage for slow motion.
For Commercial Studios and Multi-Camera Productions
When you’re managing multiple camera angles, live switching, or simultaneous client and director feeds, you need serious I/O. Look for PCIe cards with four or more inputs and outputs, 12G-SDI support for future-proofing, genlock capability for multi-camera sync, and proper timecode handling. These cards cost more, but the workflow efficiency justifies it when you’re routinely monitoring three cameras plus a program output. Software compatibility becomes critical here, verify the card works flawlessly with your specific NLE version and supports the color spaces you’re delivering to broadcast or streaming platforms.
For Content Creators and Mobile Workflows
If you’re editing on a laptop, traveling between locations, or working in coffee shops and co-working spaces, portability trumps channel count. A single-output Thunderbolt device with HDMI 2.0 gives you professional monitoring without the bulk. Battery-powered options exist but drain your laptop faster, so plan accordingly. You probably don’t need SDI at all, save the money and weight. Focus instead on plug-and-play compatibility and a compact form factor that fits in your camera bag.
Common Mistakes to Avoid
Buying an I/O card without proper research can drain your budget and leave you with a setup that doesn’t work. Here are the most common mistakes I see photographers and videographers make, often learned the hard way.
Ignoring Monitor Compatibility
I once watched a friend excitedly unbox a dual-SDI card, only to realize his monitors had only HDMI inputs. He ended up buying SDI-to-HDMI converters that defeated the whole purpose of choosing SDI. Before purchasing, inventory your current monitors and any you plan to buy in the next year. If you have HDMI displays and no immediate plans to upgrade, an HDMI card makes far more sense than forcing an SDI workflow that requires adapters.
Underestimating Cable Quality and Length
HDMI cables work reliably up to about five meters, maybe ten with active cables. Beyond that, signal degradation becomes a real problem. I’ve seen editors position monitors awkwardly close to their machines because they assumed any HDMI cable would work. SDI handles 100-meter runs easily, but only with proper 75-ohm coaxial cables. Cheap cables introduce noise and dropouts. If your monitoring setup requires cable runs across a studio, factor that into your connection choice from the start.
Overlooking Driver and OS Support
Not every card plays nicely with every operating system or gets regular driver updates. A colleague bought a bargain PCIe card that worked beautifully on Windows but had zero macOS support, forcing him to switch computers for grading sessions. Check the manufacturer’s driver download page before buying. Look for recent updates, read user forums for compatibility complaints, and verify support for your specific OS version and NLE.
Here are additional pitfalls that catch people off guard:
- Choosing PCIe when you regularly edit on location or switch between desktop and laptop
- Buying a four-channel card when you only ever monitor on one display
- Paying for 12G-SDI and 8K support when your camera maxes out at 4K and you have no 8K projects planned
- Forgetting to account for genlock needs if you work with multi-camera broadcast setups
- Assuming Thunderbolt 3 and Thunderbolt 4 compatibility without checking actual certification
The costliest mistake is buying for an imagined future workflow instead of your current reality. Yes, 8K capability sounds future-proof, but if you’re shooting 1080p weddings today and have no 8K camera on order, that premium feature just inflated your price by 40 percent. Buy what you need now with one eye on your 12-month roadmap, not a five-year fantasy. You can always upgrade when your actual work demands it.
Setting Up Your I/O Card: What to Expect
Installing an I/O card isn’t difficult, but expect to spend an hour or two getting everything dialed in, especially if this is your first professional monitoring setup.
For PCIe cards, power down your workstation completely and unplug it. Remove the side panel, identify an available PCIe slot (check your motherboard manual if you’re unsure about x4 versus x16 slots), and gently but firmly seat the card until the retention clip clicks. Many cards need auxiliary power from your PSU, so connect those cables before closing up. Don’t skip this step or the card won’t initialize.
Thunderbolt devices are simpler: plug in the power supply, connect the Thunderbolt cable to your computer, then attach your SDI or HDMI cables to your monitor. Thunderbolt is hot-swappable, but restart your machine after the first connection to ensure proper detection.
Next comes driver installation. Download the latest drivers directly from the manufacturer’s website, never rely on the included disc, which is often outdated. Blackmagic Design Desktop Video, AJA drivers, and similar software packages typically require admin privileges and a restart. Some cards work plug-and-play on macOS but need manual configuration on Windows.
Once drivers are installed, open your NLE and navigate to playback or output preferences. You’ll need to select your I/O device and assign it as the monitoring output. In DaVinci Resolve, this is under Preferences > Video I/O. In Premiere Pro, check Playback preferences. Most software auto-detects the card, but you may need to manually set resolution and frame rate to match your timeline.
The final step is to calibrate your reference monitor otherwise you’re just seeing prettier inaccuracy. This investment in setup time pays off immediately in a faster editing workflow and confidence that your colors are accurate.
Frequently Asked Questions
Do I need SDI if I only have HDMI monitors?
No, you don’t need SDI outputs if all your reference monitors use HDMI. Many mid-range I/O cards offer both connection types, giving you flexibility as your setup evolves, but if you’re certain you’ll stick with HDMI displays, you can save money with an HDMI-only card.
Can I use an I/O card with a laptop?
Yes, if you choose a Thunderbolt-based I/O device designed for external use. These portable units connect via Thunderbolt 3 or 4 and work perfectly with laptops, making them ideal for on-location editing and client review sessions where you need professional monitoring without a desktop workstation.
What’s the difference between 3G-SDI, 6G-SDI, and 12G-SDI?
The numbers refer to bandwidth in gigabits per second, which determines what resolutions and frame rates each standard supports. 3G-SDI handles 1080p at 60fps, 6G-SDI supports 4K at 30fps, and 12G-SDI carries 4K at 60fps or even 8K at lower frame rates, choose based on your current and planned workflows.
Will an I/O card improve my editing performance?
Not directly. I/O cards don’t process video or speed up renders, that’s where a workstation CPU boost comes in. What they do improve is monitoring accuracy and latency, letting you see exactly what your footage will look like without relying on your computer’s compressed preview, which makes color grading and quality control much more reliable.
Do I need a capture card or an I/O card?
It depends on your workflow. Capture cards are designed to record incoming video signals from cameras or game consoles into your computer, while I/O cards primarily output your timeline to reference monitors for accurate viewing during editing. Some devices combine both functions, but if you’re editing footage you’ve already recorded in-camera to cards, you need I/O capability for monitoring, not capture.
Will my existing cables work with a new I/O card?
Only if they meet the bandwidth requirements. Standard HDMI cables often can’t handle 4K at higher frame rates, and cheap SDI cables degrade signal over distance. Invest in certified cables rated for your resolution and frame rate needs, and keep SDI cable runs under the recommended lengths for your signal type to avoid dropouts and image artifacts.
These questions come up constantly in photography and video forums, and the answers often surprise people who assume all cables and connections are created equal. The distinction between capture and I/O functionality particularly confuses photographers transitioning to video, who sometimes buy the wrong device entirely because the marketing uses similar language for different purposes.
When you’re evaluating I/O cards, remember that your questions will evolve as your workflow grows. Someone starting with a single HDMI monitor might wonder if SDI matters now, but six months into client work with longer cable runs, those locking SDI connectors and extended distance capabilities become essential rather than theoretical.
Choosing the right SDI/HDMI I/O card comes down to honestly assessing where you are now and where your work is headed. If you’re a photographer just starting to add video to your services, an entry-level HDMI card might be all you need today. But if you’re already booking commercial projects or working with clients who expect broadcast-quality output, investing in a card with SDI connectivity and professional features will pay dividends in reliability and workflow efficiency.
Think about your actual setup. What monitors do you own or plan to buy? What’s your editing environment, laptop on location or desktop workstation at home? How many simultaneous feeds do you realistically need? The answers to these questions matter more than spec sheets full of features you’ll never touch.
An I/O card isn’t just another piece of gear. It’s the bridge between what your camera captures and what you deliver to clients, and it directly affects the accuracy of every color decision you make. Cutting corners here can undermine hours of careful work in post, while choosing thoughtfully sets you up for consistent, professional results.
Before you buy, map out your current monitoring needs and anticipate the next year or two of growth. The best card for you is the one that handles today’s projects smoothly while leaving room for tomorrow’s ambitions without forcing you to replace it prematurely.



 By
By