 By
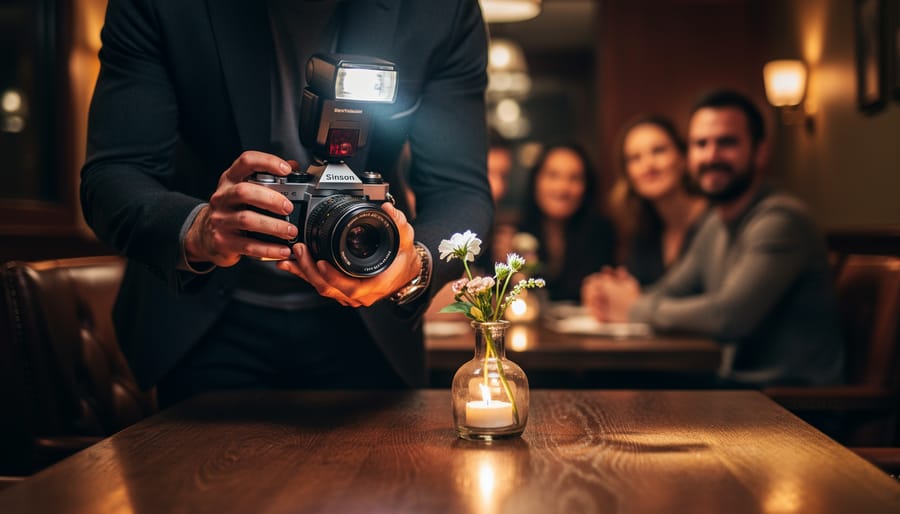
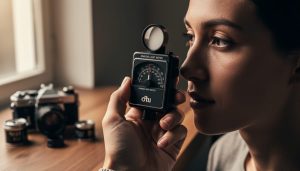
Shooting flash on film comes down to one repeatable method: meter the ambient light, set your shutter speed at or below your camera’s flash sync speed, dial your aperture to match the flash power and distance, then expose with confidence and bracket when it counts. Plan on about ten minutes to set up the first time, and expect a moderate learning curve. The main prerequisite is a handheld meter or a reliable guide number, because film gives you no screen to check your work.
That missing preview is the whole challenge. A digital shooter fires a test frame, squints at the back of the camera, and adjusts. You get none of that. What you get instead is a habit of thinking before you press the shutter, and that discipline is why film flash work often ends up cleaner than its digital counterpart.
Flash is also more forgiving than it looks. Colour negative film tolerates a stop or two of overexposure, so a slightly hot flash pop still gives you a usable frame. Slide film is stricter, and shooting it with flash rewards careful metering.
Say you’re photographing a friend’s birthday dinner in a dim restaurant. Without a plan, you get red-eyed faces against a black background. With one, you balance the flash against the room’s glow and keep both. Below, we’ll cover the gear you need, the safety limits to respect, the exact steps in order, and how to confirm it worked once the roll comes back.
Why Flash Behaves Differently on Film
Shooting flash on film changes the game in a few specific ways, and knowing them up front saves you a lot of wasted frames.
First, there’s no chimping. On digital, you fire, check the screen, and nudge the power until it looks right. On film, the first time you see the result is after development, so your exposure decisions have to be right before you press the shutter. Second, your ISO is locked in for the whole roll. If you load ISO 400 film, every frame lives at ISO 400, so you adjust aperture, flash power, and distance instead.
Here’s the part that trips people up: flash exposure and ambient exposure are controlled by different settings. Aperture (and flash power) governs how brightly the flash lights your subject. Shutter speed governs how much of the surrounding ambient light gets recorded. The flash itself is so brief, usually somewhere between 1/1000 and 1/50,000 of a second, that shutter speed barely affects it. That brief burst is called flash duration.
A quick vocabulary check. A flash usually means a compact on-camera unit, like a speedlight. A strobe typically means a larger studio monolight or a pack-and-head system that delivers more power and faster recycling. Both are limited by sync speed, the fastest shutter speed at which the shutter is fully open when the flash fires. Go faster and you’ll get a black bar across the frame. You’ll also run into the guide number, a rating of flash power that helps you calculate aperture from distance.
Film latitude matters too. Color negative film forgives a stop or more of error, especially on the overexposed side. Slide film does not, so it demands precision.
Picture a wedding photographer shooting Portra 400 in a reception hall lit by warm tungsten bulbs. She sets her shutter to the sync speed, picks an aperture based on her flash reading, and lets the room glow behind her subjects. Without a screen to check, she relies on knowing which dial controls what.

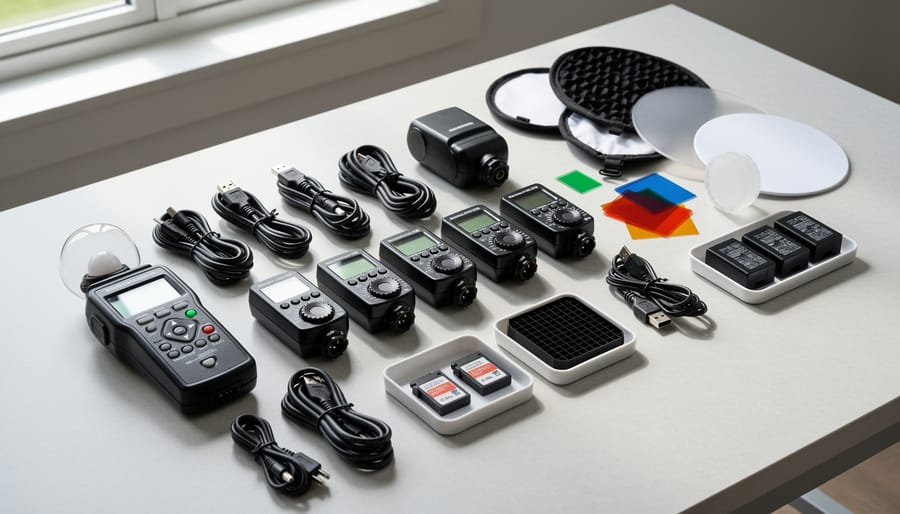
Tools and Materials: What You Need Before the First Frame
Matching Your Camera’s Sync Speed to Your Flash
Sync speed is the fastest shutter speed at which the shutter is fully open when the flash fires. Get this wrong and the flash only lights part of your frame.
Most focal-plane film bodies, the kind with cloth or metal curtains, sync somewhere between 1/60 and 1/250 s, depending on the model. Leaf-shutter cameras, including many medium-format and fixed-lens bodies, can sync at much higher speeds, sometimes right up to their top shutter speed. That’s a big advantage when you’re filling in shadows under bright sun.
To find yours, check the shutter speed dial first. Many cameras mark the sync speed in a different color, or with a small lightning bolt or “X” symbol. If there’s no marking, the manual will tell you, and most manuals are free online if yours is long gone.
Exceed that speed and the second curtain starts closing before the first has fully cleared the frame. The result is a dark band across part of your image, usually a black bar along one edge. It’s an expensive way to learn the limit, since you won’t see it until the roll is developed.
High-speed sync, which lets some flashes fire at faster shutter speeds, is a different story. It depends on both the camera and the flash, and results vary a lot, so test your own pairing before trusting it on a real shoot.
Choosing Film Stocks That Play Well With Flash
Color negative film is the most forgiving partner for flash. It has generous exposure latitude, so if your flash reading is off by a stop either way, you can usually still pull a good print from the scan. That safety net makes it a smart choice while you’re learning how your flash behaves. Flash is roughly daylight-balanced, so daylight-balanced color negative gives natural-looking skin tones without filtration.
Black-and-white film is just as tolerant, and you don’t have to worry about color temperature at all. It’s a great way to practice lighting ratios and see how shadows fall without color complicating things.
Slide film is the demanding one. Its latitude is narrow, so a flash reading that’s slightly hot will blow out highlights, and there’s little room to rescue it later. Meter carefully, bracket in small steps, and save slide film for when your process feels consistent.
Safety Warnings and Stop Conditions Before You Fire
Before you fire a single frame, run a quick safety check. Flash work looks harmless, but a few real hazards can wreck gear or hurt you, and most of them are easy to avoid.
Start with vintage flashes. Many older units put hundreds of volts through the sync terminal, far more than modern cameras or even some older film bodies were designed to handle. Pair one with the wrong camera and you can fry a sync circuit.
Studio strobes carry their own risks. The capacitors inside hold a charge even after you unplug the unit, so never open the casing, and keep it away from wet floors and damp corners. Check power cables for nicks, tape repairs, or exposed wire every time. Modeling lamps get surprisingly hot too, so keep them clear of fabric, paper, modifiers, and bare skin, and let them cool before you pack up.
Then there’s the physical setup. A top-heavy softbox on a light stand can topple with a single bump, so weigh the base with a sandbag, spread the legs fully, and keep cables out of walkways. It’s the same discipline you’d bring when you learn to meter like a pro: slow down, check, then shoot.
Finally, be considerate with people and pets. Close-range flash is uncomfortable, so back off, bounce the light, or turn the power down for children, animals, and anyone sensitive to bright bursts.
Stop and fix things first if any of these apply:
– You don’t know the sync voltage of the flash.
– A cable is frayed, taped, or exposed.
– A stand is wobbly or unweighted.
– Anything is overheating or smells burnt.
Step-by-Step: Getting a Well-Exposed Flash Frame on Film
Using the Guide Number When You Don’t Have a Flash Meter
No flash meter? The guide number gets you a workable starting aperture. Manufacturers rate it at ISO 100, in either meters or feet, so check which unit your flash uses before you do any math.
The formula is simple: guide number ÷ distance = aperture.
Say your flash is rated at GN 36 (meters, ISO 100) and your subject stands 3 meters away. Divide 36 by 3 and you get f/12. Set your lens to f/11 or f/12 and you’re in the right neighborhood. Move the subject to 6 meters and the answer drops to f/6, so you’d open up to roughly f/5.6.
Now the ISO caveat. If you’re loading ISO 400 film, you’ve got two stops more sensitivity than the rating assumes, so close your aperture down two stops. In our example, f/12 becomes about f/22. For ISO 200, close down one stop.
Treat all of this as a starting point, not a verdict. The guide number assumes direct flash in an average space. Bounce off a ceiling, a softbox, or an umbrella soaks up light, often one to two stops’ worth. Dark walls eat more; a white room gives some back.
That’s why bracketing matters so much on film. Shoot your calculated aperture, then one stop wider and one stop tighter. Write it down in your log, and you’ll learn your own gear’s real-world numbers fast.
Balancing Flash With Ambient Light
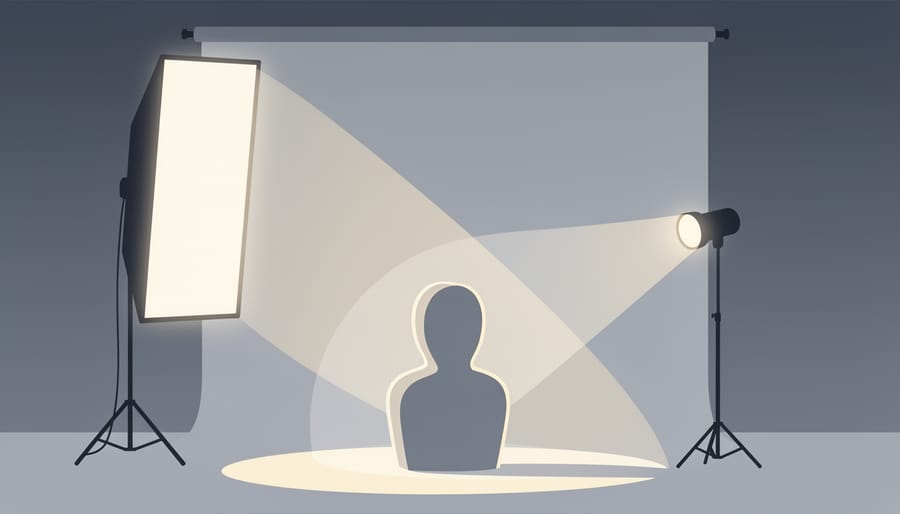
Think of it as two separate dials. Aperture and flash power set how bright your subject looks, because the flash burst is so brief that shutter speed barely touches it. Shutter speed, up to your camera’s sync limit, sets how bright the background looks, because ambient light keeps arriving the whole time the shutter is open.
Fill flash in harsh sun is the easy one. Set your camera to its sync speed, say 1/125, meter the sunlit scene, and pick the aperture that exposes it correctly. Then dial the flash down a stop or two below full power so it lifts the shadows under a hat brim without looking pasted on.
For an indoor event, drag the shutter. Keep the aperture that suits your flash reading, but drop the shutter to 1/15 or 1/8 so the room’s lights register behind your subject. Hold steady, because that slow speed can blur ambient glow. If you push to several seconds, watch for reciprocity failure which can quietly darken the background and shift colors.
In a dark studio, ambient light barely matters, so shutter speed is just a safe sync setting. Choose your aperture, then adjust flash power or distance until the meter agrees.
Verifying Your Results and What to Do Next
Without a screen, your notebook is your preview. Keep a shooting log for every frame: frame number, aperture, flash power, distance to subject, and which modifier you used. When the scans come back, you can match each result to its recipe instead of guessing what worked.
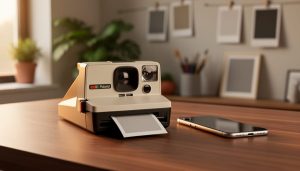
If you can get an instant-film back or a Polaroid body, fire one test frame before the real roll. It won’t match your film stock exactly, but it will show you whether the flash fired, the angle looks right, and the balance with ambient light is in the neighborhood.
Then read the developed roll for the usual failure patterns. A dark band across part of the frame points to a sync problem, so check that your shutter speed isn’t above your camera’s sync speed. Blown-out, shiny faces mean too much power or too little distance. A flat, shadowless look means the flash was on-axis, so move it or bounce it.
From there, the next steps are easy to name. Try taking the flash off the camera, then add a second light for fill or separation. Over a few rolls, your log becomes a personal recipe you can repeat. And if a vintage body misbehaves along the way, you may be able to fix it yourself before paying for a repair.

Common Questions About Flash and Strobe on Film
Can I use a modern speedlight on an old film camera?
Often yes, but check the flash’s trigger voltage first. Some vintage flashes and a few older speedlights send high voltage through the hot shoe, which can harm sensitive camera sync circuits, so confirm the numbers before connecting. If you’re unsure, a radio trigger or optical slave keeps the camera isolated.
Do I need a flash meter?
No, but it makes life easier. Without one, use the guide number formula as a starting point and bracket your frames. A handheld meter just saves film and guesswork.
Why is there a black bar on my frames?
That’s almost always a sync problem. Your shutter speed was faster than the camera’s flash sync speed, so the shutter curtains weren’t fully open when the flash fired. Drop to the sync speed or slower and it goes away.
Does flash work with black-and-white film?
It does, and it’s quite forgiving. Color temperature doesn’t matter, so you only need to think about exposure and contrast.
One more thing people ask about is TTL. On a film SLR, TTL flash can work if the camera and flash are designed to talk to each other, and some bodies meter off the film plane during the exposure. It’s worth testing on a spare roll, because film reflectivity and older metering systems can throw off results.
If your frames keep coming back with odd exposures, the problem often isn’t flash at all. A quick look at [why your film looks wrong](https://www.canonoutsideofauto.ca/2026/02/24/why-your-film-photos-look-wrong-and-how-to-meter-like-a-pro/) can help you separate flash mistakes from metering mistakes before you burn through another roll.
Flash on film isn’t guesswork once you treat it as a process. Set your sync speed, meter the light, balance it against the ambient, log what you did, and let the developed roll tell you what to tweak. Every frame in your notebook becomes a small lesson, and after a roll or two the numbers start to feel familiar instead of intimidating.
So don’t wait until you feel ready. Load a roll of something forgiving, grab a notebook, and commit to a single setup: one flash, one modifier, one spot near a window. Write down your aperture, power, and distance for every frame, then compare your notes against the scans. If you develop your own negatives, it might even be the nudge you need to build a darkroom and see the whole process through yourself.
Pick one lighting setup this week and shoot it. That one roll will teach you more than any amount of reading.

 By