By
By 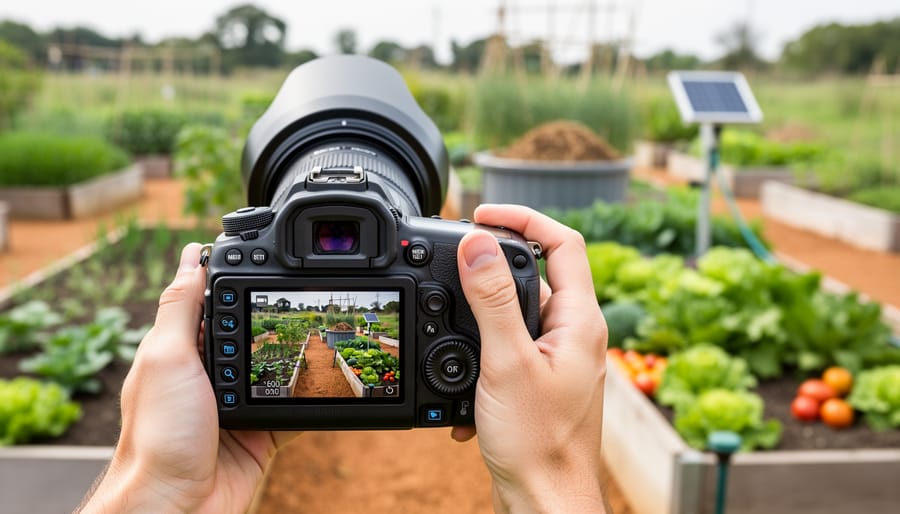
Sustainability photos combine two practices: documenting environmental efforts and subjects through your lens, and shooting in ways that minimize your own ecological footprint. You don’t need specialized gear or certifications to start. The approach centers on maximizing the equipment you already own, choosing subjects that tell authentic environmental stories, and adopting workflows that reduce energy consumption and waste. Most photographers can implement these methods immediately, whether you’re shooting a community garden, renewable energy installation, or conservation project.
The practice matters because photography itself carries an environmental cost. Manufacturing a single DSLR camera generates roughly 160 pounds of carbon emissions before it even reaches your hands. Digital storage, constant gear upgrades, and energy-intensive post-processing all add up. Yet photography remains one of the most powerful tools to document sustainability efforts and help save our planet through visual storytelling that drives awareness and change.
This guide walks you through both dimensions. You’ll learn how to identify and capture compelling sustainability subjects, from urban agriculture to zero-waste initiatives, using techniques that produce strong images without resource-heavy shoots. We’ll cover gear selection that prioritizes longevity over trends, field practices that respect the environments you photograph, and editing workflows designed for efficiency. The goal is straightforward: create meaningful images that document sustainable practices while your own photography process embodies those same principles.
What You’ll Need to Photograph Sustainability Effectively
Camera and Lens Selection
The best camera for sustainability photos is the one you already own. Before considering new purchases, evaluate your existing gear’s capabilities, most modern cameras handle the technical demands of documenting renewable energy installations, conservation efforts, and environmental subjects without requiring upgrades.
For wide-angle work, lenses in the 16-35mm range excel at capturing the scale of solar farms, wind turbine arrays, and green architecture. They’re equally effective for landscape conservation shots where context matters. If you’re photographing smaller sustainability subjects, regenerative agriculture techniques, composting systems, or native plant details, a macro lens (typically 90-105mm) reveals textures and processes invisible to the naked eye.
Wildlife conservation documentation often requires telephoto reach. A 70-200mm or 100-400mm lens lets you maintain respectful distance from sensitive habitats while capturing compelling images of species recovery programs or protected ecosystems. For versatility across multiple sustainability subjects, a standard zoom (24-70mm or 24-105mm) covers most scenarios you’ll encounter.
When gear limitations genuinely prevent you from telling important sustainability stories, prioritize the used market over new purchases. Quality second-hand equipment reduces manufacturing demand while delivering professional results. Some manufacturers now produce eco-conscious lenses using recycled materials and sustainable production methods, though these remain specialty items rather than widespread options.
Match your lens choice to your specific sustainability story, not to an idealized kit list. A smartphone camera documenting a community garden project often communicates more effectively than high-end gear capturing generic landscapes.
Eco-Conscious Accessories and Alternatives
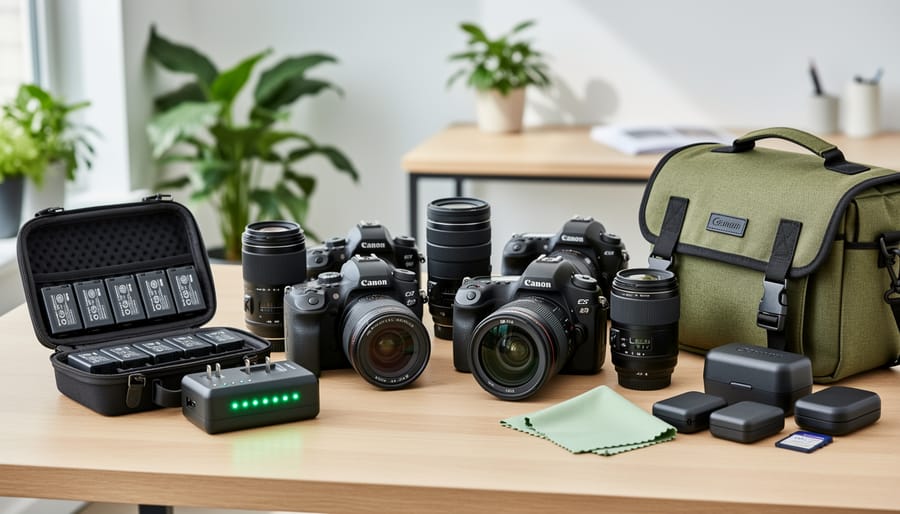
Switch to rechargeable lithium batteries instead of disposables, a single set can replace thousands of alkaline cells over a camera’s lifetime. Pair them with a compact solar charger for field shoots, particularly on multi-day conservation documentation projects where grid access is limited. These small panels now charge camera batteries and phones reliably between sessions.
Consider buying used gear when upgrading. Second-hand cameras and lenses perform identically to new ones while avoiding the manufacturing footprint of fresh production. Reputable dealers like KEH and MPB certify quality, and you’ll often find barely-used equipment at significant savings.
Transport matters more than many photographers realize. Carpooling to shoot locations, using public transit for urban sustainability subjects, or combining errands with photography outings reduces your per-image carbon cost substantially. For local projects, cycling with a weatherproof camera bag eliminates fuel use entirely while keeping you mobile.
These eco-friendly photography choices compound over time, each small decision creates measurable impact across years of shooting. A photographer shooting twice weekly saves roughly 300 disposable batteries annually just by switching to rechargeables, while buying one used lens instead of new prevents approximately 50 pounds of manufacturing waste.
Important Considerations Before You Shoot
Before you venture out with your camera, understanding the unique responsibilities of sustainability photography can prevent harm to the very environments and communities you’re documenting. Unlike studio work or urban photography, capturing sustainability subjects often places you in sensitive ecosystems, private renewable energy facilities, or culturally significant community spaces where your presence and actions carry real consequences.
When photographing protected natural areas or conservation sites, research access restrictions and permit requirements well in advance. Many nature reserves, wildlife sanctuaries, and environmental restoration projects limit visitor numbers, restrict photography during sensitive breeding seasons, or prohibit certain areas entirely to minimize human impact. Contact land managers or conservation organizations directly rather than assuming public access.
For renewable energy installations like solar farms, wind turbines, or hydroelectric facilities, you’re typically on private property with strict security protocols. Obtain written permission from facility operators before your shoot, as these sites often have safety exclusion zones and liability concerns. Explain your project clearly and be prepared to show examples of your work.
Weather presents serious hazards when shooting outdoor sustainability subjects. Sudden storms, extreme heat, and rapidly changing conditions are common in exposed locations like mountaintop wind farms or coastal conservation areas. Check forecasts thoroughly, bring appropriate safety gear, and always tell someone your location and expected return time.
Cultural sensitivity matters profoundly when documenting community sustainability projects. Indigenous land stewardship, urban community gardens, and cooperative renewable initiatives often involve people whose stories aren’t yours to tell without permission. Speak with community leaders first, explain your intentions, and respect requests not to photograph certain individuals, practices, or locations. Your role is to amplify these efforts respectfully, not to extract compelling images at the expense of trust or privacy.
Step-by-Step Process for Capturing Compelling Sustainability Photos
Step 1: Identify Your Sustainability Story
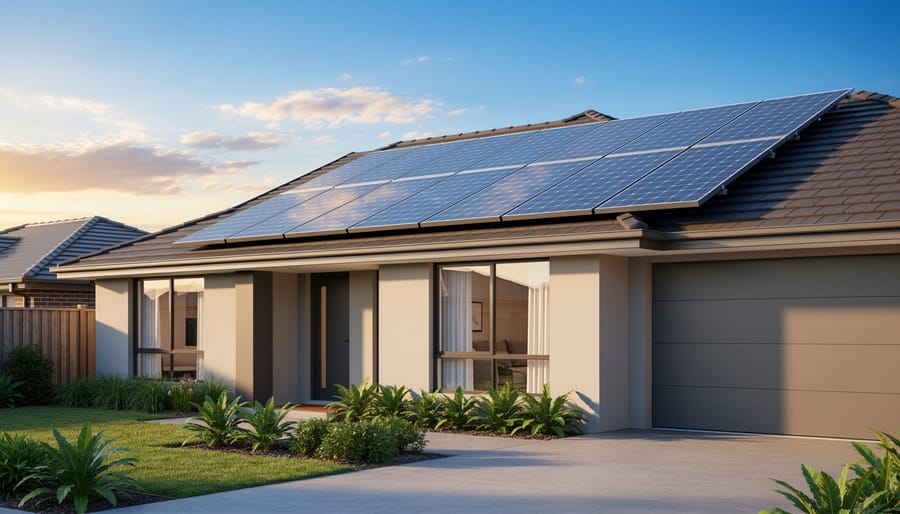
Start by choosing one concrete sustainability subject rather than trying to capture everything at once. The strongest sustainability photos connect abstract environmental concepts to specific, visible actions or results.
Consider what’s accessible in your area. Renewable energy installations like solar farms or wind turbines offer dramatic scale and geometry. Community gardens demonstrate sustainable agriculture through seasonal changes and human effort. Zero-waste shops or refill stations show everyday eco-conscious choices in action. Green building projects reveal innovative architecture, while habitat restoration sites capture nature’s recovery process.
The key is finding the human element within your chosen subject. A row of solar panels alone documents technology, but include a technician inspecting them or a family whose home they power, and you’ve created a story about people solving problems. Conservation efforts gain impact when you show volunteers removing invasive species or scientists monitoring wildlife populations.
Ask yourself what specific change or solution your subject represents. A compost bin isn’t just waste management, it’s someone actively closing a resource loop. That shift from object to meaningful action transforms documentation into storytelling. Choose subjects where you can spend enough time to capture both the “what” and the “why.”
Step 2: Research and Plan Your Shoot
Start by using Google Maps’ satellite view to identify potential sustainability subjects in your area, solar installations appear as reflective blue panels, wind farms show white turbines in open spaces, and community gardens reveal organized green patches. Cross-reference with local environmental organizations’ websites or municipal sustainability reports to discover lesser-known projects.
Light makes or breaks sustainability photos. Check PhotoPills or The Photographer’s Ephemeris to determine when golden hour will hit your chosen location. Solar panels photograph best in mid-morning light that shows their angles without excessive glare, while wind turbines often look most dramatic during the soft light of late afternoon. For indoor sustainability projects like zero-waste shops, scout during actual business hours to assess natural light availability.
Always verify access before you arrive. Public renewable installations may require advance notification even if they’re visible from public land. Contact facility managers directly, most sustainability projects welcome documentation but need reasonable notice for safety protocols.
Plan transportation that aligns with your subject matter. Can you bike there? Use public transit? Carpooling with another photographer reduces impact while providing a second perspective. If driving is unavoidable, combine multiple shoots into one trip to minimize fuel consumption.
Step 3: Choose the Right Composition Techniques
Strong composition transforms a simple documentation shot into a compelling sustainability story. The key is matching your compositional approach to what you’re trying to communicate about your subject.
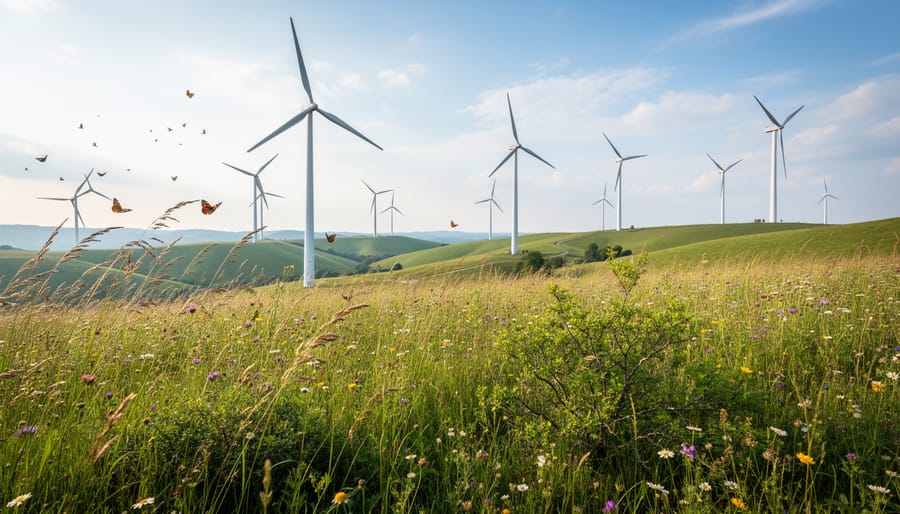
For large-scale renewable energy installations like wind farms or solar arrays, use leading lines to emphasize their impressive scope. Position yourself so rows of solar panels or turbine placement create natural lines that draw the viewer’s eye through the frame, conveying the magnitude of clean energy infrastructure. A low angle can make wind turbines appear monumental against the sky.
When photographing conservation areas or natural subjects, the rule of thirds creates balanced, visually pleasing images. Place the horizon on the upper or lower third line rather than dead center, and position key elements, a restored wetland, a protected tree, a wildlife subject, at the intersection points where the imaginary grid lines meet.
Contrast shots deliver powerful messages about sustainability’s impact. Frame a community garden thriving next to an abandoned lot, or renewable energy infrastructure alongside traditional power sources. These visual juxtapositions tell stories without words, making abstract sustainability concepts immediately understandable.
Always include human-scale references when photographing large sustainability projects. A person walking between solar panels or standing near a wind turbine base gives viewers an instant sense of scale they can relate to. This simple technique transforms technical infrastructure into human achievement, making your sustainability photos more emotionally resonant and memorable.
Step 4: Optimize Camera Settings for Environmental Subjects
Start with your camera in aperture priority mode (A or Av) to maintain control over depth of field while letting the camera handle shutter speed in changing outdoor conditions. For landscape conservation shots showing the breadth of reforested areas or protected habitats, set your aperture between f/8 and f/16 to keep everything sharp from foreground to horizon. Use a low ISO (100-400) to minimize grain and preserve detail in natural textures like tree bark or soil.
When documenting wildlife in conservation areas, switch to shutter priority mode and set at least 1/500s for birds or 1/250s for larger animals to freeze motion without blur. Increase your ISO as needed rather than risk a soft image, modern cameras handle ISO 800-1600 cleanly, and a slightly noisy sharp photo beats a blurry clean one.
Solar panels and wind turbines present extreme contrast between bright sky and darker ground elements. Enable your camera’s HDR mode or shoot bracketed exposures (typically -2, 0, +2 EV) to capture detail in both highlights and shadows. Merge these in post-processing for balanced tones that show both panel surfaces and surrounding landscape.
Maximize natural light instead of flash or continuous LED panels. Shoot during golden hour for warm, low-impact light that adds emotional depth to sustainability stories. On overcast days, use the soft diffused light for even, flattering documentation of outdoor projects without harsh shadows.
Step 5: Capture Context and Detail Shots
A compelling sustainability story requires both the forest and the trees. Start with wide establishing shots that convey scale, a full solar array stretching across a hillside, an entire community garden in its urban setting, or a watershed restoration project from an elevated viewpoint. These context shots answer the “what” and “where” of your story.
Then move in close. Capture the weathered hands of a farmer holding heirloom seeds, water droplets on freshly installed drip irrigation, the junction box where solar panels connect to the grid, or moss returning to a restored streambed. These detail shots provide the emotional resonance and tangible proof that abstract sustainability concepts need.
Shoot in pairs or triads: for every wide shot, capture two or three details from within that same scene. This creates natural visual relationships. A wind farm overview gains power when paired with close-ups of a turbine’s gear assembly and a technician’s safety harness. A zero-waste store’s exterior becomes more meaningful alongside images of bulk containers and reusable shopping bags.
Think in sequences rather than single images. Three to seven related photos tell a complete narrative that a single frame cannot.
Step 6: Edit With Sustainable Practices in Mind
When you import your sustainability photos, approach editing as an extension of your eco-conscious shooting. Your goal is to enhance the story without distorting reality, heavy filters and artificial effects undermine the authenticity that makes these images powerful.
Follow this energy-efficient workflow:
- Import only your best shots rather than entire card dumps to save storage and processing power
- Batch-edit similar images using synchronized settings to reduce repetitive adjustments
- Make global corrections first (exposure, white balance, lens corrections) before detailed local edits
- Apply minimal viable adjustments, stop when the image looks natural, not when sliders max out
- Export at appropriate resolutions for intended use rather than automatically choosing maximum quality
For instance, when editing a solar farm series, you might correct the sky’s blown highlights and lift shadows on panel details, but preserve the authentic midday light quality that shows actual working conditions. Skip heavy saturation boosts that make renewable installations look artificially vibrant.
Store your edited photos using sustainable practices: consolidate duplicates, archive completed projects to external drives rather than keeping everything on always-on cloud servers, and delete obvious rejects promptly. Your hard drive and energy bill will both benefit.
How to Verify Your Photos Achieve Their Purpose
The best way to know if your sustainability photos work is to show them to people who haven’t seen the subject firsthand. Ask viewers what story they get from the image before you explain your intent. If someone looks at your solar installation photo and sees “industrial equipment” rather than “clean energy solution,” that’s valuable feedback about whether your composition and context clues are doing their job.
Create a simple self-critique checklist you can apply immediately after each shoot. Does the image clearly show the sustainable element? Is there enough context to understand scale or impact? Would someone unfamiliar with the subject grasp what makes it significant? Can you identify a clear focal point that draws the eye to the story? These questions catch problems while you can still reshoot rather than discovering gaps weeks later during editing.
If you’re sharing publicly, engagement metrics provide additional data points. Comments asking thoughtful questions suggest your image sparked curiosity. Shares to environmental groups or sustainability communities indicate your visual resonated with the intended audience. Low engagement doesn’t automatically mean failure, sometimes the most important work documents rather than entertains, but patterns across multiple images reveal what connects.
Once you’ve identified which approaches succeed, build a cohesive portfolio series rather than scattered individual shots. Group related images that explore different facets of the same sustainability topic, or create a visual essay showing before-and-after environmental restoration. This depth demonstrates commitment beyond surface-level documentation and helps you develop a recognizable perspective within sustainability photography.
Keep refining your practice by studying how established environmental photographers structure their narratives, experimenting with your earth-friendly gear to reduce shooting impact, and revisiting subjects across seasons to capture change over time. The strongest sustainability photography comes from sustained attention rather than one-off attempts.
Common Questions About Sustainability Photography
Do I need professional camera equipment to shoot sustainability photos?
Not at all, smartphone cameras have advanced enough to capture compelling sustainability stories, and many successful environmental photographers started with entry-level gear. What matters most is your eye for meaningful subjects and your understanding of light and composition, not the price tag on your equipment.
What’s the best season for photographing sustainability subjects?
Each season offers unique opportunities: spring showcases renewal and regeneration projects, summer provides optimal light for solar installations, autumn highlights harvest in sustainable agriculture, and winter reveals the stark reality of environmental challenges. Rather than waiting for a “perfect” season, photograph what’s happening in your area right now.
How do I find sustainability subjects to photograph in my local area?
Start with community gardens, farmers markets, local renewable energy installations, recycling centers, and nature reserves. Contact environmental nonprofits, check municipal sustainability initiatives, and look for green businesses, many welcome documentation of their efforts.
Can I legally photograph private solar farms or wind installations?
Always obtain permission before photographing on private property, even if visible from public roads. Many renewable energy companies allow photography with advance notice, especially if you explain your educational or advocacy purpose.
How do I balance artistic expression with documentary accuracy?
Enhance your images through composition, timing, and subtle editing that preserves reality, adjusting exposure or color balance is fine, but avoid manipulations that misrepresent the subject. Your creative choices should amplify the truth of what you witnessed, not fabricate a version that didn’t exist.
Should I explain the sustainability context when sharing my photos?
Yes, brief captions or descriptions dramatically increase impact by helping viewers understand what they’re seeing and why it matters. Context transforms a pretty image into a story that can inspire action.
These questions reflect what most photographers wrestle with when transitioning from general photography into sustainability-focused work. The answers aren’t about rigid rules but about developing judgment that serves both your creative vision and the environmental story you’re telling. As you build your portfolio, you’ll develop instincts for which situations need explicit permission, when documentary accuracy trumps artistic license, and how to find compelling subjects even in ordinary surroundings. The sustainability photography community tends to be collaborative rather than competitive, so don’t hesitate to reach out to other practitioners with questions specific to your region or interests.




 By
By