By
By 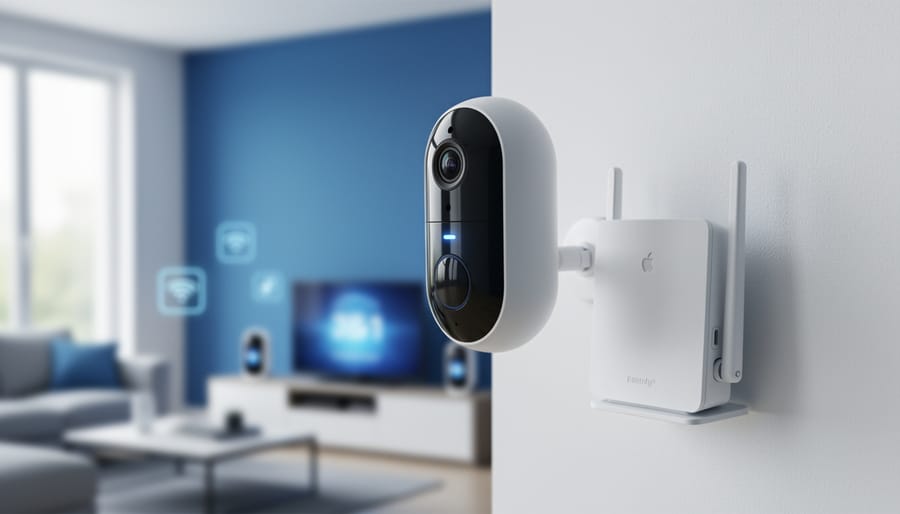
Connecting your WiFi smart camera takes about 10 to 15 minutes and follows a consistent pattern across most brands: download the manufacturer’s app, power on the camera, connect your phone to the camera’s temporary WiFi network, then configure your home network credentials through the app. Once authenticated, the camera joins your regular WiFi and becomes accessible for monitoring, recording, or integration with broader smart home systems.
The process sounds straightforward, and usually it is. But photographers looking to repurpose these devices for studio monitoring, time-lapse projects, or equipment surveillance quickly discover that getting the initial connection right makes everything else simpler. A solid WiFi handshake means reliable remote access, smooth integration with automation platforms like Home Assistant or Google Home, and fewer dropped connections during critical shoots.
Most connection failures stem from preventable issues: incompatible network bands (many budget cameras only support 2.4 GHz), poor placement during setup that weakens the signal, or skipping firmware updates that patch known connectivity bugs. Understanding the sequence and knowing what to check when things go wrong transforms this from a frustrating trial-and-error session into a predictable setup routine.
This guide walks through the complete connection process, from verifying your network compatibility and gathering login credentials to confirming live video feeds and troubleshooting common roadblocks. Whether you’re setting up a single camera to monitor your gear closet or building a multi-camera system for capturing behind-the-scenes content, the foundation starts with a reliable WiFi connection.
What You’ll Need Before You Start
Before you begin the connection process, gathering everything you need will save you from frustrating mid-setup interruptions. Having these items ready ensures a smooth installation and helps you avoid compatibility issues that can derail the entire process.
- Your WiFi smart camera with included power adapter and mounting hardware
- Smartphone or tablet (iOS 12+ or Android 8.0+) with sufficient storage for the manufacturer’s app
- WiFi network name (SSID) and password, with confirmation that your router broadcasts a 2.4GHz network
- Stable internet connection with at least 2-5 Mbps upload speed per camera
- Manufacturer’s app downloaded from the App Store or Google Play
- MicroSD card (Class 10 or UHS-1 rated) if you want local recording without cloud subscriptions
- Home automation hub or platform account if you plan to integrate beyond the camera’s native app
The 2.4GHz requirement deserves special attention. Most WiFi cameras in 2026 still connect exclusively to 2.4GHz networks, not the faster 5GHz band, because 2.4GHz signals penetrate walls better and reach farther. If your router uses a single network name for both bands, the camera may struggle to connect. Check your router settings or use a dedicated 2.4GHz network name to avoid this headache.
For photographers monitoring studios or equipment rooms, upload speed matters more than download speed. Your camera sends video to the cloud or your phone, so a connection that’s fast for browsing but slow for uploads will produce choppy, delayed footage. Test your upload speed at the camera’s planned location before mounting anything permanently.
The microSD card is optional but valuable. Local storage means you can review footage even if your internet goes down, and you avoid monthly cloud subscription fees. Choose cards specifically rated for continuous recording, as standard cards wear out quickly under constant video write cycles. This becomes critical if you’re monitoring valuable camera gear or using the smart camera as a time-lapse capture device for long-term projects.
Network and Safety Considerations
Before you power on that camera, take time to set up the right network environment. A WiFi smart camera streaming 4K video can consume 8-12 Mbps of upload bandwidth continuously, and if you’re running multiple cameras or sharing that connection with studio uploads, you’ll quickly saturate a typical home internet plan. Start by checking signal strength where you plan to mount the camera, your phone’s WiFi analyzer app should show at least -67 dBm or better for reliable streaming. Concrete walls, metal shelving, and wireless interference from other 2.4GHz devices (baby monitors, cordless phones, microwave ovens) will degrade that signal fast.
Most WiFi cameras in 2026 still connect only to 2.4GHz networks rather than the faster 5GHz band. The 2.4GHz spectrum has better range and wall penetration but carries more neighborhood congestion. If your camera supports dual-band, use 5GHz when the device is within 30 feet of your router and there are minimal obstructions, you’ll get smoother streaming and fewer dropped frames during critical moments.
Create a separate guest network specifically for IoT devices and cameras. This isolates them from your main network where computers store client files, RAW image libraries, and business documents. If a camera gets compromised, the attacker can’t pivot to those systems. Most modern routers and smart home hubs include this guest network feature in their settings.
Consider what your camera sends to the cloud. Many manufacturers upload every motion event, thumbnail images, or continuous clips to their servers for AI processing and remote access. Read the privacy policy before connecting, you might be granting the company rights to analyze or store footage of your studio, clients, or proprietary setups. Cameras with local storage options (microSD cards or NAS recording) give you more control, though you’ll lose some convenience features like cloud notifications. Position cameras to avoid capturing neighbors’ properties or public sidewalks where privacy expectations differ from your private workspace.
Step-by-Step: Connecting Your WiFi Smart Camera
Initial Camera Setup and App Pairing
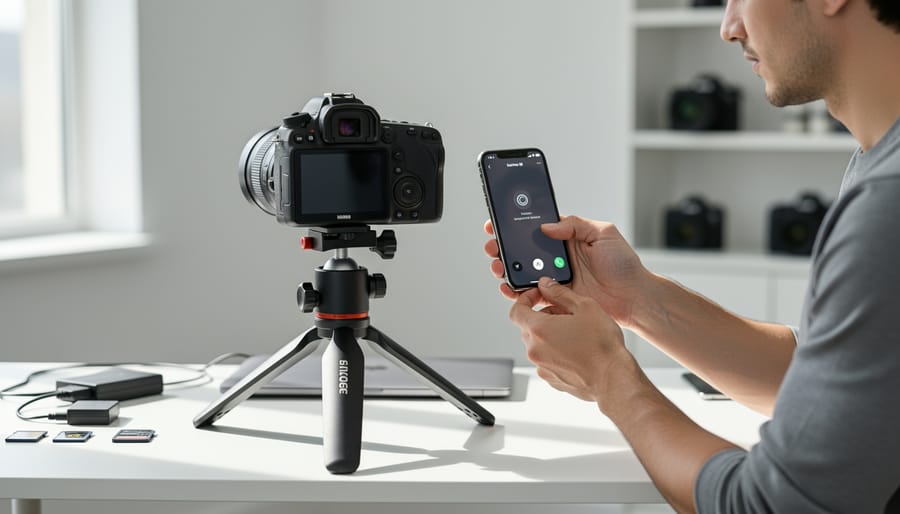
Before your camera can join your WiFi network, you need to establish its physical connection and create the initial bridge to your smartphone. This process is simpler than it looks, but timing matters, cameras only stay in pairing mode for a limited window.
Start by choosing your camera’s physical location. Don’t mount it permanently yet. Place it on a stable surface near your router for this initial setup, ideally within 10-15 feet. This eliminates distance as a troubleshooting variable.
Power up the camera using its included adapter. Most models indicate they’re ready for pairing with a flashing LED, often blue or red depending on the brand. If you don’t see this indicator within 30 seconds, look for a small reset button (typically recessed) and hold it for 5-10 seconds until the light changes pattern.
While the camera initializes, download the manufacturer’s app from the App Store or Google Play. Search by the exact brand name printed on your camera, there are many knockoff apps that look legitimate but won’t work. Create an account if this is your first device from this manufacturer. Enable Bluetooth on your phone, as most 2026 cameras use it for the handshake process rather than temporary WiFi networks.
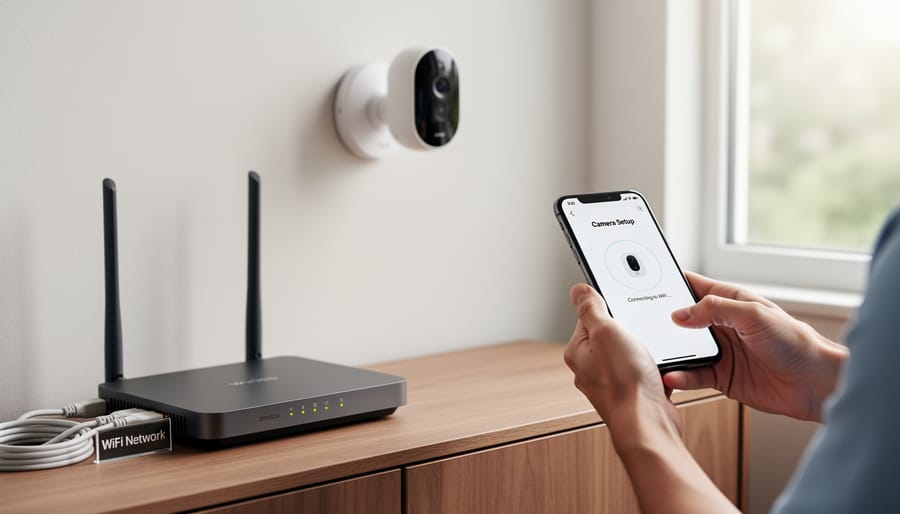
Open the app and select “Add Device” or the plus icon. Choose your camera model from the list. The app will scan for nearby cameras broadcasting their pairing signal. When your camera appears (often identified by a serial number on the device’s label), tap it to initiate the connection.
Your phone and camera are now talking directly via Bluetooth, ready for the WiFi credentials that come next.
Joining Your WiFi Network
With your camera paired to the app, it’s time to get it online. The app will scan for available networks and display a list. Select your WiFi network from the options. If you don’t see it, your network might be hidden, you’ll need to manually enter the SSID exactly as it appears in your router settings, including capitalization.
Enter your WiFi password carefully. Special characters like ampersands, dollar signs, or quotation marks can cause problems with some camera models. If your connection fails repeatedly despite a correct password, try temporarily changing it to alphanumeric characters only, connect the camera, then restore your preferred password later.
Most smart cameras in 2026 work only on 2.4GHz networks, not 5GHz. If your router broadcasts both bands with the same name, this creates confusion. The solution: either disable band steering in your router settings or create separate network names for each band. Connect the camera specifically to the 2.4GHz network.
Watch the camera’s LED during connection. It typically blinks rapidly while connecting, then glows solid or changes color when successful. This process takes thirty seconds to two minutes. If it times out, move the camera closer to your router for the initial setup, you can relocate it afterward once you’ve verified signal strength is adequate.
Once connected, the app confirms with a success message and often prompts you to test the live view. Don’t skip this verification step.
Initial Camera Configuration
Once your camera successfully joins your WiFi network, resist the urge to dive straight into automation. Spend five minutes configuring the basics now to avoid frustration later.
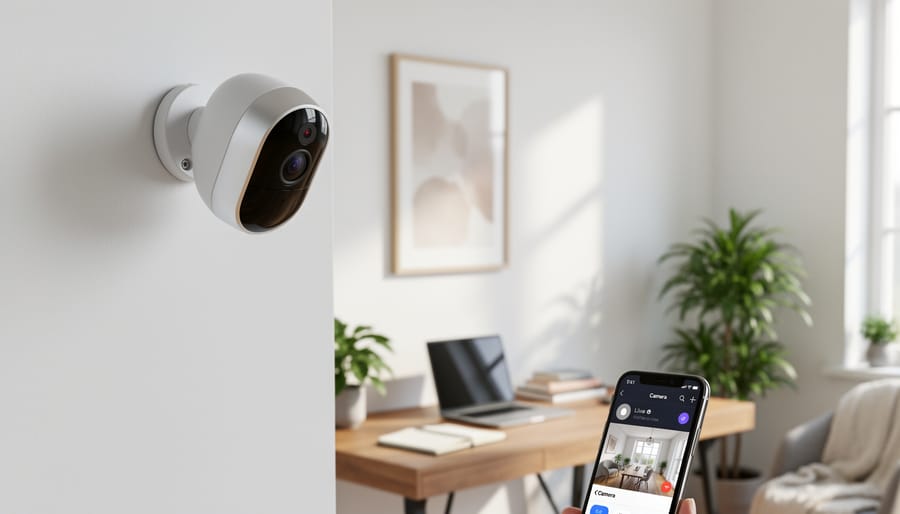
Name and location matter more than you’d think. If you plan to run multiple cameras, assign descriptive names (“Studio Doorway” beats “Camera_0234”) that make sense when you’re scrolling through automation triggers at midnight. Set the physical location within the app, this metadata helps when organizing scenes and sorting through recordings.
Adjust video quality based on your actual needs. That 4K setting looks impressive, but it devours bandwidth and storage. For monitoring equipment or studio entrances, 1080p typically provides plenty of detail while keeping file sizes manageable. Most apps offer quality presets; start with “High” and adjust down if you notice network lag.
Draw your motion detection zones carefully. Default settings often trigger on every passing car or swaying tree branch. Take thirty seconds to mask out problem areas, I exclude the window in my equipment room to avoid constant alerts from outdoor movement.
Finally, let firmware updates complete before doing anything else. Yes, it’s tedious watching that progress bar, but updates frequently fix connectivity bugs and add features you’ll want for home automation integration.
Integrating with Home Automation Platforms
Once your camera connects to WiFi, the real power comes from integrating it with your home automation platform. Most modern smart cameras work with at least one major ecosystem, but checking compatibility before you buy saves frustration later. The integration process varies by platform, but the general workflow remains consistent across systems.
Start by opening your automation platform’s app and navigating to the “Add Device” or “Devices” section. For Apple HomeKit users, tap the plus icon and scan the eight-digit code included with your camera or displayed in its app. Google Home users should tap “Add” then “Set up device,” followed by “Works with Google” to search for their camera’s brand. Alexa owners navigate to “Devices,” tap the plus icon, then “Add Device” and select “Camera.” Home Assistant requires adding an integration through Settings, while SmartThings uses the “Add Device” flow under the Devices tab.
The authentication step typically redirects you to log into your camera manufacturer’s account within the platform app. This links the two services and authorizes data sharing. Some platforms require you to enable a skill or install an integration first, Alexa uses skills, Home Assistant uses integrations, and SmartThings uses SmartApps. The manufacturer’s documentation should specify which approach their camera requires.
After authentication, your camera appears in your platform’s device list. Most platforms automatically create basic controls like live view access and enable standard notifications. The interesting possibilities emerge when you create custom automations and scenes.
For a smart camera automation photographers actually use, try these scenarios: trigger your studio’s smart lights when the camera detects motion between specific hours, useful when you’re working late and want lights to activate automatically when you enter. Create a “Shooting Session” scene that turns on multiple cameras positioned around your workspace, adjusts lighting to your preferred setup, and disables motion notifications that would interrupt concentration. Set up a notification when the equipment room camera detects movement while you’re away, a practical security measure for expensive gear.
More advanced users can create conditional triggers. In Home Assistant, you might activate recording only when your phone leaves a geofenced area around your home and the camera detects motion, reducing false alerts from your own movements. SmartThings users can tie camera activation to door sensors, starting recording only when specific doors open. Alexa routines allow voice-activated camera controls: “Alexa, start studio monitoring” could enable cameras, adjust lights, and send you a confirmation notification.
The complexity of your home automation setup depends entirely on your needs. Start simple, perhaps just remote viewing and basic motion alerts, then expand as you identify genuine workflow improvements. The platforms differ in their automation capabilities, with Home Assistant offering the most flexibility for technical users while HomeKit prioritizes simplicity and privacy.
Testing Your Connection and Troubleshooting
Start with the basics: open your camera app and check the live view. You should see a clear, real-time stream with minimal lag, anything over two seconds suggests bandwidth or signal issues. Walk to different rooms in your home while watching the feed; if the video stutters or disconnects when you’re far from the router, your camera’s placement may need adjustment or you might need a WiFi extender.
Next, verify recording functionality. Trigger a motion event by walking in front of the camera, then check whether the clip appears in your app’s event history within 30 seconds. If you’ve inserted a microSD card, confirm local recording is active by reviewing saved footage. Cloud recording varies by brand, but most cameras should upload clips within one to two minutes on a decent connection.
Test your automation triggers systematically. If you’ve set up camera automation ideas like turning on studio lights when motion is detected, manually walk through the detection zone and verify the action occurs. Check notification settings by having someone else trigger the camera while you’re in another location, alerts should reach your phone within 15-30 seconds.
- Dropped connections: Move the camera closer to your router or switch to the 2.4GHz band, which penetrates walls better than 5GHz
- Delayed notifications: Disable battery-saving modes on your phone and ensure the camera app has background refresh permissions enabled
- Poor video quality: Check your camera’s resolution settings, some apps default to lower quality for mobile data; force HD when on WiFi
- Integration failures: Unlink and re-link the camera in your home automation platform, ensuring both systems are running current firmware
- Intermittent freezing: Restart your router and camera, then monitor your network’s device count, too many connected devices can throttle bandwidth
For persistent connection drops, check your router’s DHCP settings and assign your camera a static IP address. This prevents the camera from losing its network identity when the router cycles addresses. Monitor connection stability over 24 hours using your app’s connection status indicator. If you’re seeing disconnections during specific times, bandwidth congestion from other devices is likely the culprit, consider upgrading your internet plan or implementing quality-of-service rules in your router to prioritize camera traffic.
Common Questions About WiFi Smart Camera Connectivity
You’ve powered through the setup and integration, but a few practical questions probably remain. Here are the answers to scenarios that come up regularly in real-world use, especially when you’re juggling cameras across different spaces or dealing with network changes.
Can I set up a WiFi smart camera without a smartphone?
Most cameras require a smartphone for initial setup because the manufacturer’s app handles pairing, network selection, and configuration. A few models in 2026 offer web-based setup through a browser, but these are exceptions rather than the rule.
What happens if I change my WiFi password?
Your camera will lose connection and you’ll need to reconnect it through the app, essentially repeating the WiFi joining process. The good news is you won’t lose your camera settings, automation rules, or recordings stored locally or in the cloud.
Can one camera connect to multiple WiFi networks?
No. A camera can only connect to one network at a time, though most apps let you switch between saved networks if you move the camera between locations like a home studio and a rental space.
How much bandwidth does continuous streaming actually use?
A 1080p camera typically uses 2-4 Mbps for continuous streaming, while 4K models can consume 8-12 Mbps. If you’re running multiple cameras or working with large file transfers in your studio, factor this into your network planning.
The cloud subscription question matters if you’re budget-conscious or privacy-focused. You can absolutely use WiFi smart cameras without cloud subscriptions. Local storage via microSD card works for basic recording, and live viewing functions through the app regardless of subscription status. You’ll miss cloud backup redundancy, extended video history, and sometimes advanced features like person detection or activity zones, but the core functionality remains intact. This approach works well for photographers who primarily want real-time monitoring of their spaces rather than extended recording archives.
During internet outages, your camera’s behavior depends on its design. Local recording to an SD card continues working because that doesn’t require internet connectivity. Live viewing won’t work from outside your home network, but if you’re on the same local WiFi (like checking your studio camera from your living room), many cameras maintain that connection. Remote notifications, cloud uploads, and automation platform integration all stop until internet returns. Some advanced setups using local hubs like Home Assistant can maintain automation rules during outages, though camera access from your phone outside the home obviously won’t function.
WiFi camera compatibility with different platforms varies significantly, so before you invest in multiple cameras or build complex automations, verify that your chosen models support the specific features you need across your home automation ecosystem. The last thing you want is to discover after setup that a camera works with Alexa but lacks the HomeKit integration your studio workflow depends on.
Connecting your WiFi smart camera comes down to three essential steps: preparing your network and prerequisites, completing the initial app-based pairing and WiFi connection, and optionally integrating with your home automation platform. Once you’ve worked through the process once, adding additional cameras becomes straightforward.
For photographers, these cameras offer genuine utility beyond traditional security applications. Position one to monitor your studio during shoots for backup angles, keep an eye on expensive equipment when you’re away, or create time-lapse documentation of your creative process. The automation integrations we covered transform a basic security device into a responsive tool that works alongside your existing smart home setup.
Start by optimizing your first camera’s placement, signal strength matters more than you’d expect for consistent streaming. Experiment with motion detection zones to eliminate false alerts while capturing meaningful activity. If the setup proves useful, consider adding cameras to cover multiple angles or spaces. Many photographers find that a three-camera configuration provides comprehensive coverage without overwhelming complexity.
The investment in proper setup now prevents frustration later. Take time to test your automations and verify connection stability before relying on these cameras for critical monitoring needs.




 By
By