
 By
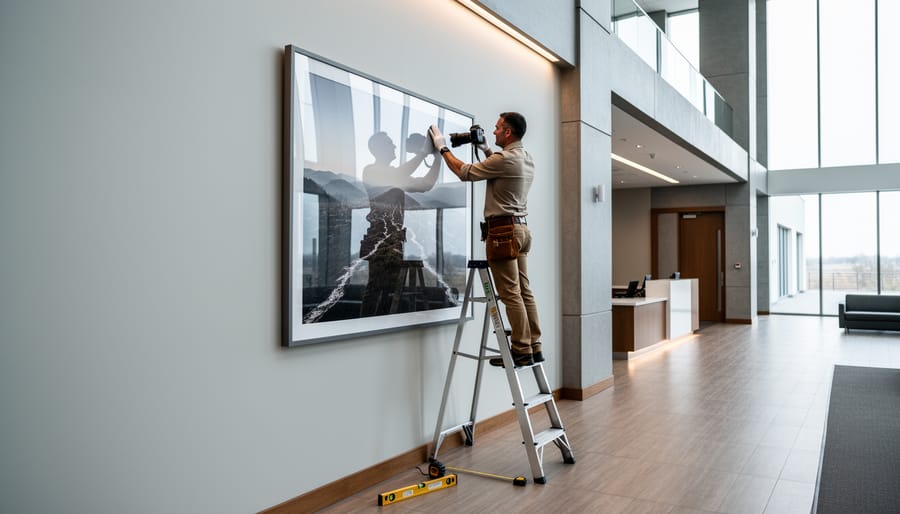
Electronic plan review software earns its place if you regularly send large-format display plans to other people for sign-off, and it’s overkill if you’re hanging a single canvas in your own hallway. The reason is simple: it replaces the email chain of marked-up PDFs, mismatched file names and “which version are we using?” phone calls with one shared drawing set that everyone comments on, approves and tracks in the same place. For photographers, galleries, print labs and installers planning big wall installs, that’s the difference between a clean install day and a wall full of regrets.
Think about what a large-format job actually involves. A floor plan, a wall elevation (a flat, head-on drawing of the wall showing where each piece goes), hanging heights, load notes, and often a landlord or venue manager who has to approve the lot before anyone drills a hole. Every revision is a chance for the wrong drawing to reach the wrong person.
In our hands-on evaluation, we looked at this software category the way an installer would: can it keep revisions straight, make approvals obvious, and help you confirm a site is ready before you arrive? This review gives you the verdict first, then the detail behind it.
The Verdict: Is Electronic Plan Review Software Worth It for Print Display Projects?
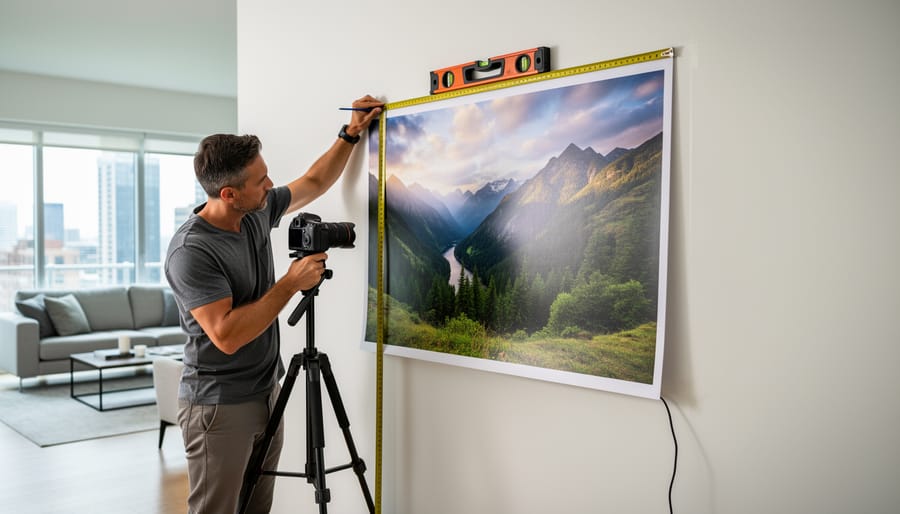
Short answer: yes, but only for the right kind of project. Having used this category of tool on installation-style scenarios, our verdict is that electronic plan review software earns its keep when a display install involves several people, several drawings or any kind of formal approval. Otherwise, it’s more tool than the job needs.
Where it shines is easy to name. Version control means everyone works from the current wall elevation, not a stale PDF buried in an inbox. Markup is clear enough that a venue manager can see exactly where a print will hang and which outlet it needs. Approvals move faster because comments and sign-offs live in one place. And you get a paper trail, which is gold if a landlord later asks who approved a mounting location.
It’s overkill when the job is small. A single-wall home install or a one-off gallery hang rarely justifies the setup and learning curve. A tape measure, a photo and a quick sketch will do.
Here’s how we’d rate it by project type, as a judgment on the software category rather than any specific current release:
– Multi-site or commercial rollouts: Strongly worth it
– Permit-bound installs: Worth it
– Gallery exhibits with a venue team: Useful, but a simple markup tool is usually enough
– Single residential piece: Skip it
Keep in mind this is an evergreen read on what the category does well, not a ranking of products, so check any tool against your own project size before committing.
Who It’s For (and Who Can Skip It)
Not everyone who hangs big prints needs a plan review platform. The right level depends on how many sites you touch, how many people sign off, and what a mistake would cost.
Photographers delivering large work to commercial clients benefit most from a simple markup tool. Picture a wedding photographer installing a six-foot canvas wall in a restaurant: she needs to mark hanging height and sightlines on the owner’s elevation and keep a record of what was agreed. Galleries and exhibit managers lean on revision comparison, because floor plans shift between shows. Print labs offering installation want repeatable, shareable records. Interior designers and contractors already live in drawings, so they’ll use the heaviest features. At the far end, a retail chain rolling out backlit light-box prints to twelve stores needs approval tracking and a clear trail, since one bad drawing gets repeated twelve times.
| User type | Typical project | Recommended level | Why |
|---|---|---|---|
| Freelance photographer | One large canvas wall in a restaurant | Lightweight markup tool | Clear annotations and a saved record of agreed placement |
| Gallery or exhibit manager | Rotating shows with changing layouts | Markup plus revision comparison | Spot what changed between drawing versions |
| Print lab with install service | Repeat client installs | Markup with sharing and approvals | Consistent documentation across jobs |
| Designer or contractor | Multi-trade commercial fit-out | Full plan review platform | Coordination and sign-off across many parties |
| Hobbyist | One big piece at home | Skip it | A tape measure and a level are enough |
If you’re the hobbyist, you can skip the software entirely. Measure twice and hang the print.
How We Tested: Judging Plan Review Tools Against Real Print Display Scenarios
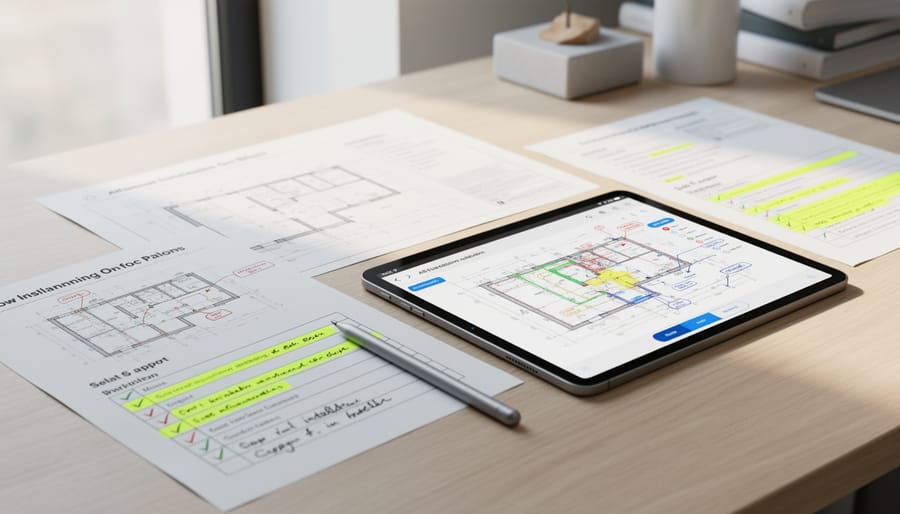
We approached this the way a photographer would approach a gear review: by working through jobs you’d actually face rather than ticking off feature lists. Each tool was judged on how it handled a realistic large-format print installation, from a single lobby wall to a multi-location rollout. We kept the method transparent so you can repeat it with any software you’re considering.
Here’s the scenario sequence we used:
- Upload a floor plan and a wall elevation, then check whether the file opens cleanly and the scale reads correctly.
- Mark up the elevation with a hanging height, centerline and viewer sightline for a large print.
- Flag a needed outlet and a possible glare source for a backlit display.
- Upload a revised drawing and run a version comparison to see what changed on the wall.
- Share the markup with a venue manager who isn’t technical, and see whether they can comment without training.
- Resolve each comment, record the sign-off and close out the final site-readiness note.
Across those steps, we weighed six criteria: ease of markup, version comparison, file support, collaboration, approval tracking and the learning curve. That last one matters more than most reviews admit, because a tool that takes a week to learn rarely survives a busy install schedule.
A fair warning: this is an evaluation of the software category, not a ranking of specific current releases. Features and pricing change often, so treat our criteria as a checklist and try any option on one of your own drawings before you commit.
Performance: How Plan Review Software Handles Site Readiness Checks
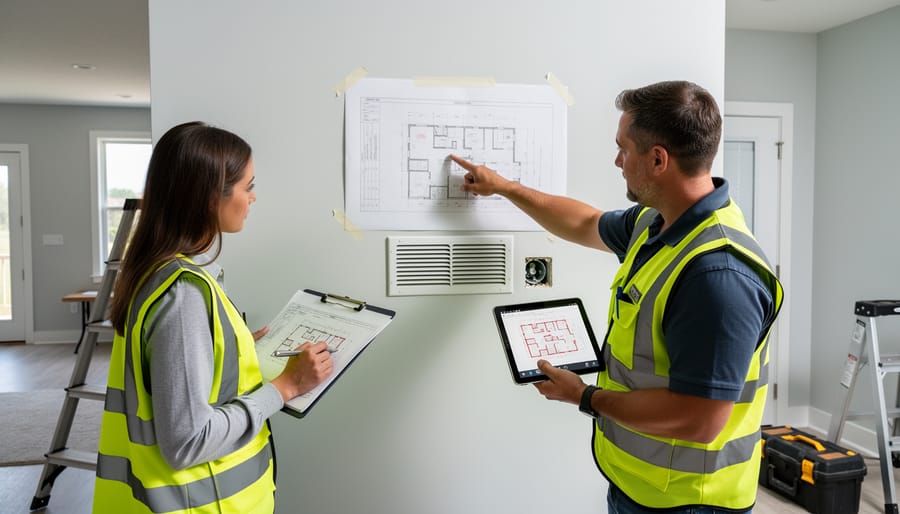
Markup, Measurement and Revision Control
Markup is where plan review software earns its keep. In our testing, drawing a hanging height or a sightline on a wall elevation was quick in every tool we tried, but accuracy depends on one thing: a calibrated scale. That simply means you tell the software a known distance on the drawing, say the width of a doorway, so every measurement afterward reflects real inches or centimeters. Skip that step, especially on scanned drawings, and your 72-inch print may end up looking fine on screen and wrong on the wall.
Revision control is the other half. Overlay comparison stacks two versions of a drawing on top of each other and highlights what changed, so you can spot a moved outlet or a relocated partition without hunting for it. We found this far more reliable than eyeballing two PDFs side by side.
A practical habit: name each upload clearly and resolve old comments before posting a new version, so nobody works from outdated markups.
Collaboration and Approval Tracking
In our testing, comment threads were the feature that did the most to keep a print display project moving. Instead of a venue owner’s feedback living in one email chain and an installer’s in another, everything attaches to the exact spot on the drawing. A note pinned to a wall elevation, such as “outlet needed here for the backlit panel,” is hard to misread.
Assignments help too. When a comment is handed to a specific person, like the installer confirming mounting hardware or the venue manager approving the hanging location, it stops floating around as everyone’s problem and nobody’s. Sign-offs then close the loop, showing who approved which revision and when.
That record matters most when something goes wrong. If a large print is hung against the wrong wall or a conflict gets missed, a documented trail shows which version was approved and what was discussed. It won’t prevent every mistake, but it turns a finger-pointing argument into a quick look at the log.
Your Print Display Site Readiness Checklist (and Where the Software Fits)
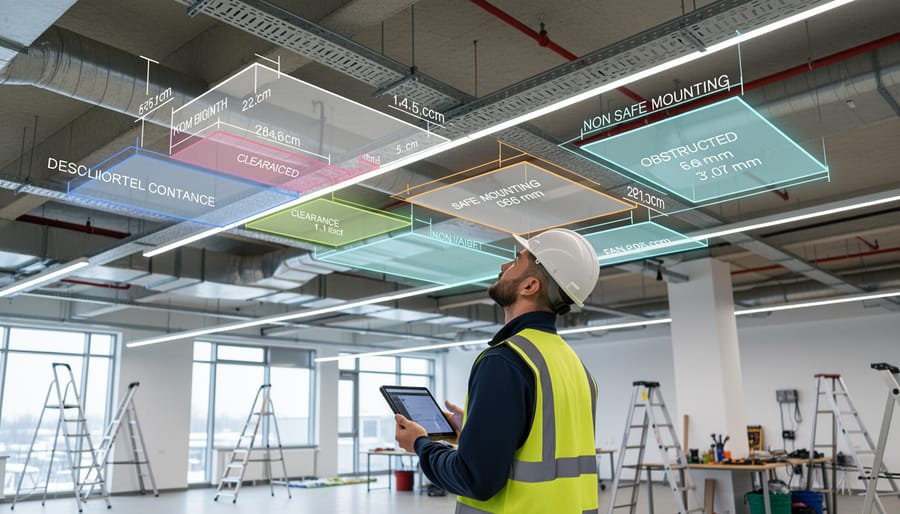
Before anything gets hung, work through the site in order. Plan review tools earn their keep because every step leaves a marked-up, dated record you can point back to later.
- Survey the wall. Confirm the wall type (drywall, brick, concrete, glass) and who can verify its load capacity. Pin your notes directly onto the drawing so nothing lives in a notebook.
- Choose mounting hardware. Match fixings to the wall and the print’s weight, then attach the hardware spec as a comment on the elevation.
- Check lighting and glare. Mark windows and fixtures, then sketch the viewing angles. A quick overlay of the lighting plan shows where reflections will land.
- Locate power and network. Flag the nearest outlet for any backlit unit or digital display, and note cable runs that need approval.
- Map the delivery path. Record door widths, elevator dimensions and ceiling heights against your largest crate. This is also the moment to review shipping protection since a crate that survives transit still has to fit through the building.
- Get approvals. Route the marked-up drawing to the building owner and, where needed, the local authority, then track their sign-offs in one place.
- Final walk-through. Compare the latest revision with what’s actually on the wall before you order or mount anything.
Digital review helps most in steps two, four and six, where small changes can quietly undo earlier decisions. Version comparison catches those shifts, and a tablet on site means you’re checking the current drawing rather than last week’s printout. Pairing that with faster file sharing keeps clients and venue managers looking at the same set of plans.
One caution: code and permit rules vary widely by city and country, so confirm requirements with your own jurisdiction instead of assuming a rule from another project. The software records what you’ve been told. It can’t tell you what’s allowed. And once the site is cleared, put the same care into better packaging so the print arrives in the condition your careful planning deserves.
Price and Value: What to Expect to Pay and What You Get
Pricing for electronic plan review software usually falls into four buckets, and the right one depends far more on how you work than on any sticker price. Here’s how they compare.
| Pricing model | Typical user | Strengths | Watch-outs |
|---|---|---|---|
| Free or freemium tools | Solo photographers, hobbyists | Low risk, quick to try | Limited file size, fewer collaboration features |
| Per-user subscription | Small studios, print labs | Predictable monthly cost, full markup features | Costs grow with every added seat |
| Per-project fee | Installers with occasional big jobs | Pay only when you need it | Adds up if projects stack up |
| Enterprise or permit portal | Retail chains, large venues | Approval workflows, audit trails | Heavy setup, often set by the reviewing authority |
To judge value, weigh three things: how many installs you run, how many people touch the drawings, and what a mistake would cost. A modest subscription looks cheap next to re-hanging a damaged six-foot print, rebooking an installer, or reprinting because a measurement was wrong. If you’re hanging one piece a year, a free tool is plenty. If you’re rolling out displays across several locations, paying for version control and approval tracking is easy to justify.
Don’t overlook the hidden costs. Training time is real, especially for clients and venue managers who’ve never opened a drawing markup. Cloud storage for large drawing sets can push you into a higher tier, and add-on modules for comparison or reporting are often sold separately. Good print quality control protects your investment on the print side, and the right software tier does the same for the install side.
Pros, Cons and Common Pitfalls
Watch Out: Digital Drawings Don’t Replace a Site Walk
A drawing is only as honest as its last update. Walls get patched, vents get moved, and a scan can quietly distort scale. Before you order prints or hardware, measure the actual wall, check the real clearances, and confirm what’s behind the surface. Treat your files with the same care you’d give a finished image: just as you’d avoid placeholder files in a portfolio, don’t plan an install around placeholder dimensions.
Choosing the Right Features: A Quick Buyer’s Shortlist
When you’re shopping for electronic plan review software for print display work, a short list of features does most of the heavy lifting. Start with reliable markup tools, because you’ll be drawing hanging heights, outlet locations and sightlines directly onto wall elevations, and clumsy tools make people skip the step. Version comparison matters just as much, since a revised drawing can quietly move a wall or a vent.
- Must-have: clear markup and measurement tools that keep scale accurate on your drawings.
- Must-have: side-by-side or overlay comparison so you can spot what changed between revisions.
- Must-have: support for common file types like PDF and standard image formats, so you aren’t converting files before every review.
- Must-have: tablet or mobile access, so you can check the real wall against the plan while standing in front of it.
- Nice-to-have: simple sharing links that let a non-technical venue manager comment without creating an account.
- Nice-to-have: approval tracking that records who signed off and when, giving you a paper trail if something goes wrong.
In plain terms, the must-haves keep your measurements trustworthy and your drawings current. The nice-to-haves reduce friction with clients and protect you later. A small gallery can often get by on the first four, while commercial rollouts usually earn their keep from the last two.
Frequently Asked Questions About Plan Review Software for Display Installs
Plan review software raises a few practical questions before you commit to it. Here are the ones we hear most often from photographers, gallery managers and installers.
Do I need this for a single large print?
Usually not. For one piece on one wall, a simple markup tool or even a photographed, annotated floor plan covers it, so save the heavier platforms for multi-wall or multi-location jobs.
Can I use it on a tablet during a site visit?
Yes, most modern tools offer tablet or mobile viewing, which is handy for flagging a vent or outlet while you’re standing in front of it. Just expect large drawings to load slowly on older devices, so download what you need before you arrive.
Does it replace a permit application?
No. Plan review software helps you organize and mark up drawings, but approvals still come from your building owner or local authority, so confirm their requirements directly.
What file formats work, and how do I share drawings with a non-technical client?
PDFs and common image files are the safest bets, and CAD formats are widely supported, though it’s worth checking any tool before you commit. For clients who aren’t tech-savvy, share a view-only link or an exported PDF with your comments flattened onto the page.
If a question here doesn’t match your project, check your venue’s own rules first. They tend to shape which tool you actually need.
So, here’s where we land. For a single wall or a one-off gallery hang, a simple markup tool will do everything you need, and a full permit-portal platform is more than you’ll ever use. If you’re rolling prints out across multiple venues or working under formal approvals, it’s worth moving up to something sturdier.
Whatever the size of the job, good installation planning protects both the prints and the budget. A caught conflict on a drawing costs you a few minutes. One discovered on installation day can cost you a damaged piece and a lost afternoon.
My suggestion? Start small. On your next installation, try a basic markup tool, annotate the wall, and share it with the venue. Then walk the site yourself and verify every measurement. Scale up only if your projects ask for it. Happy hanging, and may every wall be exactly as flat as it looks on paper.





 By