By
By 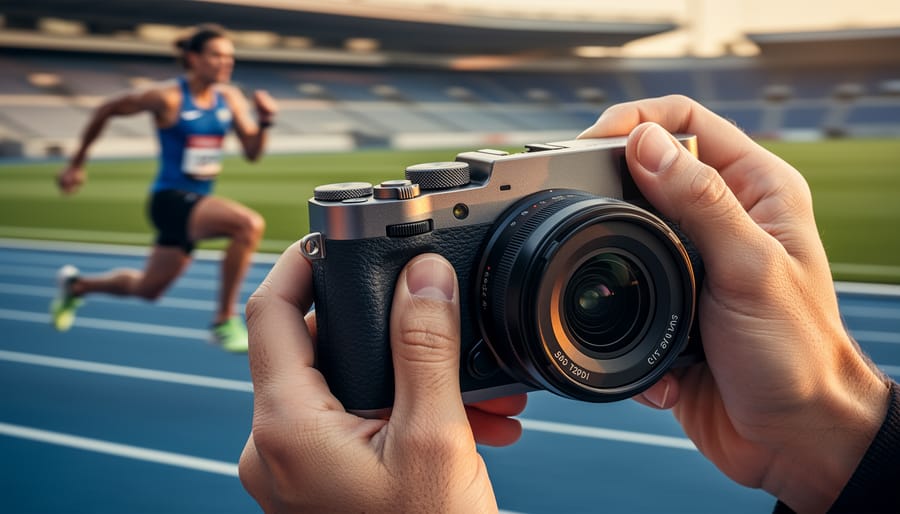
Point your camera at a moving subject—a running athlete, a flying bird, your child on a swing—and hold down the shutter button. Watch as your camera fires off frame after frame in rapid succession. This is burst mode, and understanding how well your camera performs this fundamental task can mean the difference between capturing the perfect action shot and missing the moment entirely.
Burst testing reveals two critical performance metrics that manufacturers often obscure in their marketing materials. First, the frames per second rate tells you how many shots your camera can capture in one second, typically ranging from 3 fps in entry-level models to 30 fps or more in professional sports cameras. Second, and often more important, the buffer depth determines how many consecutive shots your camera can take before it slows down dramatically while writing images to your memory card.
Here’s what really matters: A camera advertised at 10 fps might only maintain that speed for 15 raw files before grinding to a crawl of 2 fps. Another camera rated at 8 fps might sustain that rate for 100 shots without hesitation. For wildlife photographers tracking an eagle’s flight or sports photographers following a basketball game’s fast break, that sustained performance defines whether you’ll actually capture the decisive moment.
The relationship between burst rate, buffer capacity, file format, and memory card speed creates a complex performance equation. A camera shooting compressed JPEGs will sustain burst mode far longer than one recording uncompressed raw files. Similarly, a high-speed memory card can clear your buffer significantly faster, reducing the painful wait time between shooting sequences. Understanding these variables through systematic burst testing helps you match camera capabilities to your actual shooting needs rather than relying on optimistic specification sheets.
What Is a Burst Test?
The Buffer: Your Camera’s Short-Term Memory
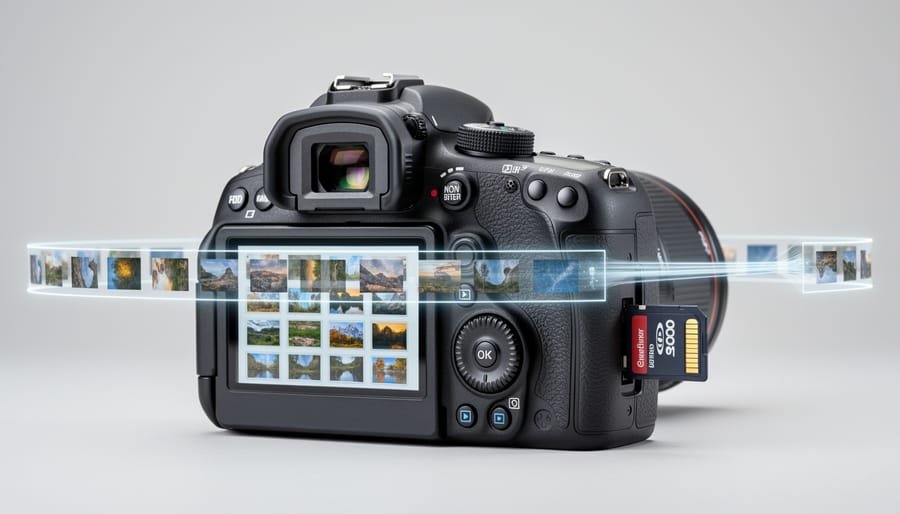
Think of your camera’s buffer as a waiting room between the sensor and the memory card. When you press the shutter in burst mode, your camera captures images at lightning speed—much faster than it can write them to your memory card. So where do those images go in the meantime? They queue up in the buffer, a small amount of high-speed temporary storage built into your camera.
Here’s a helpful analogy: imagine a busy restaurant kitchen during dinner rush. The cooks (your camera’s sensor and processor) can prepare dishes quickly, but there’s only one server (the memory card write speed) carrying plates to the dining room. The pass-through window where finished dishes wait is your buffer. When the kitchen works faster than the server can deliver, plates stack up in that window.
The buffer is almost always the bottleneck in continuous shooting because it’s relatively small—typically holding anywhere from 10 to 100+ images depending on your camera model and file format. Once it fills up, your camera must slow down or pause entirely until some buffer space clears. This is why you might notice your camera firing rapidly at first, then suddenly stuttering or stopping completely during extended bursts.
Understanding your buffer capacity is essential for capturing fast action, whether you’re photographing sports, wildlife, or any situation where missing the decisive moment isn’t an option.
Why Manufacturer Specs Can Be Misleading
When you see a camera advertised as shooting “10 fps for up to 50 shots,” it’s tempting to take that number at face value. Unfortunately, the reality is often more complicated. These manufacturer specifications represent best-case scenarios under specific testing conditions that may not reflect how you actually shoot.
The most significant variable is file format. That impressive 50-shot buffer? It likely applies to JPEG files only. Switch to RAW format, and you might get only 15-20 shots before your camera grinds to a halt. Shoot RAW plus JPEG simultaneously, and the buffer drops even further. I’ve tested cameras that advertised 40 JPEG bursts but managed barely a dozen when shooting uncompressed RAW files.
Card speed creates another layer of complexity. Manufacturers typically test with the fastest memory cards available, often expensive CFexpress or high-end UHS-II cards. Use a slower SD card, and your buffer will fill faster and clear more slowly, dramatically reducing your real-world burst capability.
Environmental factors matter too. Heat affects performance, especially during extended shooting sessions. What worked perfectly in a climate-controlled testing lab might struggle during a summer wedding or sports event. Battery level can also impact performance, with some cameras throttling burst rates when power drops below certain thresholds.
The lesson here isn’t that manufacturers are being dishonest, but rather that their specs represent ideal conditions. Real-world performance depends on how you configure your camera and the situations you encounter while shooting.
Why Burst Testing Matters for Your Photography
Sports and Action Photography
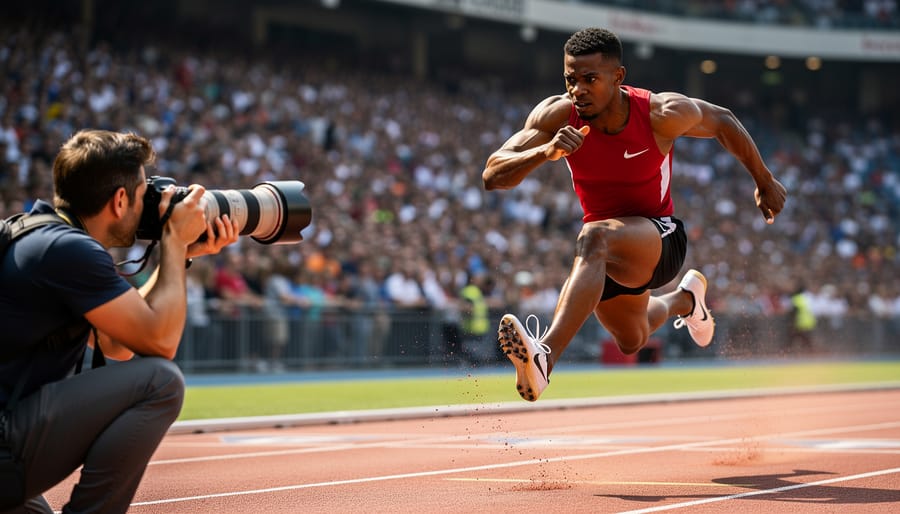
In sports and action photography, buffer depth can mean the difference between capturing the winning shot and missing it entirely. Imagine photographing a basketball game—a player drives to the basket, leaps for a dunk, and you hold down the shutter. With a shallow buffer, your camera might freeze after 15-20 shots, leaving you blind during the critical moment when the ball leaves their hands. A deeper buffer lets you shoot through the entire sequence, ensuring you catch that perfect instant.
Motorsports presents an even tougher challenge. As a race car speeds past at 150 mph, you might need 30-50 continuous frames to capture the perfect composition with the car positioned exactly where you want it. Cameras with limited buffers force you to shoot in short bursts and hope you timed it right, while professional bodies with extensive buffers let you hold the shutter through the entire pass without worrying about rolling shutter issues or interruptions.
Understanding your camera’s buffer limitations through burst testing helps you develop shooting strategies. You’ll know whether to use high-speed shooting modes conservatively or shoot with confidence, timing your bursts to match the action’s rhythm.
Wildlife Photography
Wildlife photography demands cameras that can keep pace with nature’s split-second moments, making sustained burst rates absolutely critical. When a bald eagle swoops down to snatch a fish from the water or a cheetah accelerates from standstill to full sprint, you need continuous shooting capability that won’t quit halfway through the action.
The key difference between wildlife and other photography genres is the sheer unpredictability. You might wait hours for a grizzly bear to emerge from the treeline, only to have five seconds of prime activity before it disappears again. If your camera’s buffer fills up after 20 shots and slows to a crawl, you’ve likely missed the peak moment.
For example, photographing birds in flight typically requires sequences of 30-50 frames to capture that perfect wing position with ideal lighting and composition. A camera that maintains 10 frames per second for three seconds before dropping to 2 fps simply won’t cut it compared to one that holds 10 fps for six seconds straight.
When evaluating cameras for wildlife work, pay close attention to sustained burst rate numbers rather than just the maximum speed. A camera advertising 20 fps might sound impressive, but if it only maintains that rate for 15 RAW files before grinding down, it’s less practical than a 12 fps camera with a deeper buffer that keeps shooting consistently.
When Burst Performance Doesn’t Matter Much
Let’s be honest: not every photographer needs blazing-fast burst rates. If you’re primarily shooting landscapes, you’re likely working on a tripod, carefully composing each frame, and shooting single exposures. The same goes for portrait work in a controlled studio environment, where you have time to direct your subject and fire deliberately. Even architecture and product photography rarely demand more than a few frames per second.
In these scenarios, a camera’s burst performance ranks low on your priority list. You’re better off focusing on dynamic range, color depth, resolution, and build quality. A camera that shoots 3 frames per second with excellent image quality will serve you far better than one delivering 20 fps with compromised files.
Before you get swept up in spec sheets boasting impressive burst rates, ask yourself: do I actually shoot fast-moving subjects or rapidly changing moments? If your answer is no, those numbers are marketing noise, not meaningful features for your work.
How to Conduct Your Own Burst Test
What You’ll Need
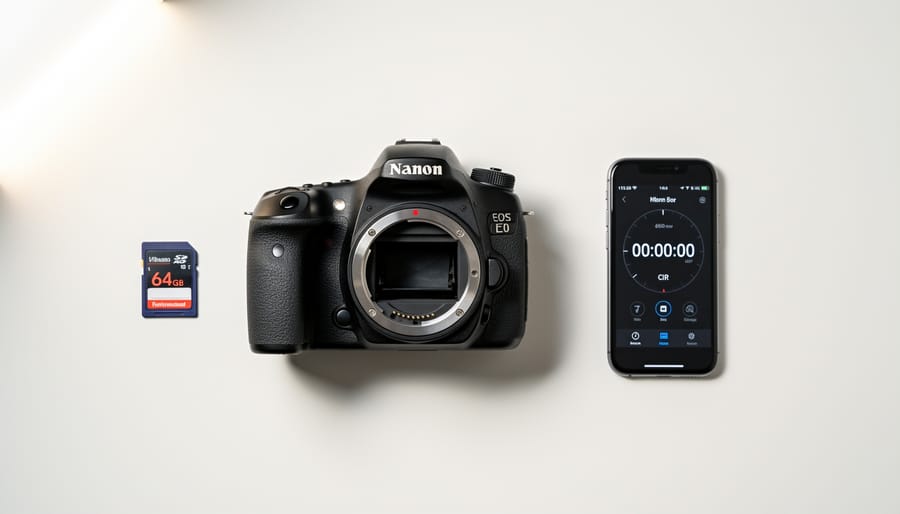
Before you start testing your camera’s burst performance, gather a few essentials to ensure accurate results. First, make sure your camera battery is fully charged—nothing skews a test faster than a dying battery slowing down your frame rate mid-burst. You’ll also need a freshly formatted memory card with plenty of available space. Choose a fast card rated for your camera’s specifications, as this directly impacts buffer clearing speed.
To time your results accurately, keep a stopwatch handy or simply use your smartphone’s timer function. You’ll be measuring how long your camera can maintain its maximum burst rate before the buffer fills up.
Finally, optimize your camera settings beforehand. Switch to your preferred shooting mode (typically continuous high-speed burst), select an appropriate image quality setting (RAW files fill the buffer faster than JPEGs), set a consistent ISO, and ensure autofocus is properly configured. Testing in manual focus can eliminate variables if you’re purely measuring mechanical performance rather than real-world shooting conditions.
Setting Up Your Test
Before you start firing away, let’s make sure your burst test produces reliable, consistent results. The key here is controlling variables so you’re measuring your camera’s true performance, not dealing with environmental hiccups.
First, switch to manual shooting mode. This gives you complete control and prevents the camera from adjusting settings mid-burst, which could affect buffer performance. Set your shutter speed to at least 1/500th of a second or faster to ensure motion isn’t a factor. Your aperture and ISO should remain constant throughout the test, so choose settings that work for your lighting conditions and stick with them.
For focus settings, use continuous autofocus if you’re testing with a moving subject, or switch to manual focus if you’re photographing something stationary. Either way, commit to one approach for the entire test. Mixed focusing methods will introduce inconsistencies.
File format matters significantly here. If you shoot RAW regularly, test with RAW files since they’re larger and fill the buffer faster than JPEGs. Want to compare? Run separate tests for each format, but never mix them in a single burst sequence.
Environmental setup is straightforward but important. Ensure you have adequate lighting, use a fully charged battery, and work with a fast, freshly formatted memory card. A nearly full card or dying battery can artificially slow your camera’s performance. Consider using a tripod to maintain consistent framing, though it’s not absolutely necessary if you have steady hands.
Finally, give your camera a moment to clear its buffer between test runs. Consistency is everything.
Running the Test and Recording Results
Now comes the practical part—actually running your burst test and capturing the data. Here’s how to do it accurately and what you need to watch for during the process.
Start by formatting your memory card and ensuring your battery is fully charged. Set your camera to its fastest continuous shooting mode (often labeled as CH or Continuous High). Choose your desired image format—RAW, JPEG, or both—since this significantly impacts buffer performance. Position your camera on a tripod aimed at a scene with moderate detail and consistent lighting.
Before you begin, make sure you’re ready to count. You’ll need to track two key metrics: how many frames your camera captures before it starts slowing down (this is your buffer depth), and how long it takes to fill that buffer. Some photographers use video recording of the camera’s rear display to review frame counts later, while others prefer real-time counting with a stopwatch.
Press and hold the shutter button down completely. Listen carefully to the sound of your shutter—initially, you’ll hear a rapid, consistent clicking rhythm. Count each frame as it’s captured. The critical moment comes when you notice the pace beginning to change. This slowdown indicates your buffer is full and the camera is now writing to the card while trying to continue shooting. Note exactly how many frames you captured before this happened, and record the time it took to reach that point.
Keep shooting for another 10-15 seconds to observe the sustained shooting rate once the buffer clears. This gives you the complete picture of your camera’s performance curve.
To make sense of your numbers, use the Burst Rate Test & Buffer Duration Calculator. Input your frame count, duration, and file format settings. The calculator will help you understand whether your results align with manufacturer specifications and how different memory cards might improve performance. Compare your real-world results against the advertised specs—sometimes you’ll find pleasant surprises, other times revealing limitations worth knowing about.
Understanding Your Burst Test Results
Buffer Depth vs. Recovery Time
When you run a burst test, you’re really measuring two distinct performance characteristics that tell you different things about how your camera handles rapid-fire shooting.
Buffer depth answers the question: “How many shots can I take before my camera starts slowing down?” This is typically measured in the number of RAW or JPEG files you can capture at maximum speed before the camera’s internal memory fills up. For instance, one camera might shoot 30 RAW files in a row at 10 frames per second, while another manages only 15 shots before the frame rate drops. A deeper buffer means more uninterrupted shooting time, which matters enormously when you’re photographing a critical moment that might only last a few seconds.
Recovery time, on the other hand, tells you how long you’ll wait after filling that buffer before you can shoot at full speed again. Some cameras bounce back in under 10 seconds, while others might leave you waiting 30 seconds or more. This metric becomes crucial when your subject matter involves repeated action sequences rather than one continuous burst.
Here’s why both matter: If you’re a wildlife photographer capturing a bird taking flight, buffer depth is your priority because that decisive moment happens once. But if you’re shooting a basketball game with constant back-and-forth action, recovery time becomes equally important since you need your camera ready for the next play. Sports photographers covering fast-paced events often find that moderate buffer depth with quick recovery suits them better than a massive buffer that takes forever to clear.
Understanding both metrics helps you match camera capabilities to your specific shooting style rather than chasing specs that don’t align with how you actually work.
What’s Considered Good Performance?
Understanding what constitutes good burst performance depends heavily on what you’re shooting and your camera category. There’s no universal standard, but here’s what you can realistically expect.
For entry-level DSLRs and mirrorless cameras (under $800), burst rates of 3-6 fps are typical, with buffers handling 10-25 RAW images before slowing down. This might sound limiting, but it’s perfectly adequate for casual sports, pet photography, and street shooting. These cameras usually recover within 5-10 seconds, which works fine when you’re not shooting continuous action.
Enthusiast models ($800-$2,500) typically deliver 6-10 fps with buffers managing 25-50+ RAW files. This sweet spot handles most wildlife, sports, and event photography needs. Recovery times drop to 3-5 seconds, letting you catch multiple action sequences without frustrating delays.
Professional cameras ($2,500+) push 10-20+ fps with buffers extending to 100+ RAW images or effectively unlimited JPEGs. These powerhouses are built for demanding scenarios like professional sports, fast-paced wildlife, and photojournalism where missing a moment isn’t an option.
Here’s the reality check: you don’t always need the fastest camera. A parent photographing their child’s soccer game will find an 8 fps enthusiast camera more than sufficient, while a wedding photographer might rarely use burst mode at all. Good performance means having enough speed and buffer depth for your specific shooting situations, not chasing the highest numbers on a spec sheet. Consider what you actually photograph before deciding whether your camera’s burst capabilities meet your needs.
Factors That Impact Your Burst Performance
Memory Card Speed: The Biggest Variable
Here’s the truth that catches many photographers off guard: your camera’s impressive buffer might clear in three seconds or thirty seconds depending entirely on your memory card. This variable alone can make or break your burst shooting experience.
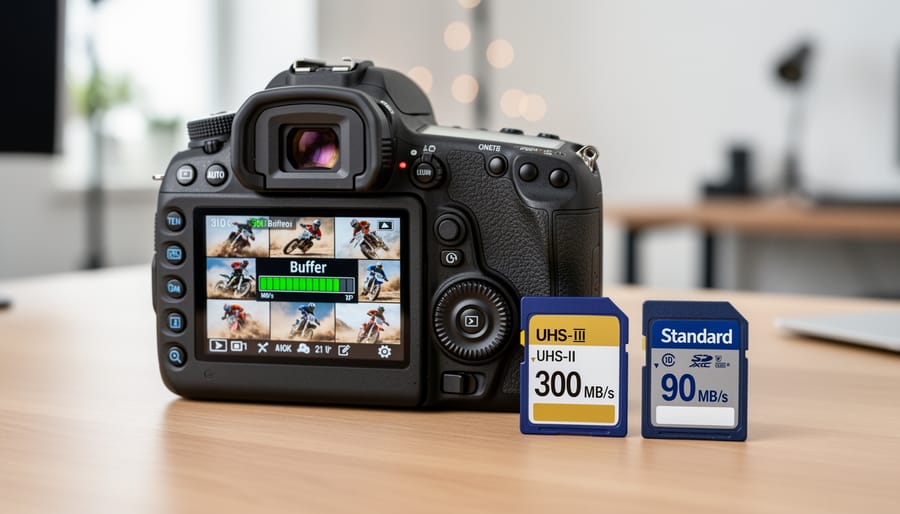
Memory card speed ratings can feel like alphabet soup. UHS-I, UHS-II, V60, V90—what does it all mean? Universal High Speed (UHS) ratings indicate the bus interface speed. UHS-I maxes out around 104 MB/s, while UHS-II can theoretically reach 312 MB/s. The V-ratings (Video Speed Class) tell you the minimum sustained write speed: V60 guarantees 60 MB/s, V90 guarantees 90 MB/s.
But here’s where real-world performance diverges from specifications. A card rated for 300 MB/s read speed might only write at 80 MB/s—and it’s write speed that matters for clearing your buffer.
Let me give you a practical comparison. Shooting a 45-megapixel camera in RAW at 10 fps, a budget UHS-I card writing at 30 MB/s might take 25 seconds to clear a 75-frame buffer. Upgrade to a quality UHS-II card writing at 250 MB/s, and that same buffer clears in just three seconds. That’s the difference between missing the decisive moment and staying ready for action.
For serious burst shooting, invest in cards with proven write speeds above 200 MB/s. Look for reputable brands like SanDisk Extreme Pro, Sony Tough, or ProGrade Digital. Check independent reviews that test actual write speeds, not just manufacturer claims. Your camera’s performance depends on it.
File Format and Size
The file format you choose dramatically affects how many shots you can fire before your camera’s buffer fills up. RAW files are substantially larger than JPEGs because they contain all the unprocessed data from your camera’s sensor. While a JPEG might be 5-8 MB, a RAW file from the same camera could easily be 25-40 MB or more, depending on your sensor resolution. This means you’ll get roughly 3-5 times fewer RAW shots in a burst sequence compared to JPEGs.
Within RAW formats, some cameras offer compressed RAW options that can reduce file sizes by 30-50% with minimal quality loss, giving you a meaningful buffer boost. Uncompressed RAW provides maximum editing flexibility but comes with the steepest performance penalty during burst shooting.
Resolution settings also play a significant role. Shooting at lower resolutions, like switching from 45 MP to 20 MP mode if your camera offers it, creates smaller files and extends your buffer capacity proportionally.
For practical shooting, consider your actual needs. Wedding photographers capturing critical moments might prioritize RAW for maximum post-processing flexibility, accepting shorter burst sequences. Sports shooters tracking fast action might opt for compressed RAW or high-quality JPEG to maintain longer burst capability. Many professionals use a hybrid approach, shooting RAW for controlled situations and switching to JPEG when continuous shooting performance becomes essential.
Other Performance Factors
While memory cards and camera specs grab most of the attention, several behind-the-scenes factors can quietly sabotage your burst performance. Understanding these variables helps you troubleshoot unexpected slowdowns and maintain consistent results.
Battery level makes a surprising difference. Most cameras reduce burst rates when power drops below 30-40% to preserve remaining charge. I’ve watched my camera’s buffer clear noticeably slower during late-afternoon wildlife shoots when the battery indicator shows one bar. Always start important burst sessions with a fresh or fully-charged battery.
Camera temperature affects performance more than many photographers realize. Extended burst shooting generates heat, and most modern cameras implement thermal protections that throttle performance before overheating. Shooting 4K video before switching to stills can pre-warm your camera, reducing available burst capacity. In hot weather or direct sunlight, consider shading your camera between sequences.
Firmware updates occasionally improve burst performance by optimizing processing algorithms or fixing bugs that limited buffer management. Check your manufacturer’s website periodically, as these improvements rarely make headlines but can deliver tangible benefits.
Other subtle factors include in-camera image stabilization (which processes each frame differently), electronic versus mechanical shutter modes, and whether you’re using battery grips with multiple power sources. Even your focus mode matters, continuous autofocus between frames consumes processing power that could otherwise clear the buffer faster.
When troubleshooting unexpected performance drops, systematically eliminate these variables before assuming hardware problems.
Using Burst Test Data to Make Better Gear Decisions
When you’re standing in a camera store or scrolling through online reviews, burst test data can be your secret weapon for making smarter purchasing decisions. But you need to know how to interpret that data in the context of your actual shooting needs.
Start by asking yourself what you really shoot. If you’re capturing your kids’ soccer games or wildlife in action, a camera that maintains 10 fps for 50 RAW files might be essential. But if you primarily photograph landscapes or portraits with occasional bursts for candid moments, a camera that shoots 8 fps with a 20-frame buffer could be perfectly adequate and save you hundreds of dollars.
When reading reviews with burst test data, look beyond the headline numbers. A camera advertising 20 fps might sound impressive, but if it only maintains that speed for 15 frames before slowing to a crawl, it’s less useful than a camera shooting 12 fps for 100+ frames. Pay attention to the sustained shooting rate after the buffer fills, this often matters more than the initial burst speed for extended action sequences.
Compare test results using similar memory cards and settings. A burst test conducted with a high-speed CFexpress card will show dramatically different results than one using a standard SD card, even with the same camera body. When possible, look for reviews that test multiple card types to understand real-world performance across different budgets.
Consider how burst performance interacts with other features you value. A camera with excellent burst capabilities but mediocre autofocus won’t serve you well for action photography. Similarly, exceptional burst rates mean little if you’re shooting in low light and need better high-ISO performance, or if you require advanced camera stabilization features for handheld work.
Finally, remember that burst test data represents maximum capability under ideal conditions. Your real-world results will vary based on battery level, temperature, file format choices, and shooting conditions. Use burst data as one factor among many, not the sole determining factor in your gear decisions.
Understanding your camera’s burst performance through real-world testing isn’t just about numbers on a spreadsheet. It’s about knowing what your gear can truly deliver when that decisive moment arrives. Manufacturer specifications provide a helpful starting point, but they rarely tell the complete story of how your camera will perform in the field with your specific memory cards, shooting conditions, and workflow.
Testing your own equipment gives you confidence. When you know your camera can capture 47 RAW frames at 10 fps before the buffer fills, you can approach a fast-moving subject with realistic expectations rather than disappointment. This knowledge shapes how you shoot, helping you time your bursts strategically and avoid missing critical moments because you assumed your gear could handle more than it actually can.
The good news is that burst testing doesn’t require expensive equipment or technical expertise. A simple session with a memory card and stopwatch can reveal everything you need to know. Tools like the Burst Rate Test & Buffer Duration Calculator make it even easier to benchmark your results and compare them against other setups.
Being a skilled photographer means understanding not just composition and light, but also the practical limitations of your tools. Take an hour to test your camera’s burst performance. The insights you gain will serve you for years, helping you capture images that matter without the frustration of equipment that underdelivers when it counts most.


 By
By