By
By 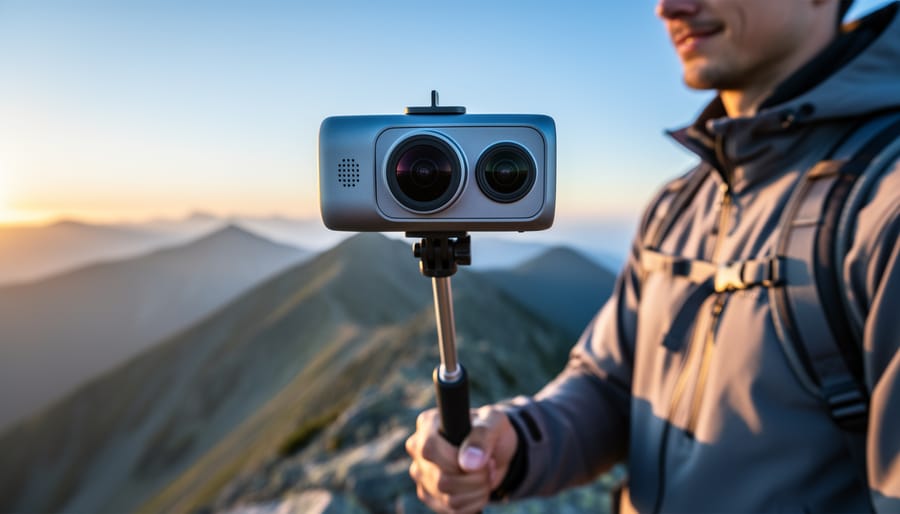
Imagine capturing every angle of your child’s birthday party, that breathtaking mountain summit, or your client’s entire property in a single shot. That’s the promise of 360-degree cameras, but walk into any camera store and you’ll face a wall of confusing specs: 5.7K resolution, spatial audio, optical flow stitching, six-axis stabilization. What do these actually mean when you’re trying to film your vacation or create virtual tours?
Here’s the reality most manufacturers won’t tell you upfront: the camera with the highest resolution isn’t always the best choice, and that budget-friendly option might cost you hundreds more in required accessories. You need to know which features translate to noticeably better footage and which are just marketing fluff. More importantly, you need to understand if a 360 camera even fits your actual shooting scenarios, because these devices have specific strengths and surprising limitations.
This guide cuts through the technical noise to help you make a confident purchase decision. You’ll discover how to evaluate cameras based on real-world performance rather than spec sheets, identify hidden costs before checkout, and match systems to your specific needs, whether you’re creating immersive travel content, professional real estate tours, or action sports footage. We’ll also walk you through setting up your 360 camera efficiently once you’ve made your choice, ensuring you get shooting quickly without rookie mistakes.
Understanding 360-Degree Camera Systems: What Makes Them Different
If you’ve ever tried photographing a vast landscape or a cramped interior space, you know the frustration of not being able to capture everything in one shot. Traditional cameras, no matter how wide their lenses, still force you to choose what stays in the frame and what gets left out. A 360-degree camera system flips this limitation on its head by capturing everything around you simultaneously—above, below, and in every direction—creating a complete spherical record of a moment in time.
Unlike conventional cameras that capture a rectangular slice of your surroundings, 360-degree systems use specialized lenses and sensors to record the entire environment. Think of it this way: a standard camera is like looking through a window, while a 360-degree camera is like standing in a glass sphere, recording everything visible from that point. This fundamental difference makes them invaluable for applications where context matters as much as subject—virtual tours of real estate properties, immersive travel documentation, or action sports where the environment is part of the story.
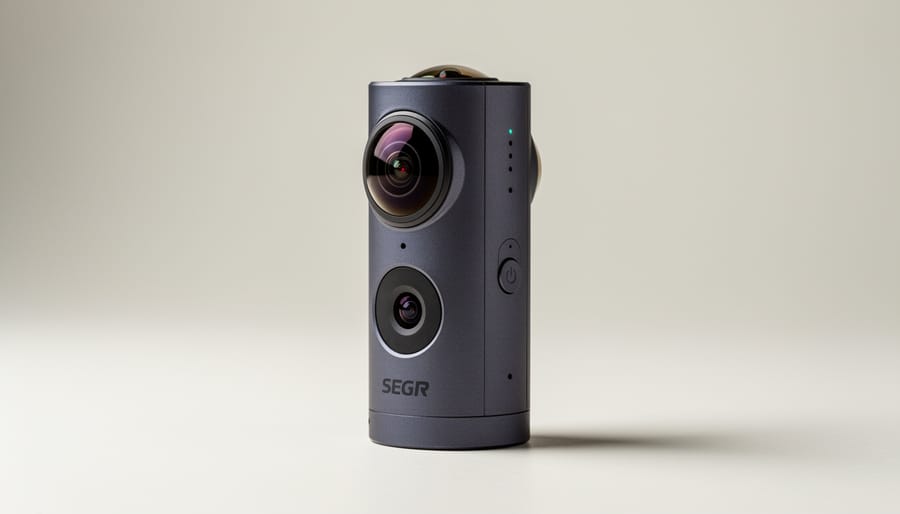
The technology behind these systems varies significantly. Single-lens cameras use an ultra-wide fisheye lens with specialized software to create the spherical image, though they typically can’t capture true 360-degree coverage. Dual-lens systems—the most common consumer option—place two fisheye lenses back-to-back, each capturing roughly 200 degrees, with software seamlessly blending the overlapping areas. Multi-lens professional rigs might use six, eight, or even more cameras arranged in precise geometric patterns to capture higher-resolution spherical footage, though these setups require significant post-processing expertise.
Before diving into a camera buying guide for 360 systems, understanding key terminology helps you evaluate specifications:
- Monoscopic vs Stereoscopic
- Monoscopic 360 captures a single spherical image, while stereoscopic (3D) uses offset lenses to create depth perception, mimicking how human eyes see the world.
- Stitching
- The computational process of blending multiple lens captures into one seamless spherical image. Poor stitching creates visible seams or distortions, especially on nearby objects.
- Equirectangular Projection
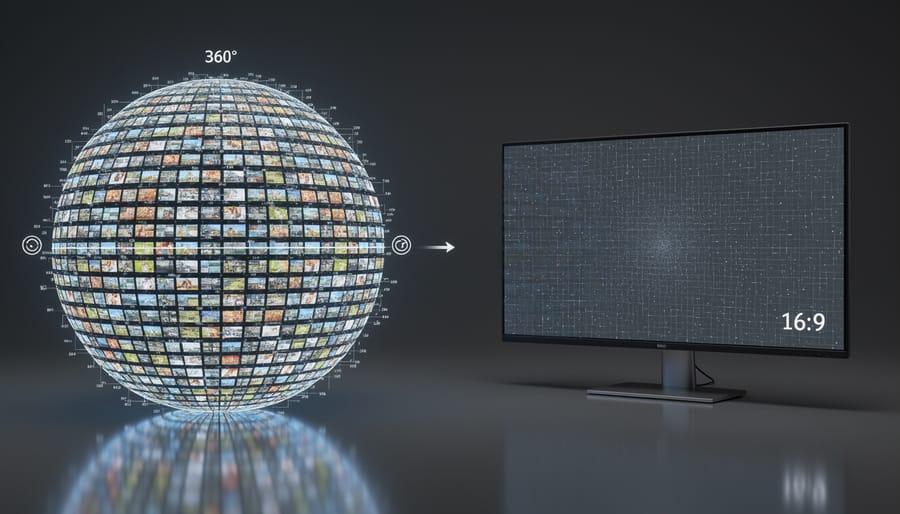
- The standard format for storing 360 content as a flat rectangular image, similar to how world maps flatten a globe. This allows standard video players to display spherical content.
- Field of View (FOV)
- Measures how much of the sphere the camera actually captures. True 360 means full horizontal and vertical coverage, though some cameras leave blind spots near mounting points.
So when do you actually need a 360 camera instead of a traditional one? If you’re shooting a specific subject with intentional composition—portraits, wildlife, products—stick with conventional cameras. But if you’re documenting experiences where viewers should explore the environment (touring a venue, capturing extreme sports POV, creating interactive content), or if you simply can’t predict where the action will happen, that’s when 360 systems shine.
Key Features That Actually Matter
Resolution and Image Quality: Beyond the Megapixel Marketing
Here’s the thing about 360-degree camera resolution that the marketing specs won’t tell you upfront: that impressive-sounding megapixel count gets divided across the entire sphere around you, not concentrated in a single frame like a traditional camera. A 5.7K 360 camera doesn’t give you the same sharpness as a 5.7K cinema camera because that resolution is stretched across every direction simultaneously.
Understanding per-lens resolution becomes crucial when evaluating these systems. If a dual-lens 360 camera claims 5.7K total resolution, each lens is actually capturing roughly 2.8K worth of imagery. That’s why cameras with more lenses can sometimes deliver sharper results, even with similar total resolution specs.
Stitching quality matters just as much as raw resolution. A camera with excellent stitching algorithms can produce cleaner, more natural-looking footage than a higher-resolution competitor with poor stitching. Look for reviews that specifically discuss stitch lines, particularly in challenging scenarios like close foreground objects or moving subjects.
For platform-specific needs, here’s what actually works in practice: YouTube 360 looks acceptable at 4K but really shines at 5.7K or higher. Facebook 360 handles 4K well for social sharing. VR headsets are the most demanding, where you’ll want 8K or above for truly immersive experiences without visible pixelation. If you’re primarily creating content for Instagram stories or casual social posts, even 3K can suffice since mobile screens and compression hide many quality differences. Match your resolution investment to where your audience will actually watch your content.
Stabilization: The Make-or-Break Feature
Here’s the thing about 360-degree cameras: no matter how impressive the resolution or stitching quality, shaky footage will ruin your final output. Stabilization isn’t just a nice-to-have feature—it’s absolutely essential, especially since you’re capturing everything around you simultaneously.
Most 360 cameras rely on electronic image stabilization (EIS) rather than optical stabilization. EIS works by cropping into the image and using algorithms to smooth out movement, which is why you’ll sometimes see specs mentioning a slightly lower output resolution than the sensor captures. The camera needs that extra pixel buffer to work its stabilization magic.
Different systems handle this remarkably differently. GoPro’s Max, for example, uses their HyperSmooth technology adapted for spherical capture, delivering impressively smooth results even during mountain biking or skateboarding. Insta360’s FlowState stabilization has earned similar praise from action sports enthusiasts. Meanwhile, budget models often struggle with anything beyond gentle walking pace, producing that telltale jello-like wobble that screams “amateur footage.”
Here’s a practical test when evaluating cameras: watch sample footage shot while the operator is running or moving on uneven terrain. Quality stabilization should make it look like the camera is gliding, with horizon lines staying level even as the camera physically tilts and bounces. Poor stabilization reveals every footstep and jarring movement.
Remember that aggressive stabilization can crop your field of view significantly during post-processing, so always check what resolution you’ll actually end up with after stabilization is applied—not just the raw capture specs.
Stitching Technology and Real-Time Processing
Understanding how your 360 camera stitches multiple images together is crucial because it directly impacts your final image quality. Let’s break down what happens behind the scenes.
Most modern 360 cameras offer automatic stitching, which processes images in real-time right inside the camera. This means you’ll see a seamless spherical image on your smartphone within seconds of shooting. Cameras like the Insta360 X3 and Ricoh Theta excel at this, making them perfect for quick social media sharing. Manual stitching, on the other hand, gives you more control but requires specialized software and a decent computer. Professional photographers often prefer this route when working with RAW files or complex scenes.
The processing location matters too. In-camera processing is convenient but limited by the camera’s processing power, sometimes resulting in compressed files or simplified stitching algorithms. Computer-based processing through desktop software unlocks higher quality results and gives you fine-tuning options, though it adds extra steps to your workflow.
Stitching artifacts are those annoying visible seams or distortions where images overlap. They typically occur in high-contrast areas, with moving subjects crossing stitch lines, or when objects are very close to the camera. During testing, watch for wavy lines in straight architecture, ghosting on moving people, and misaligned patterns where lenses meet.
When evaluating stitching quality, shoot test scenes with challenging elements: straight architectural lines, people moving through the frame, and varied lighting conditions. Good stitching should be invisible under normal viewing, with seamless transitions that don’t distract from your content.
Workflow Compatibility and File Formats
Here’s a reality check that catches many first-time 360 camera buyers off guard: those stunning spherical images come with serious workflow considerations. Before clicking “buy,” you need to understand how these cameras will fit into your existing post-production editing workflow.
File sizes are the first surprise. A single 360-degree photo at high resolution can easily reach 50-100MB, while 360 video footage devours storage at alarming rates—expect 5-10GB per minute of 5.7K footage. If you’re shooting a day-long event, you could fill a 256GB card before lunch. Budget for external hard drives or cloud storage subscriptions accordingly.
Software compatibility varies wildly between manufacturers. Most 360 cameras include proprietary stitching software, but the quality ranges from excellent to barely usable. Insta360’s Studio and Ricoh’s Theta app are generally user-friendly, while some budget brands offer clunky interfaces that’ll test your patience. Check whether the software runs on your operating system—Mac users occasionally face limited options.
Export options matter more than you’d think. Can you export standard flat videos for Instagram and YouTube? Does the software allow you to create “tiny planet” effects or reframe shots after recording? These creative controls separate basic 360 cameras from versatile content creation tools.
Platform requirements add another layer of complexity. Facebook and YouTube support native 360 uploads, but Instagram requires conversion to standard video first. Some cameras automatically add metadata tags for proper platform recognition, while others leave you manually configuring settings.
The bottom line? Test the manufacturer’s software before committing to hardware. Download trial versions, watch tutorial videos, and read user reviews specifically about the editing experience. A camera producing gorgeous raw footage means nothing if the workflow frustrates you into abandoning the format entirely.
Matching Camera Systems to Your Use Case
Consumer and Travel Photography
For vacation snapshots and sharing experiences with friends and family, you don’t need a complicated rig that requires post-production expertise. Consumer-focused 360 cameras prioritize convenience above all else, with one-button recording, automatic stitching, and direct uploads to social platforms.
Models like the Insta360 X3 and Ricoh Theta Z1 excel in this category because they fit in your pocket yet deliver surprisingly sharp image quality. The beauty of these cameras is their simplicity: capture everything around you, then reframe the shot later on your phone. Missed your kid’s reaction during the birthday surprise? No problem—the full scene is recorded, and you can adjust the perspective during editing.
Battery life matters more than you might expect. Most consumer 360 cameras shoot for about 60-90 minutes per charge, which sounds adequate until you’re halfway through a hiking trail or touring a museum. Consider investing in a spare battery and portable charger from day one.
The learning curve is minimal. Most manufacturers include mobile apps that handle stitching automatically and offer simple editing tools. You’ll go from capturing to posting in minutes rather than hours. For family vacations and casual documentation, these cameras eliminate the anxiety of framing shots perfectly—you literally can’t miss the moment.
Action Sports and Adventure
If you’re planning to capture heart-pounding moments while mountain biking, surfing, or skydiving, your 360-degree camera needs to handle conditions that would make regular cameras cry. The good news? Many 360 cameras share DNA with traditional action cameras, but there are crucial differences you should understand.
Durability starts with build quality. Look for cameras with reinforced lens housings—those protruding glass domes are vulnerable to impacts. Some models like the Insta360 X3 feature tempered glass lens guards, while others require separate protective cases. Remember, replacing a cracked lens can cost nearly as much as the camera itself.
Waterproofing ratings matter, but here’s what manufacturers don’t always emphasize: most 360 cameras are waterproof to around 10 meters without a case, perfect for surfing or snorkeling. Serious diving requires dedicated housings, which can affect image quality and add bulk. Check if your chosen model has compatible underwater accessories before committing.
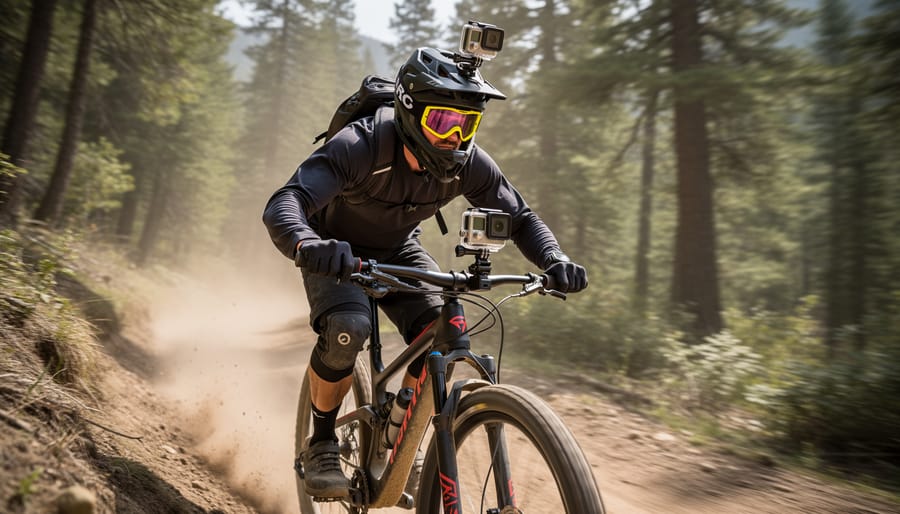
Mounting options determine what footage you can actually capture. Standard GoPro mounts work with most 360 cameras, but placement matters more than with traditional action cameras since you’re capturing everything. Helmet mounts work brilliantly, while chest mounts often capture too much of your body. Our action camera selection guide covers mounting strategies in depth.
Wind noise is the silent killer of adventure footage. Quality cameras use multiple microphones with noise reduction algorithms, but even the best struggle in extreme wind. Consider cameras with removable mic covers or audio input jacks for external microphones.
Professional Virtual Tours and Real Estate
When you step into the professional realm, 360 cameras for real estate and virtual tour creation demand significantly more from your equipment. High-end systems like the Ricoh Theta Z1 or Insta360 Pro 2 deliver the image quality that clients expect, with larger sensors producing cleaner files even in challenging lighting conditions.
What separates these cameras from consumer models? For starters, true HDR capture that automatically brackets exposures and blends them seamlessly. This means windows won’t blow out while interior details remain visible—essential for property showcasing. Most professional systems also include tripod detection that automatically removes the tripod from your final image, creating that floating perspective buyers love.
Integration matters too. These cameras work directly with platforms like Matterport, iGuide, or Kuula, streamlining your workflow from capture to delivery. You’ll shoot a room, and the software handles stitching, hosting, and embedding in minutes rather than hours.
The investment is substantial—expect to spend $800 to $3,000—but if you’re billing clients for virtual tours, the superior output and time savings quickly justify the cost. Look for models offering RAW capture for maximum post-processing flexibility.
VR Content Creation and Filmmaking
If you’re planning to create professional VR content or immersive films, you’ll need a camera system that goes well beyond basic 360-degree capture. The requirements shift dramatically when you’re shooting for theatrical VR experiences, client work, or broadcast-quality productions.
Stereoscopic 3D becomes essential for true depth perception in VR headsets. Unlike monoscopic 360, stereo rigs capture separate left and right eye images, creating genuine three-dimensional space. Look for cameras with dual-lens arrays positioned to mimic human eye separation—typically around 65mm. Systems like the Insta360 Titan and Z CAM K1 Pro offer this capability, though they come with significantly higher price tags and more complex workflows.
Spatial audio matters just as much as visuals. While basic cameras offer stereo microphones, professional rigs support Ambisonics recording—capturing sound from all directions to match the visual sphere. Some systems include built-in ambisonic microphones, while others require external recorders like the Zoom H3-VR.
RAW capture gives you maximum post-production flexibility, preserving uncompressed image data for color grading and visual effects work. This feature dramatically increases file sizes and storage requirements, but it’s non-negotiable for high-end production.
External monitoring through HDMI or SDI outputs lets you preview shots in real-time, crucial when directing talent or checking exposure. Professional workflow integration means compatibility with industry-standard editing platforms like Adobe Premiere, Mistika VR, or DaVinci Resolve. Before investing, verify that your chosen camera’s file formats work seamlessly with your existing production pipeline—otherwise you’ll spend countless hours converting footage.
Essential Accessories and Hidden Costs
When you’re understanding 360 camera costs, it’s tempting to focus solely on the camera body price. But here’s the reality: that initial investment is just the beginning. Think of it like buying your first DSLR—the camera is only part of the ecosystem you’ll need to create great work.
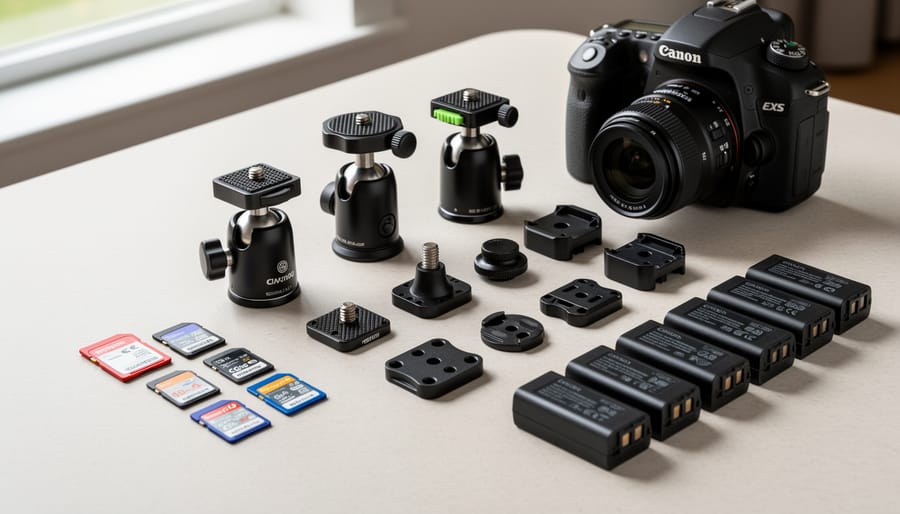
Storage requirements alone can catch newcomers off guard. A single 360-degree video file at high resolution can easily consume 5-10GB per minute of footage. That affordable camera suddenly demands multiple high-speed SD cards (minimum UHS-I U3 or V30 rating), which means budgeting an extra $50-150 depending on capacity. Regular photographers might get away with a 64GB card for a weekend shoot, but with 360 video, you’ll want at least 256GB minimum, possibly more for extended sessions.
Here are the must-have accessories you should factor into your budget:
- High-speed memory cards (128GB-512GB): $40-200
- Invisible selfie stick or monopod: $20-60
- Protective carrying case or housing: $30-150
- Spare batteries (at least two): $40-100
- Editing software subscription: $10-30 monthly or $100-300 annually
Beyond these basics, consider mounting solutions for your specific needs. Helmet mounts, suction cups for vehicles, or tripod adapters can add another $50-200 to your setup. Many 360 cameras also drain batteries surprisingly fast when shooting in higher resolutions, making extended battery packs or multiple spares essential for serious work.
The editing software deserves special mention. While some manufacturers include basic apps, professional-grade stitching and editing software often requires separate subscriptions. Programs like Adobe Premiere Pro with VR capabilities or specialized 360 editors can significantly impact your ongoing costs. Some photographers report spending more on accessories and software in the first year than they did on the camera itself—a sobering reminder to plan your complete investment carefully.
Common Pitfalls and What Reviewers Don’t Tell You
Let’s talk about the things that won’t appear in glossy marketing materials but will definitely impact your experience with a 360-degree camera.
The most common surprise for new owners is stitch line visibility. These cameras capture footage from multiple lenses and blend them together, but that seam isn’t always invisible. You’ll notice it particularly in challenging lighting conditions—think sunrises, sunsets, or high-contrast scenes where bright sky meets dark ground. The stitch line often appears as a subtle distortion or misalignment, especially when objects cross that boundary. Some cameras handle this better than others, but it’s something you’ll need to work around rather than eliminate entirely.
Overheating is another reality check. Recording in 5.7K or higher resolution generates serious heat, and many cameras will shut down after 20-30 minutes of continuous recording on a warm day. I’ve seen photographers miss crucial moments during outdoor events because their camera needed a cooling break. If you’re planning extended recording sessions, this limitation matters more than megapixel counts.
Battery performance takes a dramatic hit in cold weather. That promised 60-minute recording time? Expect it to drop by 30-50 percent when temperatures fall below freezing. Winter sports enthusiasts learn this quickly—often after losing footage they can’t recreate. Always carry multiple batteries and keep spares warm in an inner pocket.
The editing software learning curve deserves honest discussion. Desktop applications for stitching and editing 360 footage aren’t as intuitive as traditional video editors. You’ll spend your first few sessions just figuring out how to reframe shots properly and export in formats that work across different platforms. Budget several hours for this learning process before your first important project.
Platform limitations for sharing content remain frustrating. While YouTube and Facebook support 360 video, Instagram doesn’t offer native 360 viewing. You’ll need to create “tiny planet” effects or standard reframed videos for many social platforms. Upload times are also considerably longer due to massive file sizes—a 10-minute 5.7K 360 video can easily exceed 10GB.
Understanding these limitations upfront helps set realistic expectations and prevents disappointment after you’ve already invested in a system.
Testing Before You Buy: What to Look For
Before committing hundreds or even thousands of dollars to a 360-degree camera system, you’ll want to put it through its paces. Whether you’re examining demo units in-store or reviewing sample footage online, knowing what to look for can save you from buyer’s remorse.
Start with a systematic evaluation approach:
- Examine the stitch lines by looking at areas where two lenses meet, particularly in high-contrast scenes with vertical elements like doorways or light poles. Quality cameras should make these transitions nearly invisible.
- Check low-light performance by viewing footage captured during golden hour or indoors. Watch for excessive grain, color shifting, or loss of detail in shadow areas.
- Test stabilization by viewing footage captured while walking or moving. The horizon should remain level, and the image shouldn’t appear jittery or introduce unwanted warping effects.
- Inspect close-range objects within two feet of the camera. This reveals how well the camera handles parallax issues and whether nearby subjects appear distorted or duplicated.
- Review the camera’s handling of moving subjects across stitch lines. People walking through these zones shouldn’t appear fragmented or disappear momentarily.
Pay attention to specific red flags that indicate subpar performance. Poor stitching manifests as visible seams, misaligned patterns, or ghosting where objects appear twice. In real-world terms, a tree trunk that suddenly shifts three inches to the left at the stitch line signals processing problems you’ll encounter constantly.
For low-light capabilities, anything shot after sunset should still retain recognizable colors and facial features. If sample footage looks acceptable only in bright daylight, you’ll be frustrated shooting indoors or during evening events. Similarly, test stabilization footage should look smooth enough that viewers won’t feel motion sick, even during moderately active movement.
Choosing the right 360-degree camera isn’t about finding the model with the longest spec sheet or the highest price tag. It’s about understanding what you’ll actually create with it. I’ve seen photographers invest in professional-grade systems for occasional vacation videos, while others squeeze incredible value from mid-range cameras because those features align perfectly with their workflow.
Before you make your decision, take a step back from the specifications and ask yourself some honest questions. Will you actually edit in 8K, or will 5.7K meet your needs while being far easier to manage? Do you need waterproofing for adventure shoots, or will you primarily create content indoors? How much time can you realistically dedicate to stitching and post-production? These answers matter more than any reviewer’s opinion.
Remember that your complete workflow extends beyond the camera itself. Consider the computer you’ll need for editing, the storage requirements for those massive files, the accessories that make shooting practical, and most importantly, where your content will ultimately be viewed. A camera optimized for social media requires different features than one designed for professional virtual tours.
The good news is that today’s 360-degree cameras are more capable and affordable than ever before. Whether you’re starting with an entry-level model or investing in a professional rig, the barrier to creating compelling immersive content has never been lower. Trust your research, match features to your actual needs, and start capturing those unique perspectives that only 360-degree photography can provide.


 By
By