By
By 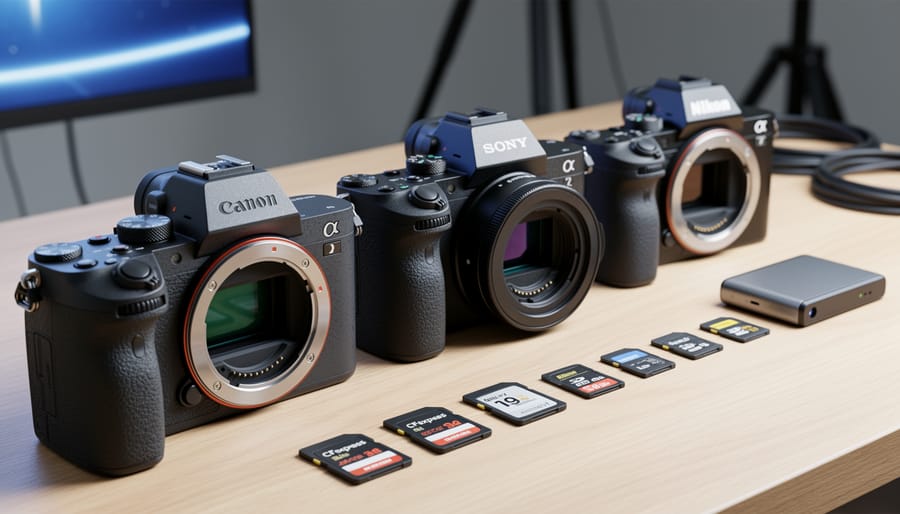
Check your camera’s manual or file properties to identify which codec your camera uses—you’re likely already working with CR3 (Canon), ARW (Sony), or NEF (Nikon) for still images without realizing these are proprietary RAW codecs. Open your video files in a media player like VLC and check the codec information under “Tools > Media Information” to discover whether you’re shooting in H.264, H.265, or a professional format like ProRes or DNxHD. Download sample files in different codecs from camera manufacturer websites to compare file sizes, editing performance, and quality degradation before committing to a new camera or workflow change.
Every time you press your shutter button or hit record, you’re making a codec decision—whether you know it or not. Codecs are the invisible translators that compress your images and video into manageable file sizes, and understanding them directly impacts your storage costs, editing speed, and final image quality. The landscape is constantly shifting due to industry developments and patent battles that influence which formats manufacturers adopt.
For photographers, the codec conversation splits into two worlds: still-image formats you’ve used for years (often without thinking about the underlying codec) and video codecs that seem unnecessarily complicated. A JPEG uses a codec. So does HEIF, the format your iPhone might default to. RAW files? Those use manufacturer-specific codecs that explain why Adobe needs constant updates to support new camera bodies.
The practical impact becomes clear when you’re waiting for previews to render in Lightroom, wondering why your 4K footage stutters during editing, or discovering your client can’t open your files. This guide breaks down the codecs you’re actually encountering—from the CR3 files in your camera to the H.265 codec compressing your behind-the-scenes videos.
What Codecs Actually Do (And Why You Should Care)
Think of a codec as a sophisticated translator for your visual files. When you press the shutter or hit record, your camera captures an enormous amount of data—every pixel’s color, brightness, and position. Without a codec, a single RAW photo might consume 50-100 MB, and a minute of 4K video could eat up several gigabytes. Codecs solve this problem through compression, intelligently reducing file sizes while preserving the visual information you actually need.
The process works in two stages: encoding and decoding. When your camera encodes an image, the codec analyzes the data and applies compression algorithms. Some codecs, like JPEG, permanently discard information your eyes wouldn’t likely notice anyway—this is called lossy compression. Others, like Canon’s CR3 or Nikon’s NEF formats, preserve all the original data through lossless or near-lossless methods, giving you maximum editing flexibility later. When you open that file on your computer, the codec decodes it, reconstructing the image for viewing or editing.
Here’s where it gets interesting for your workflow: the codec you choose creates a three-way balance between file size, image quality, and editing performance. A heavily compressed H.264 video file saves storage space but demands more processing power during editing because your computer must decode complex compression on the fly. Meanwhile, ProRes creates larger files but edits smoothly because it uses simpler compression that’s easier to decode. Similarly, shooting RAW gives you maximum editing latitude but requires more storage and processing compared to JPEG.
Modern imaging technology continues evolving these compression methods, but understanding this fundamental relationship helps you make informed decisions about which codecs suit your specific shooting and editing needs. The “best” codec isn’t universal—it depends entirely on whether you prioritize storage efficiency, editing speed, or maximum quality retention.
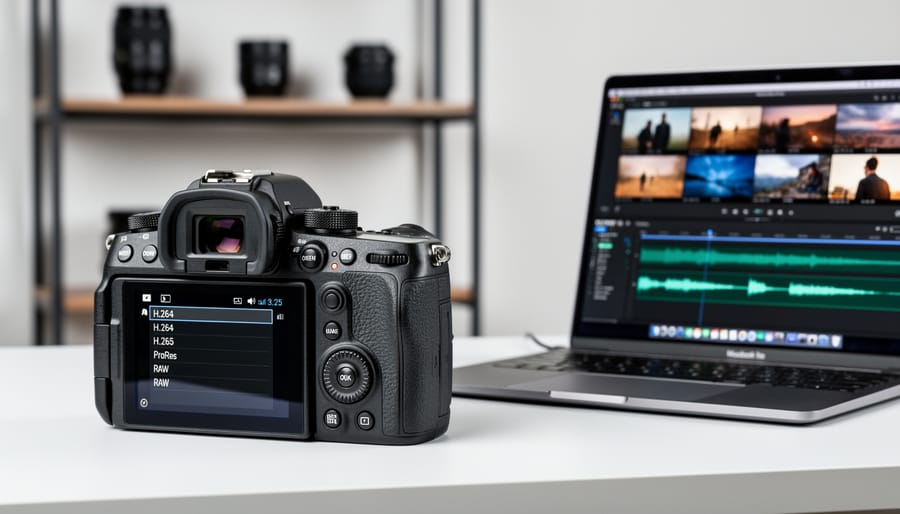
Image Codecs: From RAW to JPEG and Beyond
RAW Formats: The Uncompressed Powerhouses
When you press the shutter button on a DSLR or mirrorless camera, you’re likely capturing images in one of several proprietary RAW formats. These are the uncompressed powerhouses of photography, preserving maximum image data straight from your sensor without the destructive processing that happens with JPEGs.
Each camera manufacturer has developed their own RAW codec. Canon shooters work with CR2 or the newer CR3 format, while Nikon users handle NEF files, and Sony cameras produce ARW files. Fujifilm has RAF, Olympus uses ORF, and the list goes on. This fragmentation can be frustrating when switching camera systems or sharing files with collaborators who use different editing software.
That’s where Adobe’s DNG (Digital Negative) format comes in. It’s an open-standard RAW codec designed to create a universal format that any software can read. Some manufacturers like Leica and Hasselblad have adopted DNG as their native format, while photographers using proprietary formats often convert their files to DNG for long-term archiving and compatibility.
Here’s something that surprises many photographers: not all RAW files are truly uncompressed. Many RAW codecs offer different compression levels. Canon’s CR3, for example, uses lossy compression by default in many camera models. Nikon’s NEF files can be saved as uncompressed, losslessly compressed, or lossy compressed, with file sizes varying dramatically between options.
In real-world workflow terms, these choices matter. Uncompressed RAW files from a 45-megapixel camera might be 90MB each, while losslessly compressed versions drop to around 45MB with zero quality loss. Lossy compression can squeeze files down to 25MB, trading slight quality reduction for storage savings. For working professionals shooting thousands of images, these differences directly impact storage costs, backup times, and how quickly you can cull through a day’s work.
JPEG and Its Modern Alternatives
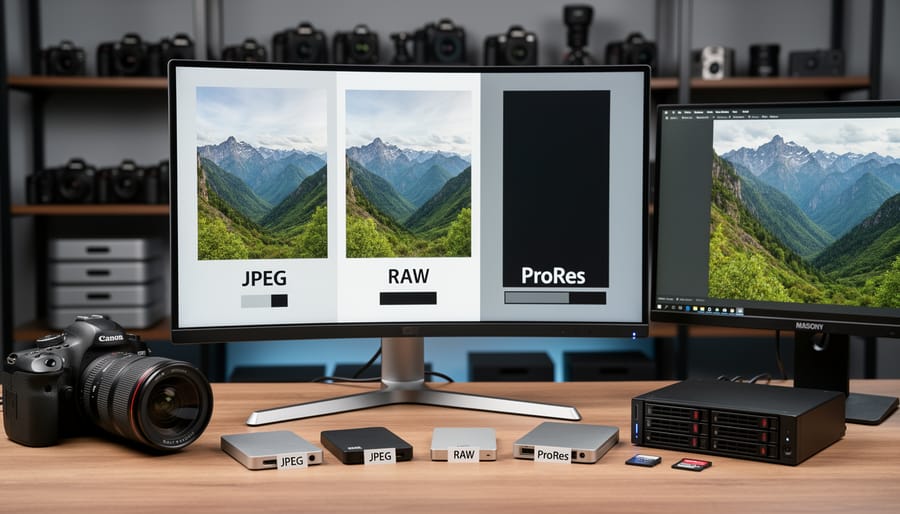
JPEG has been the universal language of digital photography for decades, and for good reason. It’s compatible with virtually every device, platform, and editing program you’ll encounter. When you share images online, email photos to clients, or post to social media, JPEG is almost always the safe choice. The codec uses lossy compression to shrink file sizes dramatically, which explains why your camera can fit thousands of images on a single memory card.
But JPEG has limitations that modern alternatives address. Enter HEIF (High Efficiency Image Format) and its Apple-branded variant HEIC. These newer formats offer better compression than JPEG while maintaining comparable or superior image quality. You’ll see file sizes reduced by up to 50% without sacrificing visual fidelity. HEIF also stores more color information, supporting 16-bit color depth compared to JPEG’s 8-bit limitation, which matters if you’re serious about post-processing flexibility.
So when should you use each format? Stick with JPEG when universal compatibility is essential: client deliverables, web galleries, or any situation where recipients might use older software. Choose HEIF when storage space matters and you’re working within compatible ecosystems, particularly if you shoot with newer iPhones or cameras that support the format. Many photographers maintain a hybrid workflow, capturing in HEIF to maximize storage capacity, then converting final deliverables to JPEG for distribution. Just remember that while HEIF represents the future, JPEG remains the present reality for cross-platform sharing.
Specialized Image Codecs Worth Knowing
Beyond camera-native formats, you’ll regularly encounter several specialized image codecs, each serving distinct purposes in photography workflows.
TIFF (Tagged Image File Format) remains the gold standard for archival and professional printing. When you need to preserve every adjustment layer or send files to print labs, TIFF’s lossless compression ensures nothing gets discarded. Many photographers export finished images as 16-bit TIFFs before sending them to commercial printers, maintaining maximum quality and compatibility.
PNG has become indispensable for web graphics and images requiring transparency. If you’re creating watermarks, logos, or composite elements for your photography business website, PNG’s lossless compression with alpha channel support makes it the obvious choice over JPEG.
WebP represents Google’s effort to modernize web image delivery, offering better compression than JPEG with transparency support like PNG. You might notice portfolio platforms automatically converting your uploads to WebP for faster loading times, though browser compatibility has historically been inconsistent.
AVIF is the newest contender, delivering exceptional compression efficiency that can reduce file sizes by 50% compared to JPEG while maintaining similar quality. Major platforms like Netflix and streaming services have adopted it, and you’ll increasingly see photography websites leveraging AVIF for faster galleries without sacrificing visual fidelity. However, universal software support is still catching up.
Video Codecs: What Your Camera Records
H.264 (AVC): The Industry Workhorse
If you’ve ever recorded video on a camera, smartphone, or drone, chances are you’ve already used the widely adopted H.264 standard. This codec has become the de facto choice for consumer and prosumer video recording because it strikes an impressive balance between file size and image quality. Camera manufacturers love it because it’s universally compatible—your footage will play on virtually any device, from smartphones to smart TVs, without conversion.
The appeal of H.264 lies in its efficient compression. You can record hours of footage without filling up memory cards, which explains why it appears in everything from entry-level Canon EOS Rebel cameras and Sony Alpha a6000 series models to mid-range options like the Nikon Z6 and Panasonic GH5. Even professional cameras like the Canon EOS R5 offer H.264 as a standard option alongside more advanced codecs.
However, this efficiency comes with trade-offs. H.264 uses interframe compression, meaning it stores changes between frames rather than each complete frame. This makes editing more processor-intensive because your computer must reconstruct full frames on the fly. If you’re color grading or making frequent cuts, you’ll notice your system working harder compared to editing-friendly codecs like ProRes.
For casual shooting and quick turnarounds, H.264 remains unbeatable. But serious editors often transcode H.264 footage to intermediate codecs before diving into post-production work, accepting the storage hit for smoother editing performance.
H.265 (HEVC): Better Quality, Harder to Edit
H.265, also known as HEVC (High Efficiency Video Coding), represents the video codec many photographers love and hate in equal measure. If you’ve picked up a Sony A7S III, Canon R5, Canon R6, or similar hybrid camera in recent years, you’ve likely encountered this codec firsthand. The promise is compelling: 50% better compression efficiency than H.264, meaning you can record 4K or even 8K footage that looks stunning while taking up significantly less space on your memory cards.
The storage benefits are real and substantial. A 10-minute 4K clip that might consume 4GB in H.264 could occupy just 2GB in H.265 at comparable quality levels. For photographers who shoot events, interviews, or travel content, this means fewer card swaps and lower storage costs over time. The quality improvements are equally impressive, with better detail retention in high-resolution footage and more efficient handling of complex scenes with motion.
Here’s where reality intrudes on the promise: editing H.265 footage can bring even powerful computers to their knees. The codec achieves its efficiency through computationally intensive compression, requiring significantly more processing power to decode during playback and editing.
- Files are roughly half the size of equivalent H.264 footage, saving storage costs.
- Better image quality at the same bitrate, with improved detail and color information.
- Future-proofed format increasingly adopted by camera manufacturers.
- Essential for recording high-resolution formats like 8K without overwhelming storage.
- Requires much more processing power for smooth playback and editing.
- Older computers may struggle or require proxy workflows.
- Rendering and export times are typically longer than H.264.
- Some older editing software versions have limited or buggy H.265 support.
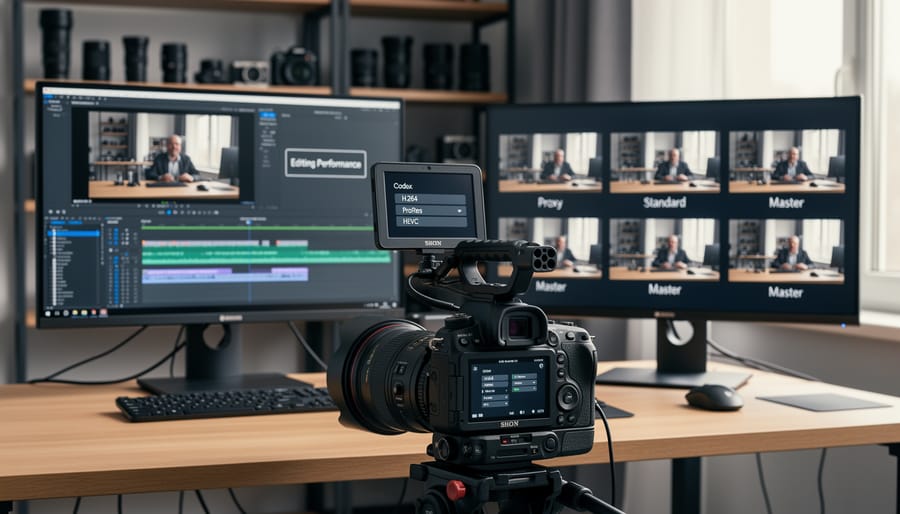
Many photographers working with H.265 adopt proxy workflows, creating lower-resolution editing copies to maintain smooth performance, then reconnecting to the original high-quality files for final export. It’s an extra step, but often necessary for maintaining creative momentum without constant playback stuttering.
ProRes and DNxHD: Professional Editing Codecs
When you’re serious about post-production flexibility, two codec families dominate professional workflows: Apple ProRes and Avid DNxHD/DNxHR. These are intermediate codecs, meaning they’re designed specifically for editing rather than final delivery, and they’re worth understanding even if those file sizes initially seem shocking.
Apple ProRes comes in several flavors, from ProRes 422 Proxy (perfect for offline editing on slower systems) up to ProRes 4444 XQ (which supports alpha channels and extreme color fidelity). The iPhone 13 Pro and newer models can record ProRes directly, bringing professional-grade video capture to devices already in millions of pockets. Higher-end cameras like Canon’s C70 and C300 Mark III also offer ProRes recording options, as does the Nikon Z9, which made waves by offering ProRes RAW—essentially uncompressed sensor data wrapped in Apple’s ecosystem.
ProRes RAW deserves special mention because it gives you RAW flexibility (adjusting white balance, exposure recovery) in video, similar to what you experience with still RAW files. The Z9’s ProRes RAW option represents how camera hardware choices increasingly blur the line between photo and cinema capabilities.
Avid’s DNxHD (for HD footage) and DNxHR (for 4K and beyond) serve similar purposes, particularly in broadcast environments. These codecs prioritize frame-by-frame encoding, meaning your editing software doesn’t struggle with complex compression mathematics while scrubbing through timelines.
Why accept file sizes that can exceed 1GB per minute? Because these codecs eliminate the rendering lag and quality degradation that plague H.264/HEVC editing. When you’re color grading, compositing, or applying effects, every frame remains instantly accessible without decompression overhead. That responsiveness translates directly into creative freedom and saved time, making those massive files a worthwhile trade-off for professionals who value precision over storage costs.
Emerging Codecs: AV1, VVC, and What’s Next
The video codec landscape is shifting rapidly, with AV1 and VVC (H.266) making headlines as potential successors to H.264 and H.265. AV1, backed by major tech companies, is already appearing in streaming platforms like YouTube and Netflix, promising better compression at lower file sizes. VVC takes this further, claiming 50% better compression than H.265, though licensing complications have slowed adoption.
For photographers working primarily with stills, these emerging codecs aren’t urgent concerns yet. However, if you shoot hybrid or video-centric projects, keep an eye on firmware updates from your camera manufacturer—future models will likely integrate these formats as streaming and archival standards evolve. The practical reality? Your current H.264 and H.265 workflows remain perfectly viable for several years, giving you time to transition gradually as industry support solidifies.
How Codecs Impact Your Real-World Workflow
Storage and Backup Considerations
Let’s look at real numbers from a typical wedding shoot to understand how codec choices impact your storage budget. Suppose you capture 2,000 RAW photos during an eight-hour day. Using Canon’s CR3 codec with lossless compression, each 24-megapixel file averages about 25MB, totaling 50GB for the shoot. Switch to uncompressed RAW, and that same shoot balloons to roughly 72GB—nearly 50% more storage needed.
Video codecs create even more dramatic differences. Recording 30 minutes of 4K footage in H.264 might generate 40GB of files, while the same footage in ProRes 422 HQ can exceed 180GB. That’s where understanding storage and compression becomes crucial for long-term sustainability.
Here’s my practical approach: use compressed RAW for daily work, which saves roughly 30-40% compared to uncompressed formats without visible quality loss. For critical assignments, I’ll shoot uncompressed, knowing the storage cost is worthwhile. Budget accordingly—a professional shooting 100,000 images yearly needs at least 3TB of primary storage plus backup drives. Cloud backup costs add up quickly too; at typical rates, backing up 1TB costs around $60 annually. Consider this when choosing codecs, especially if you’re archiving everything indefinitely.
Editing Performance and System Requirements
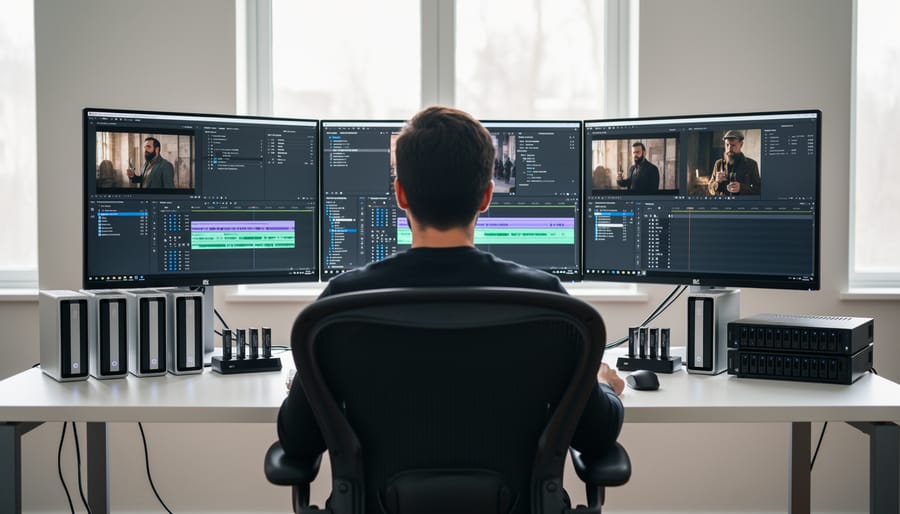
Not all codecs are created equal when it comes to how hard they make your computer work. Highly compressed codecs like H.264 and H.265 are fantastic for keeping file sizes manageable, but they’re computationally intensive to decode during editing. Your computer has to work overtime decompressing every frame on the fly, which can lead to stuttering playback and sluggish timeline scrubbing, even on powerful machines.
This happens because these codecs use inter-frame compression, where each frame depends on information from surrounding frames. Your processor needs to decode multiple frames just to display one, creating a processing bottleneck. Contrast this with intra-frame codecs like ProRes or DNxHR, where each frame stands alone. These files are larger, but your editing software can jump to any frame instantly without complex calculations.
This is where proxy workflows become essential. When working with 4K H.265 footage from modern mirrorless cameras, many editors create lower-resolution ProRes proxy files for editing. You edit smoothly with the proxies, then reconnect to the original high-quality files for final export. Most professional editing software like Premiere Pro, Final Cut Pro, and DaVinci Resolve handles this process automatically.
Consider proxy workflows necessary when your playback drops below real-time, color grading becomes unresponsive, or you’re working with multiple streams of 4K footage simultaneously.
Client Delivery and Compatibility
When delivering files to clients, H.264 and JPEG codecs are your safest bet—virtually every device can read them without issues. Most clients can open MP4 videos encoded with H.264 on their phones, tablets, and computers immediately. Similarly, JPEG images work everywhere, from email previews to social media uploads.
Problems arise with specialized codecs. Sending ProRes or RAW video files often requires conversion because clients rarely have the necessary software or processing power. I’ve seen photographers deliver ProRes files only to receive confused calls hours later when clients couldn’t play them. The same happens with RAW still images like CR3 or NEF files—clients without Adobe software or compatible viewers simply see error messages.
Here’s a practical approach: deliver web-friendly formats (H.264/MP4 for video, JPEG for stills) for immediate use, and provide higher-quality versions (ProRes, TIFF) only when clients specifically request them and understand the requirements. This dual-delivery method prevents technical headaches while maintaining professional quality options. Consider including brief instructions or recommended free viewers when delivering uncommon formats, saving everyone frustration and multiple file transfers.
Choosing the Right Codec for Your Needs
Choosing the right codec isn’t about finding one “perfect” format—it’s about matching your tools to your specific workflow. Let’s walk through real scenarios to help you make practical decisions.
If you’re a wedding photographer shooting both stills and video, your needs are straightforward but demanding. You’ll want to shoot RAW (CR3, NEF, or ARW) for your still images to preserve maximum editing flexibility for those once-in-a-lifetime moments. For video, H.264 in 4K provides excellent quality while keeping file sizes manageable for same-day editing and quick delivery. Your couples want their highlight reels fast, and H.264’s broad compatibility means they can watch on any device without issues.
Commercial photographers delivering to agencies face different pressures. Agencies often specify delivery formats, but shooting in the highest quality codec your camera offers—typically RAW for stills and ProRes 422 or higher for video—gives you maximum flexibility during post-production. You can always compress down for delivery, but you can’t recover quality from heavily compressed source files. The extra storage cost is simply the price of professional-grade deliverables.
Content creators optimizing for social media live in a different world entirely. Here’s a quick reference for common scenarios:
- Instagram Reels and TikTok: H.264 in 1080p at high bitrates (platforms compress anyway)
- YouTube quality-focused content: H.265 in 4K for better quality at smaller file sizes
- Multi-platform distribution: Stick with H.264 for universal compatibility
- Behind-the-scenes or B-roll: Even H.264 at lower bitrates works fine when visual perfection isn’t critical
After export, remember that social platforms will re-encode your content regardless, so obsessing over the absolute highest quality codec for delivery often wastes time and storage without visible benefits to your audience.
Budget also matters. If you’re just starting out, work within your camera’s native codec capabilities rather than investing in external recorders for ProRes. Master composition, lighting, and storytelling first—these fundamentals matter far more than codec specifications. As your skills and client base grow, you’ll naturally recognize when workflow bottlenecks justify codec upgrades.
Understanding codecs doesn’t require an engineering degree, but it does give you meaningful control over your creative work. Whether you’re shooting stills in CR3, capturing video in H.264, or archiving projects in ProRes, knowing what’s happening behind the scenes helps you make decisions that align with your actual needs rather than just following default settings.
The beauty of codec knowledge is that it grows with you. Start by exploring your camera’s codec options during your next shoot. Compare file sizes between different settings. Notice how editing responsiveness changes with various formats. These small experiments build practical understanding that serves you far better than memorizing technical specifications.
As you develop your workflow, staying aware of industry trends becomes valuable without being overwhelming. Codec standards evolve alongside camera technology and editing software. What seemed cutting-edge five years ago might now create compatibility headaches, while newer options like HEIF and AV1 are gradually gaining support across platforms. You don’t need to jump on every new development, but keeping a casual eye on what’s emerging helps you make choices that won’t box you into outdated workflows.
The codec landscape will continue shifting as computational photography advances and storage technology improves. Your best strategy isn’t chasing perfection but rather understanding enough to choose wisely for your specific situation. That knowledge transforms codecs from mysterious technical obstacles into practical tools that serve your creative vision.




 By
By