By
By 
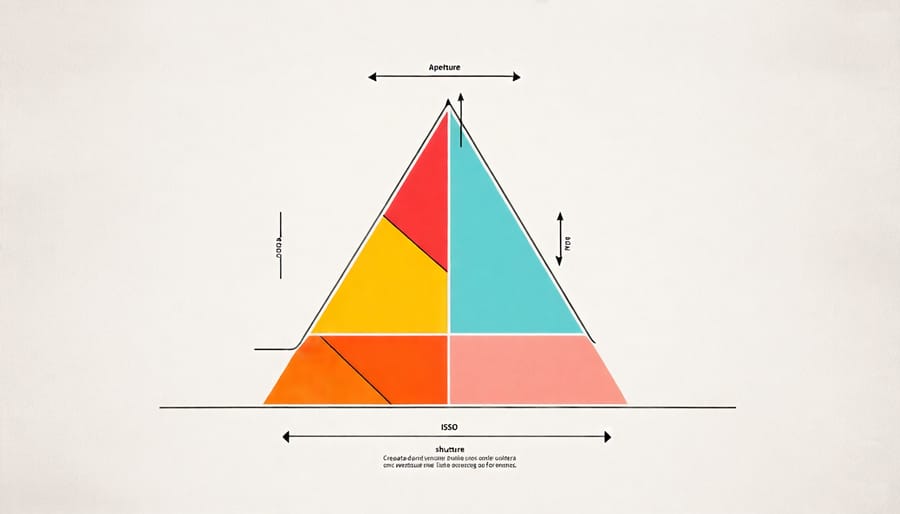
Master the manual settings of your camera to control exposure, aperture, shutter speed and ISO for creative effects. Develop an eye for composition using techniques like the rule of thirds, leading lines, and framing to create visually compelling images. Master the art of lighting, both natural and artificial, to sculpt your subject and create mood. Continually experiment with new techniques, subjects and post-processing methods to evolve your unique style and vision as a photographer.
1. Understand Your Camera Settings
| Setting | What It Controls | When to Adjust | Common Values |
|---|---|---|---|
| Aperture | Light entry and depth of field | Portraits, low light, landscapes | f/1.8, f/4, f/8, f/16 |
| Shutter Speed | Motion blur and freeze | Sports, waterfalls, low light | 1/1000s, 1/250s, 1/60s, 2s |
| ISO | Sensor sensitivity and noise | Dim conditions, fast shutter needs | 100, 400, 1600, 6400 |
Aperture
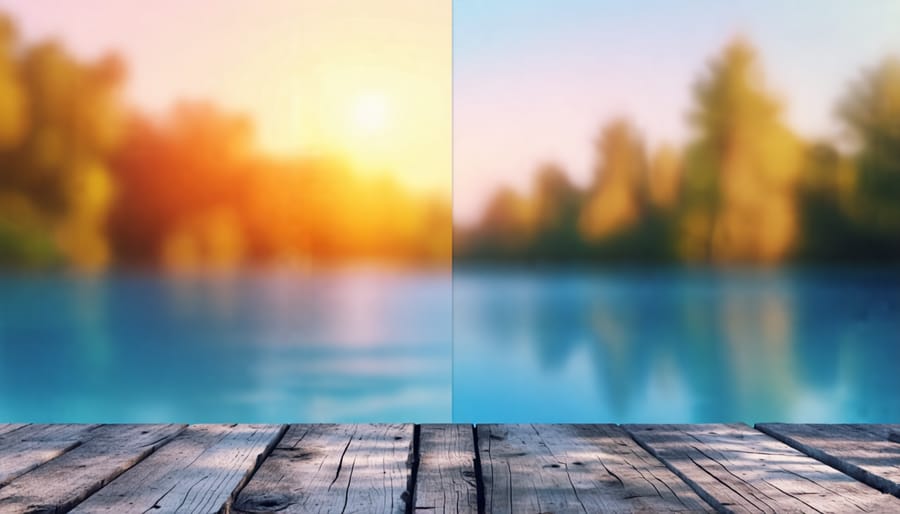
Aperture, measured in f-stops, is the opening in your lens that controls the amount of light entering the camera. A wider aperture (lower f-stop number) creates a shallower depth of field, isolating your subject against a blurry background, ideal for portraits. A narrower aperture (higher f-stop) keeps more of the scene in focus, perfect for landscapes. Aperture also affects exposure; wider apertures allow more light, while narrower ones restrict light. Mastering aperture control is key to achieving your desired creative effects and proper exposure in various shooting situations.
Shutter Speed
Shutter speed is a crucial setting that determines how motion is captured in your photographs. Slower shutter speeds allow more light to enter the camera, resulting in brighter exposures, but can also introduce motion blur if the subject or camera moves during the exposure. This effect can be used creatively for artistic shots like silky smooth waterfalls or light trails. Faster shutter speeds freeze action but let in less light, so they’re essential for sharp images of moving subjects like wildlife or sports. Mastering shutter speed gives you control over both the aesthetic and technical aspects of your photography.
ISO
ISO is a camera setting that determines the sensor’s sensitivity to light. Higher ISO values make the sensor more sensitive, allowing you to capture images in low-light situations without requiring a slower shutter speed or wider aperture. However, increasing the ISO also amplifies the image noise, resulting in a grainy or speckled appearance, particularly in darker areas of the photo. Finding the right balance between ISO, aperture, and shutter speed is crucial for achieving properly exposed images while minimizing noise.
2. Master Composition Techniques
Mastering composition is essential for creating captivating and impactful photographs. While there are no hard and fast rules, understanding key composition principles will help you craft more visually appealing images. The rule of thirds is a classic technique where you mentally divide your frame into a 3×3 grid and position important elements along the lines or at their intersections. This creates a balanced, dynamic composition that’s pleasing to the eye.
Leading lines are another powerful tool, using elements like roads, fences, or natural formations to guide the viewer’s gaze through the image towards your main subject. Framing is a technique where you use elements in the foreground, like branches or archways, to create a natural “frame” around your subject, adding depth and context.
Symmetry can be used to create striking, mirrored compositions, while purposefully breaking symmetry introduces visual tension and interest. Pay attention to the background and use negative space to isolate your subject and minimize distractions. Experiment with different perspectives, like getting low to the ground or climbing high, to find unique angles.
Remember, composition is all about guiding the viewer’s eye and conveying your intended message or mood. The more you practice and train your eye, the more naturally you’ll start seeing and applying these principles in the field. Don’t be afraid to break the rules occasionally and trust your creative instincts – sometimes the most compelling images are the ones that defy convention.
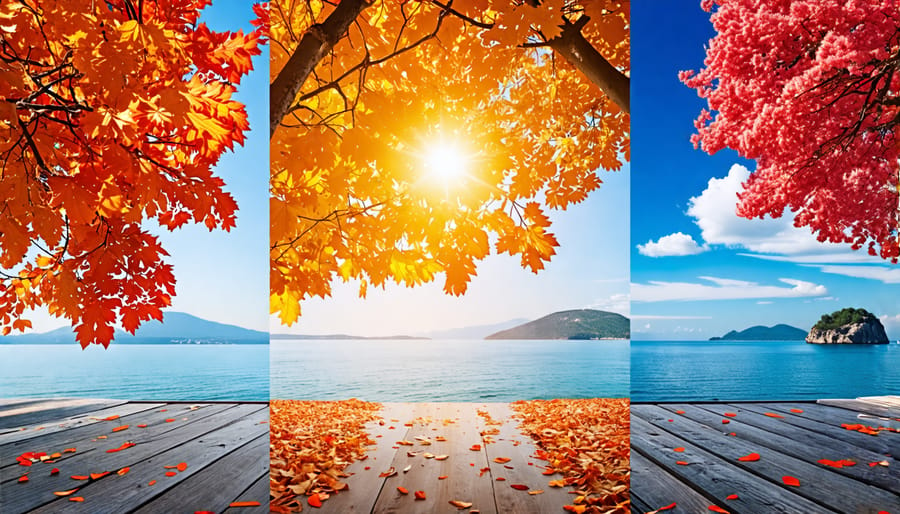
- Rule of thirds: Position key elements along a 3×3 grid for balanced, dynamic compositions
- Leading lines: Use roads, paths, or natural lines to guide the viewer’s eye toward your subject
- Framing: Create depth by using foreground elements like branches or archways to frame your subject
- Symmetry: Build striking mirrored compositions or break symmetry for visual tension
- Negative space: Isolate your subject and reduce distractions with deliberate empty space
- Perspective: Shoot from low, high, or unusual angles to discover fresh viewpoints
3. Control and Shape Light
Natural Light
Learning to work with different types of natural light is essential for any photographer. Soft, diffused light from an overcast sky or open shade creates even illumination and minimizes harsh shadows, perfect for portraits or macro shots. Direct sunlight can be more challenging but also offers unique opportunities – use it to create strong contrast, dramatic long shadows, or beautiful backlit scenes. The warm, directional light just after sunrise or before sunset, known as “golden hour,” bathes subjects in a flattering glow. Experiment with front, side, and backlighting to sculpt your subject with light and shadow. Remember, the key is observation – study how the quality, direction, and color of natural light changes throughout the day, and use that to your creative advantage.
Artificial Light
Shaping the direction and quality of artificial light is a powerful skill for photographers. Using flash, whether on or off-camera, allows you to control shadows, highlights, and the overall mood of your images. Experiment with different flash diffusers and modifiers like softboxes, umbrellas, and snoots to soften or direct the light. Bouncing flash off nearby surfaces can also create more flattering, natural-looking light. When using off-camera flash, familiarize yourself with wireless triggering systems for flexibility in positioning your lights. Practice balancing ambient light with flash for seamless, professional-looking results. Remember, mastering artificial light takes experimentation and patience, but unlocks immense creative potential in your photography.
4. Nail Your Focus
Achieving tack-sharp focus is a critical skill for any photographer. Start by understanding your camera’s autofocus modes, such as single-shot AF for stationary subjects and continuous AF for moving subjects. Experiment with different AF points to control where the camera focuses. For more precise control, switch to manual focus and use your camera’s focus peaking or magnification features to ensure critical sharpness.
When focusing manually, try the “focus and recompose” technique: focus on your subject, then reframe the shot without changing the focus distance. In low light or low-contrast situations, use your camera’s AF assist beam or a flashlight to illuminate the subject and help the autofocus system. Practice regularly to develop muscle memory and intuition for nailing focus in various scenarios. Remember, the key to mastering focus is understanding your gear and learning through hands-on experience.
5. Develop Your Eye
Developing your photographer’s eye is a crucial skill that allows you to identify compelling subjects, angles, moments, and details. Start by observing your surroundings with a fresh perspective. Look for interesting patterns, textures, and contrasts in everyday objects and scenes. Capture these elements from different angles and distances to discover unique compositions.
Another exercise is to focus on a single subject and photograph it from various viewpoints. This trains your eye to find the most engaging angle and helps you understand how light and shadows interact with your subject. Pay attention to the small details that others might overlook, such as a delicate texture or a subtle play of colors.
Timing is also essential in photography. Practice anticipating and capturing fleeting moments, such as a bird taking flight or a child’s spontaneous laughter. This requires patience, quick reflexes, and the ability to read the scene unfolding before you.
To further refine your eye, study the work of renowned photographers and analyze what makes their images captivating. Observe how they use light, composition, and storytelling to create powerful photographs. By deconstructing their techniques, you can incorporate similar elements into your own work and develop a keen sense of what makes a great image.
6. Use the Right Lens
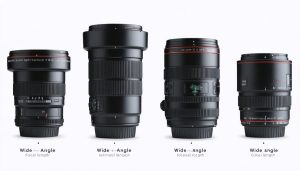
The focal length of your lens determines how much of the scene is captured and how the subject appears. Wide-angle lenses (shorter focal lengths) are great for landscapes, architecture, and capturing a wider field of view. They can also create a sense of depth and make spaces appear larger. On the other hand, telephoto lenses (longer focal lengths) are ideal for wildlife, sports, and portraits as they compress the background and isolate the subject. When choosing the optimal lens for your subject, consider the desired perspective, background compression, and how much of the scene you want to include. Experiment with different focal lengths to see how they impact your composition and the overall look of the image. Don’t be afraid to step out of your comfort zone and try new lenses to expand your creative possibilities.
| Focal Length | Typical Uses | Best Subjects | Characteristic Effects |
|---|---|---|---|
| 16-35mm | Wide-angle photography | Landscapes, architecture, interiors | Expands space, increases depth, dramatic perspective |
| 50mm | General purpose, street | Everyday scenes, candid portraits | Natural perspective similar to human vision |
| 85-105mm | Portrait photography | Headshots, people, detailed subjects | Flattering compression, soft background blur |
| 70-200mm | Telephoto versatility | Sports, wildlife, events | Compressed background, subject isolation |
| 300mm+ | Super telephoto | Distant wildlife, action sports | Extreme compression, narrow field of view |
7. Post-Process with Purpose
Post-processing is the final step in crafting your photographic vision. While it’s essential to get as much right in-camera as possible, editing software gives you powerful tools to refine your work. In 2026, the landscape has evolved significantly. Traditional options like Adobe Lightroom and Capture One remain industry standards, but AI-powered tools have become mainstream, offering intelligent adjustments that can save time while maintaining creative control.
Start with basic edits: cropping, exposure, contrast, and color balance. From there, experiment with more advanced techniques like dodging and burning, selective adjustments, and color grading to create a specific mood or style. Modern AI features can intelligently mask subjects, remove distractions, or enhance specific elements with remarkable precision. Tools like subject selection, sky replacement, and neural filters now handle complex tasks that once required extensive manual work.
The real challenge isn’t technical capability. It’s knowing when to stop. AI tools make dramatic transformations effortlessly accessible, but restraint separates polished images from over-processed ones. Your goal should be enhancement, not transformation that erodes authenticity.
Develop a consistent editing style that complements your photographic voice. Presets can be a useful starting point, but always tailor them to each individual image. Consider whether your edits support the story you’re telling or distract from it. Remember, post-processing should refine and polish your photographs, not compensate for fundamental issues with composition or exposure. Approach editing with purpose, let the technology serve your vision rather than dictate it, and your unique creative voice will shine through.
8. Tell a Story
Photography is a powerful medium for storytelling and conveying emotions. By carefully composing your shots, you can guide the viewer’s eye through the frame and create a visual narrative. Pay attention to the elements within the scene and how they interact with each other. Look for moments of connection, contrast, or symbolism that contribute to the overall story.
Lighting plays a crucial role in setting the mood and atmosphere of your images. Experiment with different lighting techniques, such as backlighting, side lighting, or low-key lighting, to evoke specific emotions. The interplay of light and shadow can add depth and drama to your photographs.
Capture candid moments and genuine expressions to create more authentic and relatable stories. Anticipate and be ready for those fleeting instances that reveal the essence of your subject or scene. By focusing on the human element, you can create images that resonate with viewers on an emotional level.
Remember, storytelling through photography is not just about documenting events but also about infusing your unique perspective and creativity into the narrative. Experiment with different angles, perspectives, and framing techniques to find the most compelling way to tell your story visually.
9. Back Up Your Photos
Regularly backing up your photos is crucial to safeguarding your precious memories and creative work. Disasters like hard drive failures, theft, or accidental deletion can strike at any time, making it essential to have a reliable backup strategy in place. Consider using a combination of external hard drives, cloud storage services, and even physical media like DVDs or flash drives for redundancy. Automate your backups when possible to ensure they occur consistently. Store copies of your photo library in multiple locations, including off-site, to mitigate the risk of loss. By prioritizing regular backups, you’ll have peace of mind knowing your photos are protected and recoverable no matter what happens.
10. Always Keep Learning
Continuing to learn and grow as a photographer is essential for honing your craft. Make a commitment to practice regularly, even if it’s just for a few minutes each day. Experiment with different subjects, lighting, and compositions to push yourself creatively. Study the work of photographers you admire, analyzing their techniques and considering how you can apply them to your own photography. Attend workshops, take online courses, or join a local photography group to learn from others and gain fresh perspectives. Don’t be afraid to try new techniques or genres outside your comfort zone – this is how you’ll discover new passions and take your skills to the next level.
Conclusion
Developing a strong foundation in these essential photography skills will empower you to create stunning images that capture the world around you. Remember, mastering these techniques takes time, practice, and experimentation. Don’t be discouraged if your early attempts don’t match your vision – every shot is an opportunity to learn and grow. Embrace the journey, challenge yourself to try new things, and most importantly, have fun! Photography is a wonderful way to express your creativity, tell stories, and preserve memories. So grab your camera, get out there, and start shooting! With dedication and a passion for learning, you’ll be amazed at how quickly your skills improve. Happy photographing!


 By
By