By
By 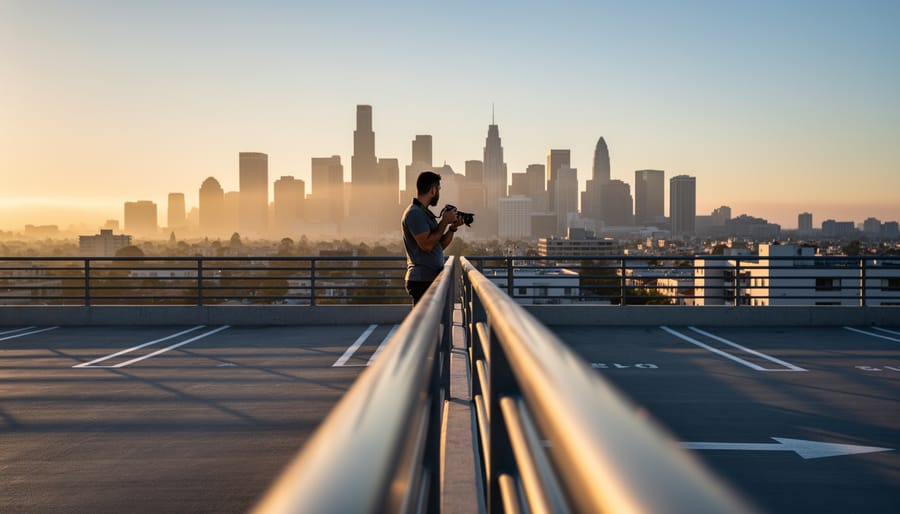
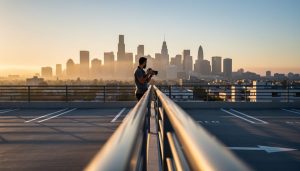
Finding exceptional skyline shots in your city doesn’t require a helicopter or access to the tallest building downtown. You need seven types of vantage points that most photographers overlook: parking garages with open upper decks, pedestrian bridges over highways, hilltop parks away from the tourist zones, riverfront piers that jut into the water, hotel rooftop bars where the cost of entry is a drink, elevated train platforms with unobstructed sightlines, and museum or university terraces that open at specific hours. Each offers a different perspective on the same skyline, and most are free or nearly free to access.
The challenge isn’t just elevation. A great skyline vantage point balances three factors: clear sightlines without foreground obstruction, interesting compositional elements like water reflections or leading lines, and access during the golden hour or blue hour when light transforms architecture. Tourist overlooks usually fail on at least two of these counts. They’re crowded at sunset, positioned for postcard views rather than compelling compositions, and rarely open early enough for sunrise shoots.
Local photographers who consistently capture striking skyline images rely on systematic scouting rather than chance discovery. They look for locations 15 to 40 minutes outside the city center where distance compresses the skyline into a tighter frame. They check building access policies, learn security guard schedules, and revisit locations across seasons as foliage and weather patterns shift. The difference between a mediocre skyline shot and one that stands out comes down to knowing which spots offer foreground interest, how light hits the buildings at different times of year, and when you can work without tripod restrictions or crowds blocking your composition.
Why Urban Skyline Vantage Points Are Worth the Hunt
Shooting from an elevated position transforms ordinary city views into compelling photographs. The height compresses distance, stacking buildings into layered compositions that reveal patterns invisible from street level. You’ll notice relationships between structures, foreground spires leading to distant towers, architectural rhythms across blocks, that create visual depth impossible to achieve on the ground.
Golden hour takes on new dimensions from above. As the sun drops toward the horizon, it rakes across building facades at angles that emphasize texture and form. You’ll catch moments when half the skyline sits in warm light while the other half falls into shadow, creating natural separation between elements. Blue hour extends your shooting window, too. City lights transition gradually from pockets to a full glow, giving you a longer period to balance ambient sky with artificial illumination than you’d have from street level.
Local exploration matters more than chasing famous skylines. Your familiar city holds dozens of perspectives you haven’t considered, and knowing the terrain gives you advantages that tourists never access. You understand rush hour patterns, know which days museums close, recognize weather systems moving in. That knowledge lets you time arrivals perfectly, catch locations during quiet windows, and return quickly when conditions align.
Working locally also means lighter logistics. You can scout in 30-minute sessions after work rather than planning weekend expeditions. Forgot a lens? You’re close enough to retrieve it. Weather turns? You’ll shoot another evening. This proximity removes friction, letting you experiment with the same techniques you might use to elevate your backdrops in controlled environments, but applied to dynamic urban landscapes.
The technical skills transfer immediately. Learning to expose for high-contrast skyline scenes improves your handling of any challenging lighting. Composing layered cityscapes sharpens your ability to manage depth in every photograph you take.

How We Ranked the Best Skyline Vantage Points
Finding the right skyline vantage point isn’t just about height, it’s about balancing practical access with photographic potential. We evaluated locations across several key criteria to help you identify spots worth your time, whether you’re shooting in your hometown or exploring a new city.
Our ranking system considers how these factors work together to create successful shooting opportunities. A spectacular view means little if you can’t safely set up your gear for skyline work, and the most accessible location might disappoint if it only offers one narrow angle or closes before golden hour.
Here’s what we weighed when assessing each vantage point type:
- Accessibility: Can you reach it with camera equipment? Are there stairs, elevators, or long walks involved?
- Shooting angles available: Does the location offer varied compositions, or just one fixed view?
- Time-of-day flexibility: Can you shoot during golden hour, blue hour, and at night, or are hours restricted?
- Safety and permissions: Is it legally accessible to photographers? Are there liability or trespassing concerns?
- Tripod-friendliness: Can you use a tripod, or will you need to rely on stabilization and faster shutter speeds?
- Crowd levels: Will you be competing for space, or can you work without constant interruptions?
We also factored in costs, since some vantage points require admission fees or purchases, while others are freely accessible public spaces. The best locations typically excel in three or four of these areas rather than checking every box, a rooftop bar might limit tripod use but offer unmatched convenience and angles, while a public park trades amenities for complete creative freedom. Understanding these trade-offs helps you choose the right spot for your specific project and shooting style.
1. Rooftop Bars and Observation Decks
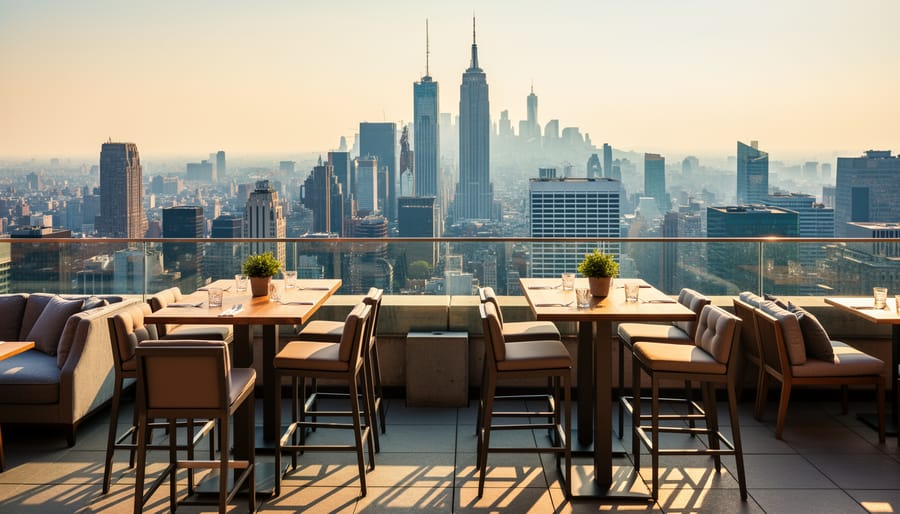
Rooftop bars and observation decks offer the most reliable access to elevated skyline views, though you’ll trade some creative freedom for that convenience. These commercial venues guarantee you’ll reach impressive heights without trespassing or scrambling up hillsides, and many operate during golden hour, perfect timing for cityscape photography.
The catch? You’re working within constraints. Glass barriers often encircle these spaces, creating reflections and limiting lens angles. Most venues prohibit tripods during busy hours, forcing you to shoot handheld or use alternative stabilization. Weekend evenings bring crowds that make composition difficult, and you’re generally expected to purchase something for the privilege of being there.
Your gear choices matter more here than at open-air locations. A fast prime lens, 50mm f/1.8 or 35mm f/1.4, lets you maintain shutter speeds above 1/125s without cranking ISO into noisy territory. Image stabilization becomes critical when you can’t use a tripod; lenses with three or four stops of stabilization give you a fighting chance at sharp shots. If your camera has in-body stabilization, enable it and brace against railings or columns.
For composition workarounds with glass barriers, shoot at an angle rather than perpendicular to the glass to minimize reflections. Position your lens hood flush against the surface when possible. Visit during off-peak hours, weekday afternoons or the half-hour right after opening, when crowds thin and staff may permit a small tabletop tripod or monopod.
Scout venue orientations before visiting. An east-facing deck works for sunrise but suffers from harsh backlighting at sunset. Check online reviews and tagged photos to preview sight lines and identify which sections offer the clearest views. Many observation decks list their exact height and cardinal directions on their websites, helping you plan shots based on sun position and foreground elements you want to include.
2. Public Parks with Elevated Overlooks
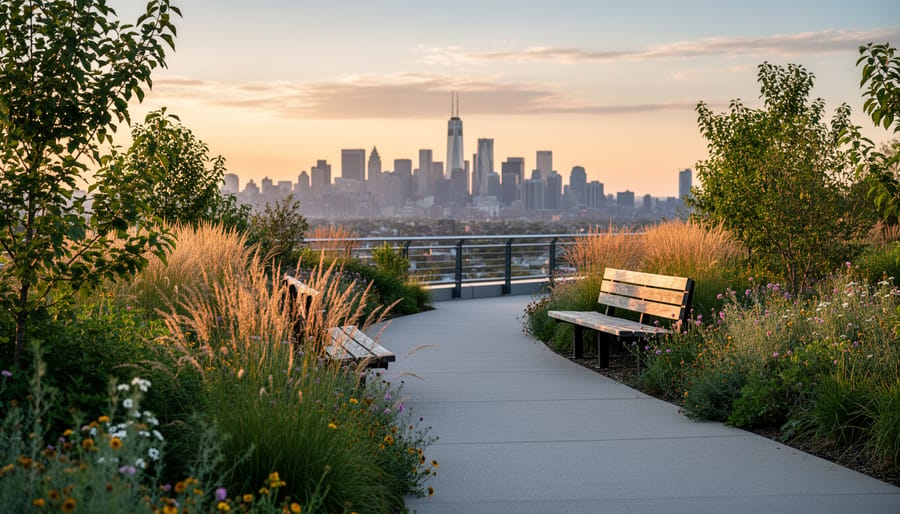
Hillside parks and elevated green spaces offer photographers what commercial observation decks can’t: freedom. No glass barriers, no tripod restrictions, no closing times that cut short your golden hour session. Many cities built parks on high ground specifically for views, and those same slopes that made them picnic destinations make them ideal shooting platforms.
The biggest advantage here is compositional control. You can move freely along ridgelines to change your foreground, incorporate trees or pathways as leading lines, and shift positions without asking permission. Spring blooms and autumn foliage add seasonal interest that rooftop venues lack entirely. Arrive before sunrise with a thermos, and you’ll often have the place to yourself until dog walkers appear mid-morning.
Scouting takes minimal effort. Open Google Earth and enable the terrain layer, topographic lines reveal elevation changes instantly. Look for parks 150 feet or higher above the surrounding area with clear sightlines toward downtown. Satellite view shows tree cover, so you can identify whether summer foliage will block your shot. Cross-reference with Google Street View to confirm accessible paths lead to the high points.
Weather becomes a factor without shelter. Wind at elevation challenges longer exposures even with a sturdy tripod, and sudden rain means scrambling to protect gear. Check forecasts obsessively, and bring a rain cover even when skies look promising. Winter offers bare trees and crisp air that sharpens distant details, but frozen fingers make camera adjustments frustrating. Pack hand warmers and dress in layers you can shed as you hike uphill with equipment.
The trade-off for this freedom is effort. You’re carrying gear up slopes, sometimes on uneven trails. A lighter setup, body, two zooms, compact tripod, beats hauling your full kit. But once positioned, you control the session completely.
3. Parking Garages and Structures
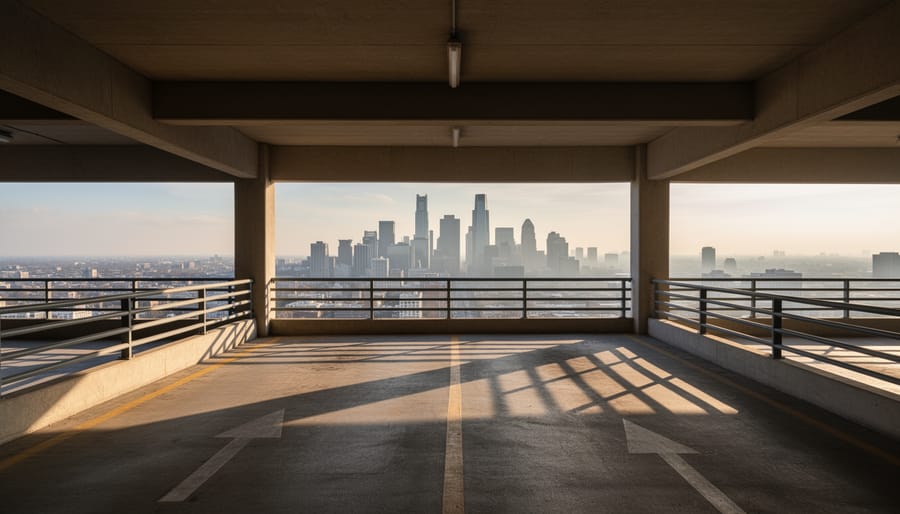
Multi-level parking structures offer some of the most accessible urban vantage points, yet they’re frequently overlooked by photographers fixated on official observation decks. I’ve shot countless skylines from these concrete towers, and the key advantage is simple: you’ll often find open-air levels with unobstructed 360-degree views right in the heart of downtown, frequently at minimal or no cost beyond hourly parking fees.
Target structures in commercial districts or adjacent to convention centers, these tend to have the highest levels and best skyline exposure. The sweet spot is typically between floors four and seven, where you’re elevated enough for perspective but not so high that you lose street-level context. Look for facilities with open sides rather than completely enclosed levels; the difference between shooting through chain-link fencing versus having clear sightlines is enormous.
Timing matters significantly. Weekday evenings after 6pm and weekends often mean lighter vehicle traffic and less security scrutiny, though you’ll want to verify the garage doesn’t close early on Sundays. I’ve learned to visit during golden hour when possible, which gives you about ninety minutes to work before light quality drops off. Position yourself between parked cars to steady your tripod and minimize your footprint, you’re sharing space with functional parking, not commandeering it.
The legal reality: you’re generally fine as long as the garage is publicly accessible and you’ve paid for parking. Security guards may approach you, especially if you’re setting up elaborate gear. I carry my parking ticket visibly and stay professional. If asked to leave, comply without argument. Some facilities prohibit photography entirely for insurance reasons, and it’s not worth the confrontation.
Work around the sodium vapor lighting that plagues these spaces by exposing for your skyline and accepting the orange foreground, or shoot during blue hour when ambient light balances better with artificial sources. Bring lens wipes, parking garages accumulate grime that shows up as haze in backlit conditions.
4. Pedestrian Bridges and Overpasses
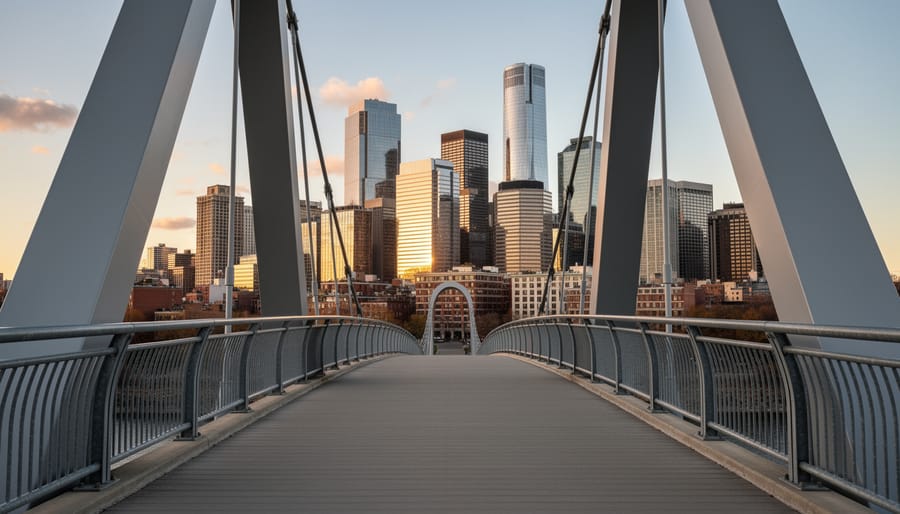
Pedestrian bridges and overpasses occupy a sweet spot between accessibility and photographic potential that many urban photographers overlook. These elevated walkways typically rise fifteen to forty feet above street level, not as dramatic as observation decks, but perfect for capturing skyline views that include the energy of the city below. The structure itself becomes part of your composition, with railings, cables, and architectural elements adding depth and framing opportunities.
The primary challenge is vibration. Even dedicated pedestrian bridges transmit tremors from foot traffic, while overpasses spanning highways deal with constant low-frequency rumble from vehicles below. Handheld shooting at 1/250s or faster works best during busy periods. If you’re set on long exposures for light trails or smooth clouds, arrive very early morning or late evening when foot traffic drops off. A sturdy tripod helps, but won’t eliminate all movement, consider burst mode and stacking the sharpest frames in post.
Composition-wise, these structures excel at leading lines. Cable-stayed bridges offer dramatic diagonal elements pointing toward the skyline. Simple beam bridges provide clean horizontal divisions between foreground and cityscape. Position yourself off-center rather than dead-middle to create more dynamic angles, and use the bridge’s own geometry to direct the viewer’s eye toward your skyline focal point.
Timing matters significantly. Midday brings harsh overhead light and maximum crowds. Golden hour transforms these spaces, backlighting can create silhouettes of the bridge structure against a colorful sky, while side lighting adds dimension to both the walkway and distant buildings. Blue hour works particularly well if the bridge itself is lit, creating a natural foreground interest that complements illuminated skyscrapers beyond.
5. Waterfront Piers and Boardwalks
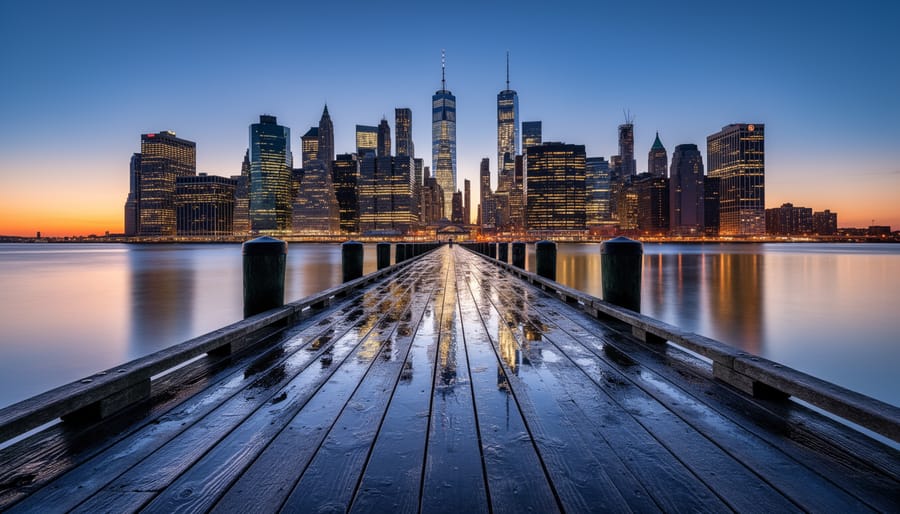
Waterfront piers and boardwalks deliver one of photography’s most valuable assets: a second skyline for free. When your city’s towers stand behind a harbor, river, or lake, these elevated wooden or concrete platforms put you at the perfect height to capture reflections that double your composition’s impact. The best piers extend far enough from shore to minimize foreground clutter while keeping you close enough for sharp skyline detail with standard zoom lenses.
The photographic window here is ruthlessly specific. Arrive 45 minutes before sunset when the sky still holds detail, and you’ll catch the transition from golden light on glass facades to the deep blue that makes city lights pop. Reflections demand calm water, which typically means early morning or the still period right after sunset before evening winds pick up. Check marine forecasts, not just general weather apps, wind speed over water matters more than the conditions three blocks inland.
Your biggest enemy isn’t the weather forecast; it’s salt spray and moisture that creeps into camera bags. Keep a microfiber cloth in your pocket and wipe down your front element between shots. Rain covers aren’t paranoid when you’re shooting over water. For stability, lock your tripod’s center column at minimum height and position one leg pointing toward the water, pier planks flex and vibrate from foot traffic and waves below, and a low, triangulated stance fights that movement better than extended legs.
Scout morning versus evening carefully. Western-facing waterfronts favor sunset light on buildings but lose detail fast. Eastern exposures give you softer morning light and often clearer air before afternoon haze settles in.
6. High-Rise Hotel Rooms and Lobbies
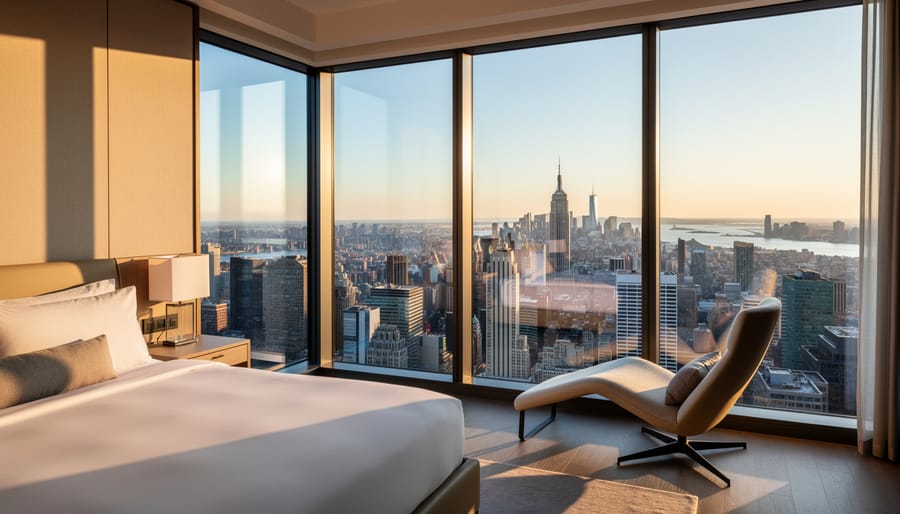
Hotels offer a climate-controlled alternative to exposed rooftop locations, with predictable access and stable shooting platforms. The trade-off is working within physical constraints, fixed windows, interior glass reflections, and sometimes limited angles, but with proper technique, hotel vantage points deliver professional skyline results.
When booking specifically for photography, request upper floors on the side facing downtown or the skyline feature you’re targeting. Corner rooms provide dual perspectives and wider compositional range. Most reservation systems let you note preferences; mention you’re a photographer seeking specific views. Many hotels will accommodate if rooms are available, particularly during off-peak periods.
Shooting through hotel windows requires addressing two challenges: reflections and glass color casts. A circular polarizing filter eliminates most internal reflections when rotated correctly. Position your lens hood flush against the glass to block ambient room light, or drape a dark jacket around the lens barrel for makeshift light blocking. Turn off all room lights and close bathroom doors to eliminate reflection sources behind you. For warmer glass tints common in energy-efficient windows, adjust your white balance in-camera or shoot raw for flexible post-processing correction.
Hotel lobbies with upper-level seating areas or sky lounges sometimes permit tripod photography during quiet hours. Ask the concierge or duty manager rather than assuming, most hotels appreciate courtesy over forgiveness. If shooting from public lobby areas, work quickly and respectfully. A compact travel tripod draws less attention than full-size gear and positions you as a serious photographer rather than a casual tourist.
Time your hotel photography for golden hour or blue hour when interior-exterior light balance creates natural exposure blending without HDR techniques.
7. Museum and Cultural Center Terraces
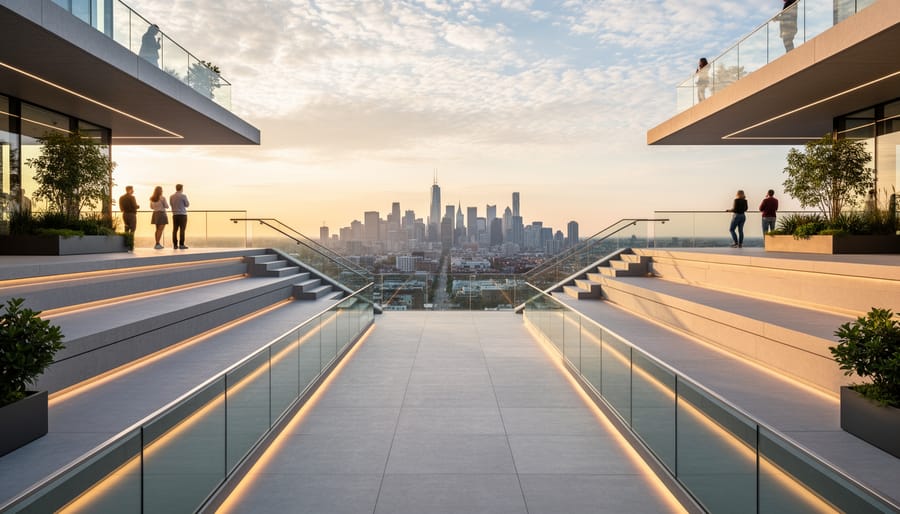
Museums and cultural centers often feature rooftop terraces or upper-level outdoor spaces that double as exceptional skyline vantage points, and most photographers walk right past them. These locations offer a distinct advantage: they’re designed for people to gather and observe, which means you’ll find stable railings, maintained surfaces, and spaces intentionally cleared for views. Unlike commercial observation decks, cultural terraces tend to be quieter and more conducive to thoughtful composition work.
Access typically requires either museum admission or membership, though some institutions open their terraces to the public during extended hours or special events. Check whether the terrace is included with general admission or requires a separate ticket. Many contemporary art museums and performing arts centers incorporate rooftop spaces into their architecture, particularly those built or renovated within the last twenty years. Science centers and history museums in historic buildings sometimes feature less obvious upper-level balconies or observation areas worth asking about at the information desk.
The photography advantages here go beyond just the view. Cultural center terraces often include architectural elements, sculptural installations, distinctive railings, planted areas, that provide interesting foreground layers for your skyline compositions. The surrounding building structure can help block wind, and you’ll rarely face the glass barriers that plague commercial observation decks. Lighting is usually minimal after dark, giving you cleaner exposures of the city lights without competing venue illumination.
Most cultural institutions close earlier than commercial venues, typically between 5 and 8 PM, which can work in your favor or against it depending on the season and your golden hour timing. Members often get extended access during special events or opening receptions, an advantage worth considering if you’re a frequent shooter. Look for institutions with “rooftop” or “terrace” mentioned on their website’s facility information, or check architectural photos from their openings.
Getting There: Practical Access Information
Plan your visit with transportation and timing in mind to maximize shooting opportunities. Most elevated vantage points require carrying camera gear through urban environments, so choose your approach based on equipment load. If you’re hauling a tripod and multiple lenses, parking garages near your target location save energy for the shoot itself. Public transit works well for lighter setups, but research routes in advance, not all stations have elevator access, and climbing stairs with a camera bag gets old fast.
| Vantage Point Type | Typical Access Hours | Cost Range | Best Shooting Time |
|---|---|---|---|
| Rooftop Bars/Decks | 11am-11pm (varies) | $15-40 admission or drink minimum | Golden hour + blue hour |
| Public Parks | Dawn to dusk (some 24hr) | Free | Sunrise, golden hour |
| Parking Structures | 24 hours or business hours | $5-20 parking fee | Blue hour, night |
| Pedestrian Bridges | 24 hours (most) | Free | Early morning (less foot traffic) |
| Waterfront Piers | Dawn to dusk | Free to $10 | Sunset reflections |
Check access restrictions before you go. Many observation decks prohibit tripods during peak hours, while parking garages may require permission for photography beyond casual snapshots. Call ahead or check websites for current policies, rules change, especially post-pandemic.
Weather impacts more than just light quality. Wind on exposed waterfront locations makes long exposures difficult, while fog can either create atmospheric cityscapes or completely obscure your view. Winter brings earlier blue hour but harsher conditions for extended shooting sessions. Summer offers comfortable evening shoots but attracts larger crowds. Apply the low-light secrets you’ve learned when planning evening or early morning visits to maximize image quality in challenging conditions.
Local Tips for Skyline Photography Success
The difference between a good skyline shot and a great one often comes down to preparation that happens before you leave home. Start with PhotoPills or The Photographer’s Ephemeris to map the sun and moon paths for your chosen vantage point, knowing exactly where light will hit the skyline at a specific time eliminates guesswork and wasted trips. Google Earth’s 3D view lets you preview sightlines from different elevations, and the historical imagery feature reveals how seasonal foliage might obstruct views. Join local photography groups on Facebook or Reddit; members freely share current access conditions, construction updates, and security quirks that online guides miss.
For timing, arrive 45 minutes before sunset at popular spots to claim your position and test compositions. Weekday mornings offer the emptiest conditions at most vantage points, while weekend golden hours draw crowds. Download Dark Sky or Windy for hyperlocal weather predictions, general forecasts often miss the patchy cloud cover that makes or breaks skyline shots. Always scout a backup location within ten minutes of your primary choice; weather shifts fast, and light waits for no one.
Respect the spaces you’re using. Keep gear compact in crowded areas, avoid blocking pathways during setup, and pack out everything you bring. If you’re shooting from private property open to the public, hotel lobbies, museum terraces, dress appropriately and behave like a guest, not just someone hunting a shot. Security staff remember photographers who cause problems, and one bad interaction can close access for everyone. Check our night skyline tips for post-sunset shooting techniques, and dial in your evening camera settings before the light turns magic.
Frequently Asked Questions
How do I find vantage points that aren’t listed in guides?
Use Google Earth’s 3D view to scout elevated areas near downtown cores, then cross-reference with OpenStreetMap to identify accessible routes. Join local photography Facebook groups or check Instagram location tags, photographers often share hidden spots in comments or through direct messages when asked respectfully.
Do I need special permits to photograph from public vantage points?
Most public parks, sidewalks, and observation decks don’t require permits for personal photography, but tripod use may be restricted during peak hours. Commercial shoots, drone operation, or photography on private property (including some rooftop bars) typically need advance permission, always check facility websites or call ahead.
What lens works best for skyline photography from vantage points?
A 24-70mm or 24-105mm zoom gives you flexibility to frame wide establishing shots and zoom in on architectural details without switching glass. For rooftops with limited movement space, a 16-35mm wide-angle captures more skyline, while an 85mm prime lets you compress distant buildings into dramatic compositions.
How do I shoot through glass barriers without reflections ruining the shot?
Press your lens hood flat against the glass to eliminate most reflections, and use a circular polarizing filter rotated to minimize remaining glare. Shooting during blue hour rather than full darkness reduces interior reflections since the outside isn’t drastically darker than inside, our beginner night guide covers timing strategies for twilight skyline work.
Beyond these common questions, remember that patience matters more than equipment lists. The same vantage point looks entirely different at 7 a.m. versus 8 p.m., in January versus July, or during clear skies versus dramatic storm clouds. Visit your chosen spots multiple times across different conditions, you’ll discover compositions that one-time visitors miss, and you’ll build the local knowledge that transforms standard skyline shots into distinctive images that reflect your city’s particular character.


 By
By