 By
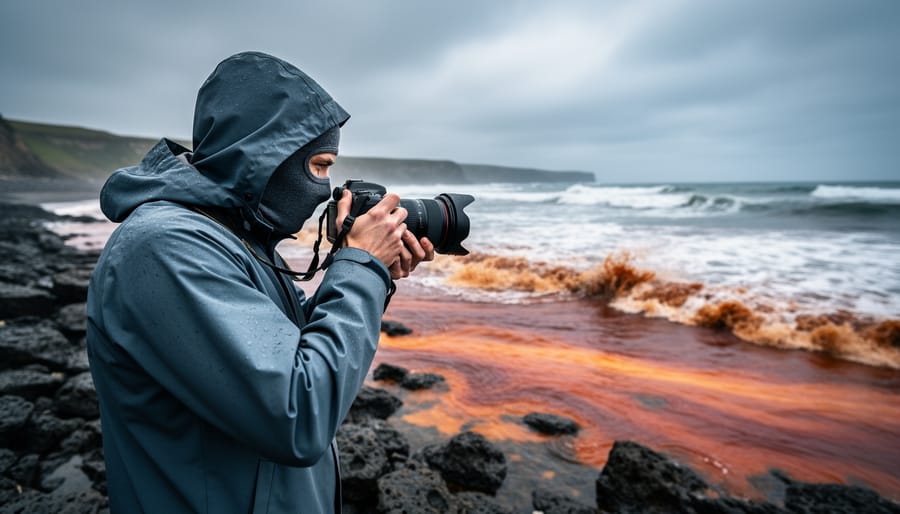
Red tide tracking means monitoring harmful algal bloom data through official government dashboards, local shellfish advisories, and satellite imagery before you head to the coast. For photographers planning coastal shoots, this isn’t just about health safety. A single red tide event can force location changes, damage thousands of dollars in gear exposed to toxic aerosols, and turn a planned golden-hour session into a wasted trip. The Canadian Science Advisory Secretariat released comprehensive guidance in May 2025 on harmful algal events in marine ecosystems, underscoring what coastal photographers have learned the hard way: red tide demands the same careful monitoring you’d give weather forecasts or tide charts.
Most photographers first encounter red tide as a rusty discoloration in the surf or a sharp, irritating smell that burns the throat and eyes. By that point, you’re already exposed. Karenia brevis and similar bloom-forming algae release airborne toxins that seawater spray carries inland, sometimes over a mile from shore. Your camera’s sensor remains safe, but respiratory irritation can cut a shoot short within minutes, and salt spray contaminated with algal toxins leaves a film on lens elements that standard cleaning won’t fully remove.
The practical challenge is simple: red tide events are unpredictable, varying by water temperature, nutrient levels, and currents. You can’t plan around a fixed season the way you schedule fall foliage or spring wildflowers. What you can do is build a tracking routine that takes five minutes the morning before a shoot and saves you from blown plans, wasted permits, and genuine health risks.
Why Red Tide Matters for Coastal Photographers
Red tide affects coastal photographers at the intersection of health, equipment investment, and creative timing. When harmful algal blooms concentrate in nearshore waters, exactly where tide-dependent shooting happens, they release airborne toxins that can derail a trip before you unpack your camera bag.
The health risks are immediate and uncomfortable. Brevatoxins and other algal toxins become aerosolized in surf spray, especially during windy conditions or breaking waves. Photographers working at the waterline during golden hour or blue hour sessions inhale these particles, leading to respiratory irritation symptoms coughing, and eye irritation that worsens the longer you stay exposed. If you have asthma or respiratory sensitivities, even a 20-minute shoot can trigger significant discomfort that lasts hours after you leave the beach.
Your gear faces similar threats. Corrosive salt spray mixed with organic aerosols from decomposing algae settles on lens elements, camera bodies, and electronic contacts. Repeated exposure accelerates seal degradation and introduces biological contaminants that standard lens cleaning doesn’t fully remove. Camera sensors are particularly vulnerable when changing lenses in bloom-affected environments, a single gust carrying algae-laden mist can deposit microscopic particles on the sensor that show up as persistent spots in every frame afterward.
The May 2025 Canadian Science Advisory Secretariat report on harmful algal events in marine ecosystems confirms what coastal photographers experience firsthand: these blooms are not rare anomalies but recurring phenomena that demand planning. The report emphasizes the variable nature of toxic algal blooms across different regions and seasons, meaning a location safe last month might be actively blooming during your next visit.
Photographers face specific concerns during red tide events:
- Respiratory distress during long exposures or time-lapse sequences at the waterline
- Accelerated equipment corrosion from salt spray combined with organic aerosols
- Water contact with camera straps, tripod feet, and bags placed on wet sand
- Reduced visibility from discolored water that kills reflection and color contrast
- Beach closures that block access to planned tide-dependent shooting locations
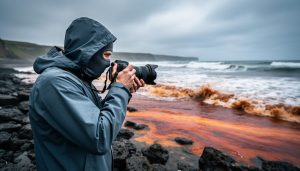
Yet blooms also create visual opportunities. The water takes on dramatic rust-red, amber, or brownish hues that photograph strikingly against blue sky or at sunset. Some photographers document bloom events as environmental storytelling, capturing the eerie coloration and foam patterns while working from elevated vantage points to minimize exposure. The key is knowing when that creative risk crosses into genuine danger, and having the tracking tools to make that decision before you travel.
Top Red Tide Tracking Resources and How to Use Them
1. Official Government Marine Monitoring Systems
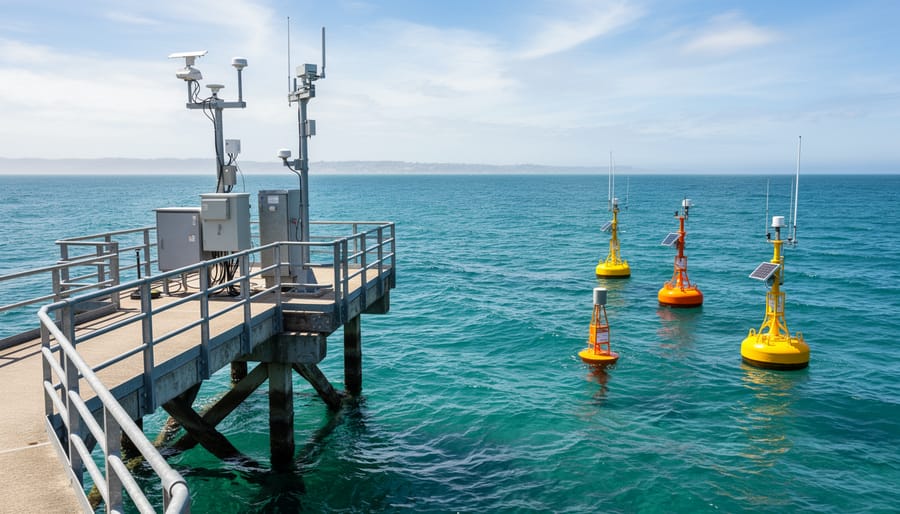
Government marine monitoring networks are your most authoritative starting point for red tide tracking, and for good reason, they deploy professional sampling equipment, run laboratory analyses, and update data on regular schedules. In the United States, NOAA’s Harmful Algal Bloom Operational Forecast System covers the Gulf of Mexico, East Coast, and Great Lakes with bloom forecasts updated twice weekly. For Canadian waters, check the Department of Fisheries and Oceans regional monitoring programs, which gained additional scientific backing from the May 2025 Canadian Science Advisory Secretariat report on harmful algal events in marine ecosystems. State and provincial agencies often run parallel programs with more localized coverage, Florida’s Fish and Wildlife Research Institute samples dozens of coastal stations weekly during bloom season, while British Columbia maintains a dedicated shellfish toxin monitoring network.
What matters for photographers is learning to read the actual data, not just the headline advisories. Look for cell concentration counts measured in cells per liter: background levels sit below 1,000 cells/L, but respiratory irritation can start around 10,000, and blooms exceeding 100,000 cells/L often mean visible discoloration and strong aerosol risk at the shoreline. Toxin levels appear separately, usually measured in micrograms per liter for brevetoxin or domoic acid. Bloom maps show spatial extent, which helps you identify whether your planned tide-dependent location sits inside the affected zone or just upwind of it.
The critical limitation is reporting lag. Sampling happens on fixed schedules, often Monday or Thursday morning, then samples travel to labs for analysis. Results post 24 to 72 hours later. If you’re checking Friday afternoon for a Saturday dawn shoot, you’re seeing data from Wednesday’s conditions. Blooms can intensify or dissipate quickly, especially with shifting winds or tidal flushing. Check these sites 48 hours before departure for situational awareness, then verify again the evening before you leave. Cross-reference the official maps with real-time satellite imagery and local reports to fill the time gap and make smarter decisions about whether that tide-dependent spot is actually safe to shoot.
2. Real-Time Satellite Imagery and Bloom Detection
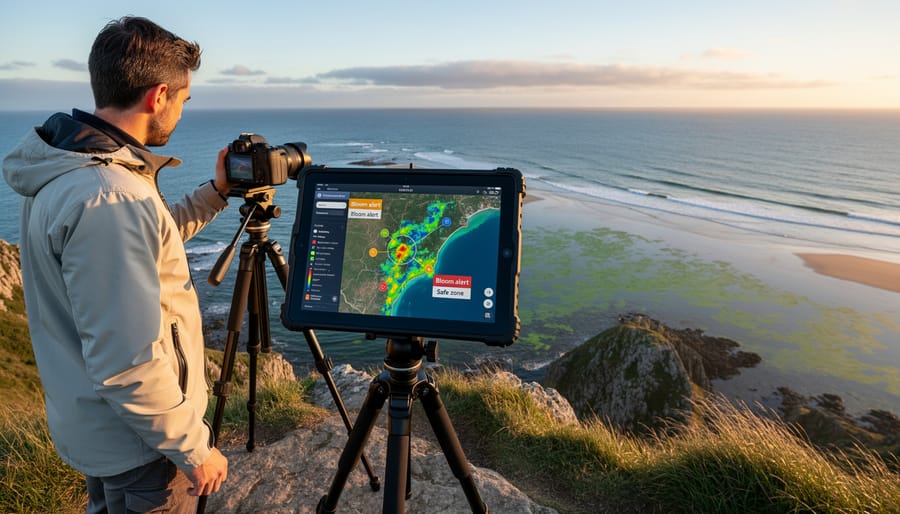
Satellite imagery gives you a bird’s-eye view of ocean conditions days before you pack your camera bag. NASA’s MODIS instruments and ESA’s Sentinel satellites capture daily snapshots of coastal waters, measuring chlorophyll concentrations that reveal where blooms are forming and how fast they’re moving. For photographers planning shoots at tide-dependent locations, this means you can watch a bloom develop offshore and decide whether to proceed, delay, or choose an alternate spot.
Start with NASA’s Worldview platform or ESA’s Copernicus Marine Service viewer. Both offer free access to near-real-time ocean color data. Look for false-color composites where high chlorophyll areas appear bright green, yellow, or red against darker blue open water. A dense green patch hugging the coastline near your planned location is a red flag. Compare images from three to five days back to see if the bloom is intensifying, dissipating, or drifting toward shore with prevailing currents.
The workflow is straightforward: pull up your shooting location coordinates, layer the most recent chlorophyll map over it, and zoom in. If you see elevated concentrations within five to ten miles of shore, cross-reference with wind forecasts. Onshore winds can push surface blooms straight into tidal zones within 24 hours. Offshore winds may keep them at bay temporarily, giving you a narrow shooting window at low tide.
Satellite data updates once daily, so check the previous afternoon or early morning image before committing to travel. The lag between satellite pass and published imagery is typically six to twelve hours. This tool won’t tell you toxin levels, but it shows you exactly where the biological mass sits offshore, which is often warning enough to adjust your plans.
3. Local Beach and Shellfish Closure Maps
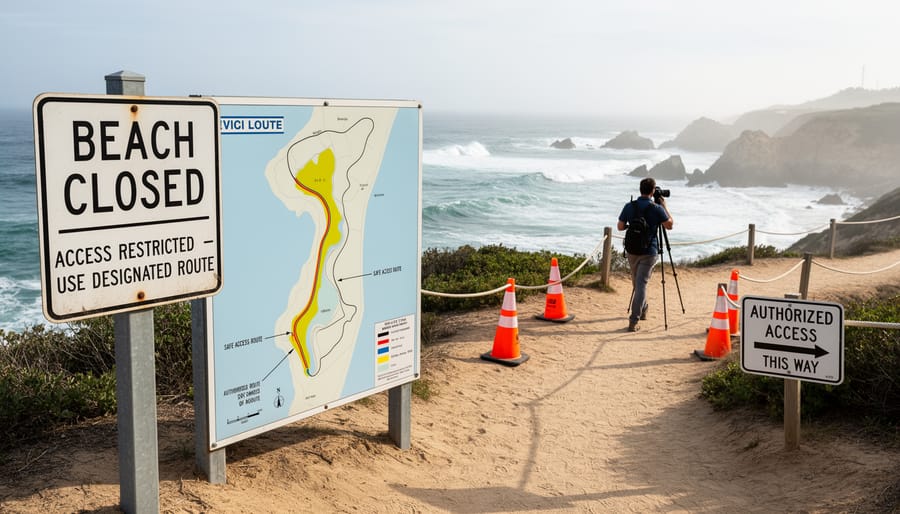
Beach and shellfish closure maps are among the fastest-updating red tide indicators available to photographers planning coastal shoots. When harmful algal blooms reach concentrations that threaten public health, local authorities close beaches and suspend shellfish harvesting, often within hours of sampling results. These closures appear on regional databases maintained by county health departments, state environmental agencies, and coastal management offices, typically updating far faster than the scientific monitoring networks that feed satellite data or academic reports.
For photographers targeting tide-dependent spots, closure maps serve as a real-time proxy: if shellfish beds near your planned location are closed, assume the bloom is active and concentrated enough to affect air quality, visibility, and gear safety. Most regional databases include interactive maps showing closure zones, species affected (oysters, mussels, clams), and the date restrictions were imposed. Cross-reference these with your tide tables, a location safe at high tide might expose contaminated flats or dense algae mats at low tide, precisely when you hoped to shoot reflections or tidal pools.
Check closure maps 24 hours before departure and again the morning of your shoot. Many jurisdictions post updates to dedicated websites or Twitter accounts, and some offer SMS alert subscriptions tied to specific beaches. Layering this information with tide predictions lets you identify backup locations or reschedule entirely. If multiple beaches along a coastline show closures, the bloom is widespread, and shifting a few miles won’t help, plan an inland alternative instead.
4. Water Quality Apps and Citizen Science Platforms
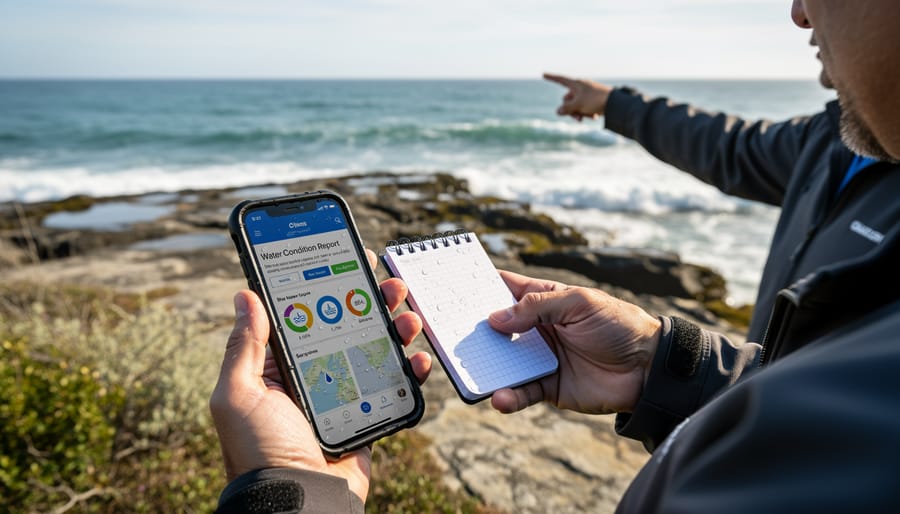
Mobile apps designed for water quality monitoring have become valuable tools for photographers, though they require a careful approach to interpretation. Apps like Swim Guide, Surfrider Foundation’s Clean Water App, and regional beach monitoring platforms aggregate real-time reports from beachgoers, lifeguards, and environmental volunteers. These tools often include user-submitted bloom sightings, photos of discolored water, and reports of fish kills or respiratory irritation, information that can appear hours or even days before official government updates reach public databases.
The strength of citizen science platforms lies in their immediacy and geographic specificity. A photographer planning a sunrise shoot at a tide-dependent beach can check whether anyone reported reddish foam or a sulfur smell at that exact location within the past 24 hours. Some apps allow you to filter reports by observation type, making it easier to distinguish between confirmed algal activity and unrelated water quality issues like stormwater runoff or jellyfish presence.
The weakness is reliability. Not every user understands what red tide looks like, and a report of “brown water” could be sediment stirred up by wind rather than a harmful bloom. Cross-referencing is essential. Before altering your travel plans based on an app report, verify against official monitoring data from government marine systems or satellite imagery. If multiple independent sources point to the same concern at your planned location, treat it seriously. If only a single unverified app report exists, consider it a yellow flag worth investigating further rather than definitive proof of unsafe conditions.
5. Social Media and Local Photography Communities
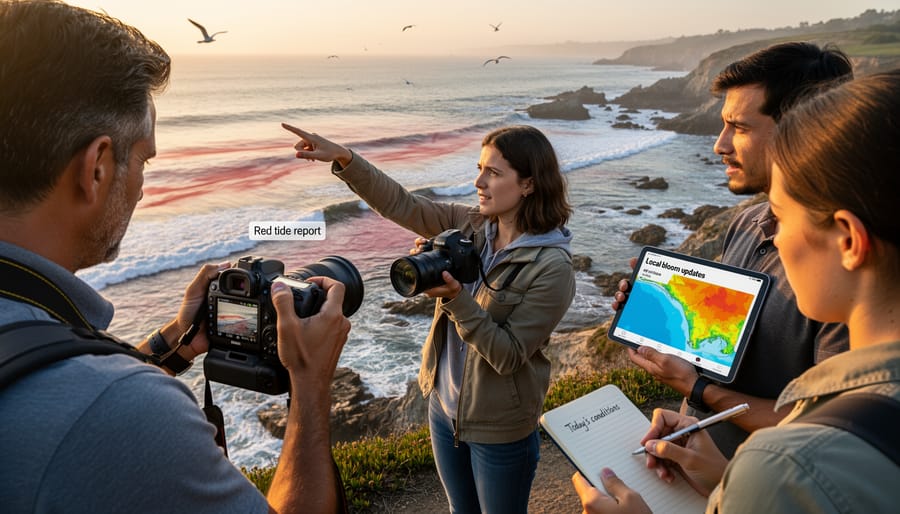
Social media and local photography communities offer the fastest, most granular ground truth about red tide conditions, often hours or even days ahead of official monitoring updates. Location-specific hashtags like #GulfCoastPhotography, #PNWTides, or #NovaScotiaShores aggregate real-time reports from photographers already shooting at tide-dependent spots you’re planning to visit. Regional Facebook groups, Instagram geo-tags, and subreddit communities dedicated to coastal photography provide a direct line to people who know these locations intimately and can confirm whether that red tide advisory from three days ago is still relevant or has cleared overnight.
The challenge is separating credible field reports from secondhand rumor. Look for posts with original photos showing current water conditions, check the metadata or ask when the image was taken. A photographer posting discolored water with visible foam and timestamp details is far more reliable than someone sharing a screenshot of an old news article. Pay attention to who’s posting: users with consistent history shooting that specific location carry more weight than casual visitors repeating hearsay.
To maximize the value of these networks, adopt these search strategies:
– Combine your destination name with “red tide” or “algae” in platform search bars to surface recent discussions
– Join location-specific photography groups on Facebook and Discord months before your trip to build rapport and monitoring habits
– Verify photo dates by checking EXIF data when shared or asking posters directly; geo-tags confirm the exact beach or headland, not just the general region
Connecting with locals who shoot regularly at tide-dependent locations gives you more than bloom reports, they’ll share which alternate spots remain viable during an event, how long blooms typically persist in that microclimate, and whether wind direction pushes concentration offshore or onto your planned shoreline. Treat these relationships as genuine community participation, not just data extraction. Contributing your own observations when you visit builds trust and keeps the network valuable for everyone tracking conditions in real time.
Practical Information: Timing Your Coastal Shoot Around Red Tide Risk
Red tide blooms don’t follow a rigid calendar, but they do follow environmental cues you can learn to read. Most harmful algal events peak during warmer months when water temperatures rise above 20°C and sunlight hours increase, conditions that supercharge algae growth. However, blooms can surprise you in cooler seasons if nutrient runoff from heavy rains feeds coastal waters. For photographers planning trips to tide-dependent locations, this means your window of lowest risk typically falls outside the high summer months, though no season guarantees immunity.
Temperature alone doesn’t tell the full story. Blooms need three ingredients: warmth, nutrients (often from agricultural runoff or urban drainage), and calm water that lets cells concentrate near the surface. A week of hot, still weather following a storm can turn clear water murky with algae within days. When you’re scouting a shoot, check recent rainfall patterns in the watershed upstream from your target beach. A sunny forecast today means little if last week’s downpour washed fertilizer into the bay.
| Risk Factor | What to Monitor | Photographer Action |
|---|---|---|
| Water temperature trends | Multi-day averages above 20°C or rapid warming | Check monitoring data 48 hours before departure; have backup dates ready |
| Recent rainfall/runoff | Storm events in past 1-2 weeks, especially after dry periods | Expect 7-10 day lag before blooms appear; consider rescheduling or alternate locations |
| Multi-day wind patterns | Prolonged onshore winds or sudden calm after rough seas | Onshore winds push blooms to shore; offshore winds clear them temporarily |
| Moon phase (tide intensity) | Spring tides (new/full moon) versus neap tides | Spring tides flush bays faster but also concentrate debris at extremes; plan accordingly |
Build flexibility into your coastal travel plans the same way you do for weather. Book refundable accommodations if possible, or plan a multi-location trip where you can pivot to an unaffected beach. Apply the same tide timing tips you’d use for composition and light, but layer bloom tracking on top.
The tide cycle itself influences what you’ll encounter nearshore. Low tide can expose concentrated bands of decaying algae on the beach, intensifying the smell and aerosol risk, yet it also reveals tide pools and rock formations you want to shoot. High tide may dilute surface concentrations temporarily, but it also delivers whatever’s floating offshore directly to your position. If monitoring data shows an active bloom, shooting around mid-tide gives you compositional options without the worst of the biological accumulation.
Protecting Your Gear During Algal Bloom Conditions
When you arrive at a tide-dependent location and discover red tide conditions, protecting your camera gear becomes as critical as protecting your respiratory health. The combination of salt spray and organic aerosols from algal blooms creates a uniquely corrosive environment that can damage sensors, corrode metal components, and compromise electronics faster than standard marine exposure.
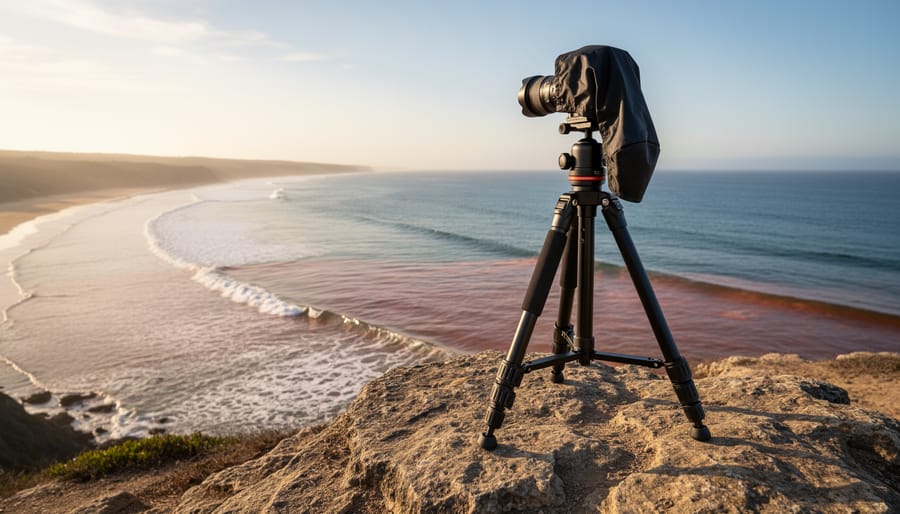
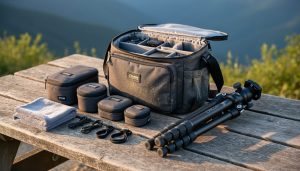
Start with physical barriers. Seal your camera body in a rain cover or waterproof housing, even if conditions don’t look wet. The aerosols from breaking waves carry both salt and organic compounds that settle on every exposed surface. Keep a UV filter mounted on each lens as sacrificial barrier glass; you can clean or replace it without risking your front element. Pack extra filters as part of your coastal safety gear specifically for trips to bloom-prone areas.
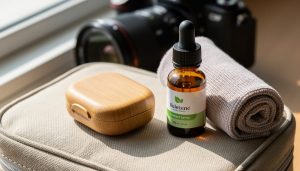
If you do shoot in active red tide conditions, establish a strict cleaning protocol immediately after. Wipe down all exterior surfaces with a slightly damp microfiber cloth to remove aerosol residue before it dries and bonds to your equipment. Pay attention to crevices around buttons, dials, and lens mounts where organic material accumulates. Never use compressed air near the sensor when shooting in algal bloom conditions; you risk blowing contaminants into the mirror box.
Know when to walk away entirely. If you experience eye irritation, throat burning, or see dead fish on the beach, conditions are too severe for safe photography. Switch to a telephoto lens and work from elevated positions or protected vantage points inland instead of wading into tidal zones. Some shots aren’t worth risking a $3,000 camera body or a trip to urgent care.
Local Tips: Reading the Water and Making the Call
When you arrive at a coastal location, your first visual check is the water itself. Healthy ocean water appears clear blue or green with natural transparency; red tide shows as rusty brown, muddy red, or an unnatural milky green depending on the algae species. Look for discolored streaks or patches near the waterline, especially where waves break, blooms concentrate in foam that can range from off-white to distinctly brown or rust-tinted. Dead fish, struggling seabirds, or an absence of the usual coastal wildlife all signal trouble.
The smell tells you plenty before you even set up. A healthy beach has that clean salt-and-seaweed scent; affected areas reek of decay, sulfur, or something sharply chemical that hits the back of your throat. If you feel eye irritation, coughing, or respiratory discomfort within minutes of arriving, the aerosol toxins are present and you should leave. No photograph is worth compromising your health or exposing sensitive camera electronics to corrosive spray.
When your planned tide-dependent spot is compromised, pivot rather than cancel. Move to higher vantage points above the water where aerosol exposure drops significantly, headlands, coastal trails, or clifftop overlooks offer compelling compositions without direct contact. Tide pool planning becomes irrelevant during active blooms, but brackish estuaries upstream or inland wetlands connected to the coast remain safer alternatives. Document the bloom itself from distance as environmental storytelling, the discolored water, warning signs, closed beaches, and turn the disruption into educational content for your audience.
Can I shoot during mild red tide conditions?
If water shows only slight discoloration and you experience no respiratory symptoms after 10 minutes on-site, brief shooting from shore may be acceptable with proper gear protection. Always prioritize your physical response over visual conditions, leave immediately if you develop any irritation.
Is dawn or dusk safer than midday for coastal shoots during blooms?
Not necessarily, algal toxin concentration depends more on bloom density and wind direction than time of day. Cooler morning air may carry less aerosol, but onshore breezes at any hour push toxins inland regardless of light conditions.
How do I explain a canceled shoot to clients when red tide hits?
Frame it as a safety and equipment protection decision, showing them official monitoring data and explaining the health risks and potential for corrosive damage to gear. Most clients appreciate transparency and your professional judgment in protecting their investment.
Trust your instincts above all tracking data. If something feels wrong when you step out of the vehicle, it probably is. Alternate shooting ideas always exist, knowing when to walk away from a planned shot demonstrates the same judgment that separates experienced coastal photographers from reckless ones.
Red tide tracking deserves the same attention you give to tide charts, weather forecasts, and sunrise calculations. Treating algal bloom monitoring as a core element of your coastal trip planning, not an afterthought, protects your health, your equipment, and your investment in travel time. The difference between a successful shoot at a tide-dependent location and a wasted journey often comes down to checking government advisories, satellite imagery, or local reports 48 hours before you pack your bags.
The best photographers understand that restraint is as important as ambition. When conditions look questionable, discolored water, unusual odor, or credible bloom reports, the wisest choice is often not to shoot. Pushing through marginal conditions risks respiratory irritation, gear damage, and diminished image quality. There’s no shame in pivoting to an alternative location or rescheduling entirely.
Integrating red tide awareness into your workflow isn’t complicated. Check official monitoring systems alongside the apps you already use to plan around tides and golden hour. Follow local photography communities for ground-truth updates. Trust your senses when you arrive. Coastal conditions shift rapidly, and the photographer who knows when to walk away protects both their craft and their ability to return another day when the water is clear, the air is safe, and the light is perfect.

 By